How to Decompress Acoustic Foam (Make Flat Panels Expand Faster) [2026]
To decompress acoustic foam, you mostly just unbox it and wait, but the first 10 minutes matter more than you think.
Leave panels half-wrapped, stack them, or blast them with heat, and you can ruin the shape and waste a day waiting on foam that still looks wrinkled.
That happens because vacuum-packed foam needs air and space for the cells to re-open evenly.
Follow the steps below and you’ll avoid warped panels, get faster expansion, and know when it’s time to return a bad batch.
We’ll start with the unboxing routine, then cover safe ways to speed it up when you’re in a hurry.
Remove all packaging immediately, lay panels flat with airflow, and give them time to expand naturally. If you need to speed it up, use gentle warmth and moving air, not high heat or steam.
Why Acoustic Foam Arrives Flat
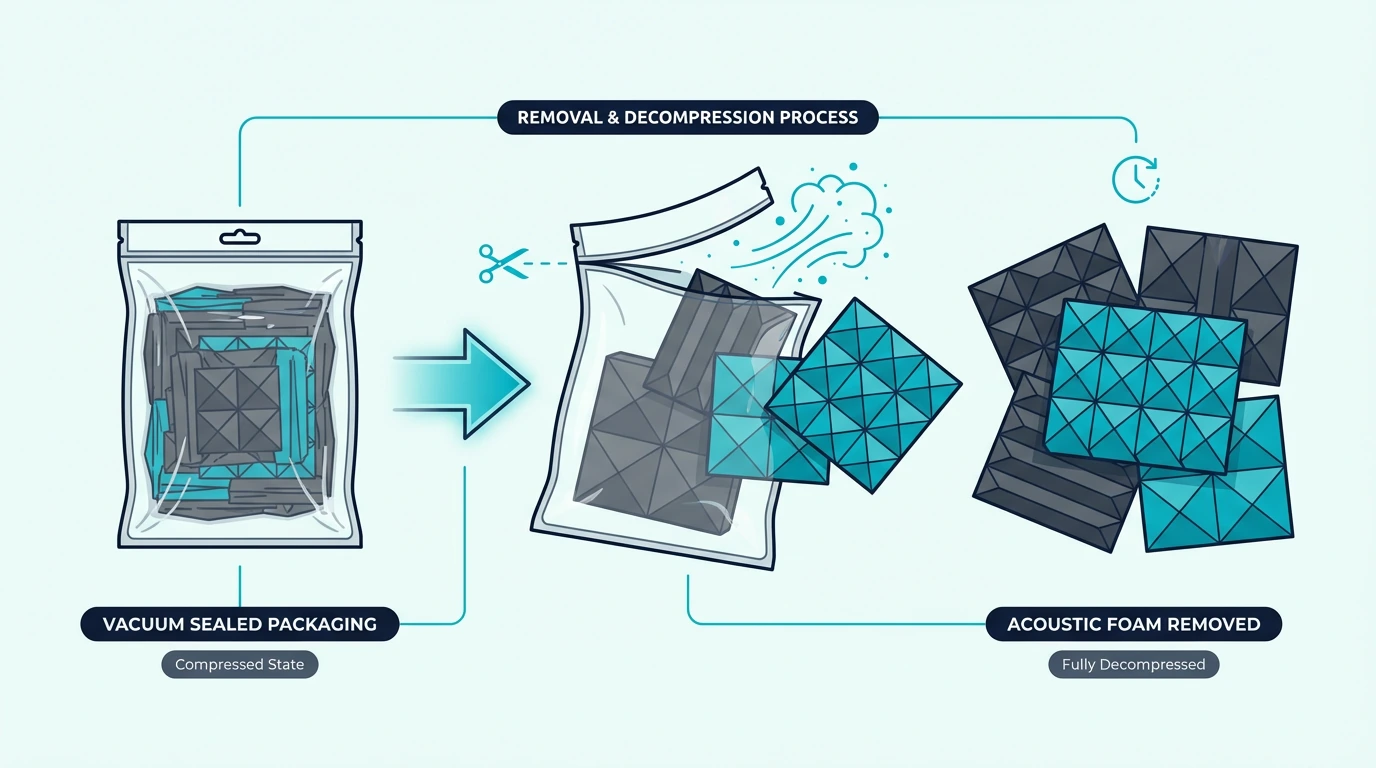
Most acoustic foam ships vacuum-compressed to save space during shipping. It’s not a scam by itself—it’s just how sellers pack bulky foam cheaply.
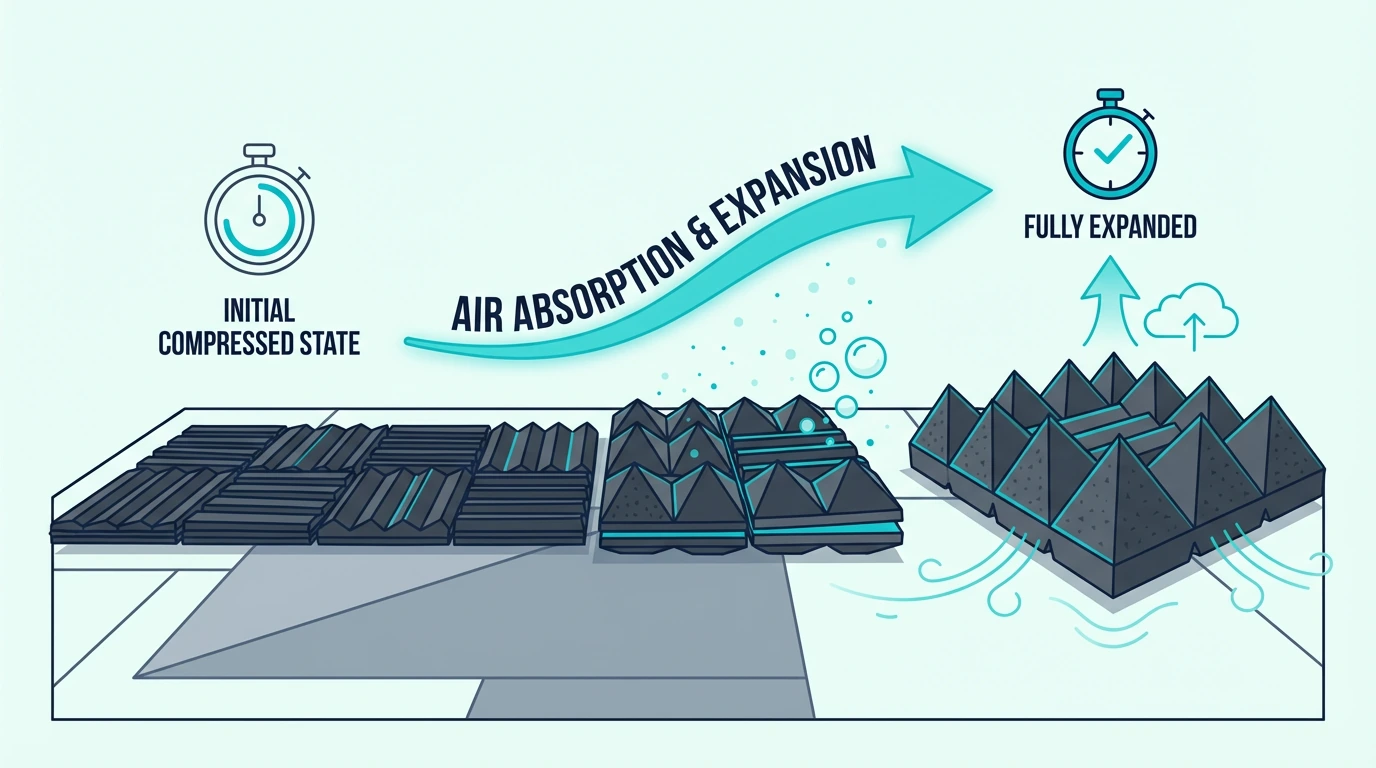
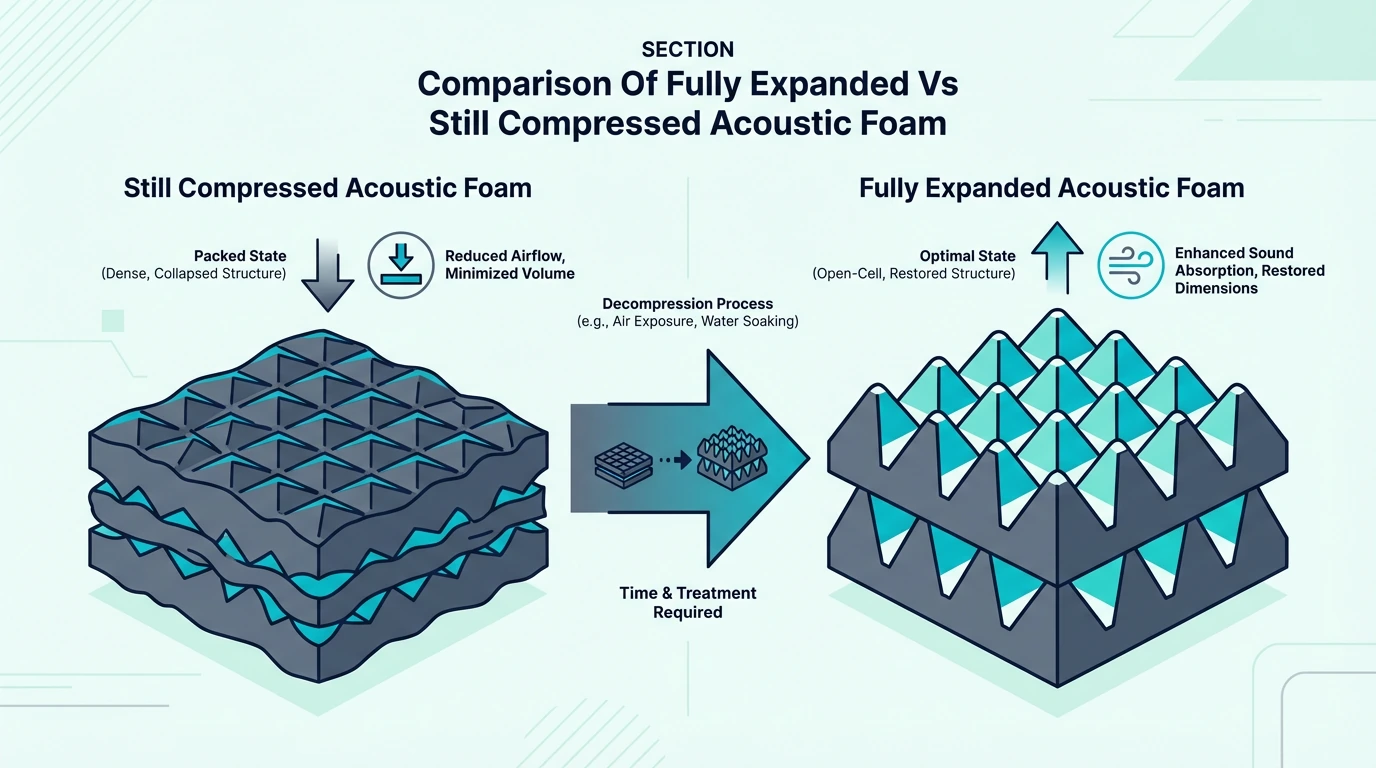
Foam is open-cell, which means it can compress dramatically and still “want” to spring back. The catch is that it needs air, time, and the right shape support to do it evenly.
Decompressing foam is really just letting those cells re-open after being crushed. You’re not “inflating” it with heat—you’re getting out of the way so the material can return to its normal thickness.
If you’re shopping and want fewer surprises, start with the quality cues in how to choose acoustic foam. Low-density foam tends to arrive more wrinkled and can take longer to look normal.
How to Decompress Acoustic Foam (Step-by-Step)
Think of this as “let the foam breathe and don’t crush it again.” The goal is to give the cells space to re-open.
Step 1: Unpack everything completely
Remove the foam from any plastic wrap, compression sleeves, or sealed bags. Don’t leave it “partially wrapped” while you work on something else.
If the foam smells strongly at first, that’s common with fresh polyurethane. Let it air out in a ventilated room while it expands.
Avoid bending panels aggressively to “help” them. Every time you fold or squeeze the foam, you’re temporarily re-compressing the same cells you’re trying to open.
Once everything is fully unwrapped, the next job is simple: keep the foam flat and uncompressed so it can expand evenly.
Step 2: Lay panels flat (don’t stack them)
Lay the panels on a flat surface with the textured side up. Avoid stacking multiple panels, because the weight re-compresses the foam you’re trying to expand.
If you’re short on floor space, rotate panels through the same flat spot. It’s slower, but it prevents permanent creases.
Try to keep panels off carpet if you can. Carpet fibers block airflow underneath, and you’ll often get uneven expansion across the back side.
After the foam is laid out, airflow and stable room warmth do the rest (without you “fighting” the material).
Step 3: Give it airflow and stable warmth
Room-temperature air and time handle most cases. Warmer rooms tend to expand foam faster than cold rooms.
Avoid direct sunlight as a “heat source.” Sun can warm unevenly and can fade some foams over time.
Now comes the hardest part for most people: don’t cut or mount until expansion has settled.
Step 4: Wait before cutting or mounting
Let panels expand fully before you cut them to size or stick them to a wall. If you cut while the foam is still “puffing up,” your final dimensions can drift slightly.
Mounting too early can also lock in wrinkles. Once a wrinkled panel is stuck on a wall, you’ll stop handling it, and the creases often stay.
If you’re staging a full room’s worth of foam, treat it like a mini workflow. Decompress first, then cut, then install, instead of bouncing between steps.
For the full system approach (coverage first, then placement, then install), the acoustic foam hub is the easiest starting point.
Get Studio Tips Weekly
Join 5,000+ creators getting acoustic treatment advice every week.
No spam. Unsubscribe anytime.How Long Does Acoustic Foam Take to Expand?
Most foam looks close to full thickness within a day, but stubborn panels can take longer. Thicker foam and deeply compressed packaging usually mean more waiting.
Instead of staring at the ridges, measure thickness at a few points and check again later. If the foam is still noticeably thin after a full day, give it another day before you assume it’s defective.
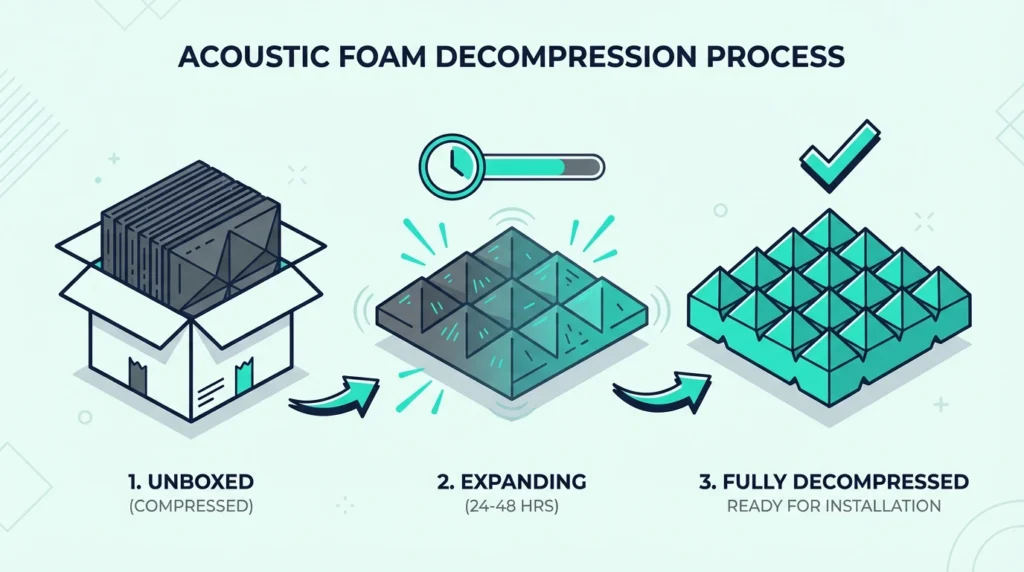
Here’s a realistic timeline so you don’t panic (or melt the foam trying to “fix” it). In the first 10–30 minutes, panels usually go from brick-flat to recognizably foam, but the ridges can still look shallow.
After 1–3 hours, most tiles are close to their final footprint, but thickness can still be uneven corner-to-corner. Flip them once and make sure nothing is pinning a corner down.
At 24 hours, you should be within a few millimeters of final thickness across most of the panel. If one corner is still clearly half-thickness while everything else looks normal, that’s when “bad compression crease” becomes a real possibility.
At 48 hours, you’re usually at the “this is what it will be” point. If it still looks like a crumpled sponge, you’re not being picky — you got a dud batch.
While you’re waiting, let the foam air out in a ventilated room. If the smell is strong or you’re sensitive to off-gassing, skim is acoustic foam dangerous? and keep fresh foam out of bedrooms until it settles.
Expansion speed usually comes down to a few variables.
Density and thickness matter first, because thicker, denser foam can take longer to “relax” after compression. Room temperature is next, since cold rooms (and cold deliveries) slow expansion dramatically.
Airflow matters because stagnant air often leaves the underside expanding slower than the top. And the way it was packed leaves “memory”: tightly rolled or sharply creased foam tends to hold shape longer than flat-compressed foam.
If you want a practical “is this normal?” check, focus on thickness and symmetry. A panel that is evenly a little thin usually expands with time, while a panel with one crushed corner that never changes is more likely defective.
If you’re building your room plan around panel thickness, it helps to pick foam with a reputation for consistent expansion. The curated lists in best acoustic foam panels and best budget acoustic foam can save you from “cheap foam roulette.”
If you’re on a deadline, you can speed expansion up—but only with gentle warmth and airflow.
How to Speed Up Expansion Safely (Without Melting Foam)
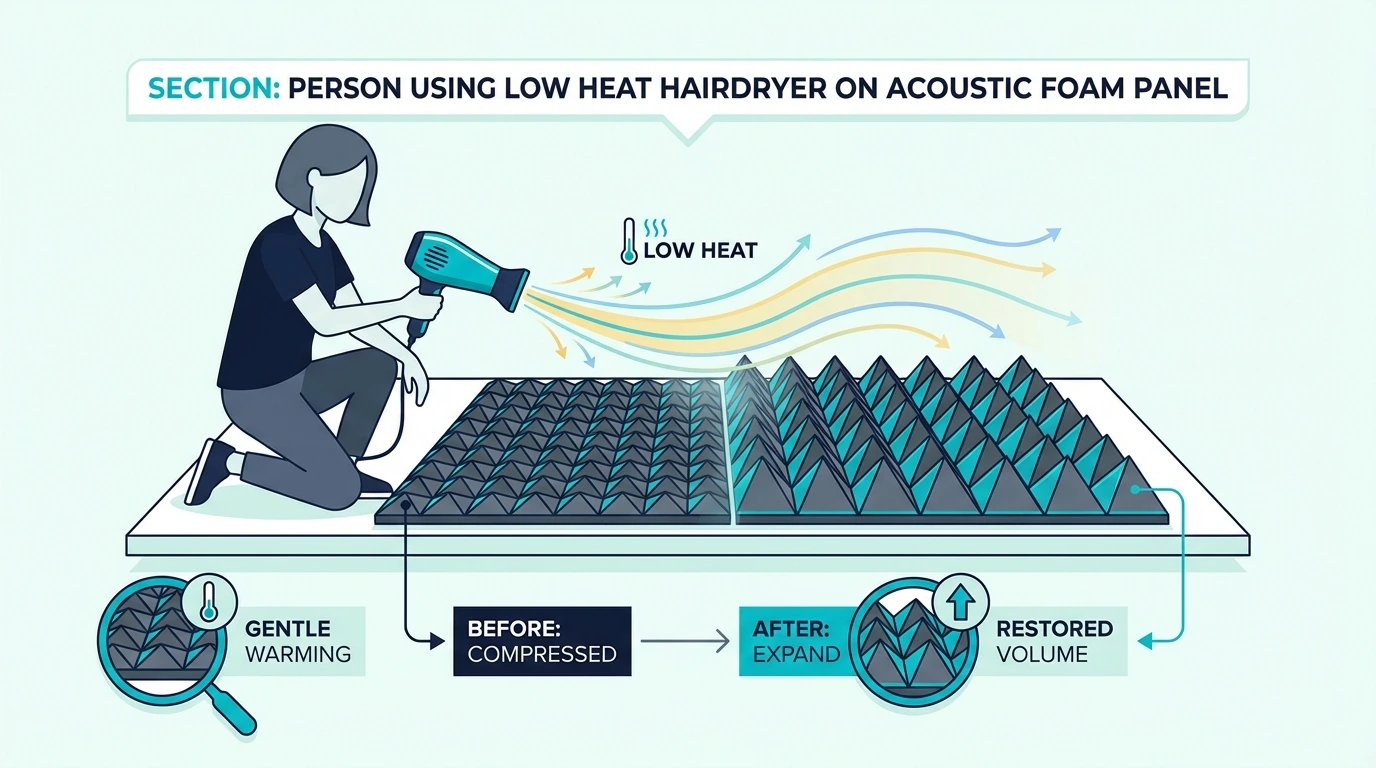
If you’re in a rush, the safest accelerators are gentle warmth and moving air. You’re trying to warm the foam slightly, not cook it.
Here’s what tends to work without damaging panels.
Start by moving air across the foam (a fan is fine) instead of blasting heat into one spot. If you need warmth, warm the room rather than heating the foam directly.
Then flip panels once or twice so both sides get the same exposure.
Avoid high heat, heat guns, and steam. Foam can deform, and once the cells collapse from heat, it won’t “bounce back.”
If you use a hair dryer, keep the heat low and keep it moving. Hold it far enough away that the foam feels only slightly warm, not hot.
If the foam starts to look shiny, glossy, or unusually soft, stop immediately. That’s a sign you’re overheating the surface.
Avoid these “fast fixes” even if you see them online.
Avoid steam and high heat; both can damage foam in ways it won’t recover from. Steam soaks the foam and adds odor risk, while heat guns or a space heater pointed at one spot can deform and collapse the cells.
Also avoid stacking panels to “press them flat,” because weight re-compresses the foam and leaves dents.
If none of that gets a panel to full thickness, the next step is figuring out whether you got a bad batch or a fixable crease.
What to Do If Foam Never Fully Expands

If a panel stays thin, warped, or permanently creased after a couple of days, you’re probably looking at one of three issues: low-density foam, a manufacturing defect, or foam that was crushed again during storage.
At that point, the best move is usually returning it and buying a better batch. Fighting bad foam with more heat and pressure is how panels end up melted, warped, or permanently misshapen.
If the foam is expanded but the edges are still uneven, cut only after it fully relaxes. Cutting early can “bake in” the wrong thickness into your final shape.
If you want foam that’s easier to work with right away, start with 12-Pack Acoustic Foam Wedge Panels (1 in) if you’re treating a small area or you just want to test your workflow.
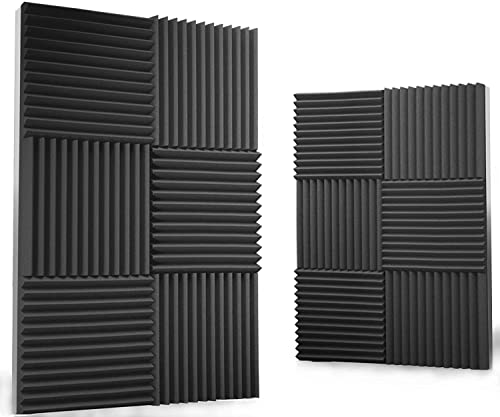
12-Pack Acoustic Foam Wedge Panels (1 in)
If you’re staging a bigger wall plan, 50-Pack Acoustic Foam Wedge Panels (2 in) is a cleaner way to get coverage without piecing together multiple small packs.
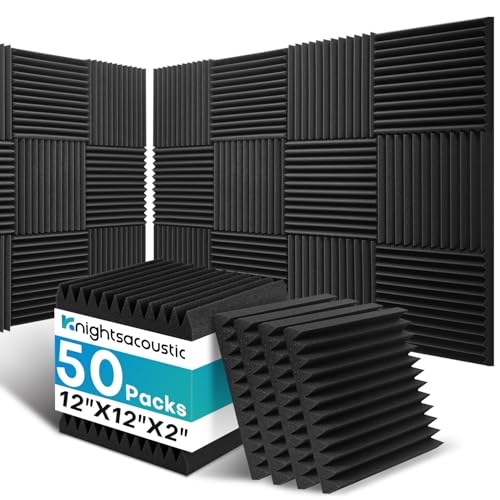
50-Pack Acoustic Foam Wedge Panels (2 in)
And if you want an all-in-one kit for quick installs, Focusound 50-Pack Pyramid Acoustic Foam Panels (2 in) + Adhesive bundles foam with mounting strips (just test one panel first if you’re unsure about your wall finish).
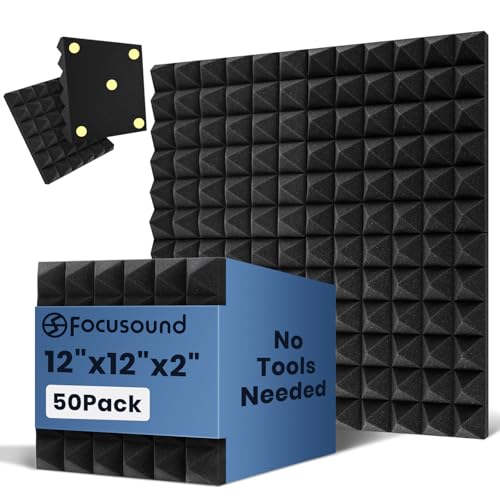
Focusound 50-Pack Pyramid Acoustic Foam Panels (2 in) + Adhesive
Once the foam is expanded, you’ll get better results cutting and installing it with a plan. If you need to trim panels, follow cut acoustic foam before you mount anything.
For mounting, use the right method for your walls so panels don’t peel off later. Start with acoustic foam wall install and acoustic foam adhesive to match the adhesive to your paint, texture, and renter vs homeowner situation.
If you’re using branded foam like Auralex, it helps to follow the install method they’re designed for. The walkthrough in install Auralex acoustic foam prevents the common “falls off in a week” mistakes.
The Bottom Line
To decompress acoustic foam, fully unbox it, lay it flat, and let it breathe with airflow. Most panels just need time.
If you’re in a hurry, add gentle warmth and moving air, but avoid high heat and steam. If a panel still won’t expand after a couple of days, it’s usually better to return it than to try to “force” it into shape.
Frequently Asked Questions
These are the questions we hear most when foam arrives brick-flat or expands unevenly.
Is it normal for acoustic foam to arrive flat?
Yes. Many sellers vacuum-pack foam to reduce shipping size, so it often arrives compressed and needs time to expand.
Can you install foam before it fully expands?
It’s better to wait. Installing early can lock in wrinkles and makes it harder to align rows cleanly.
Does heat damage acoustic foam?
Too much heat can. Gentle warmth is usually fine, but high heat can deform foam and permanently collapse the cells.
What if only the corners won’t expand?
Give it more time and make sure the panel isn’t being pressed under weight. If corners stay sharply creased after a couple of days, that’s usually a sign of low-quality foam or bad compression during storage.
Should you put books or weights on foam to flatten it?
Avoid heavy weight while the foam is expanding, because it re-compresses the cells and can leave dents. If a corner is curling after the panel is fully expanded, a very light weight for a short time can help, but don’t stack panels under a pile of books.
Can you soak acoustic foam to make it expand?
No. Water can sit inside the foam cells for a long time, and it’s easy to end up with odor or mildew if the foam doesn’t dry fully.

