Do your dinner parties always turn into shouting matches? Does your open concept home echo like a cave?
If you constantly struggle to carry on conversations over ambient noise, it may be time for an acoustic upgrade.
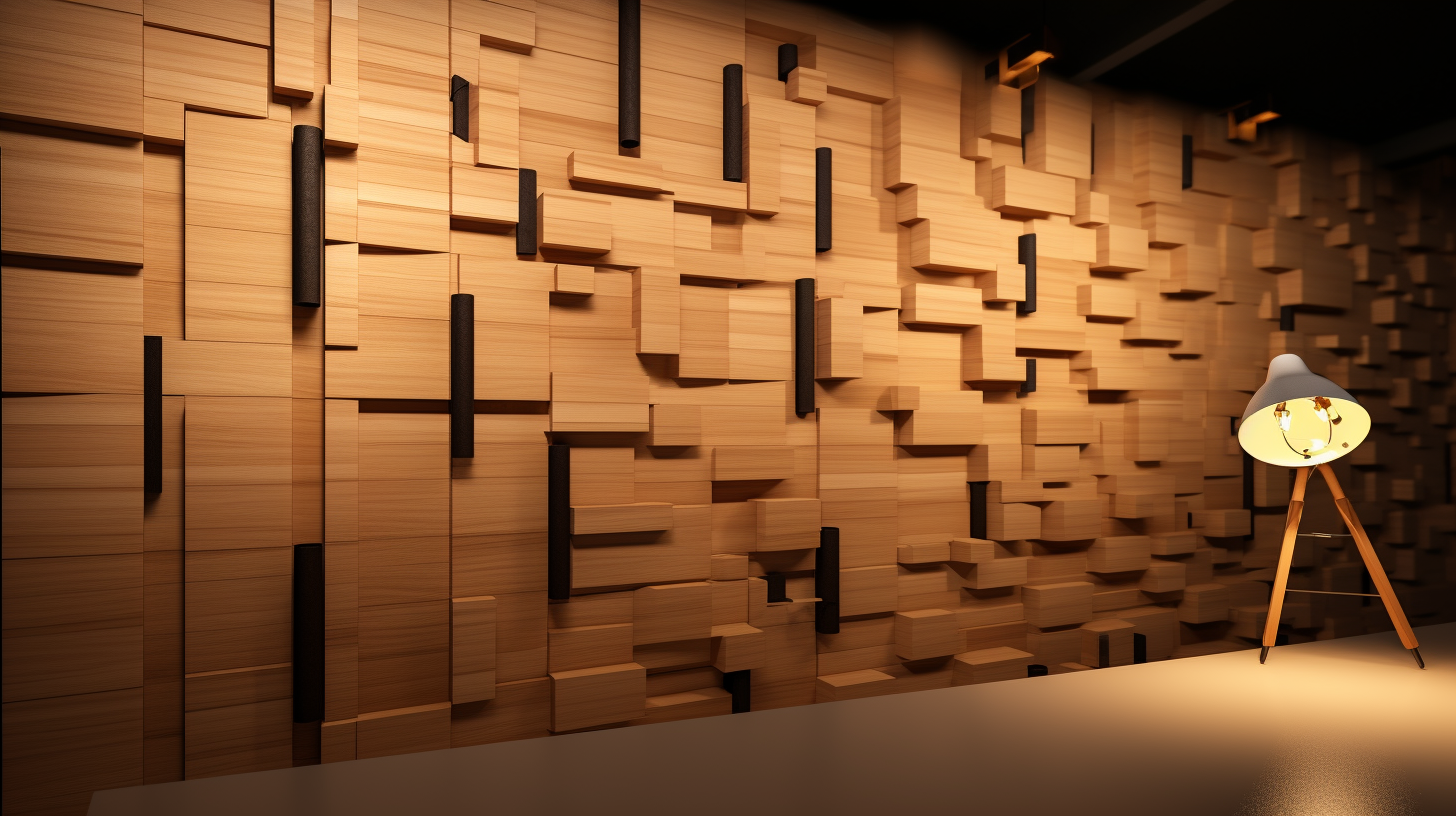
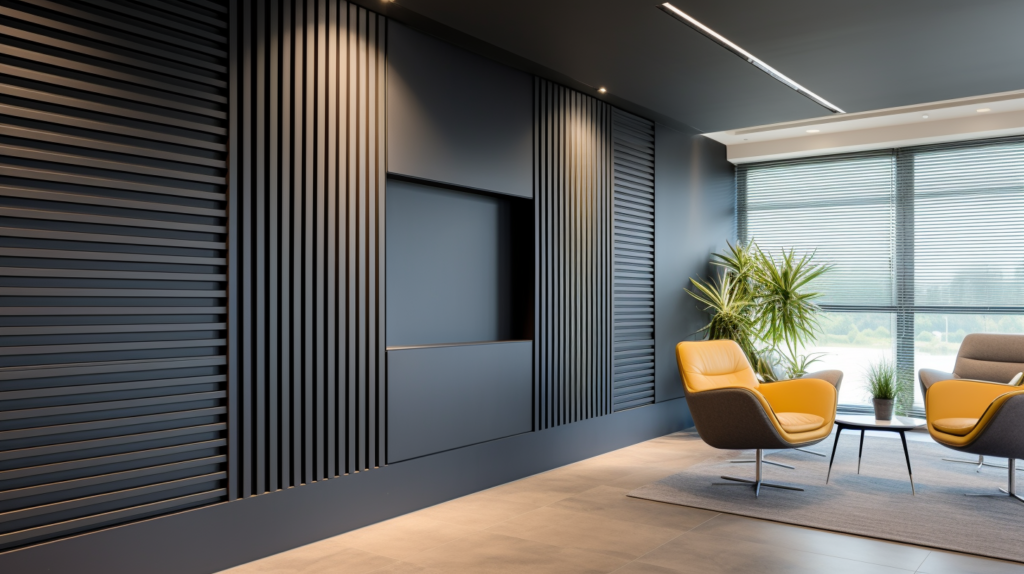
Creating a custom wood slat acoustic wall panel delivers visual flair while damping sound for improved interior acoustics.
Not only does a slat wall system look sleek and modern but strategic spacing and sound absorbing materials work together targeting noisy reverberation.
With some DIY dedication, you can craft an affordable, eco-friendly backdrop transforming your living room into a peaceful sanctuary.
In this guide, we will outline a methodical process for designing and building your own acoustic wood slat feature wall for reducing unwanted echo and enhancing audio ambiance.
Let’s dive in and explore the step-by-step approach from preparing materials to mounting the final modular wall structure complete with integrated lighting.
1. Prepare The Wood Slats For The Wall
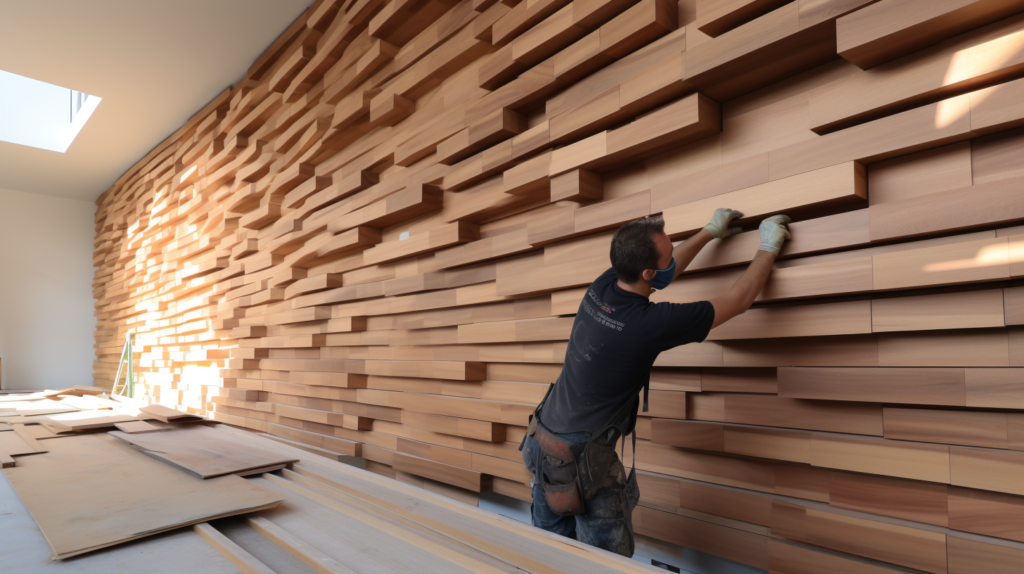
The first step was preparing all of the wood slats that would make up the front facing portion of the wall. For this project, we used thin, rectangular cut timber pieces.
Sanding and treating the wood took quite a bit of time and effort given the number of slats needed to cover a large wall space.
It was important though to smooth and finish the wood properly beforehand. Otherwise, flaws would be very visible once everything was installed.
We also wanted to achieve a cohesive stained or oiled look across all of the slats. Working in phases, it took nearly two months to fully prepare enough wood strips for the project.
The upside is that much of this work could be done outside or in the garage so as not to make too much of a mess!
While mundane, properly sanding, finishing and allowing proper drying time for all the wood took diligence and patience.
But this upfront time investment was well worth it for how great the wood looked once the wall was complete!
2. Select Right Acoustic Insulation Panels

A key component in the absorbing wall system is the acoustic insulation placed behind the visible wood slats.
There are many options when it comes to materials for damping sound. We opted to use recycled panels made from an eco-friendly base material.
These rigid panels serve the acoustic purpose well. The surface also enabled easy attachment of the wood pieces later on during construction.
There were several benefits that drew us to these particular Sound Damping Panels. First and foremost, the recycled material aligns with our sustainability objectives for home renovation projects.
The mineral wool base material contains high percentages of recycled blast furnace slag and additional recycled scrap material.
On top of that, the manufacturing process utilizes renewable energy sources rather than fossil fuels.
Secondly, from an acoustic performance perspective, these panels effectively reduce echo and ambient noise in the space.
Laboratory tests show sound absorption levels of 0.9 or higher across all frequencies when using a 100 millimeter panel thickness.
This meets the rating for Class A absorption. Lastly, the panels stand up well to cutting and resizing which makes customization and fitting much easier.
No special tools or complicated fabrication systems are required.
Now let’s get to the wall assembly and how everything starts coming together…
3. Build A Modular Wall System
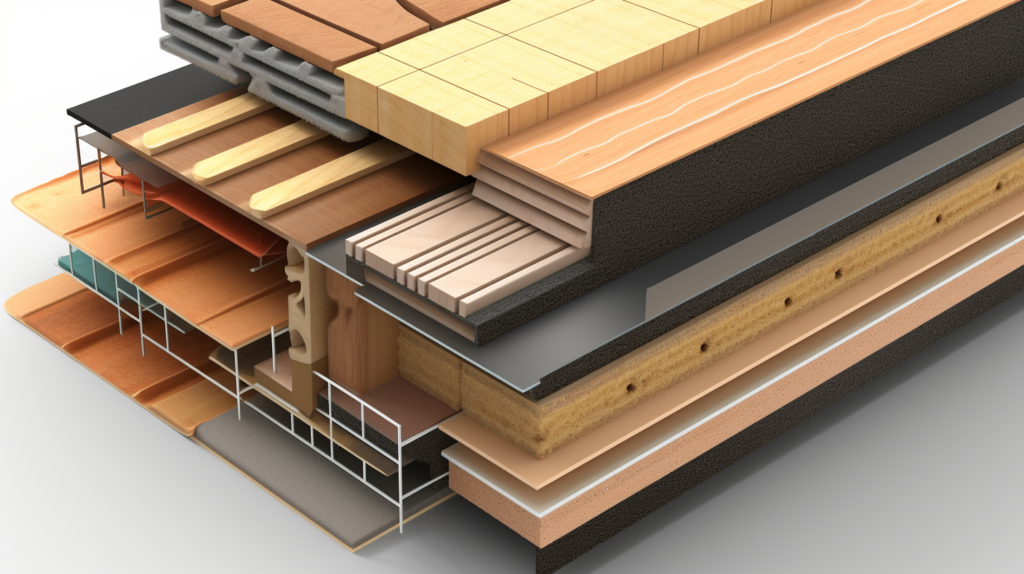
With all the wood slats prepped and acoustic panels ordered and delivered, the fun part begins! The basic construction follows a three layer sandwich design.
First, cut pieces of plywood form the backing layer that gets mounted directly to the wall studs. Next, the acoustic panels get placed in as the middle sound dampening layer.
Finally, the decorative wood slats attach as the finished outward facing layer.
Rather than build an entire solid piece, we opted to take a modular approach. This allowed us to prepare large sections separately and then mount these onto the wall when ready.
We found benefit to working in more manageable sections it made things simpler and prevented waste if any mistakes occurred.
For sizing the wall modules, the width aligned with the standard acoustic panel dimensions. The panels were 594 millimeters across thus dictating the width of each section.
As for height of the sections, we aimed for approximately 1 meter give or take size variances on the actual wall. This manageable size enabled easier transport and installation by just one person.
Once the plywood backing layers were precisely cut, we could lay an acoustic panel on top and begin adding the oiled wood slats to build each module.
Leaving slight gaps between each slat created visual depth and enabled partial views of the black acoustic layer behind.
Wood spacers assisted with evenly spacing out gaps given the quantity of slats to position across each section.
The final touch before mounting was to pre-mark screw placement locations on the back of the plywood base layers.
Placing tape markers aligned with slat gaps ensured uniform looks once assembled on the wall.
We also left an unfinished slat space on the edges knowing we would come back later and fill these after getting the modular blocks secured up on the wall.
Overall, the system enabled flexibility while also allowing some standardization of construction methods applied across multiple wall section modules.
Now, onto lighting which takes things to the next level aesthetically…
4. Incorporate Indirect Led Lighting (Optional)
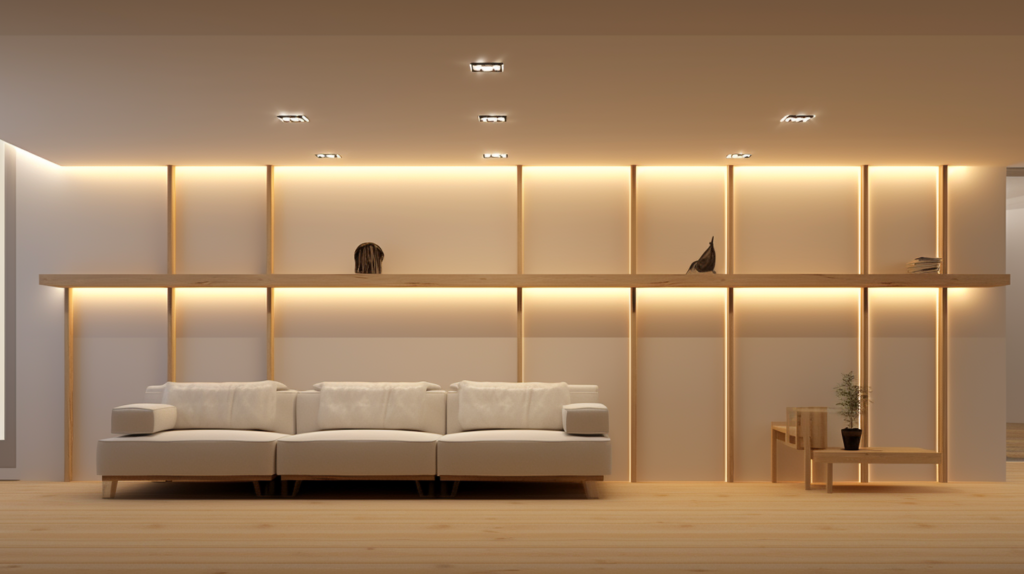
With a modular acoustic wall system framed up, we next shifted focus to lighting and taking the aesthetics to the next level.
The goal was implementing an integrated LED lighting scheme yielding soft, indirect illumination of the wall’s wood slats and acoustic panel negative space.
We played with various LED fixture options but landed on using a high quality strip lighting kit. This provided a continuous, consistent light source that could be sized to the wall dimensions.
The kit also included a dimmer and compatible transformer compatible for line voltage ceiling outlet wiring.
There were a couple key factors that informed our LED lighting selection. First, we wanted a balanced white light color temperature matching that of typical interior lighting.
The 5000K cool white rating delivered the bright white illumination we wanted without any yellow or blue color cast extremes.
Secondly, having the ability to adjust brightness settings via the included dimmer opened up options for setting the right ambiance to match any activity whether relaxed evenings or task focused work requiring brighter light.
Wiring involved securely fastening the long LED strip against the upper rear wall framing studs. This enabled indirect lighting pointed upward and bounced off the ceiling down onto our acoustic wall.
The lighting transformers mounted above the wall system remained hidden but accessible up in the ceiling cavity.
While requiring careful planning of electrical runs and positioning, the efforts taken on lighting truly elevated the visual dynamism of the wall, allowing the wood tones and texture to showcase in fabulous fashion.
Moving downward, we shifted focus to the lower wall base area needing a custom finesse…
5. Design A Unique Wall Bottom Treatment
As the wall started coming together, attention turned to the bottom section and how to best transition onto the existing flooring.
We hatched a plan for a custom designed wall base treatment to act as trim detail between the bottom slats and floor surface. The goals here were partly functional but also decorative for adding more flare.
Due to the fact the floor was uneven slate tile, we left a smaller gap between the bottom slats and floor rather than have the slats sit directly on the rigid surface.
This provided space to tuck electrical cords or wires out of sight down below. It also accommodated visual irregularities in the floor height.
For hiding this lower gap, we cut an acoustic panel to measurements and covered it in a matching dark grey fabric.
This custom covered panel fit down inside the gap while locked in place with trim pieces on the left and right side. The panel runs nearly the entire width of the wall and can be hinged upward when needing to access under the wall.
Rare earth magnets add stability by keeping the fabric covered access “door” held downward with adequate closure force.
The result is essentially a seamless transition bridging the wall slat system and variegated slate tiles below.
Form meets function with a stealthy hideaway for electronics. This attention to detail for this lower section demonstrates his thoughtful nature around both aesthetics and practicality when finishing off such an impactful accent wall.
Conclusion
In all, creating this custom acoustic slat wall with integrated lighting took care, dreaming and patience. Approximately two months were devoted specifically to prepping and finishing the wood slats that make up the outward facing facade.
This methodical, repetitive process happened largely in isolation to prevent mess or distraction.
Another month was then invested actually constructing the modular wall systems.
From precisely cutting plywood backings and acoustic panels to painstaking woodworking building each stackable section, diligence paid off.
Sanding each oiled slat, using guides to create uniform gaps and applying finishing touches culminated in gorgeous, functional results.
Seeing the first half up on the wall prompted pride and excitement around realizing our visions.
Once electrical work finished for lighting, we edited animating the wall with gorgeously warm, glowing illumination.
And applying finessed final touches like our lower wall base trim contraption demonstrates attention to detail.
While certainly demanding at times across the multi-month endeavor, in the end, we created a beautiful focal point for our living space that delivers visually and functionally.
The acoustic properties enrich sound quality and ambiance. And admiring glances from guests with awe and appreciation fuels motivation for the next DIY challenge!