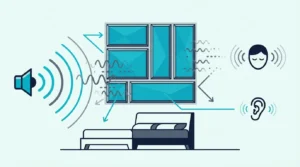
How to Install Acoustic Panels: Step-by-Step Guide [2026]
How to install acoustic panels seems simple — but picking the wrong mounting method means panels on the floor within weeks, or walls you’ll need to repair before you move out.
Most people stare at their panels for a week, unsure whether to drill, glue, or use command strips. The frustration is real: install wrong and you’ve damaged your walls or ythe panels. It happens because wall type and panel weight determine the right method, and nobody explains which combinations actually work.
The right method for your specific wall takes 15 minutes per panel and keeps everything up for years — so you can stop second-guessing and start treating your room.
Every installation method is broken down below by wall type and panel weight — whether you’re a renter who can’t drill holes, a homeowner mounting heavy studio panels, or someone working with lightweight foam.
The best way to install acoustic panels depends on your situation: Z-clips offer the strongest hold for permanent installations, French cleats allow easy removal and repositioning, and Command strips work for renters who can’t drill holes. Most panels take 15-20 minutes to install once you have the right hardware.
What’s the Best Way to Install Acoustic Panels?
Five main methods exist for mounting acoustic panels, and each one makes specific tradeoffs between strength, wall damage, and ease of removal. Picking the wrong method is how panels end up on the floor — or how renters lose their security deposits.
This quick comparison breaks it down:
| Method | Best For | Wall Damage | Weight Limit | Difficulty |
|---|---|---|---|---|
| Z-Clips | Permanent install | Screw holes | 50+ lbs | Easy |
| French Cleats | Repositioning | Screw holes | 30+ lbs | Easy |
| Impaling Clips | Fiberglass panels | Screw holes | 20+ lbs | Moderate |
| Command Strips | Renters | None | 16 lbs | Very Easy |
| Adhesive | Lightweight foam | Residue | 5-10 lbs | Very Easy |
Which Method Is Best for Your Situation?
Three factors determine which method you should use: panel weight, wall ownership, and whether you’ll need to move panels later. Get this decision right and everything else falls into place.
For heavy fabric-wrapped panels (10+ lbs): Z-clips or French cleats provide the strongest, most secure mounting. Yes, they require drilling — but they handle serious weight without any risk of panels crashing down while you’re sleeping.
For renters or temporary setups: Command Picture Hanging Strips work well for panels under 16 pounds. They leave no holes and remove cleanly when you move out.
Command Picture Hanging Strips
For lightweight acoustic foam: Self-Adhesive and Mounting Tape or spray adhesive works fine since foam panels typically weigh under 2 pounds each.
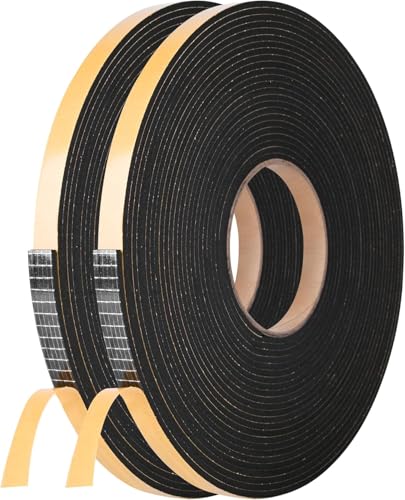
Self-Adhesive and Mounting Tape
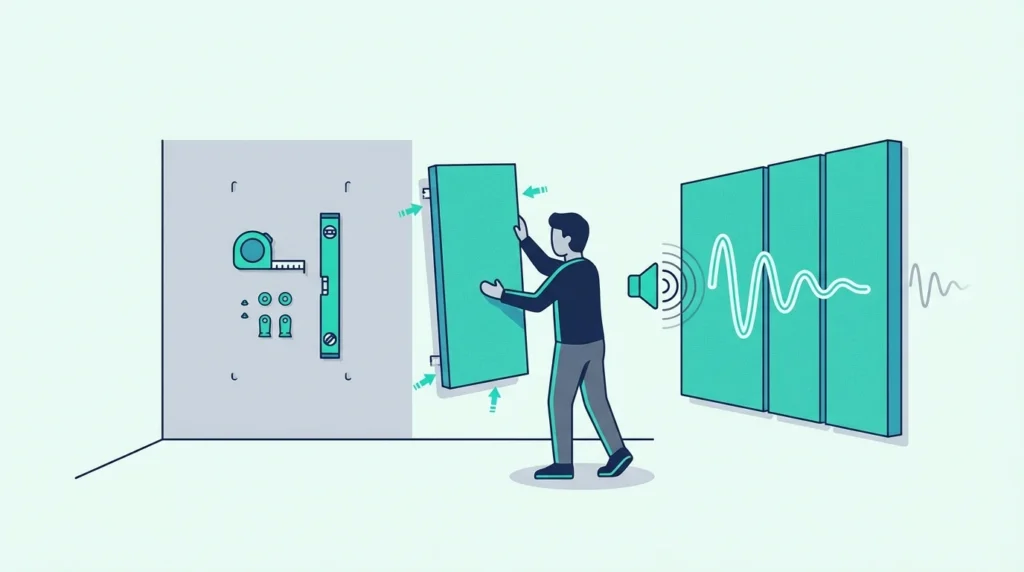
What Tools Do You Need?
First, gather your toolkit. For most installations, you’ll need a drill/driver, level, pencil, tape measure, and stud finder.
The specific hardware depends on your chosen mounting method.
Basic toolkit:
Cordless drill with Phillips bit. Spirit level (12” or longer).
Pencil for marking. Tape measure.
Stud finder (for drywall installations).
With your method chosen and tools ready, the next sections cover each installation approach — starting with the professional standard.
How Do You Install Panels with Z-Clips?

Z-clips are what recording studios use, and for good reason. If you’re mounting professional studio panels, this is the method that won’t let you down.
They’re called “Z-clips” because the interlocking pieces form a Z-shape when connected.
What Are Z-Clips and Why Use Them?
Z-clips consist of two interlocking aluminum pieces. One piece attaches to your wall, the other attaches to ythe panel.
The panel piece hooks over the wall piece, creating a secure connection that can hold 50+ pounds — far more than most panels weigh.
The benefits go beyond just strength. Z-clips allow easy leveling (you can adjust side-to-side before the panel settles), they provide a clean appearance with no visible hardware, and they make removing panels for cleaning or repositioning surprisingly simple.
The French Cleat Aluminum Z-Hangers work for panels up to 30 pounds per clip — use two clips for heavier panels.
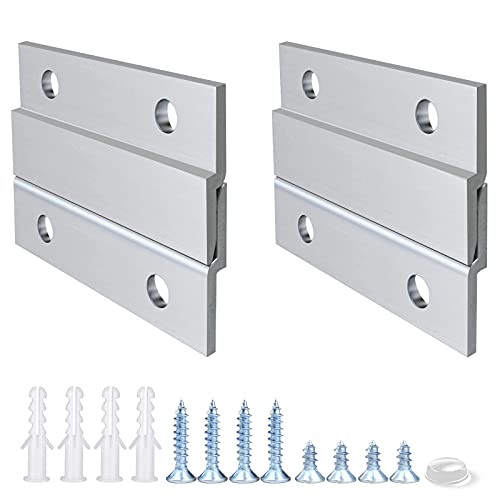
French Cleat Aluminum Z-Hangers
How Do You Attach Z-Clips to Panels?
A tip that saves frustration: always start by attaching the panel-side clips before touching the wall. This makes the wall installation much easier because you’ll know exactly where the wall clips need to go.
Step 1: Measure ythe panel width and mark two points about 2-3 inches from each edge. For standard 24×48” panels, place clips at roughly 4” and 20” from one side.
Step 2: Position the clip with the angled edge pointing DOWN (this is the piece that hooks onto the wall clip). The flat side goes against the panel.
Step 3: Drive screws through the clip holes into ythe panel frame. Use screws that won’t poke through the front of the panel — typically 3/4” to 1” wood screws work well.
How Do You Mount Z-Clips to the Wall?
With ythe panel clips attached, the wall installation becomes simple:
Step 1: Hold the panel against the wall at your desired height. Use a level to ensure it’s straight, then lightly mark the top edge with pencil.
Step 2: Measure down from your mark to where the wall clips need to sit. The wall clip’s angled edge should point UP (opposite from the panel clip).
Step 3: Use a stud finder to locate wall studs. Mounting into studs provides the strongest hold.
If studs don’t align with your clip positions, use drywall anchors rated for ythe panel weight.
Step 4: Hold the wall clip in position, check level, and drive screws through the mounting holes. For stud mounting, use 1-1/4” to 2” wood screws.
Step 5: Hang the panel by hooking the panel clips over the wall clips. Slide left or right to center, then let the panel settle into place.
That’s it — your first panel is up. The remaining panels go faster now that you’ve got the hang of it.
Get Studio Tips Weekly
Join 5,000+ creators getting acoustic treatment advice every week.
No spam. Unsubscribe anytime.How Do You Install Panels with French Cleats?
French cleats work similarly to Z-clips, but they use longer interlocking strips instead of individual clips. Think of them as the “easy repositioning” version of Z-clips.
The installation process is simple: attach one cleat strip to the panel back, attach the mating strip to the wall, then hook them together. The main difference is that the continuous strip lets you slide panels left and right along the entire length — perfect for dialing in exact positioning.
French cleats excel for first reflection point installations where you might want to experiment with exact positioning before committing. Once you’ve found the sweet spot, the panel stays put.
How Do You Install Panels Without Damaging Walls?
Not everyone can drill into their walls — because not everyone owns their walls, and not everyone wants to explain screw holes to their landlord. Three damage-free methods cover panels of every weight.
Do Command Strips Actually Hold Acoustic Panels?
Yes, but with important caveats. Command Picture Hanging Strips hold up to 16 pounds when used correctly — that’s enough for many lightweight fabric panels but definitely not enough for heavy fiberglass panels.
If you ignored the weight limits in the comparison table above, now’s a good time to scroll back up.
Critical success factors:
Clean the wall and panel with rubbing alcohol first. Press firmly for 30 seconds on each strip.
Wait 1 hour before hanging the panel. Use more strips than the minimum — they’re cheap insurance.
For a typical 24×48” panel weighing 8-10 pounds, use 6-8 strips (3-4 pairs) rather than the minimum 4 strips (2 pairs). Double-Sided Mounting Squares offer a budget alternative for foam panels.
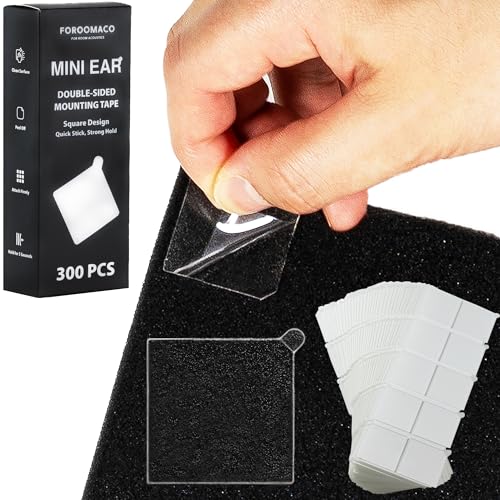
Double-Sided Mounting Squares
What Weight Can Adhesive Strips Support?
Different products have different limits. Always check the packaging and weigh ythe panels before installation — this is where people get burned.
| Product Type | Typical Weight Limit | Best For |
|---|---|---|
| Command Strips (Large) | 16 lbs | Fabric panels |
| Command Strips (Medium) | 12 lbs | Lighter panels |
| Mounting Tape | 5-10 lbs | Acoustic foam |
| Spray Adhesive | 2-5 lbs | Foam only |
What’s the Best No-Drill Method?
For heavier panels that exceed adhesive limits, consider floor-standing options instead of wall mounting. A-frame stands hold panels vertically without any wall attachment — perfect for renters with heavy fiberglass panels who can’t use Z-clips.
Alternatively, lean panels against the wall at a slight angle. This isn’t ideal acoustically, but it works in a pinch.
Secure the bottom edge with furniture or panel feet to prevent sliding.
How Do You Install Acoustic Panels on Ceilings?
Ceiling installation follows the same principles as the wall methods above, but with one critical difference: gravity is now working against you constantly. This changes everything about hardware requirements.
Is Ceiling Installation Different from Walls?
Yes — ceiling installations face constant downward force, so hardware must be rated for the load with margin to spare. Never use adhesive-only methods for ceiling panels.
Command strips are wall-only for a reason.
What Hardware Works Best Overhead?
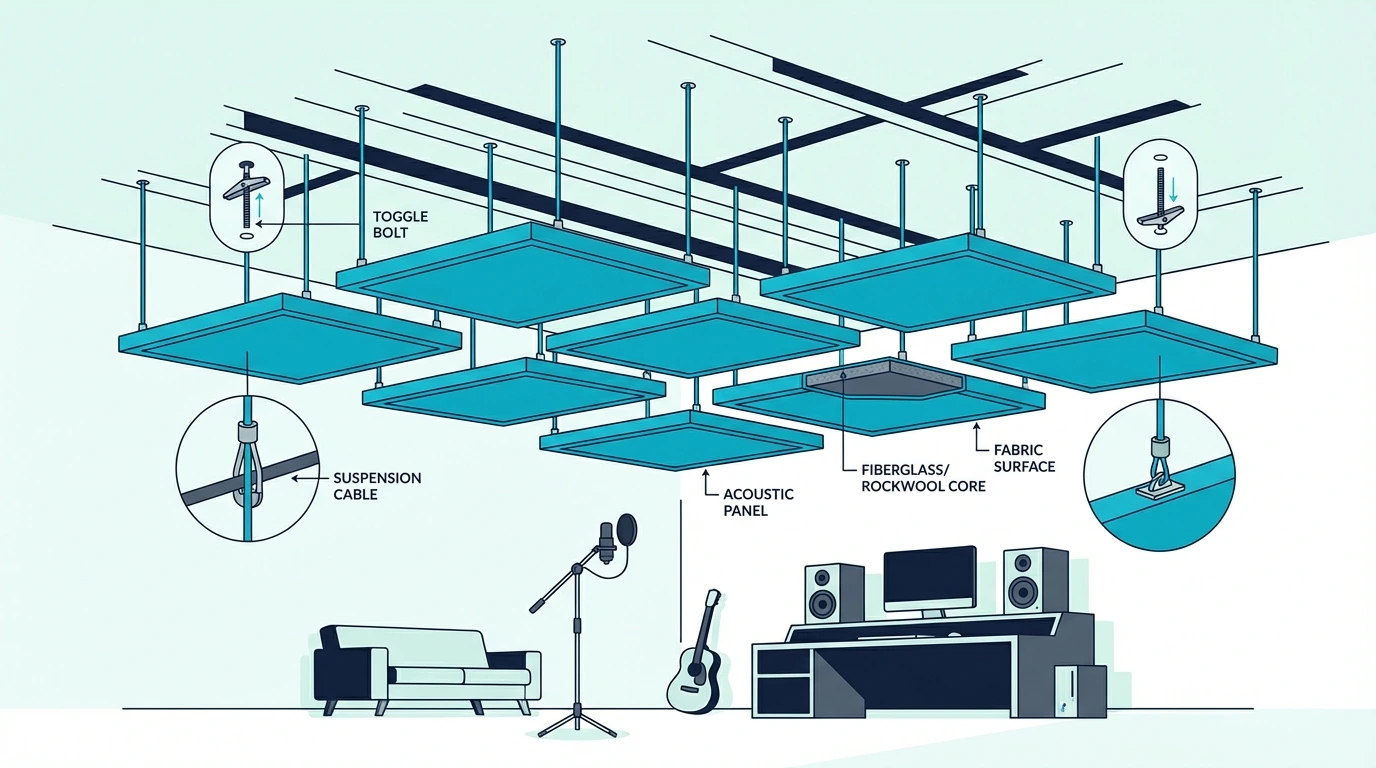
Toggle bolts or ceiling anchors provide the strongest hold in drywall ceilings. For wood or exposed beam ceilings, screw directly into the structure.
For drywall ceilings: Use toggle bolts rated for at least 2x ythe panel weight. A 10-pound panel needs toggles rated for 20+ pounds minimum.
For suspended/drop ceilings: Specialized clips attach panels to the ceiling grid without modifying tiles.
For detailed ceiling mounting guidance beyond these basics, see the ceiling panel installation guide.
How Do You Install Panels on Different Surfaces?
Standard drywall is the default, but wall material affects which mounting methods work and what hardware you need. Each surface needs a different approach.
How Do You Install on Drywall?
Drywall is the most common surface and works with every mounting method above. The key decision is whether to mount into studs or use anchors.
Into studs: Strongest option. Use your stud finder, mark stud locations, drive screws directly into studs.
Works for any panel weight.
With anchors: When studs don’t align with your desired panel positions. Use plastic anchors for panels under 10 lbs, toggle bolts for heavier panels.
How Do You Install on Concrete or Brick?
Masonry requires specialized hardware: concrete screws (Tapcons) or masonry anchors. You’ll also need a hammer drill with masonry bit — a regular drill won’t cut it.
Step 1: Mark your mounting holes
Step 2: Drill pilot holes with masonry bit (slightly smaller than anchor diameter)
Step 3: Insert anchors or drive Tapcon screws
Step 4: Attach clips/cleats as you would on drywall
Can You Install Panels on Doors?
Yes, but keep weight minimal. Doors move constantly, so heavy panels stress the hinges and may cause the door to swing open or closed on its own.
Use Command strips or lightweight adhesive for door-mounted panels. Keep total added weight under 5 pounds if possible.
What Are Common Installation Mistakes to Avoid?
You can execute every step above perfectly and still get poor results if you make these common errors. Avoiding them keeps your results on track.
Can Wrong Placement Ruin Your Results?
Absolutely. Even perfectly installed panels provide minimal benefit if placed incorrectly.
One important note: determine your first reflection points using the mirror trick.
The most common placement mistake: spreading panels evenly around a room instead of concentrating them at reflection points. Fthe panels at first reflection points outperform twelve panels scattered randomly.
It’s not about quantity — it’s about position.
Should Panels Touch the Wall or Have an Air Gap?
Both work, but an air gap (1-4 inches) improves low-frequency absorption. Direct wall mounting is simpler and still effective for mid and high frequencies.
If you want acoustic panels vs bass traps from standard panels, mount them with a gap. Otherwise, flush mounting works great.
Conclusion
Panels are up — now what? Testing your results helps you know if you need additional treatment or if ythe installation is complete.
Listen for improvement: Clap your hands or speak in the treated room. You should notice reduced echo and clearer sound compared to before treatment.
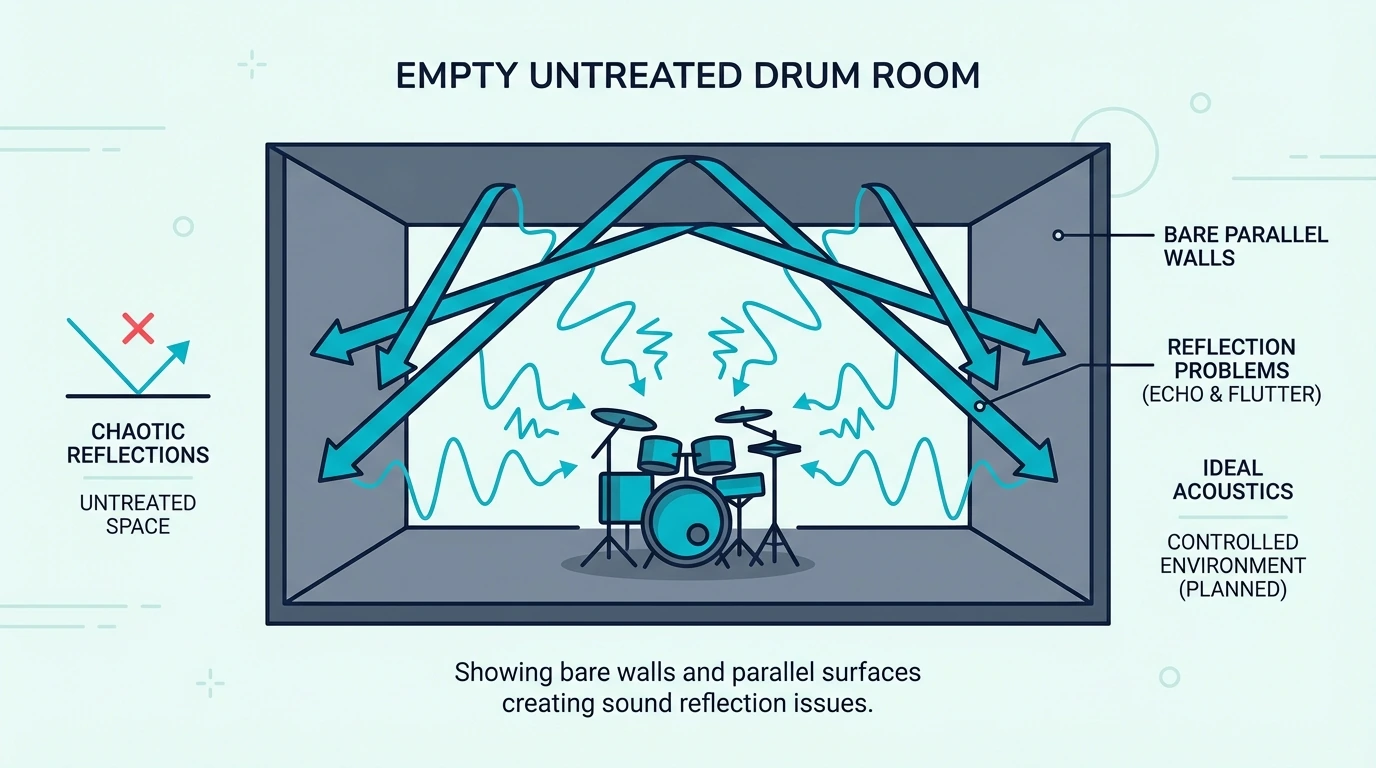
Check for flutter echo: Stand between two parallel walls and clap. If you hear rapid “flutter” reflections, you may need panels on one or both of those walls.
Measure if possible: Free apps like REW (Room EQ Wizard) can measure before and after frequency response, giving you objective data on improvement.
If you’re still experiencing acoustic issues, you may need additional panels. the guide on how many acoustic panels you need helps calculate correct coverage.
And if you’re curious about the science behind what you just installed, the panel hanging guide covers additional mounting techniques.
For choosing panels to install in additional rooms, see the best acoustic panels recommendations. If you prefer building your own, check out how to make acoustic panels for DIY instructions.
Frequently Asked Questions
How Long Does Installation Take?
Plan 15-20 minutes per panel once you’re set up. The first panel takes longer as you dial in your process — maybe 30-45 minutes including measuring and finding studs.
A typical 6-panel installation takes 2-3 hours including setup and cleanup.
Do You Need to Find Studs?
For heavy panels (10+ lbs), mounting into studs is strongly recommended. For lightweight panels with correct anchors, stud mounting isn’t mandatory but adds security.
Always find studs for ceiling installations regardless of panel weight.
A basic stud finder costs under fifteen dollars and pays for itself on the first panel you mount.
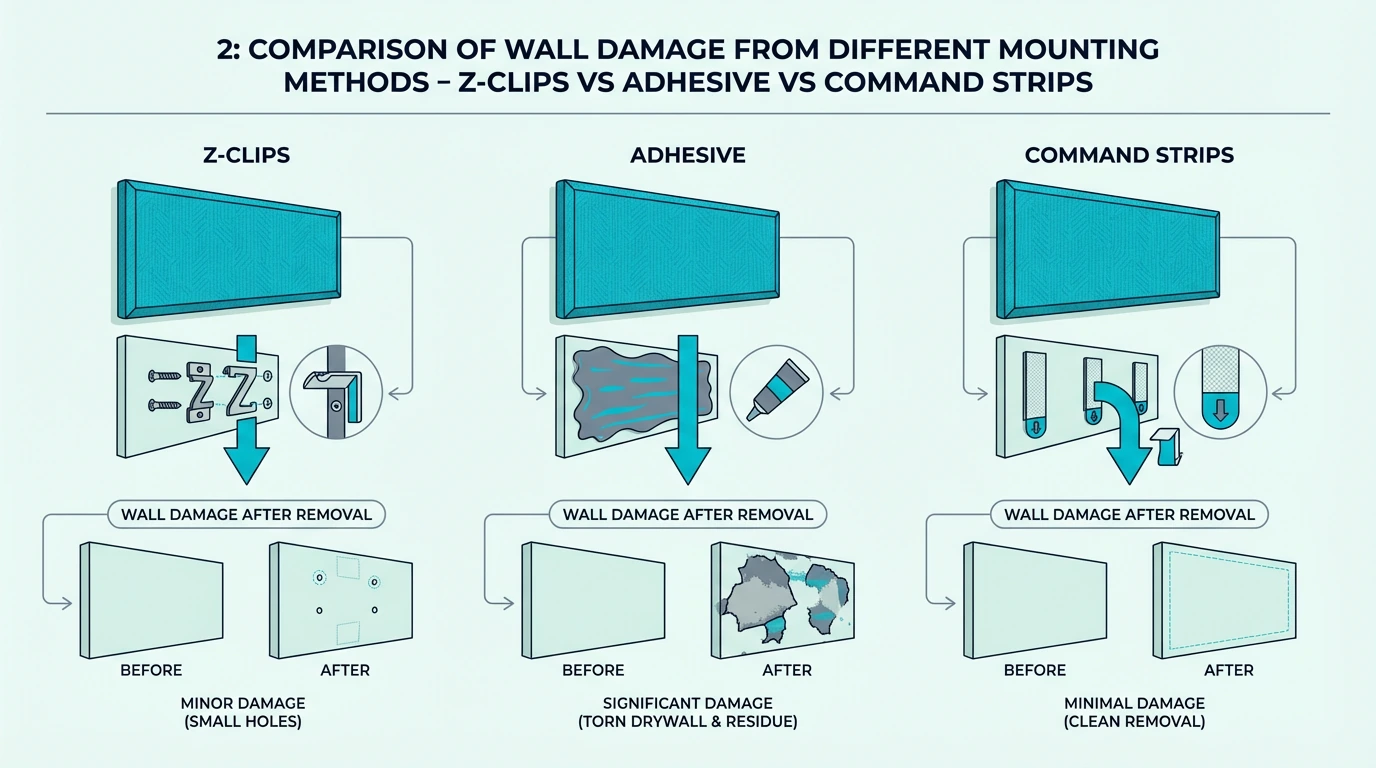
Will Installation Damage Walls?
Screw-based methods (Z-clips, French cleats) leave small holes that are easily patched with spackle. The holes are typically smaller than picture hanging holes.
Command strips leave no holes but may leave adhesive residue if not removed properly — follow the removal instructions exactly by pulling the tab straight down, don’t peel.
What If My Panels Don’t Have Mounting Points?
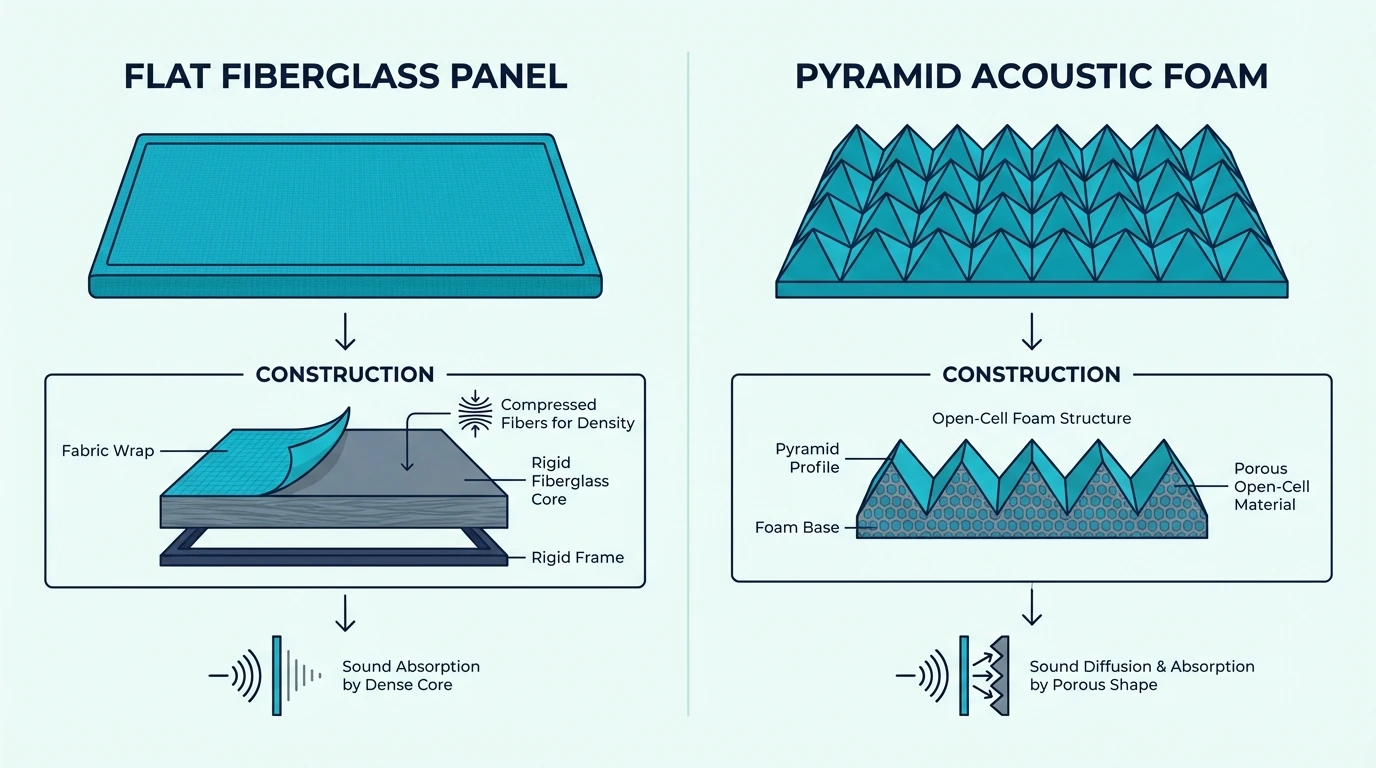
Many panels come without pre-installed hardware. For fabric-wrapped panels, you can attach Z-clips or cleats to the wooden frame inside the fabric wrap — just push the fabric aside, drive the screws, and smooth the fabric back.
For rigid fiberglass panels without frames, impaling clips are the standard solution. Learn more about acoustic panels vs foam to understand which type you’re working with.