Do you cringe every time you hit play to monitor a mix in your home studio?
Does the audio sound muddled and echoey instead of clear and balanced?
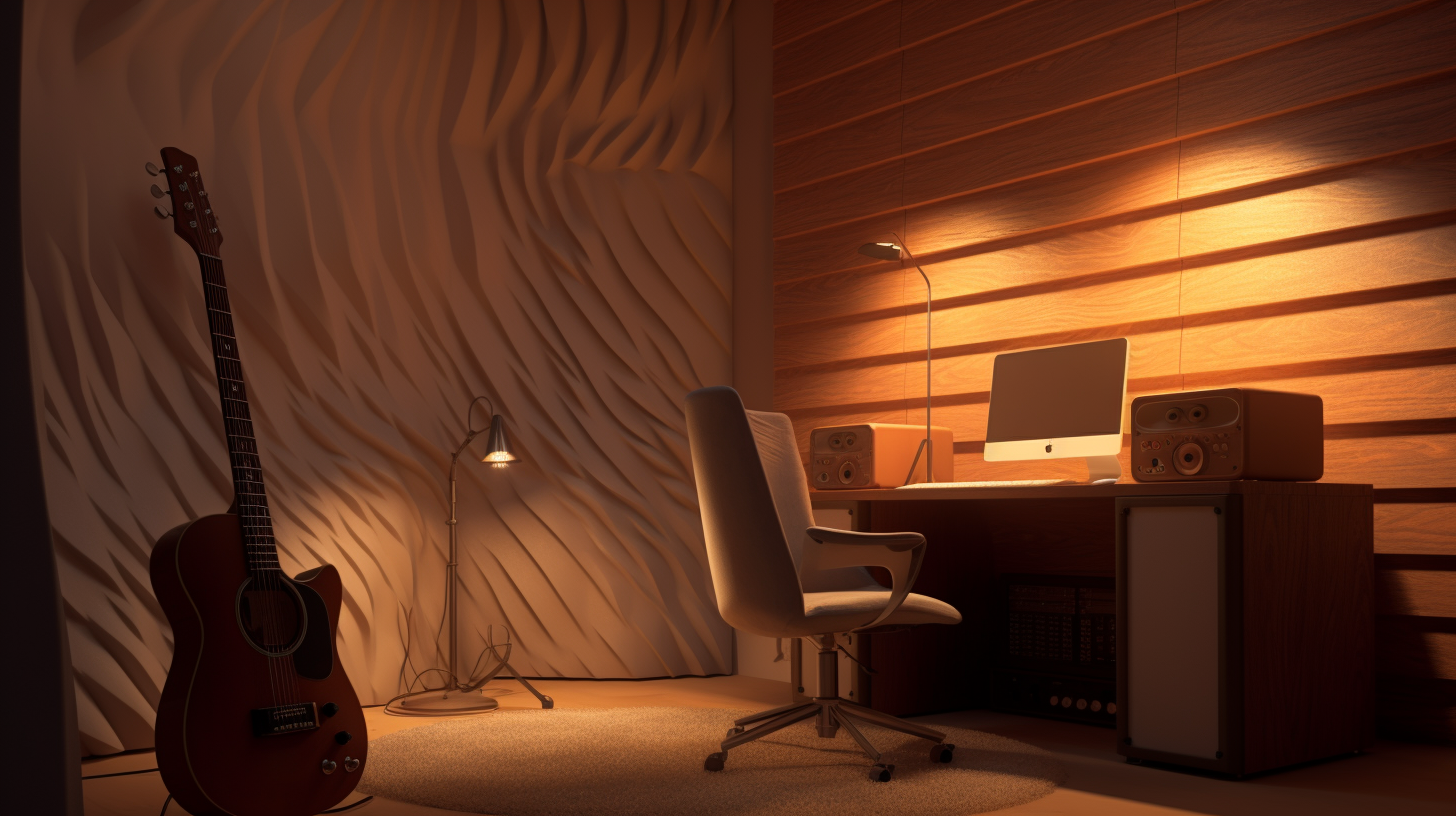
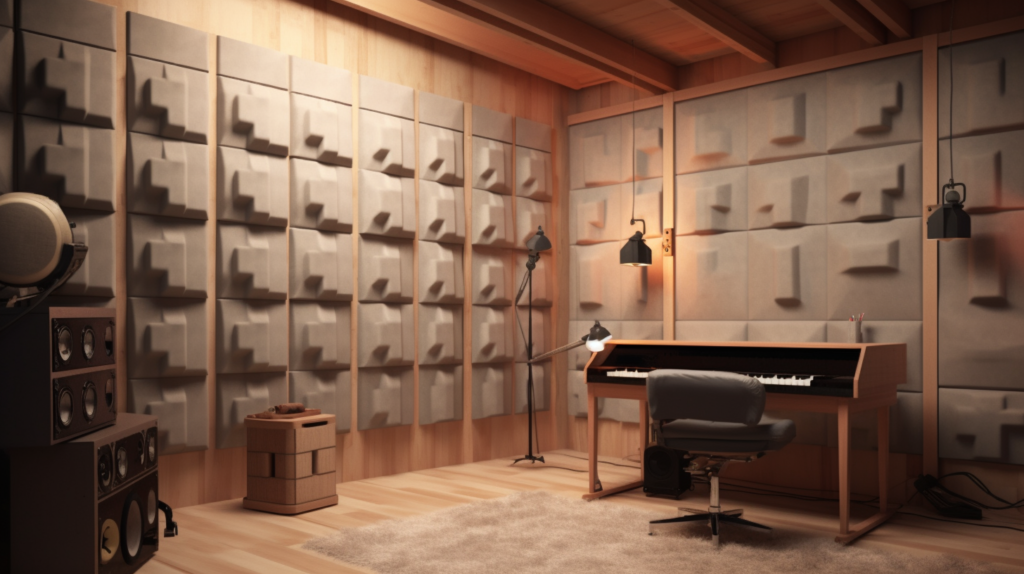
Installing acoustic panels made from sound-absorbing materials can transform that echo chamber into an ideal listening environment.
Strategically placed DIY panels reduce excessive reverberation and reflections to give your ears precision detail without coloration.
In this comprehensive guide, we’ll cover everything you need to know to make and install your own custom acoustic panels.
From choosing materials to optimal placement, let’s dive in and tame those pesky sound reflections.
Gather Ideas and Materials to Build Your Own Acoustic Panels
The first step when wanting to make your own acoustic panels is to determine your goals for acoustic treatment and gather ideas.
One great way to find inspiration and see examples of how others have built panels is to visit home studio forums and browse photos of users’ studios.
There you can see different panel shapes, sizes, materials, and mounting methods. Online image searches are another great way to get a feel for acoustic panel design possibilities.
Once you have a vision for the look and acoustic function you want to achieve, it’s time to calculate exactly how many panels you will need.
Take measurements of each wall space and ceiling area in your room using a laser distance measurer or steel tape measure.
For small to medium sized home studios, plan to cover 25-50% of your total wall space with 2’x4′ acoustic panels as a starting point.
More panels are generally better for controlling sound reflections and resonance. Have an estimate of total square footage ready when purchasing your material supplies.
The main components needed to build quality DIY acoustic panels include:
Outer fabric layer – Burlap, canvas, polyester, microfiber work well for coverings. Purchase enough yardage of your chosen fabric to cover all panels with a little extra. Consider options that are acoustically transparent, attractive, and durable.
Insulation core – Use rigid fiberglass or rockwool boards and batts for best sound absorption and density. Calculate how much you need to cut pieces to fit your frame cavities.
Wood frame – Pine boards, plywood, or other wood materials provide durability for wall mounting. Hardwood looks great if you will have visible frame edges.
Fasteners – Use adhesives like wood glue, fabric glue, and spray mounts. Mechanical fasteners like staples, screws, and nails also assemble panels firmly.
Tools – Have staple gun, drill, miter saw, scissors, straightedge, painter’s tape, and levels ready for constructing panels.
Hardware – Purchase the mounting screws, L-brackets, French cleats, or sawtooth hangers you will need to install your finished panels.
When selecting insulation, also factor in the thickness you want your panels to be overall. 2 to 4 inches is typical, with thicker panels needed to absorb lower frequencies.
Calculate insulation amounts needed to fill your frame cavities based on thickness. Obtain all necessary materials before beginning construction steps.
Step-by-Step Instructions for Building DIY Fabric-Wrapped Acoustic Panels

Follow these steps closely when constructing your own professional-grade acoustic panels for your home studio or listening room:
Step 1: Construct the Panel Frames
Measure then cut your wood frame pieces to the correct length for your panel size using a power miter saw set for sharp 90 degree angle cuts.
Join the wood pieces together at the corners using wood glue and screws for maximum strength and permanence. Try to keep the frame perfectly square.
Apply corner braces or L-brackets on the inside corners for additional structural rigidity if building especially large panels.
Be sure to leave the back side of the frame completely open at this stage for installing the insulation material later.
Building all your frames in batches enables efficient repetition of the process to create multiples of the same size.
Step 2: Add Insulation Core Material
Take measurements and use a utility knife to cut your rigid fiberglass or rockwool insulation boards to fit snugly within each frame cavity.
Press and compress the insulation into the corners as much as possible to minimize air gaps. This ensures better acoustic absorption by the insulation.
Make ragged or uneven angled cuts on the inside panel edges to aid sound diffusion. Any side touching the frame should fit precisely from edge to edge.
Step 3: Stretch and Staple Rear Fabric Layer
Cut your outer fabric layer for the backside of the panel approximately 4 to 6 inches larger on all sides than the actual frame dimensions.
This provides enough excess fabric to keep the material very taut when attached. Use a spray adhesive to firmly affix the entire back fabric piece first before wrapping the edges.
Keep the fabric centered on the frame and pull it as tight as possible from all directions as you adhere it, smoothing any wrinkles.
Use a staple gun to further secure the edges every 1 to 2 inches, keeping downward pressure on the attached fabric. The goal is to end up with a flat stretched surface.
Step 4: Wrap and Affix Outer Fabric Layer
For the front fabric layer, first cover the sides by pulling the material over the edges from back to front. Miter the corners by folding the excess diagonally for the cleanest look.
Tuck the wrapped edges neatly inside the frame cavity and glue or staple into place on the sides. Apply the top fabric piece last.
Trim any excess outer fabric with scissors for a precise seamless finish. Repeat this process for wrapping and adhering the fabric layers smoothly on all your acoustic panels.
Step 5: Install Mounting Hardware
Flip the finished panels over to attach your chosen mounting hardware like L-brackets, French cleats, or sawtooth hangers.
Precisely space and predrill screw holes first to avoid cracking the wood when driving screws. Base the mounting method on your wall/ceiling material type and the weight of each panel.
Reinforce mounting points thoroughly so panels stay secure after installation.
Step 6: Mount Panels on Walls and Ceilings
Identify exact reflection points using a laser level or by moving a mirror against walls to see speaker locations bouncing back while seated at your listening position.
These primary reflection points should be treated first with acoustic panels.
Next, strategically spread additional panels across other room surfaces for broadband absorption using your preferred mounting method.
Don’t forget to add corner bass traps and overhead clouds which further enhance acoustics.
Step 7: Tweak Panel Positions as Needed
Take time after installation to experiment by moving panels just a few inches in different directions and listening for any improvements in reducing flutter echoes or undesirable sound artifacts.
Finding the optimal arrangement and balance of diffusion and absorption takes trial and error. Vary panel sizes and thicknesses too for best results.
Choose the Right Insulation Material for DIY Acoustic Panels
Selecting the right type of internal insulation is vital for achieving quality sound absorption across all frequencies with your DIY panels.
Here are details on the common insulation materials to consider using:
Fiberglass insulation is an affordable option made from spun glass trapped into a quilt-like batt or rigid board material.
The dense fiber structure traps sound waves between the strands by converting the energy into minute levels of heat.
Fiberglass rates well for fire safety but requires caution during handling as the fine glass particles can be irritating if they make contact with your eyes, and skin or are inhaled.
Wearing eye protection, dust masks, and gloves when cutting fiberglass is highly recommended.
Look for rigid or semi-rigid boards rated for sound absorption, or high-density batts that can be compressed snugly into acoustic panel frames. Pre-wrapped fiberglass boards are available.
Rockwool insulation comes in rigid panel boards or dense batts. It is a natural sustainable material made from volcanic rock and recycled slag.
Rockwool provides similar sound-absorbing qualities as fiberglass. It is non-combustible, with good thermal insulation properties.
Rockwool is also fire-resistant and adds mass to panels. This material is generally considered safer and less irritating to work with than standard fiberglass.
However, rock wool does cost slightly more than traditional fiberglass insulation. It can be left exposed or wrapped in fabric.
Cotton insulation batts are growing in popularity for acoustic panels thanks to their high sound absorption capabilities, sustainability, and natural composition.
Cotton insulation rivals rock wool and fiberglass in acoustical performance. The material is made by shredding and compressing recycled denim, blue jeans, and other cotton scraps into dense batts.
Beyond the acoustic benefits, cotton is comfortable to handle and install without gloves or masks. It provides excellent noise reduction when added to wall cavities.
The main downside is the higher cost compared to standard insulation. For those concerned with indoor air quality and green building, cotton insulation is an excellent choice for DIY panels.
Polyester insulation comes in rolled batts similar to fiberglass and serves as an affordable and widely accessible option.
The downside is polyester is generally less effective at absorbing lower sound frequencies compared to denser materials like rock wool and rigid fiberglass.
The light fluffy polyester fibers lack enough mass to dampen bass effectively.
However, polyester insulation will provide some broadband sound absorption, especially when paired with a secondary rigid layer behind it.
The material is non-irritating for installers which is a benefit. Check insulation ratings to compare acoustic performance.
Open-cell Foam insulation boards or tiles are easy to work with for sound panels, though less effective than fiber products.
The acoustic foam helps reduce echoes and harsh reflections but allows more sound transmission through panels versus absorption and conversion to heat energy.
Foam may be best suited for interior panel layering between other materials rather than the main sound absorber.
Consider combining semi-rigid foam with fiberglass batts or rigid boards to improve low-frequency damping.
When selecting insulation materials, carefully consider the density rating, thickness required, cost, and acoustic performance test results to choose the right product for your specific needs and room requirements.
If uncertain whether an insulation type will provide enough sound absorption, order samples and test them using simple methods to compare.
Proper installation without air gaps is necessary to maximize acoustic performance. Compress or pack batts firmly into framing cavities.
Choose an Outer Fabric Layer for DIY Acoustic Panel Covers
Wrapping DIY acoustic panels with a fabric covering layer serves multiple purposes.
The permeable fabric contains the insulation bats or boards, provides an aesthetically pleasing exterior look, protects the materials from damage, and allows sound waves to pass through the porous weave.
Burlap is commonly used for the outer layer thanks to its attractive natural texture, acoustical transparency, and low cost. But many fabric options work well. Consider these common types:
Burlap – The coarse open weave burlap fabric comes in a variety of neutral colors to suit any room decor. It is affordable and widely available.
The natural jute fiber material is durable and allows acoustic penetration. Use spray adhesives to attach burlap easily to wall panels. It provides a classic, craftsman style look.
Bleached burlap keeps a lighter color tone.
Canvas – Cotton canvas fabric is attractive, simple, and commonly used for DIY panels. It may be thicker than other choices so test acoustics first.
Poly-cotton canvas blends combine durability with sound transmission. Odorless water-based adhesive works excellently for attaching canvas. Bleached canvas provides light color options if desired.
Microfiber – For a clean, modern aesthetic many builders use microfiber polyester fabric. It adheres well using fabric glue or spray adhesive.
Stretch and reposition the material to achieve perfectly smooth wrinkle-free surfaces. Microfiber comes in a vast range of colors from energetic to neutral.
Micro-perforated Vinyl (MVP) – If you want a sleek contemporary style, MVP vinyl coverings create seamless acoustic panels.
Tiny perforations allow sound through while providing a durable wipeable exterior. Use adhesive film backing to apply vinyl over insulation. Take care to avoid creases and bubbles during attachment.
Polyester – Woven polyester acoustic fabrics like Trevira CS are widely used by professional studios for their combination of excellent acoustics, attractive visual styles, and durability.
They are rated for fire safety. Use contact cement when adhering polyester fabric to frames.
Guilford of Maine (FR701) – This commercial-grade textile is considered the top choice acoustic fabric for high-end studios.
It provides outstanding sound absorption and diffusion while meeting all code requirements. Expect to pay more, but get exceptional quality. Use fabric/spray adhesive.
When selecting a fabric layer, check the fire safety rating, acoustic transparency, color/pattern range, stretching capacity, drape and overall durability.
Order samples first to test attachment methods before purchasing full yardage.
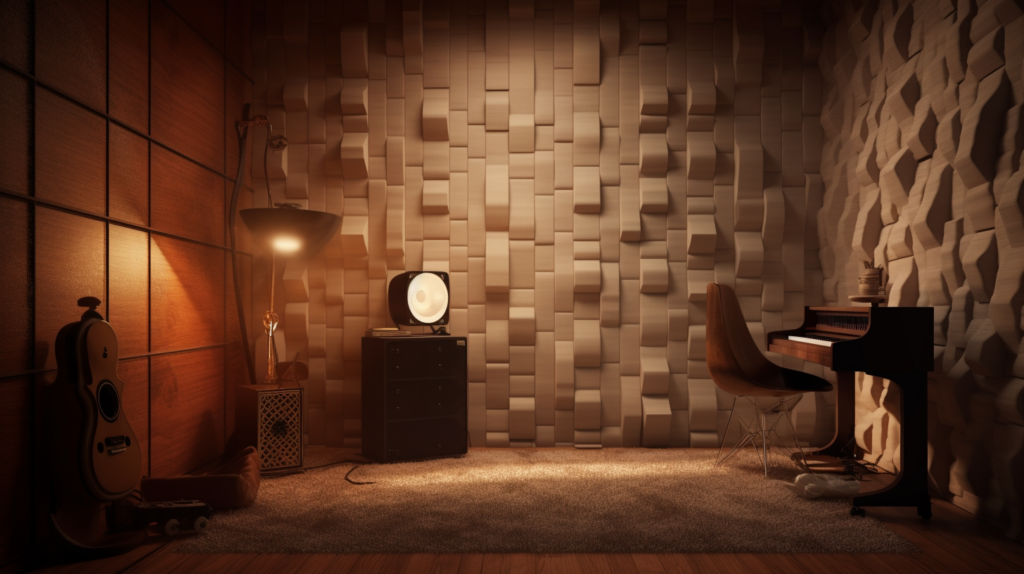
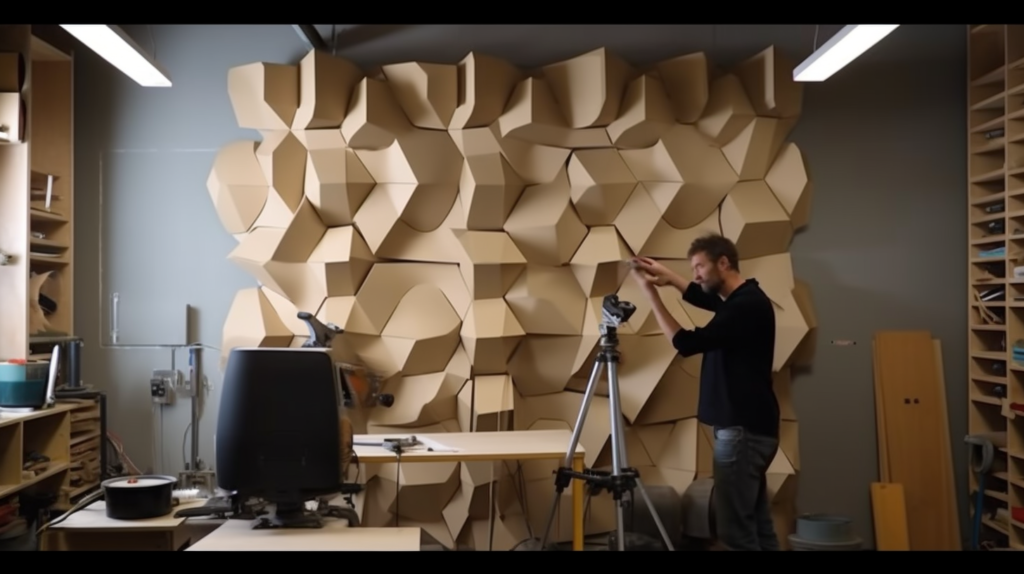
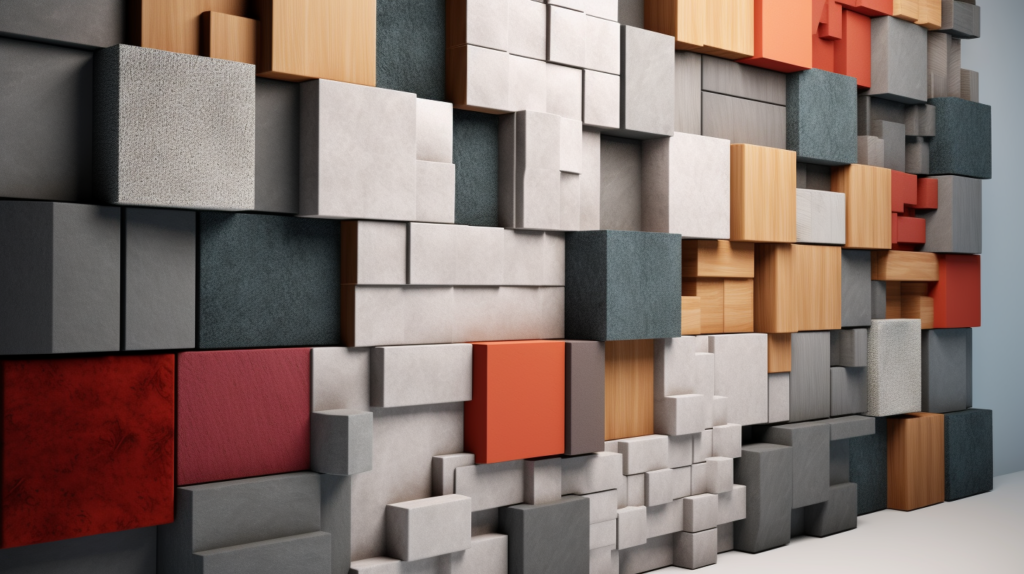
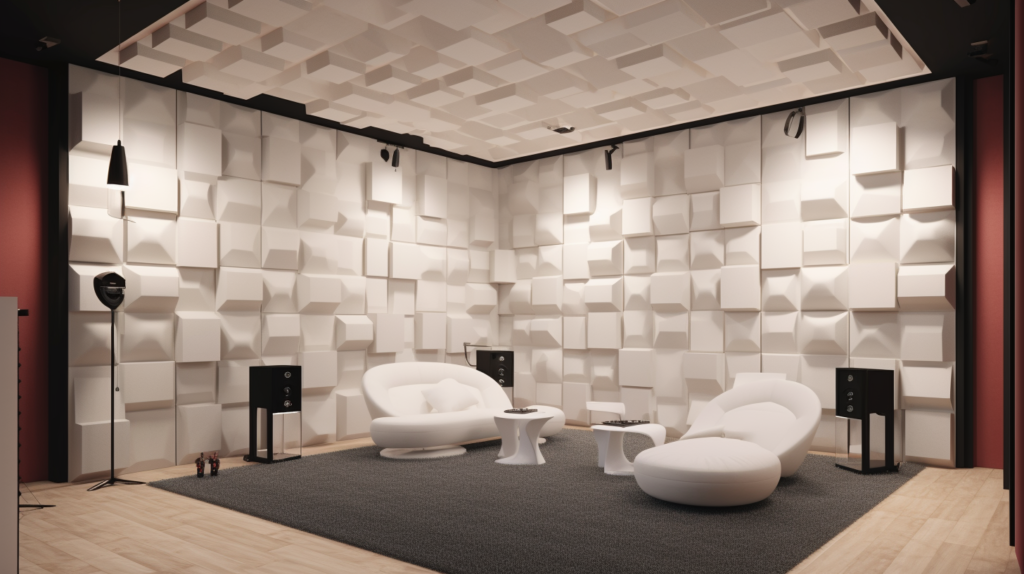
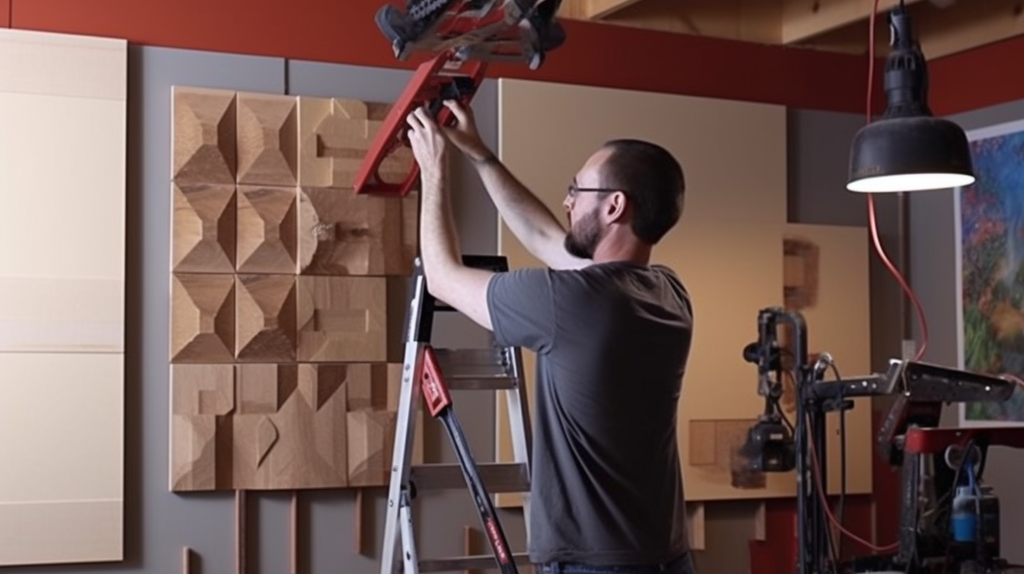
Build DIY Acoustic Panels in Various Shapes and Sizes
The most common and easiest acoustic panel shape is a simple square or rectangle.
But for visual interest, enhanced sound scattering, and broad spectrum control, build panels in a variety of shapes and sizes.
Corner bass traps involve placing dense 6 inch or thicker triangular panels made of rigid fiberglass or rockwool snugly into room corners.
This effectively absorbs and prevents buildup of troublesome low-frequency bass tones. The thicker the insulation, the lower sounds it will absorb.
For more angled and indirect sound reflections, cut some panels asymmetrically so they sit at an angle rather than flat when mounted.
These slanted or diagonally shaped panels scatter and diffuse mid and high frequency sounds in interesting patterns.
Subtle curved panel shapes also aid sound diffusion and prevent focused beaming.
Use sufficiently rigid insulation like rock wool that holds its form when bent into graceful curves rather than just flopping over.
Overhead acoustic ceiling clouds or panels provide additional absorption from above. Circular and oval ceiling panels look great and can be sized as large as needed based on room height.
For a modern art-like appeal, arrange jagged-edged foam or ridged fiber panels in an asymmetrical random pattern.
This creates a visually striking “fractal cloud” look while the varied angles scatter sound effectively.
Feel free to get creative with materials and shapes when building your own acoustic panels.
Combining different sizes, thicknesses, material densities, and angles keeps sound reflection more natural than just using flat bare walls or squares alone.
Consider needs at specific frequencies and don’t be afraid to experiment.
Use a Combination of Materials for Optimal Acoustic Treatment
While dense fiberglass, rock wool, and cotton insulation provide excellent mid to high-frequency sound absorption in traditional rectangular wall panels, it’s ideal to incorporate additional materials for balanced full-spectrum acoustic treatment.
Corner bass traps made from ultra-thick, dense 6 inch or greater rockwool or rigid fiberglass boards will control low-frequency buildup and resonances in room junctions.
The thicker the material, the lower the sound absorption range. Standing waves cause problematic “boxy” bass effects.
Hybrid acoustic panels layered with different internal materials improve overall absorption — especially in the low end.
Try combining rigid insulation boards with softer sound-transparent materials like acoustic foam or polyester insulation. The layers work together to dampen a broader frequency range.
Sound diffusers are important additions to rooms treated heavily with absorbent materials.
Diffuse reflections prevent an overly dead or mute sound. Diffusers scatter and spread sound waves in different directions. They come in geometric surface shapes that redirect frequencies.
DIY membrane-style bass traps use a combination of rigid boards, insulation, and fabric to extend the low-frequency absorption range.
They attenuate bass through diaphragmatic absorption versus porous insulation materials.
While acoustic foam alone has minimal absorption properties, foam tiles or panels can help reduce flutter echoes and liven up spaces treated heavily with fiber materials.
Use foam sparingly to prevent excessive high-frequency loss.
Ideally, combine acoustic panel types including traps, clouds, diffusers, and hybrid-layered panels for comprehensive control over full-frequency room modes and resonances.
Treat corners thoroughly, use thicker panels for lows, and experiment with blending materials to find the right balance of lively and dampened sound.
Calculate How Many Acoustic Panels You Need
Determining exactly how many DIY acoustic panels your specific room requires depends on several factors:
Room Size – As a general guideline, for a small home studio room approximately 100 to 150 square feet, plan on installing 6-10 acoustic panels total of various sizes.
For a medium sized listening room or studio from 150 to 250 square feet, estimate 10-16 panels. For larger spaces over 250 square feet, calculate needing around 16-24+ panels for sufficient coverage.
These numbers serve as a reasonable starting point but you can always add more absorption or diffusion. More panels are better for controlling sound reflections and resonance.
Wall Space vs. Ceiling Treatment – First calculate your total wall square footage and ceiling square footage to find the surface area.
Wall space typically benefits more than ceilings from acoustic paneling, however overhead panels and clouds are still recommended.
Figure installing panels on 25-50% of available wall space, and at least 25% of ceilings over 8 foot tall. For ceiling height under 8 feet, less ceiling treatment is needed.
Primary Reflection Points – Identify and mark your room’s primary reflection points using a mirror or laser pointer method.
These first order areas where sound bounces off walls before reaching your ears deserve acoustic panels the most. Treat these spots first before adding broadband coverage.
Corner Bass Traps – Don’t forget bass trap panels in each room corner, which control low-frequency buildup.
Factor these 2-3 inch thick rigid insulation panels in addition to your wall and ceiling panel totals.
Sound Diffusers – While diffusion panels don’t require as much coverage as absorption panels, plan to install a few strategically to prevent over-dampening the sound.
The diffusion ratio depends on room specifics.
Once you tally the recommended amounts of bass traps, diffusers, corner traps, first-order reflection points, and broadband wall/ceiling coverage panels based on the room size and purpose, order sufficient insulation, fabric, frames, and mounting hardware supplies to construct the total quantity of panels needed.
Tips for Mounting DIY Acoustic Panels
Properly installing your finished custom acoustic panels using the optimal mounting method helps maximize their sound absorption and diffusion benefits:
– Identify all first-order reflection points using a laser level or by moving a mirror against walls to see speaker locations bouncing back while listening in your normal position. These primary reflection paths deserve panels first.
– Space panels about 2 to 4 inches from wall surfaces when possible to allow the air gap which aids absorption. Don’t mount flush against the sheetrock.
– Stagger the panel layouts and use varied sizes rather than just lining them up uniformly. This improves sound diffusion.
– Match mounting hardware to your wall or ceiling material. Use adhesive hooks for drywall, or screws/nails for wood walls. Ensure every panel feels secure and won’t fall.
– Arrange panels attractively by aligning edges or centering them. Keep the layout balanced. Group same-size panels together for clean aesthetics and easier sound diffusion calculations.
Conclusion
Constructing acoustic panels allows you to customize a treatment that optimizes your studio or listening room for the best sound quality. Following this guide to design and build professional-grade panels significantly reduces excessive reverb, echo, and harsh reflections.
Strategic placement controls sound properly for your space. Treating key reflection points, adding broadband absorption, bass control, and balanced diffusion prevents problematic room resonances.
Combining varied panel shapes, materials, and mounting methods lets you fine-tune acoustics for pristine audio hearing detail, clarity, and precision without coloration.
The ability to tweak panel placement based on real experience in your space ensures you achieve proper diffusion and absorption. Investing time to build quality sound-absorbing panels pays off by elevating your critical listening experience.
Now that you have the knowledge to complete a successful DIY acoustic panel project, get started enhancing your home studio sound.