How to Clean Acoustic Panels: Complete Maintenance Guide [2026]
How do you clean acoustic panels without wrecking the fabric, soaking the core, or turning a light dusting job into a replacement bill? The safe answer is simpler than most people think — but only if you match the method to the panel material.
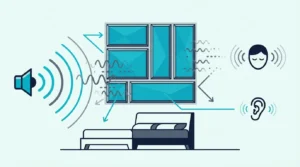
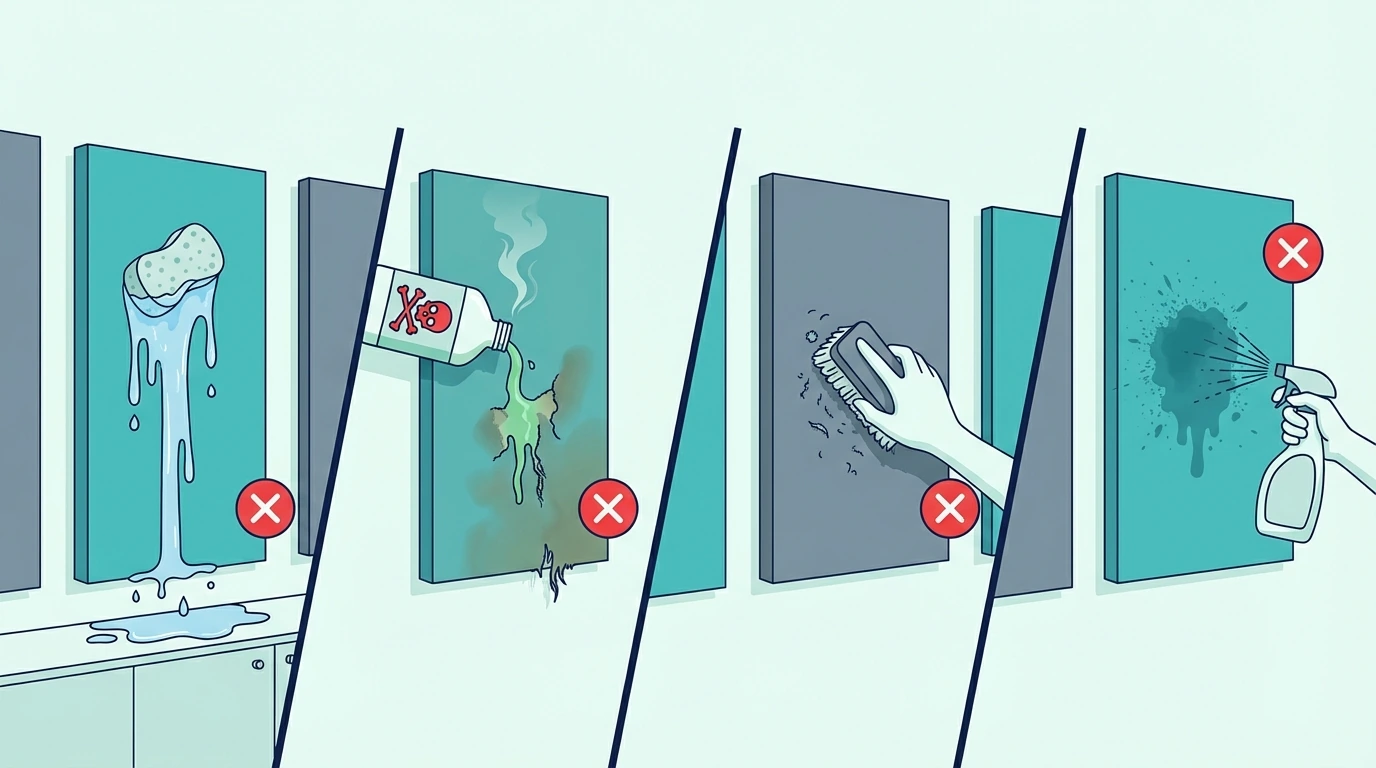
The real problem is that acoustic panels are easy to damage with normal household cleaning instincts. Too much water, harsh chemicals, and aggressive scrubbing can permanently flatten foam, separate fabric from frames, or contaminate fiberglass and mineral-wool cores.
The good news is that routine care is straightforward. Light vacuuming, gentle blotting, and better prevention habits handle most maintenance without hurting acoustic performance.
Below, you’ll see which cleaning methods are safe for each panel type, what products to avoid, how to remove stains, and when replacement makes more sense than another cleaning attempt.
For routine maintenance, vacuum fabric or PET felt panels monthly with a soft brush attachment on low suction. For stains, use a barely damp microfiber cloth with mild soap solution and blot gently rather than rubbing. Never soak panels — moisture damages acoustic cores and can loosen fabric. Foam panels are the most delicate, while PET felt panels are usually the easiest to maintain.
What Cleaning Methods Work for Different Panel Types?
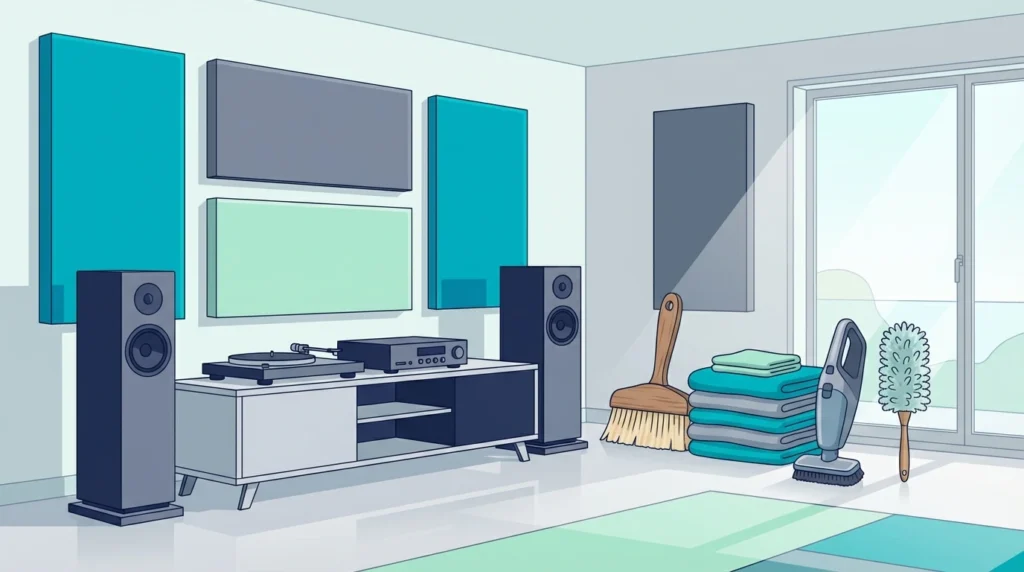
Before grabbing any cleaning supplies, identify what your panels are made of. Each material requires a different approach, and using the wrong method causes irreversible damage.
The core material matters as much as the outer covering. Fiberglass-core panels wrapped in fabric can handle gentle vacuuming but hate moisture. Foam panels are delicate and tear easily. PET felt panels are surprisingly durable and tolerate more aggressive cleaning.
Understanding your panel construction determines everything that follows. If you’re unsure what your panels are made of, check with the manufacturer before attempting any cleaning beyond light dusting.
How to Clean Fabric-Wrapped Panels
Fabric-wrapped fiberglass panels are the most common professional-grade acoustic treatment. The outer fabric is typically acoustically transparent polyester or burlap, stretched over a rigid fiberglass or mineral wool core.
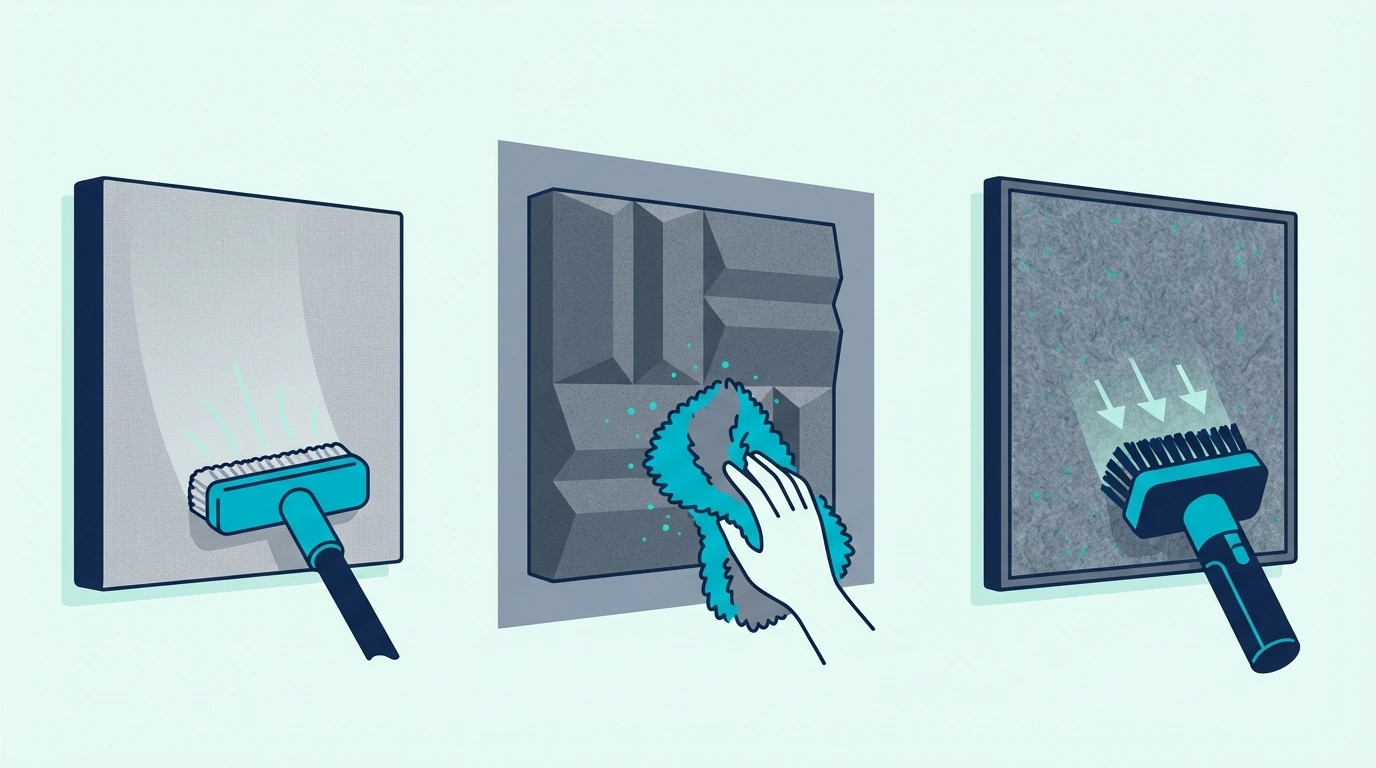
Start with gentle vacuuming using a soft brush attachment. Set your vacuum to the lowest suction setting — high suction can pull fabric away from the frame or damage the weave. Work in one direction, top to bottom, rather than scrubbing back and forth.
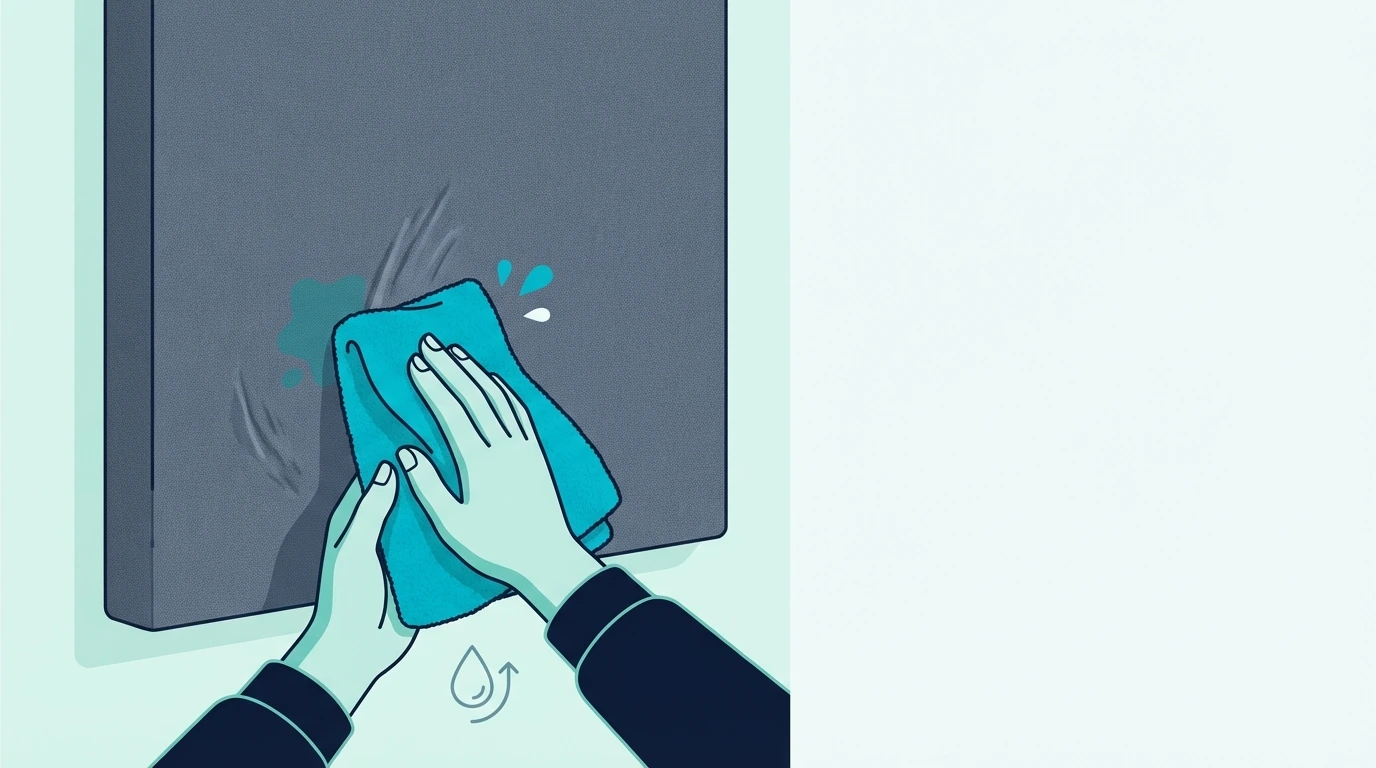
For spots and stains, dampen a microfiber cloth with water and a tiny amount of mild dish soap. Blot the stain gently — never rub, which spreads the stain and damages fabric fibers. Let the area air dry completely before remounting.
How to Clean Foam Panels
Acoustic foam requires the gentlest approach of any panel type. The open-cell structure that makes foam effective at absorbing sound also makes it fragile and easily damaged.
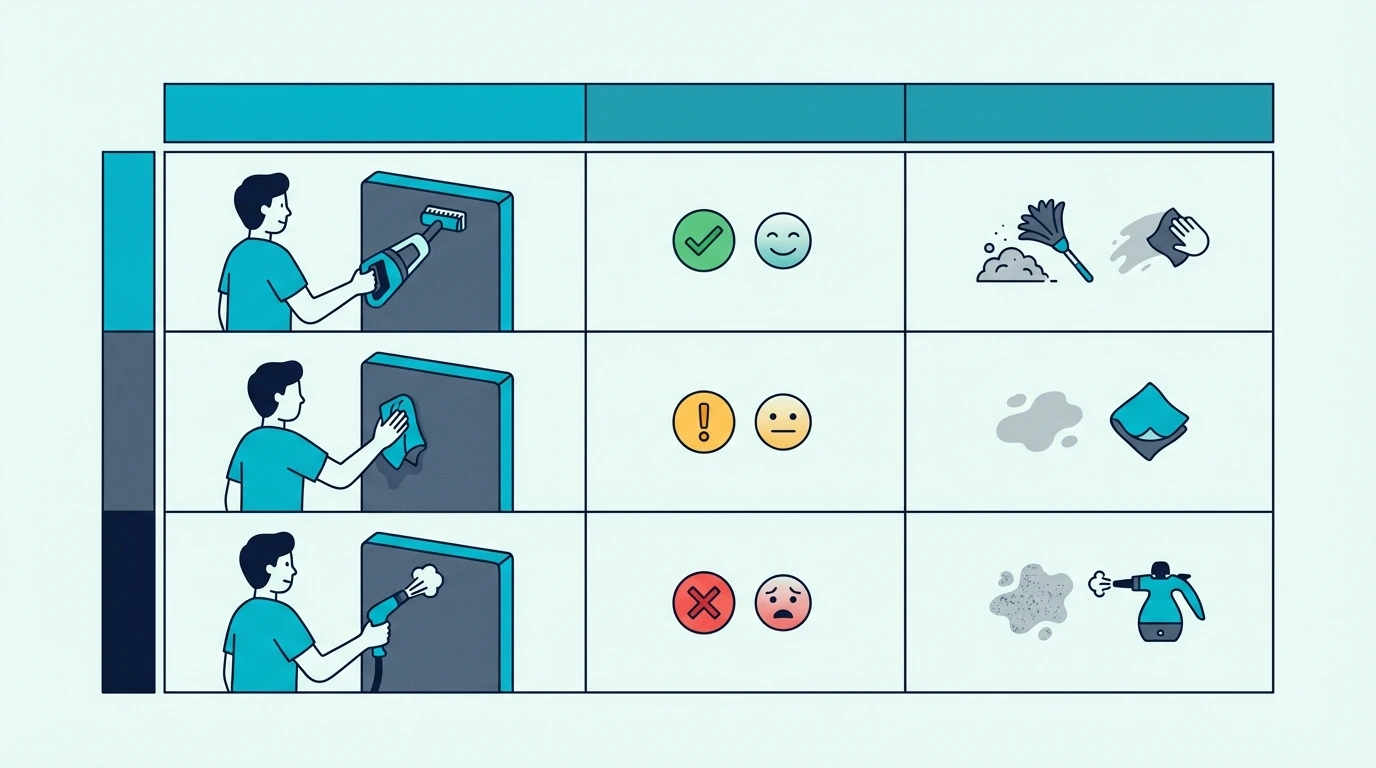
Avoid vacuuming foam panels whenever possible. Even low suction can tear the delicate cell structure, especially at edges and peaks. Instead, use a soft-bristle brush or lint roller to remove surface dust.
For deeper cleaning, compressed air works better than any liquid method. Short bursts from a distance dislodge dust from foam cells without risking damage. If you must address a stain, barely damp is the maximum moisture level — foam absorbs water like a sponge and takes forever to dry.
How to Clean PET Felt Panels
PET felt panels (made from recycled plastic bottles) are the easiest to maintain. Their dense, non-porous surface resists dust accumulation and tolerates more aggressive cleaning than fabric or foam.
Vacuum PET felt panels using any brush attachment at normal suction. The material won’t stretch, tear, or separate like fabric panels. You can vacuum in any direction without concern.
Spot cleaning is straightforward — dampen a cloth and wipe the affected area. PET felt dries quickly and doesn’t absorb moisture into its core the way fiberglass panels do. For stubborn stains, mild upholstery cleaner works well without damaging the material.
Can You Vacuum Acoustic Panels?
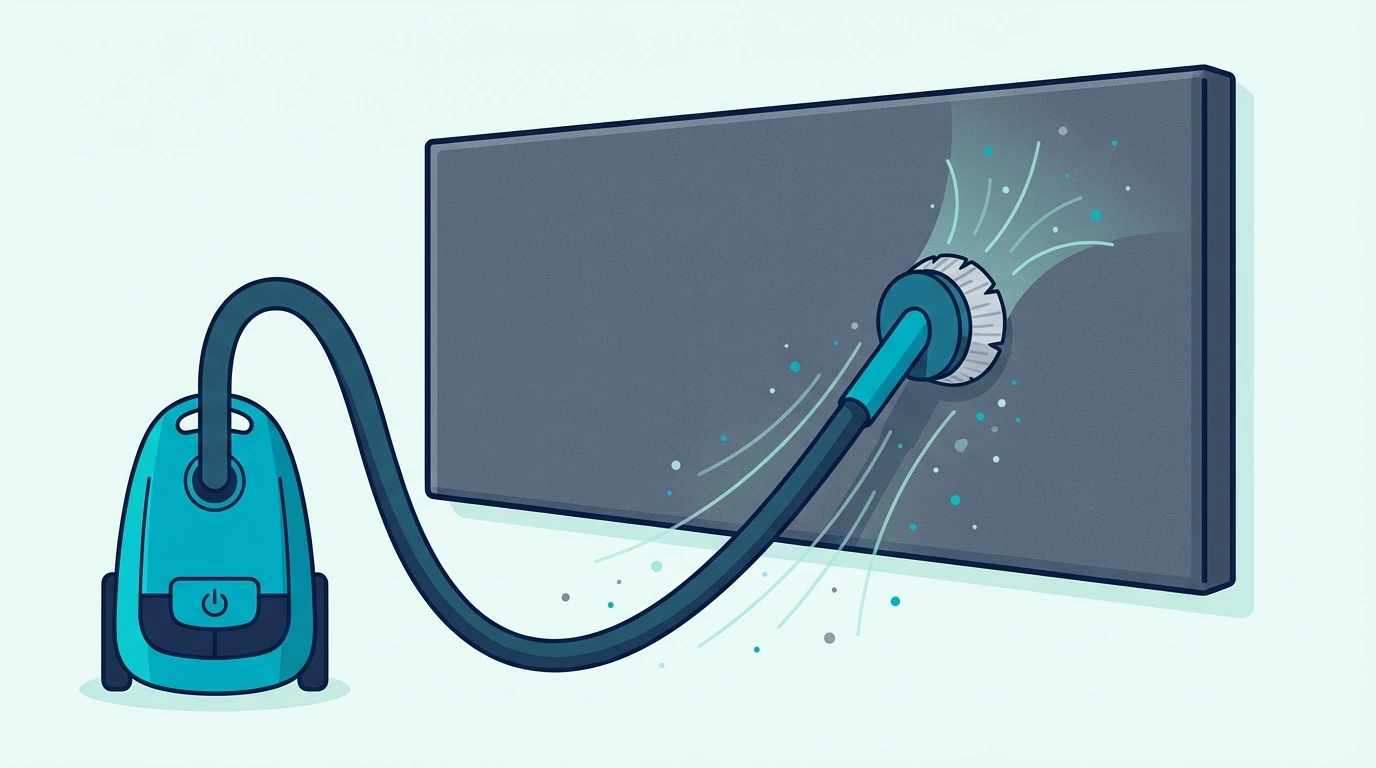
Vacuuming is the safest and most effective routine maintenance for most acoustic panels. Done correctly, it removes dust before it penetrates deep into the acoustic material where it’s impossible to reach.
The key is using the right attachment and suction level. Your vacuum’s standard floor attachment is too aggressive — the stiff bristles and high suction will damage fabric and potentially dislodge panel material.
This is where having the right tools makes a significant difference. A dedicated upholstery brush attachment with soft bristles protects fabric while still lifting dust effectively.
What Attachment Should You Use?
A soft upholstery brush attachment is essential for panel cleaning. These have flexible bristles that glide over fabric without catching or pulling, and they distribute suction across a wider area to prevent concentrated force on any single point.
If your vacuum didn’t come with an upholstery attachment, they’re inexpensive and widely available. Look for one with natural or soft synthetic bristles rather than stiff plastic.
For foam panels, even soft brush attachments can be too aggressive. Consider a crevice tool held slightly away from the surface, using suction to pull dust off without contact, or skip vacuuming entirely in favor of Innovera Compressed Air Duster Cleaner.
Innovera Compressed Air Duster Cleaner
How Often Should You Vacuum?
Monthly vacuuming keeps dust from accumulating to problematic levels. More frequent cleaning is unnecessary unless you have pets, live in a dusty environment, or notice visible buildup between sessions.
High-traffic studios and commercial spaces may need weekly attention. Home studios with good air filtration can often extend to bi-monthly cleaning without issues.
Watch for visual cues — if you can see dust on panel surfaces, you’ve waited too long. Dust that’s visible has already penetrated the fabric and is affecting acoustic performance.
Get Studio Tips Weekly
Join 5,000+ creators getting acoustic treatment advice every week.
No spam. Unsubscribe anytime.What Cleaning Products Are Safe for Acoustic Panels?
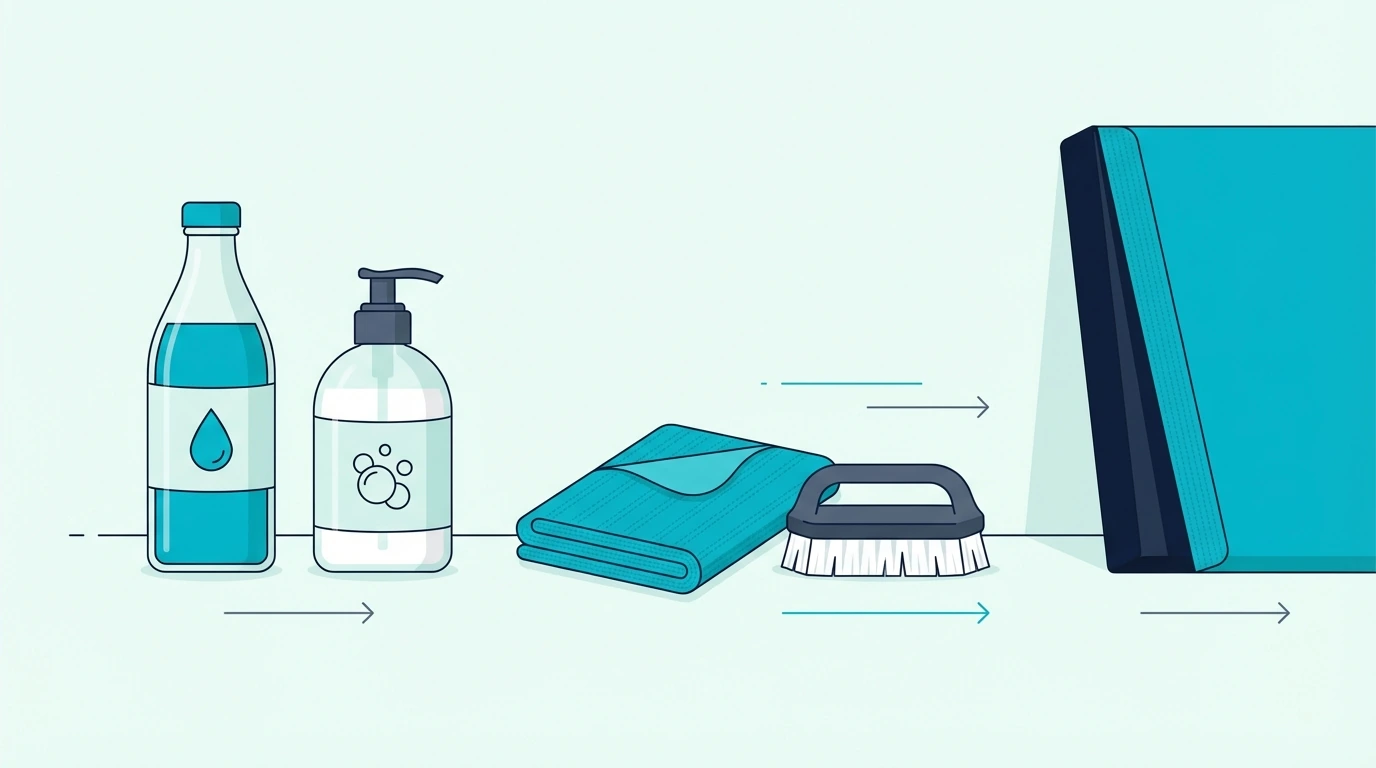
The safest cleaning solution is the simplest: distilled water with a tiny amount of mild dish soap. This handles most stains without risking chemical damage to fabric dyes or acoustic materials.
Avoid anything marketed as “heavy duty” or “industrial strength.” These products contain solvents that can dissolve fabric coatings, fade dyes, or break down foam structure. Even if the fabric survives, these chemicals can migrate into the acoustic core and cause degradation over time.
Our acoustic panels guide covers material considerations in depth, but the core principle is simple: gentle is always better than aggressive.
What Products Should You Avoid?
Bleach destroys both fabric and acoustic materials. Even diluted, it weakens fibers and causes permanent discoloration on anything except pure white fabric.
Ammonia-based cleaners (like many glass cleaners) can react with fabric treatments and dyes. The result is often uneven fading or sticky residue that attracts more dust than before.
Solvent-based cleaners (including many “stain removers”) dissolve adhesives holding fabric to frames and can break down foam and fiberglass binders. If a product smells strongly chemical, keep it away from your panels.
Can You Use Fabric Cleaner?
Mild upholstery cleaners formulated for delicate fabrics generally work well on acoustic panel fabric. Test any product on an inconspicuous area first — the back edge or a corner that faces the wall.
Apply cleaner to your cloth, not directly to the panel. This prevents oversaturation and gives you control over how much moisture contacts the fabric. Blot rather than rub, and use the minimum amount necessary.
If you’re dealing with panel installation in a commercial environment, consider professional cleaning services for liability and warranty reasons.
How Do You Remove Stains From Acoustic Panels?
Stain removal success depends on acting quickly and using the right technique. Fresh stains are dramatically easier to remove than set-in ones, so address spills immediately when possible.
The universal approach: blot with a clean, dry cloth first to absorb as much as possible. Then dampen (don’t soak) a microfiber cloth with mild soap solution and blot the stain from the outside edges toward the center. This prevents spreading.
Never rub stains. Rubbing pushes the stain deeper into fabric fibers and spreads it across a wider area. It also damages the fabric weave, leaving a visible rough patch even after the stain is gone.
What’s the Best Spot Cleaning Method?
Mix a small amount of mild dish soap with distilled water — roughly a teaspoon per cup. Distilled water prevents mineral deposits that can leave rings or residue on fabric after drying.
Dampen your microfiber cloth and wring it thoroughly. The cloth should feel barely moist, not wet. If you can squeeze water out of it, it’s too wet.
Blot the stain with light pressure, working from edges toward center. Flip to a clean section of cloth frequently to avoid redepositing the stain. Repeat until no more color transfers to the cloth.
When Should You Replace Instead of Clean?
Some stains are permanent regardless of effort. Oil-based stains (cooking grease, makeup, some inks) penetrate fabric immediately and resist water-based cleaning entirely. Attempting aggressive removal often makes things worse.
If a stain covers a significant portion of the panel’s visible face, replacement may be more cost-effective than professional cleaning. Small stains in corners or near edges are worth addressing; large central stains often mean the panel’s aesthetic life is over.
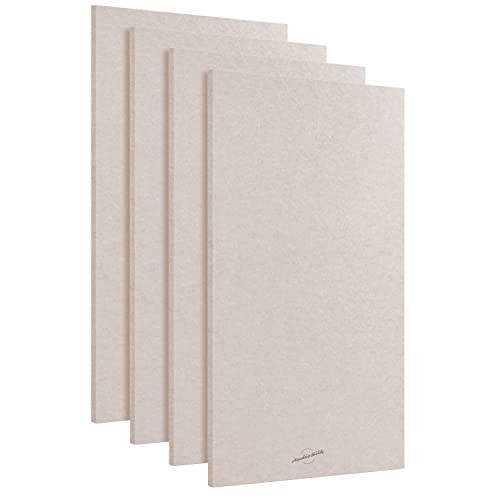
If you need a clean-looking replacement for a studio, office, or treatment wall, a thicker fiberglass option like UMIACOUSTICS 4 PCS Acoustic Panels with Hanging Bracket is a practical reset.

UMIACOUSTICS 4 PCS Acoustic Panels with Hanging Bracket
For more visible living rooms or theaters, a larger decorative option like Acoustic Panels 4 Pack Room Kit Large 46 × 23 can make replacement look like an upgrade instead of a patch job.
Acoustic Panels 4 Pack Room Kit Large 46 × 23
How Often Should You Clean Acoustic Panels?
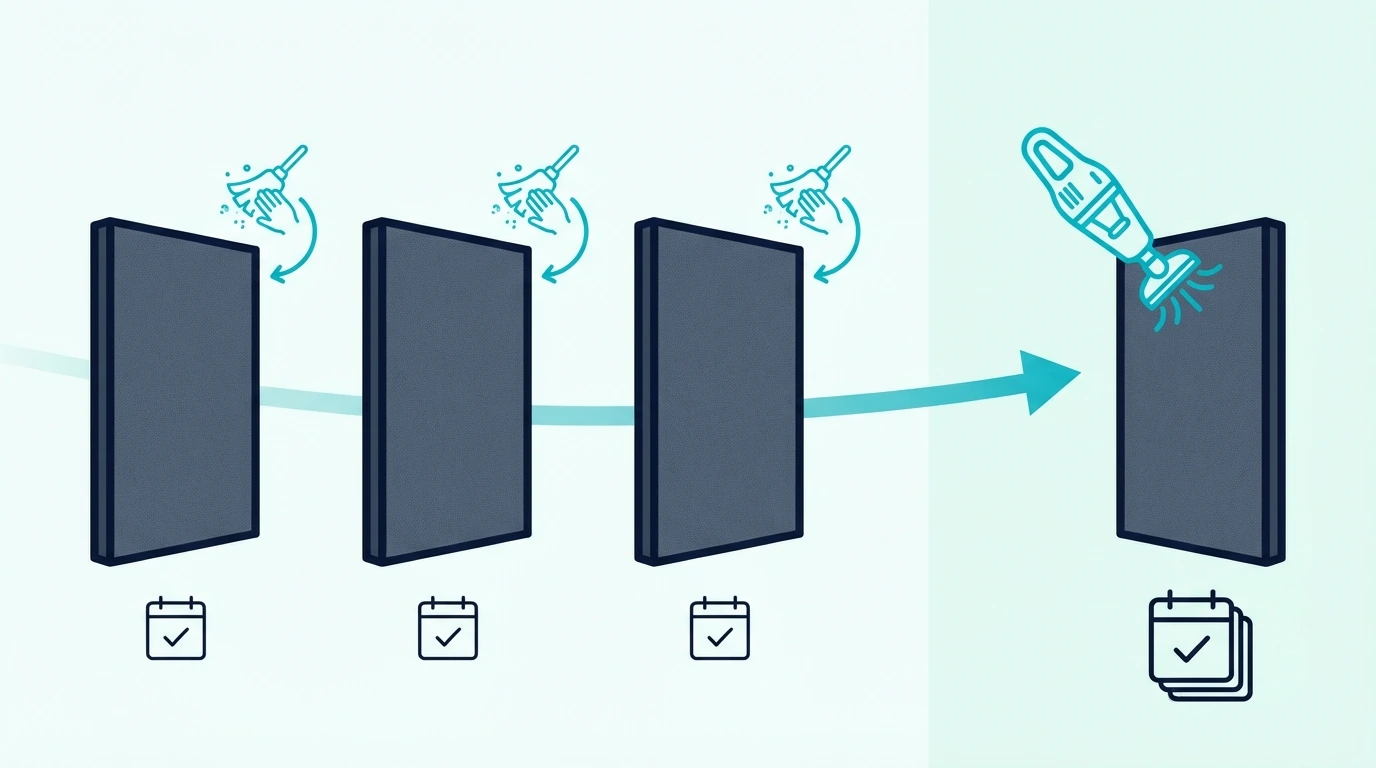
Routine maintenance every 4-6 weeks keeps panels performing and looking their best. This means light vacuuming and visual inspection for stains or damage.
Deep cleaning — spot treatment, thorough vacuuming of backs and edges — should happen quarterly or when visible soiling appears. Over-cleaning causes more damage than under-cleaning, so resist the urge to clean panels that look fine.
Location dramatically affects cleaning frequency. Panels near cooking areas, high-traffic zones, or pet spaces need more attention than those in climate-controlled studios with good air filtration.
What Signs Indicate Cleaning Is Needed?
Visible dust accumulation is the obvious indicator. Run a clean finger lightly across the panel surface — if it comes away dusty, vacuuming is overdue.
Color changes can indicate heavy soiling. Compare panel color to a protected area (behind a frame edge or mounting hardware) to see the difference between clean and dirty fabric.
Reduced acoustic performance is a late-stage indicator. By the time dust affects sound absorption noticeably, panels are severely soiled and may need professional attention or replacement.
Does Location Affect Cleaning Schedule?
Absolutely. Home offices and bedrooms need less frequent cleaning than living rooms with pets and foot traffic. Recording studios with controlled environments need the least maintenance of all.
Panels mounted near windows collect more dust due to air circulation. Panels near HVAC vents face constant airflow carrying particles. Panels in kitchens or near cooking areas accumulate grease that’s harder to remove than ordinary dust.
If you need to remove panels for cleaning, plan your maintenance schedule to minimize how often you disturb the mounting system.
What Mistakes Should You Avoid When Cleaning Panels?
The most common cleaning mistakes cause permanent damage that no amount of careful follow-up can fix. Knowing what NOT to do is as important as knowing the correct methods.
These mistakes seem intuitive — more water means cleaner, stronger products work better, scrubbing removes stains faster. But acoustic panels aren’t like ordinary household surfaces. Their construction makes them vulnerable to approaches that work fine on furniture or floors.
Using Too Much Water
Water is the enemy of fiberglass and mineral wool cores. These materials absorb moisture readily, and once wet, they take days or weeks to dry completely. During that time, mold can develop inside the panel where you’ll never see it until acoustic performance degrades or musty smells appear.
Even “dry” methods can introduce too much moisture. Barely damp means you can’t squeeze any water from the cloth. If the fabric feels wet to touch after cleaning, you’ve used too much.
If a panel does get soaked accidentally, remove it from the wall immediately and stand it on edge in a warm, well-ventilated area. A fan directed at the panel speeds drying. Don’t remount until the panel is completely dry — this can take several days.
Using Harsh Chemicals
Harsh chemicals don’t just risk fabric damage — they can compromise acoustic performance by breaking down the binders that hold fiberglass or foam together. The material becomes powdery and less effective at absorbing sound.
Fabric treatments that repel dust and stains can also be stripped by aggressive cleaners. Once gone, the fabric becomes more vulnerable to future soiling, creating a vicious cycle of increasingly difficult cleaning.
Stick to mild soap and water for routine cleaning. If that doesn’t work, the stain is likely permanent and further chemical attacks will only add damage without removing the mark.
Panel Cleaning Methods Comparison
| Method | Best For | Panel Types | Frequency | Risk Level |
|---|---|---|---|---|
| Soft Brush Vacuuming | Routine dust removal | Fabric, PET felt | Monthly | Low |
| Lint Roller | Pet hair, light dust | All types | As needed | Very Low |
| Compressed Air | Dust in foam cells | Foam only | Monthly | Low |
| Damp Cloth Blotting | Spot stains | Fabric, PET felt | As needed | Medium |
| Mild Soap Solution | Stubborn stains | Fabric, PET felt | Rare | Medium |
| Professional Cleaning | Deep restoration | All types | Annually or less | Low (if proper service) |
How Should You Maintain Your Acoustic Panels?
Regular maintenance prevents the need for aggressive cleaning that risks damage. A monthly vacuuming routine takes five minutes and keeps panels looking and performing their best for years.
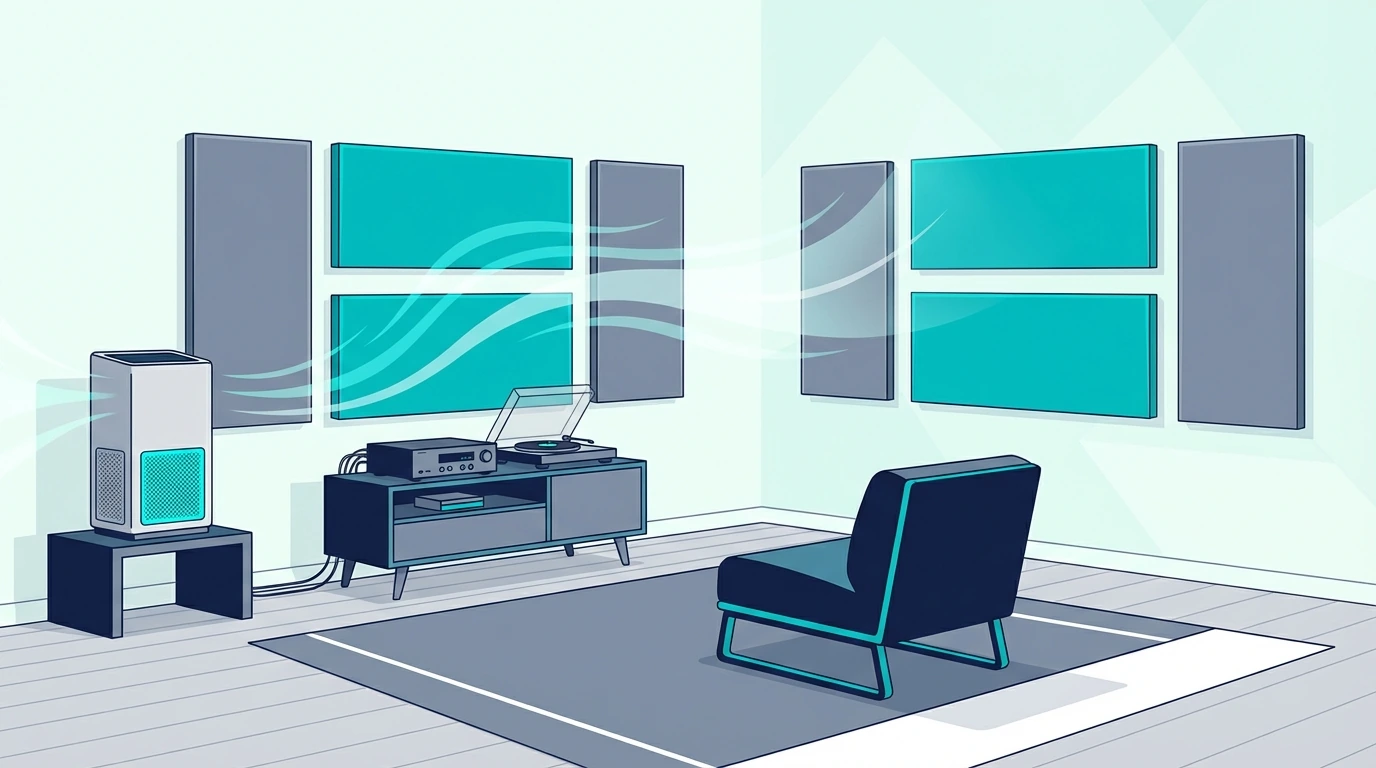
Prevention matters more than remediation. Keep panels away from cooking areas when possible. Use air purifiers in dusty environments. Address spills immediately rather than letting them set.
For panels that need more than routine maintenance, always err on the side of gentler methods. A stain you can live with is better than permanent damage from over-aggressive cleaning attempts. And if you are already replacing panels in a high-visibility room, a premium fiberglass pair like Olanglab Sound Absorbing Acoustic Wall Panels 2 Pack is easier to justify than repeatedly cleaning a panel that is already ruined.
Olanglab Sound Absorbing Acoustic Wall Panels 2 Pack
If panels are beyond cleaning, our acoustic panels hub has resources for replacement options and proper disposal of old treatment.
Frequently Asked Questions
How Do You Clean Acoustic Wall Panels?
Vacuum monthly with a soft brush attachment on low suction. For spots, blot with a barely damp microfiber cloth and mild soap solution. Never soak panels or use harsh chemicals.
The key is gentleness — acoustic panels are designed to absorb sound, not withstand aggressive cleaning. Treat them more delicately than you’d treat furniture upholstery.
Can You Vacuum Acoustic Panels?
Yes — vacuuming is the best routine maintenance for fabric and PET felt panels. Use a soft upholstery brush attachment and the lowest suction setting to avoid damaging fabric or pulling material from the frame.
Avoid vacuuming foam panels. Use compressed air or a lint roller instead.
Can Acoustic Panels Be Washed?
No — never submerge acoustic panels in water or run them through washing machines. Fiberglass and mineral wool cores absorb water and take days to dry, creating mold risk.
Spot cleaning with minimal moisture is the maximum safe water exposure. If a panel needs washing, it needs replacing.
How Often Should Panels Be Cleaned?
Monthly vacuuming for routine maintenance. Spot clean stains as they occur. Deep cleaning quarterly or when visible soiling appears.
Location affects frequency — high-traffic areas and pet-friendly spaces need more attention than controlled studio environments.