
Are you tired of dealing with poor sound quality and annoying echoes in your living room, recording studio, or office?
You’re not alone. Sound-related issues are a common headache that can disrupt your comfort and focus.
Hanging acoustic panels is a game-changing solution to dramatically improve the acoustics of any space.
From lightweight polyester acoustic panels to denser options, these panels offer not only effective sound absorption but also aesthetic appeal.
In this comprehensive guide, we’ll walk you through the why, what, and how of hanging acoustic panels.
We’ll cover everything from the tools you’ll need and step-by-step installation methods to tips for avoiding common mistakes.
So let’s dive in and make your space sound as good as it looks!
Why Should You Hang The Acoustic Panels?

Acoustic panels serve a simple yet effective purpose: they absorb sound and enhance the acoustical properties of any given space.
They are constructed from various materials, each with its own set of sound-absorbing qualities.
Polyester acoustic panels, for example, offer a blend of durability and effective sound absorption.
They are eco-friendly, lightweight, and come in various shapes and sizes, making them an excellent choice for various applications.
Choosing to hang your acoustic panels comes with a set of advantages. The primary benefit is the ease of adjustability.
Unlike installed panels, which are fixed in place, hung panels can be easily moved or adjusted.
This is particularly beneficial for spaces that serve multiple purposes and require different acoustic setups.
Hanging also allows for easier access to the wall or ceiling behind the panel, making maintenance or future modifications simpler to achieve.
What Should You Do Before Hanging Acoustic Panels?
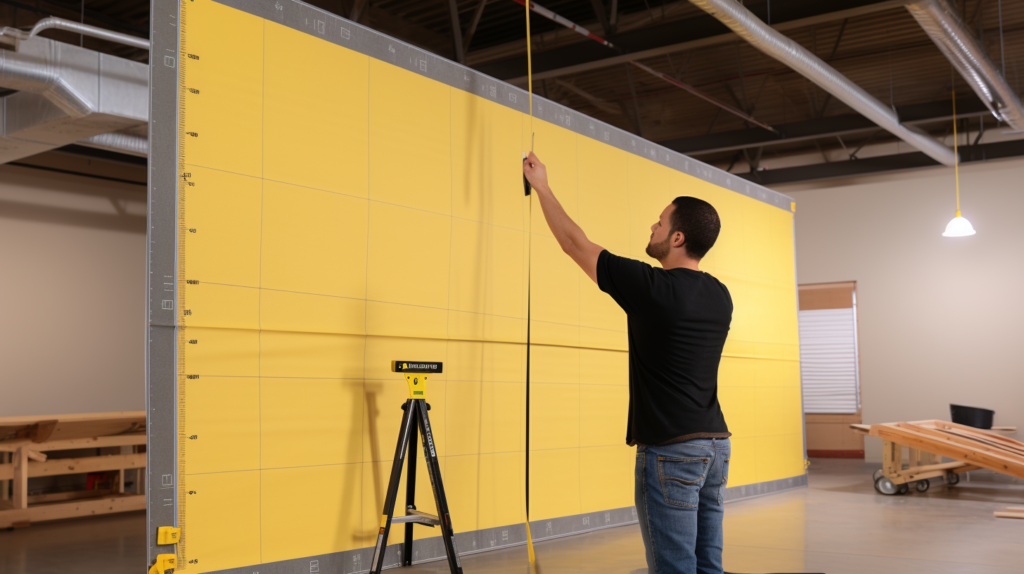
Before you even touch a panel, measuring your intended space is the first critical step.
Knowing the square footage will guide you in selecting the appropriate number and size of acoustic panels, ensuring that you neither underutilize nor overcommit on materials.
Accurate measurements also help in estimating the amount of hanging hardware needed, thereby avoiding unnecessary expenditures or trips to the hardware store.
The next step is to assess the structural integrity of your walls or ceilings. Older buildings may have surfaces that are not sturdy enough to support the weight of acoustic panels.
Even newer constructions may have specific areas that are not designed to bear additional load.
What Tools and Materials Do You Need to Hang Acoustic Panels?
The tools and materials required for this project largely depend on the type of panels and the surfaces they will be attached to.
Basic tools like a drill, screws, and wall anchors are generally necessary for most types of wall hanging.
For ceiling installations, additional hardware like ceiling hooks or suspension systems may be needed.
In some cases, a stud finder is useful for locating secure points for anchor placement.
Special attention should be given to the type of screws and anchors you choose. They need to be compatible with both the panel material and the wall or ceiling surface.
For example, drywall may require different types of anchors compared to concrete.
Similarly, lighter panels like polyester acoustic panels may not need as robust an anchoring system as heavier, more dense panels.
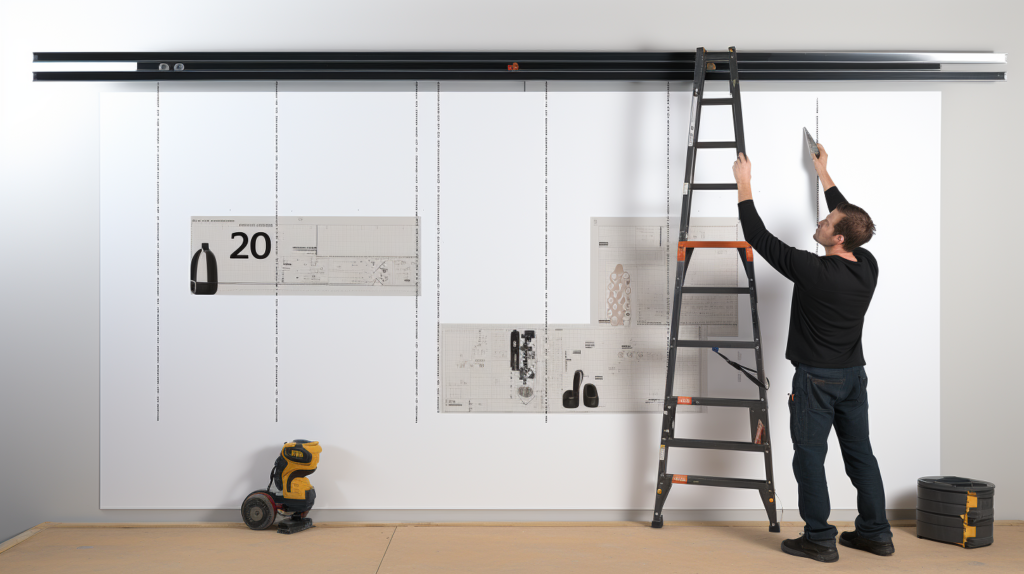
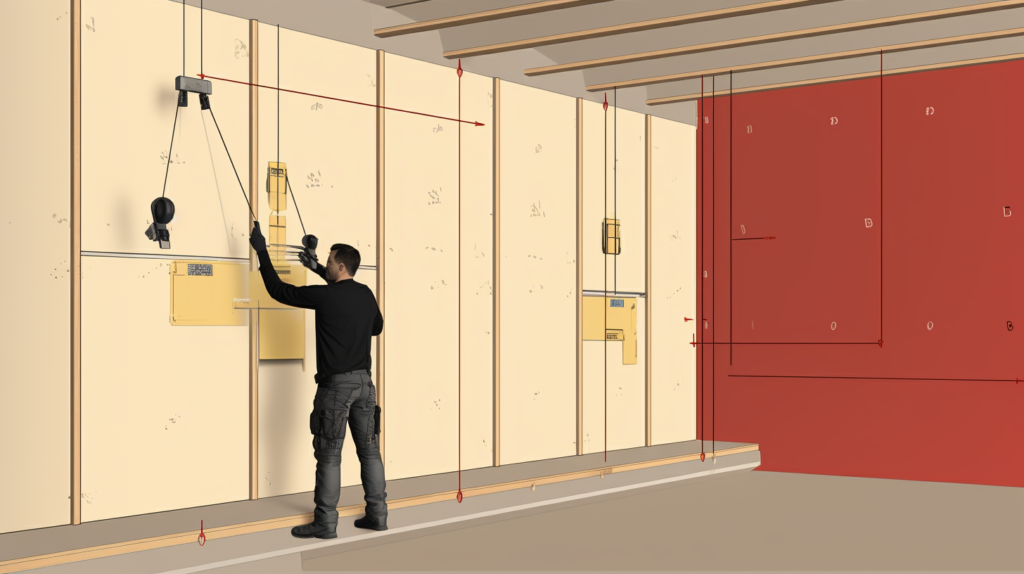
How Do You Hang Acoustic Panels on Walls Effectively?
Hanging acoustic panels on walls is a precise operation that requires careful planning and execution.
With the right tools and a detailed approach, you can significantly improve the acoustics of a room.
Polyester acoustic panels are often favored for their lightweight and effective sound-absorbing qualities, making them easier to handle during the installation process.
Step 1: Prepare Your Tools and Materials
The first step is to gather all the tools and materials you’ll need for the job.
This typically includes a drill, screws, wall anchors, a level, a measuring tape, and the acoustic panels you intend to hang.
Step 2: Measure and Mark the Wall
Use a measuring tape to identify the area where you’ll hang the acoustic panels.
Once you’ve decided on the placement, use a level to mark the exact points where you’ll insert screws or anchors. Accurate marking is crucial for achieving a polished, professional look.
Step 3: Drill Holes for the Anchors
With your points marked, it’s time to drill holes for the wall anchors. Make sure to use a drill bit that matches the size of the anchors you’ve chosen.
Drilling the correct-sized holes ensures that the anchors will fit snugly, providing a secure hold for your panels.
Step 4: Insert the Wall Anchors
Once the holes are drilled, insert the wall anchors. Ensure they are flush with the wall surface. If the anchors are protruding, they may interfere with the proper seating of the acoustic panel against the wall.
Step 5: Align the Acoustic Panels with the Anchors
Hold the acoustic panel against the wall, aligning its mounting holes with the wall anchors you’ve installed.
This is easier with lightweight panels, such as polyester acoustic panels, as they can often be held in place by a single person during this step.
Step 6: Attach the Panels Using Screws
With the panel aligned, insert screws through its mounting holes and into the wall anchors.
Tighten the screws until the panel is securely held in place. Be careful not to overtighten, as this could damage the panel or the wall.
How Do You Hang Acoustic Panels on Ceilings as Acoustic Baffles?
Hanging acoustic panels on ceilings, particularly in the form of acoustic baffles, is a specialized process.
Acoustic baffles are commonly used in large spaces with high ceilings, such as gyms and auditoriums, where they effectively reduce echoes and improve sound quality.
Unlike wall-mounted panels, acoustic baffles are designed to hang vertically from the ceiling, which requires specific hardware and a unique installation process.
Polyester acoustic panels are often a preferred choice for this type of application due to their lightweight and effective sound-absorbing properties.
Step 1: Assess the Ceiling and Choose Your Anchors
The first step is to assess the type of ceiling you have. This will determine the kind of anchors you will need.
For example, a drywall ceiling may require different anchors than a concrete ceiling. Make sure to choose anchors that can support the weight of the panels you plan to hang.
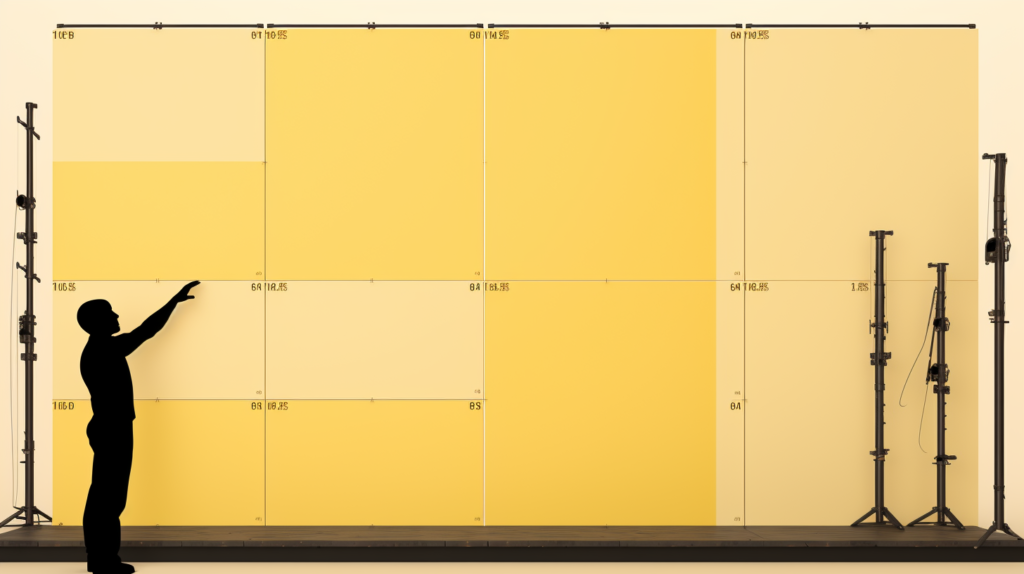
Step 2: Measure and Mark the Hanging Points
Before installing anything, you’ll need to measure and mark the points where your anchors will go.
Use a measuring tape and a level to ensure that these points are evenly spaced and aligned. This is crucial for both aesthetic reasons and for evenly distributing the weight of the baffles.
Step 3: Install the Ceiling Anchors
Once you’ve marked the hanging points, the next step is to install the ceiling anchors. Drill holes at the marks you’ve made, then insert the anchors.
Ensure they are securely fastened to support the weight of your acoustic panels.
Step 4: Attach Suspension Wires to the Anchors
After the anchors are securely in place, attach suspension wires or cables to these points. These wires serve as the hanging mechanism for your acoustic baffles.
Make sure the wires are of adequate length and strength to support your panels.
Step 5: Attach the Acoustic Panels to the Wires
The final step involves attaching your acoustic panels to the suspension wires.
This often involves threading the wire through pre-made holes or loops in the panels, or using additional hardware like clamps or ties.
Polyester acoustic panels are ideal for this step due to their lighter weight, which makes them easier and safer to hang.
By following these steps carefully, you can ensure a secure and effective ceiling installation for your acoustic baffles.
Always remember to consult the manufacturer’s guidelines for both the anchors and the acoustic panels to ensure that you are following all safety protocols.
How Can You Hang Acoustic Panels Without Damaging Your Walls or Ceilings?
For renters or for those who want a less permanent solution, the thought of drilling holes in walls or ceilings can be a deterrent.
Thankfully, there are alternative methods to hang acoustic panels without causing any damage.
Removable hooks and adhesive strips are popular options. Polyester acoustic panels are particularly well-suited for these methods due to their lightweight nature.
Step 1: Choose the Right Damage-Free Hanging Method
Your first task is to decide between removable hooks and adhesive strips.
The choice largely depends on your specific needs, the weight of the panels, and the surface you’re working with.
Make sure to select products that are rated for the weight of the panels you intend to hang.
Step 2: Prepare the Surface
Before attaching anything to your walls or ceilings, make sure the surface is clean and dry. Any dust, grease, or moisture can compromise the effectiveness of adhesive strips or hooks.
Step 3: Adhere the Adhesive Strips to the Acoustic Panels
Prepare your acoustic panels by adhering the adhesive strips to them.
Remove the protective layer from one side of the adhesive strip and press it firmly onto the designated area of the panel.
Make sure to press down evenly to ensure a secure attachment.
This method is particularly effective for lightweight panels like polyester acoustic panels, as they are less likely to detach from the adhesive strips due to their reduced weight.
Step 4: Hang the Acoustic Panels
Once the hooks or strips are securely attached to the acoustic panels and any necessary preparatory steps have been completed on the panels, you can go ahead and hang them.
Carefully align the panels with the previously prepared surface on the wall or ceiling and gently press them into place.
Step 5: Test the Stability
After hanging the panels, give them a gentle tug to ensure they are securely in place.
This is especially important if you’re using adhesive strips, as you want to make sure they have adhered properly.
What Are the Disadvantages of Hanging Acoustic Panels?

While hanging acoustic panels offers numerous benefits, there are also some drawbacks to consider.
The first is stability. Hung panels, especially those suspended from the ceiling, are more susceptible to movement.
Air currents generated by HVAC systems or even the opening and closing of doors can cause them to sway, potentially affecting their performance.
Another downside is that not all types of surfaces are suitable for hanging acoustic panels.
As mentioned earlier, some walls or ceilings may not be structurally sound enough to support the added weight.
Always consult a professional if you’re unsure about your specific surface.
For those who are renting or otherwise unable to modify their walls or ceilings, hanging may not even be an option to begin with.
Conclusion
Navigating the world of acoustic panels can be complex, but understanding how to properly hang them can make a world of difference in your acoustic treatment.
Whether you’re looking to improve a home theater, a professional recording studio, or a bustling office environment, hanging your acoustic panels offers a versatile and effective solution.
As you consider your options, don’t forget to explore our extensive range of polyester acoustic panels, which offer a blend of durability, aesthetic appeal, and exceptional sound absorption.
Frequently Asked Questions (FAQ)
Can You Hang Other Objects on Hung Acoustic Panels?
A common question arises about the feasibility of hanging additional items, such as artwork or signage, on already hung acoustic panels.
Generally speaking, it’s not recommended. Adding more weight or altering the panel in any way can compromise both its structural integrity and its effectiveness in sound absorption.
However, there are some exceptions. Lightweight objects may be hung on certain types of panels, but it’s crucial to consult the manufacturer’s guidelines.
These guidelines will provide weight limits and other specifications that can guide you in making an informed decision.
Can You Hang Pictures on Acoustic Paneling?
Pinning a lightweight photo onto polyester acoustic panels is generally acceptable and won’t compromise their sound-absorbing properties.
It’s a simple way to add a decorative touch.
However, it’s not advisable to hang framed photos or heavier objects onto the acoustic panels, as they are not designed to sustain additional weight and doing so could compromise both the panel’s integrity and performance.
Do Acoustic Panels Work When Placed Behind Furniture?
Another question that often comes up is the effectiveness of acoustic panels when placed behind furniture.
While not the most optimal setup, placing panels behind furniture can still offer some
degree of sound absorption. However, this arrangement is generally less effective than hanging the panels in an open area.
The type of furniture also plays a role. Soft, upholstered furniture may actually complement the sound-absorbing qualities of the panels.
However, furniture made of harder materials like wood or metal may reflect sound waves, thereby reducing the panel’s effectiveness.
Again, it’s often a matter of trial and error to find the most effective setup for your specific situation.
Should Acoustic Panels Be Hung Away From the Wall or Ceiling?
There’s ongoing debate among acousticians and other experts about the optimal distance between an acoustic panel and the surface it’s attached to.
Some advocate for hanging panels a few inches away from the wall or ceiling.
The idea is that creating a small gap allows for the trapping of sound waves, thereby enhancing the panel’s effectiveness.
This isn’t a one-size-fits-all answer, though.
The optimal distance can depend on various factors including the type of panel, the specific acoustical challenges of the room, and even aesthetic considerations.
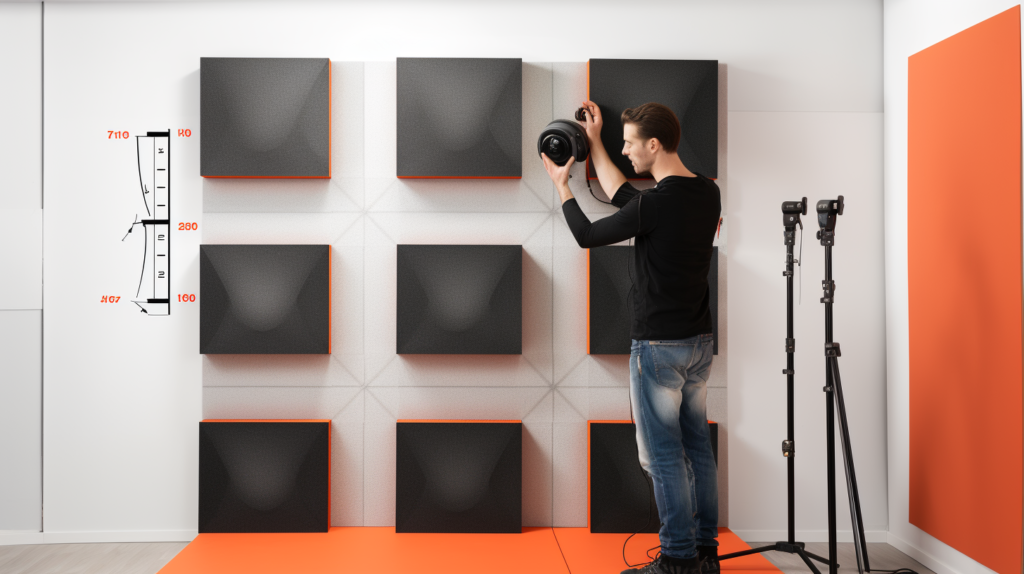
Do You Need to Cover the Entire Surface With Hung Acoustic Panels?
One of the most frequently asked questions is about the extent of coverage needed for effective soundproofing.
The simple answer is that you don’t always need to cover the entire wall or ceiling.
In many cases, strategic placement of panels can provide effective sound absorption without the need for full coverage.
However, the specifics can vary widely depending on the room. Factors such as room size, shape, and the materials used in construction all play a role.
Even the type of sound you’re trying to control can affect the amount of coverage needed.
For instance, low-frequency sounds may require more extensive coverage compared to higher frequencies.