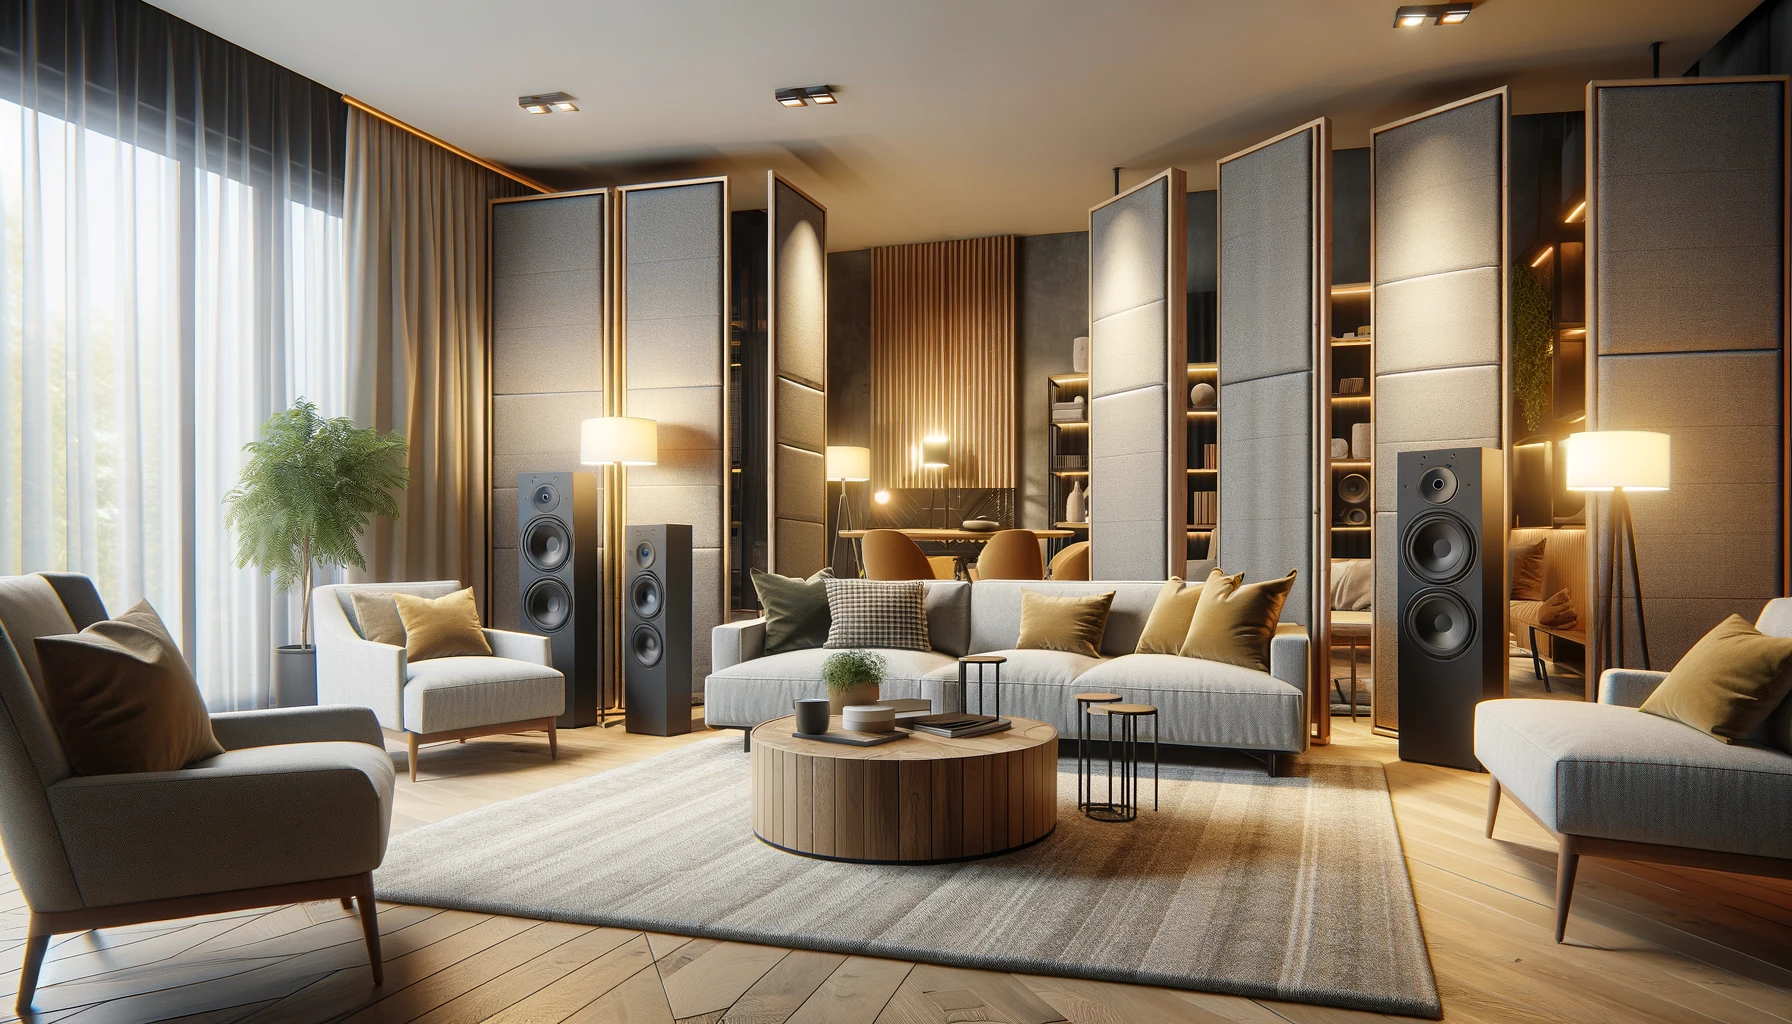
Do your rooms suffer from distracting echoes and reverb? Creating your own free standing acoustic panels offers an affordable DIY solution to absorb excess noise.
These customizable sound absorbers clean up room acoustics wherever needed most.
Let’s explore how simple frameworks filled with sound-dampening materials can transform problematic spaces into clearer sounding sanctuaries.
How to Make Free Standing Acoustic Panels

Paragraph: To make free standing acoustic panels, build a wooden frame, add sound dampening material inside like rigid fiberglass, then apply a fabric covering tightly.
We’ll explore the full process in detail ahead.
Choose Your Materials

Selecting the right materials is an important first step in the acoustic panel building process.
When it comes to the outer frame of the panels, medium-density fiberboard (MDF) or plywood both make excellent choices.
MDF is smooth and consistent while plywood is cheaper and easier to get.
For the sound-absorbing inner core, acoustic foam, rigid fiberglass, and rockwool are all great options that soak up echoes and reverberation.
Make sure to get sound-absorbing materials that have the right density and depth for acoustic purposes.
For covering the panels, stretchy fabrics like jersey work well since they can pull tightly over the frame.
Wood veneers can also create a nice finish.
Consider materials that suit the look you want to achieve and the budget you have available.
Carefully selecting quality frame, core, and covering materials lays the foundation for creating great sounding, free standing acoustic panels.
The materials chosen really depend on the specific design, performance, and visual goals in mind.
Think about room usage, problem frequencies, placement limitations, and overall aesthetics when weighing material options for custom, free standing acoustic treatments.
High density panels absorb lower frequencies while lighter materials work better for high frequencies and cost less.
The covering also impacts acoustic properties in addition to the look.
Plan according to sound absorption needs and room decor.
With some MDF, fiberglass, and fabric on hand, you can build your own free standing acoustic panels.
Determine the Size

The size of DIY free standing acoustic panels matters for proper sound absorption.
Larger panels around 4 feet tall and 2 feet wide give good coverage area to absorb echoes and reverberation.
If the panels are too small, they will not catch enough sound waves to control problematic room acoustics.
Scale the size up to match the demands of the space.
For professional recording studios and large living rooms, panels up to 4×4 feet square may suit.
Determine how many panels you need by looking at the total wall/ceiling space you want to treat then dividing up into coverage sections.
Space the panels appropriately around the room for balancing sound absorption hot spots.
Have some extra smaller panels on hand to position as needed once the main panels go up.
Accent panels with dimensions like 2×2 feet or 2×4 feet add flexibility.
Carefully planning out panel sizes and quantities allows custom fitting arrangements to the particular room.
Scale up total coverage to at least 25% of the wall space or more for rooms with considerable echo issues or dedicated music spaces.
Considering coverage area early when determining panel sizes means getting maximum acoustic benefit from the DIY free standing acoustic panels later on.
Dial in panel dimensions to both the room function and decorative impact.
Build the Frame
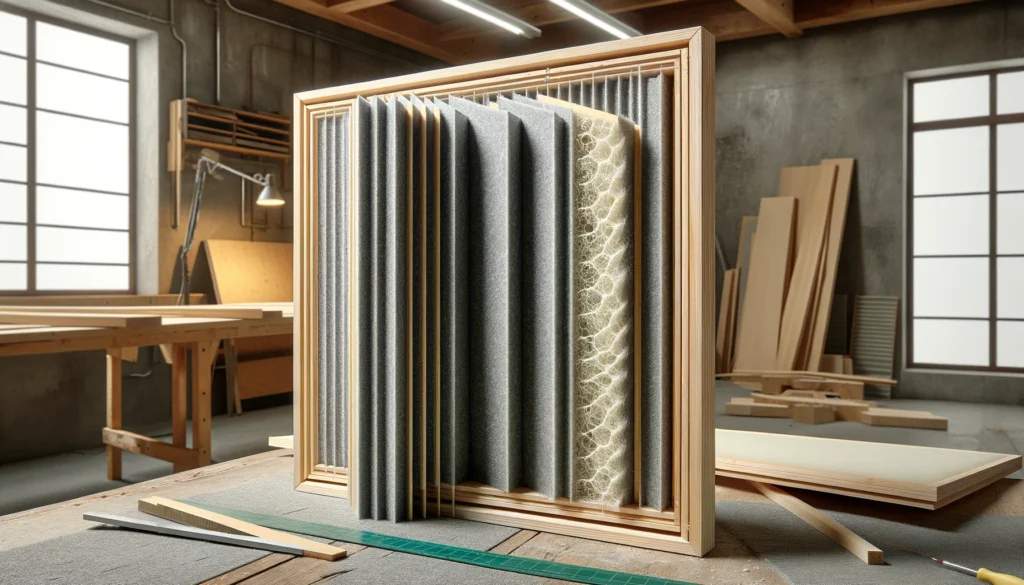
The foundation of any free standing acoustic panel is a sturdy internal frame.
Many different types of saws can cut the wood pieces for the frame like a miter saw, circular saw, or even hand saw.
Always wear proper eye and ear protection when using power tools.
Carefully measure and cut wood strips for the top, bottom, and sides of the frame.
Join the pieces together in a rectangle to match the planned out panel dimensions using wood glue and nails, screws, or joinery techniques.
Woodworking joints like rabbets or box joints provide sturdy right angles if no additional bracing gets added later.
Seal raw wood edges with primer/paint to prevent unwanted moisture damage/warping.
Constructing the frames using precisely measured and straight wood prevents headaches installing the other materials down the road.
Ensure the joined frame pieces sit flush and square at 90 degree angles.
Mismatched corners throw the whole panel shape out of whack.
Add wooden corner blocks, triangular braces, or an inner grid structure for stability and durability if the frame feels flimsy.
Bulk up thin frames to provide sufficient depth for thicker sound absorbing cores too.
The quality of construction and robustness of the inner frame directly impacts the lifespan of the finished free standing acoustic panel.
Build tightly constructed, durable frames suited to housing sound dampening cores and spanning any gap completely on their own.
Add the Sound-Absorbing Core
Now to transform the open inner frame into an acoustic dampening element by adding specialty core materials.
Measure the exact interior dimensions to cut rigid fiberglass, rockwool, or foam pieces to size.
Leave small allowances for press fitting into the frame opening.
Use a serrated blade or electric carving knife for cleanly slicing through dense sound absorption cores.
Run a bead of construction adhesive or liquid nails around the frame opening before dropping the insulating core materials inside.
Glue dries slowly to allow repositioning.
Place weight on top of the panel for even contact and compressing the core while the glue sets.
Leave at least an inch or two of frame depth unfilled behind the main core face to receive wall mount hardware or allow decorative edging options later on.
The functional part is absorbing sound waves and converting vibrational energy into minute amounts of heat.
This involves maximizing density and depth to alter sound wave pathways and dissipate power as it enters and interacts with the acoustic treatment materials.
Evaluate product specs and test core thickness additions to arrive at the sweet spot between cost, weight, effectiveness and appearance.
Balance functional performance with practical factors by selecting appropriate sound absorbing innards secured snugly within the supportive wooden frames.
Apply the Fabric Covering
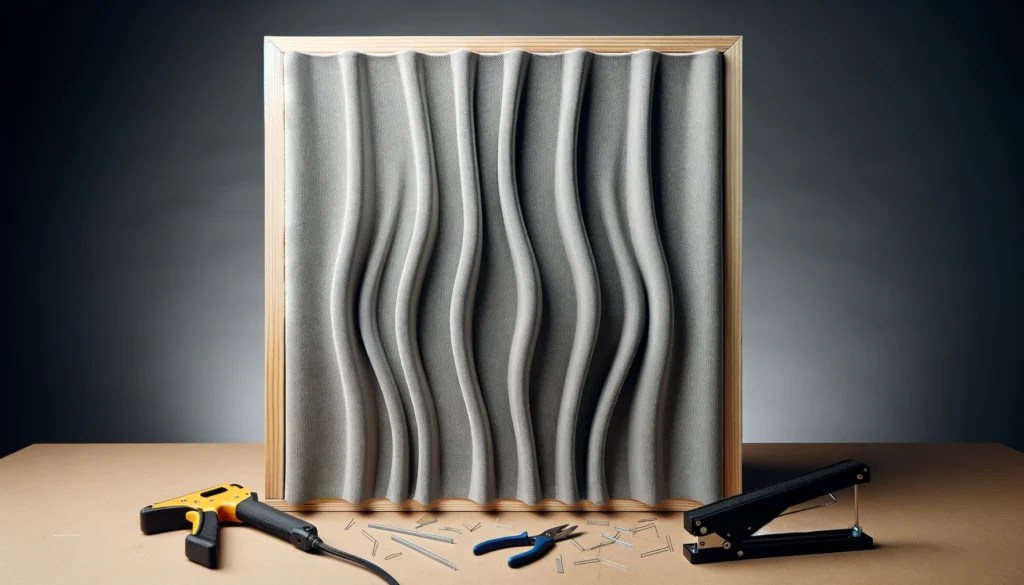
Applying a stretched fabric cover delivers a polished look and tweaks acoustic properties.
Wrap the acoustic panel like a canvas painting.
Taut fabric showcases the straight lines of the frame while concealing the rough core face.
Staple the perimeter first then work into the middle for evenly dispersed tension.
Alternately run a bead of spray adhesive around the facing rim before smoothing the fabric down.
Eliminate wrinkles from the covering surface through rear pulling and consistent downward passes over the entire face.
Fabric needs smoothing both vertically and horizontally for best results.
Leave ample overlap then trim the excess fabric for clean seam allowances if needed.
Some heavy duty fabrics like burlap add decorative texture in addition to covering up rigid edges of the inner construction.
More breathable, lighter fabrics allow for airflow and maintain peak acoustic performance better than completely sealed panels.
Match fabric patterns appropriately if placing multiple panels near each other on a given wall.
For upscale rooms, consider acoustic transparency fabrics which offer ultra lightweight permeability combined with sound dampening see through visibility.
Get creative mixing and matching different framing, core and layered covering elements until arriving at the perfect blend of aesthetics, efficiency and free standing stability.
Install the Panels
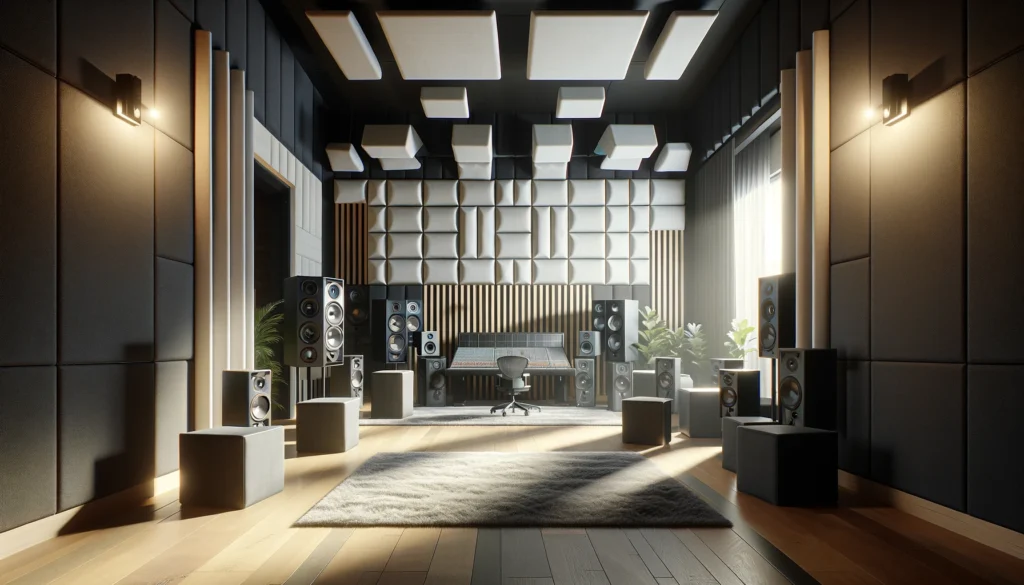
Before mounting any panels permanently, experiment with positioning them as free standing acoustic elements first.
Lean panels vertically against walls and partition spaces to best identify acoustic sweet spots.
Adjust locations to target loud or problematic areas specifically requiring additional dampening.
Space multiple panels evenly across larger expanses for well distributed absorption without tightly cramming them all together.
Balance acoustic coverage to leave some liveliness in studio control rooms and home theaters so everything doesn’t sound dead and dry.
Try standing panels horizontally along a hard floor or widely spaced across a tile ceiling prone to echos and reverb too.
Pay attention to first reflection points where sounds bounce strongly back off opposing surfaces.
Placing free standing acoustic panels strategically within the central zone of hard surface interactions calms resonant buildup significantly.
Rearrange until the sound balance cleans up nicely.
Mark ideal floor footprints before securing panels permanently against tipping.
Angle panels facing each other across corners to widen diffusion spread.
Achieve sonic bliss by dialing in free standing acoustic panel placements through iterative experimentation first.
Achieve the Desired Look

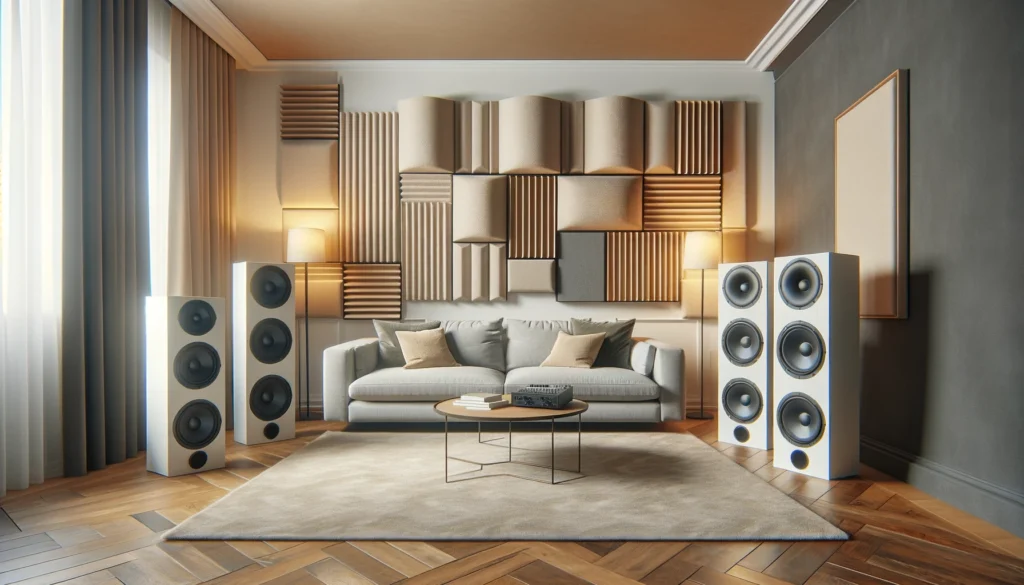
DIY custom panels afford infinite opportunities to achieve a desired decorative look around finely tuned acoustic control.
Stain or paint frames and edges to match room colors before final fabric wrapping.
Customize the shape of frames by cutting angles, arches or waves for extra flair.
Add trim accents like corner caps or crown molding details to up the visual appeal.
Consider base and ceiling platforms echoing floor and ceiling architectural details present in the space.
Hide messy inner guts while maintaining sound integrity by lining backsides with matching acoustic fabric.
Construct multi-depth frames to conceal inner components completely.
Experiment with interchangeable coverings using hook tape or magnets allowing seasonal fabric refreshes.
Leave one side totally exposed for an industrial design aesthetic showcasing intricate inner acoustic engineering components.
Whatever look speaks to current design trends or personal style goals, customize free Standing acoustic panels visually to fit the application.
Conclusion
In conclusion, free standing acoustic panels provide customizable sound absorption exactly where needed within any space.
Follow the framework building, core filling, and fabric covering steps to produce your own mobile noise control solutions.
Strategically place the finished panels to target loud areas and banish distracting echoes for good.
