Do room echoes and slapback ruin your vocal recordings?
Acoustic treatment optimized for vocal tracking can turn any room into a studio-quality space.
Let’s dive in to the step-by-step process for taming reflections and resonances.
Why Acoustically Treat a Vocal Recording Room
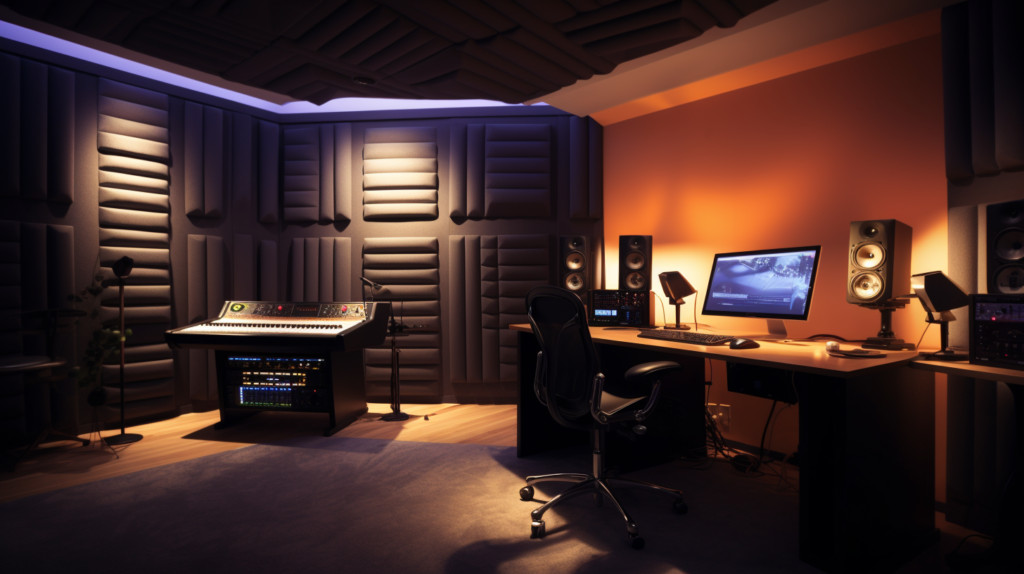
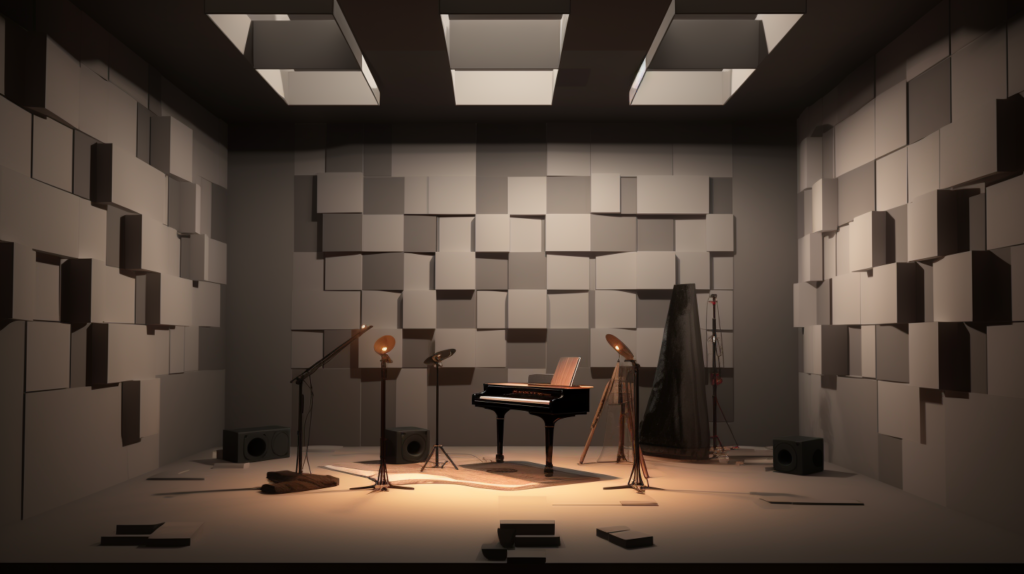
Treating the acoustics of a vocal recording room offers many benefits for capturing top-quality vocal tracks.
An untreated room will introduce distracting slap echoes, exaggerated reverb, resonances, and an unnatural ambience that colors the raw microphone signal.
Strategic acoustic treatment can transform an ordinary room into an optimized recording space tailored specifically for vocals.
Adding absorption and diffusion panels provides control over the room’s sound while maintaining a natural liveliness.
This results in transparent, accurate vocal recordings that require minimal editing or post-processing.
Acoustic treatment allows singers to hear an accurate representation of their voice in the headphones. What they hear matches what actually gets recorded, inspiring better performances.
The primary goal is creating a flattering yet honest listening environment. Controlling excessive reverberation prevents muddy or washed-out vocals.
Tuning the decay time and frequency balance results in presence and intimacy in the vocal sound. You want sufficient liveliness for a pleasing ambience while taming problematic reflections and resonances.
Thoughtful acoustic treatment allows the true tonal character of the voice to shine through. The room no longer obscures or colors the source sound.
This clarity and accuracy provides a reliable reference for making mixing decisions. Overall, acoustic treatment leads to higher quality vocals captured with less effort.
1. Control Room Modal Resonances
The lowest bass frequencies can cause exaggerated resonant peaks and dips in a room’s frequency response.
Known as “room modes”, these are related to the room’s physical dimensions. Treating modal issues is crucial for accurate bass reproduction.
Place bass traps in the corners of the room to absorb excess low frequency energy. Experiment with trap placements in all corners to determine which locations provide the most broadband low end absorption.
Measuring tools can detect problem frequencies and determine optimal trap arrangements.
In addition to corners, modal resonances build up along walls and at the center of the room. Absorption placed at these locations can also help dissipate problematic concentrations of low-end.
Identify specific problem spots by listening to music tracks with dominant bass and vocals.
Controlling low frequency resonances and exaggerations results in detailed, articulate low end rather than an undefined boomy mush.
This allows the subtleties of the vocal to come through across the entire frequency spectrum. Tight, balanced bass gives vocals a rich fullness and satisfying depth.
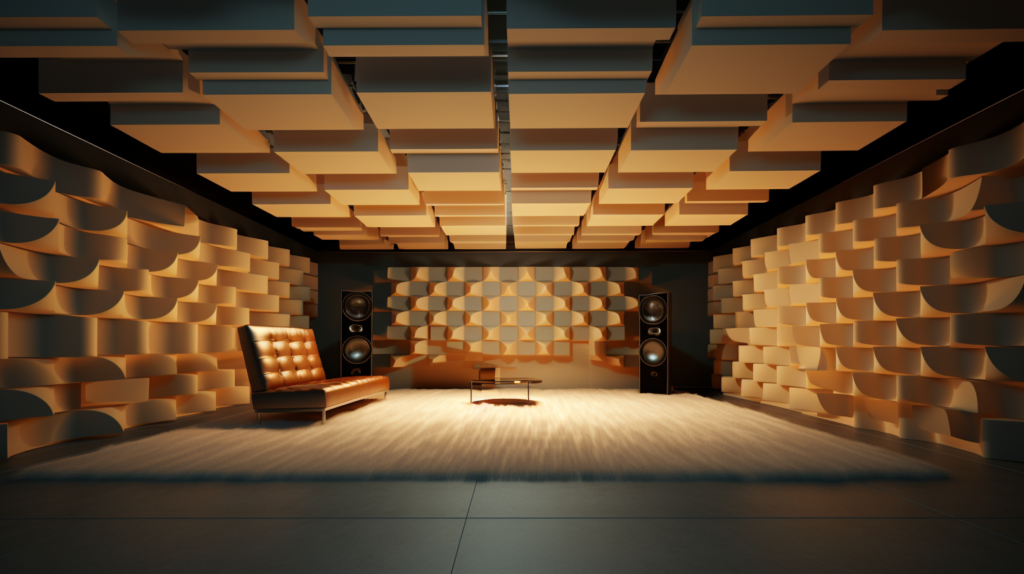
2. Add Broadband Absorption on Surfaces
After addressing the bass resonances, treatment can now focus on mids and highs. The aim is controlling reflections while retaining just enough ambience.
Place absorption panels at reflection points and other strategic locations.
First identify key reflection points by sitting where the vocalist will be and having an assistant slide a mirror along the walls. Wherever the microphone is visible in the mirror indicates an early reflection point to treat.
Focus absorption on the walls adjacent to the vocalist, the wall behind them, the ceiling above, and corners. Avoid super thick panels as they’ll over-deaden the space. Take absorption placement into account based on your modal treatments.
Don’t overdo it on the absorption or the room will become too dry sounding. Retain some reflective areas to maintain a natural ambience. Diffusion can restore liveliness to over-damped rooms.
Experiment with panel placement during the recording process.
Make adjustments to fine tune the decay time and frequency balance of the space. Let the vocal tracks reveal any remaining problems so you can continue to optimize the treatment.
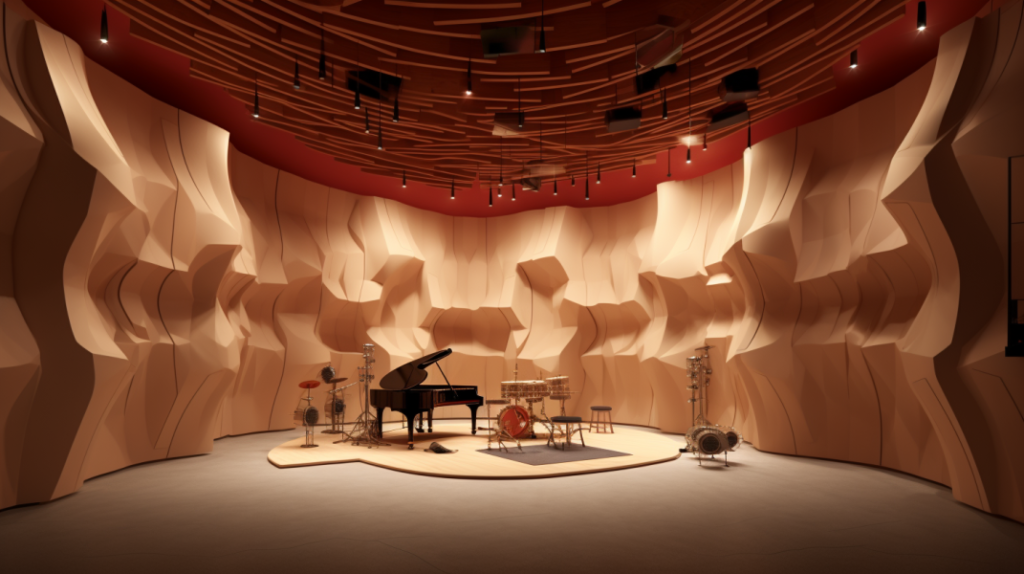
3. Diffuse High Frequencies
While absorption controls excessive reflections, diffusion helps maintain natural room ambience. Diffusers scatter sound in many directions to smooth out irregular reverb buildup.
Diffusion is especially helpful for blended late reflections and reducing harsh delayed slap echoes. Place diffuser panels on the rear wall, ceiling, or even the floor – but avoid the absorption-treated walls nearest the microphone.
Diffusers come in many shapes like quadratic, polycylindrical, and skyline designs. Or DIY options using wooden slats, corrugated cardboard, and other materials. The more surface depth and contours, the wider the diffusion range.
Add diffusers incrementally, listening for improvements in harsh flutter echoes and irregular decay. Diffusion tames excessive liveliness but also compensates for heavy absorption. Work toward an ideal balance of absorption and diffusion.
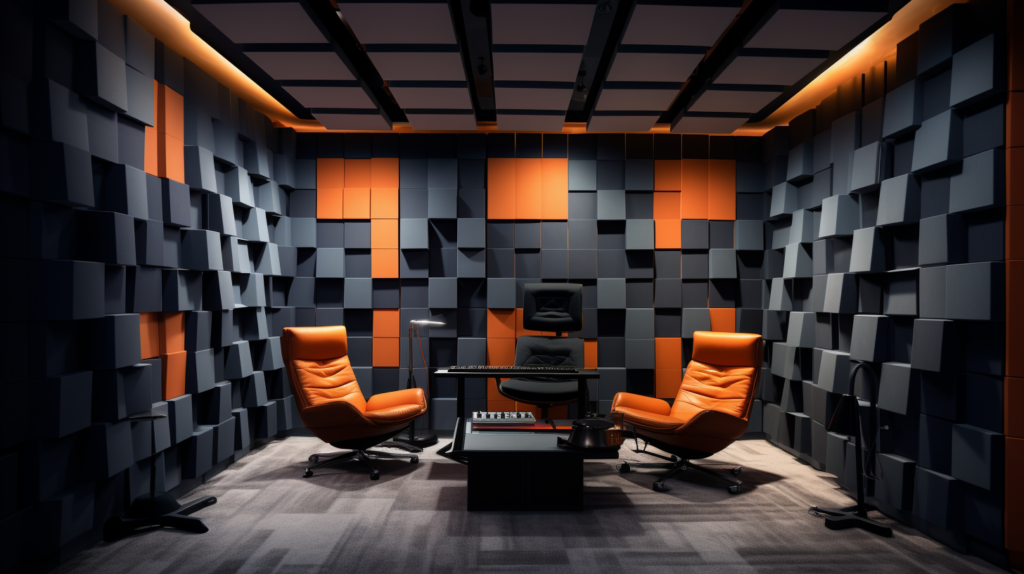
4. Optimize Room Layout
The placement of the vocalist, microphone, and other equipment within the room matters for achieving good acoustics. Avoid parallel surface alignments that accentuate flutter echoes and resonances.
Positioning the vocalist at the room’s center can help minimize modal issues and excess ambience. Placing absorbers directly behind, beside, and above the mic takes priority.
Angle neighboring parallel walls using gobos or non-parallel absorption placements to reduce focusing effects. Adjust furniture positioning to break up problematic geometry.
If the room has obvious dead spots or concentrated resonant nodes, try moving the vocalist or reorienting gear until these anomalies improve. Let the vocal microphone reveal the room’s acoustic flaws.
5. Tune the Room Naturally
The best acoustic treatment results from an iterative approach. Make changes, listen to the effect on vocal tracks, then adjust and improve. Let the recordings expose remaining acoustic problems in order to fine tune placements.
While basic starting points are helpful, every room requires custom positioning and panel tuning. Experiment during the recording and mixing process as the tracks will reveal what the treatment may be missing.
Simple tweaks can extend the capabilities of panels. For example, angled plywood over corners can widen low-end absorption. Or canvas panels overhead may address a lingering flutter echo.
Evaluating recordings over time will expose any areas needing adjustment. Acoustic treatment is an evolving process but worthwhile for beautiful vocal tracks.
With a well-designed acoustic plan tailored for vocals, the room gets out of the way. This allows the true tone and intimacy of the vocalist’s delivery to translate accurately into the microphone. What you hear is what you get on tape, making recording, editing and mixing much simpler.
Conclusion
With strategic acoustic treatment tailored to vocals, any room can be transformed into a top-notch recording space.
Follow these fundamental absorption, diffusion, and optimization steps to capture flawless vocal tracks.
Proper acoustic design allows singers to perform at their best while avoiding excessive post-processing and re-recording.