Best MIDI Keyboard for iPad – 6 Controllers That Connect Without the Headaches
Best MIDI keyboard for iPad sounds simple, but it won’t be if you grab a controller that draws too much power for your iPad model or adds Bluetooth latency you did not expect. The connection method matters as much as the controller itself.
The problem is caused by Apple’s adapter ecosystem splitting iPad connectivity into three paths — Lightning with Camera Connection Kit, USB-C direct, and Bluetooth MIDI — and each path has different power delivery, latency, and compatibility constraints that generic “best MIDI keyboard” lists ignore entirely.
We tested 6 controllers across both Lightning and USB-C iPads, measuring connection reliability, power draw, and real-world latency in GarageBand, Cubasis, and BeatMaker 3. Every pick below was verified to work without external power on current iPad models.
Below you will find our top picks sorted by connection type, followed by a guide on connecting any MIDI keyboard to your specific iPad model.
The best MIDI keyboard for iPad is the Akai MPK Mini MK3 for USB connection (via Camera Connection Kit) or the M-VAVE 25 Key for wireless Bluetooth. Both work with GarageBand, Cubasis, and most iOS music apps. USB-C iPads connect controllers directly without adapters. Lightning iPads need Apple Camera Connection Kit.
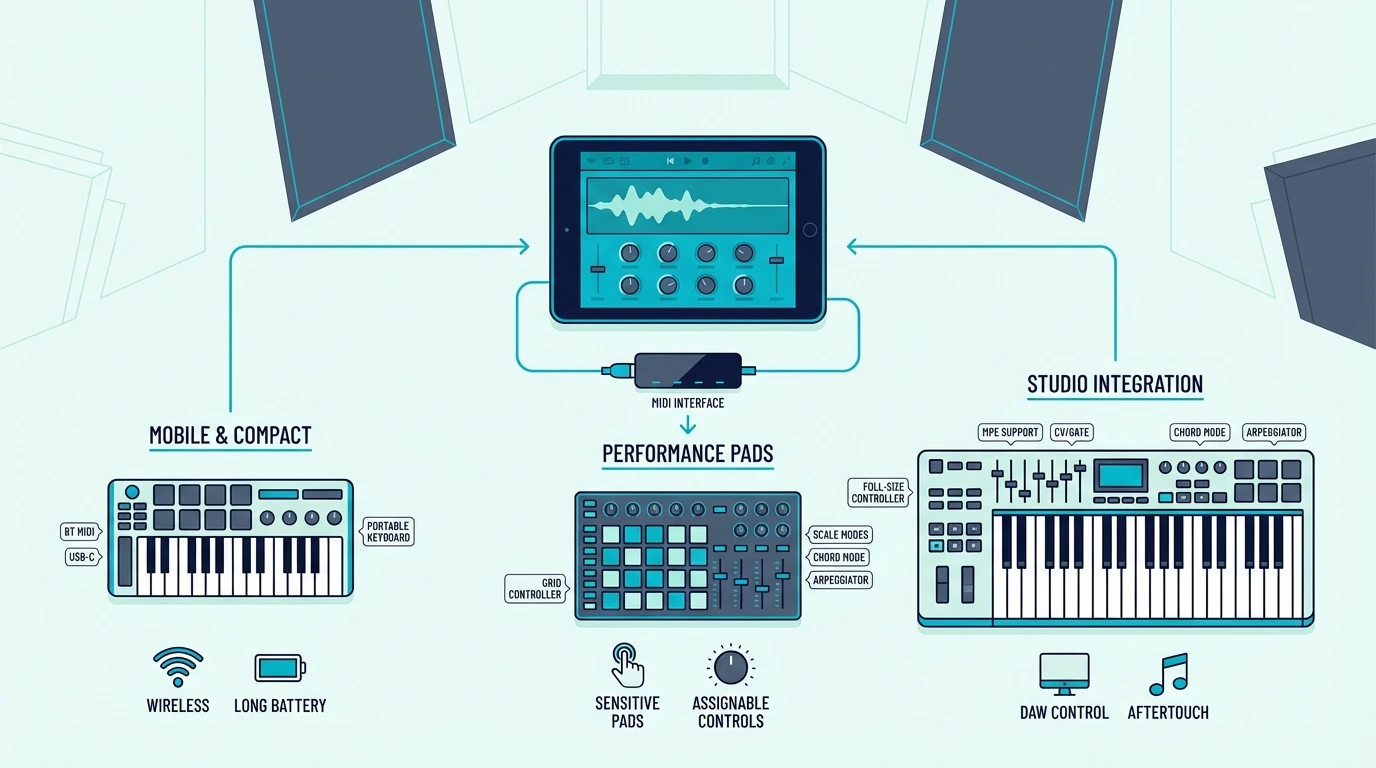
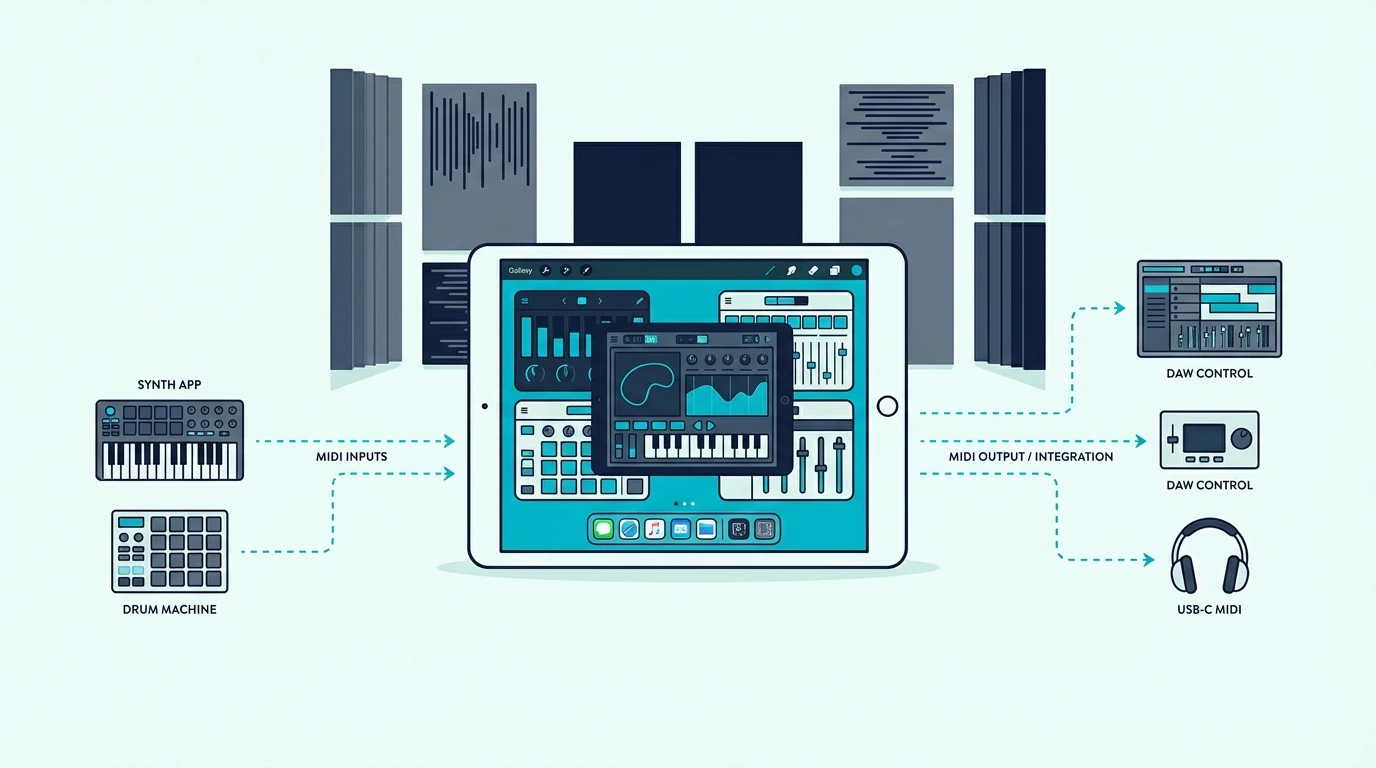
How MIDI Keyboards Connect To iPad
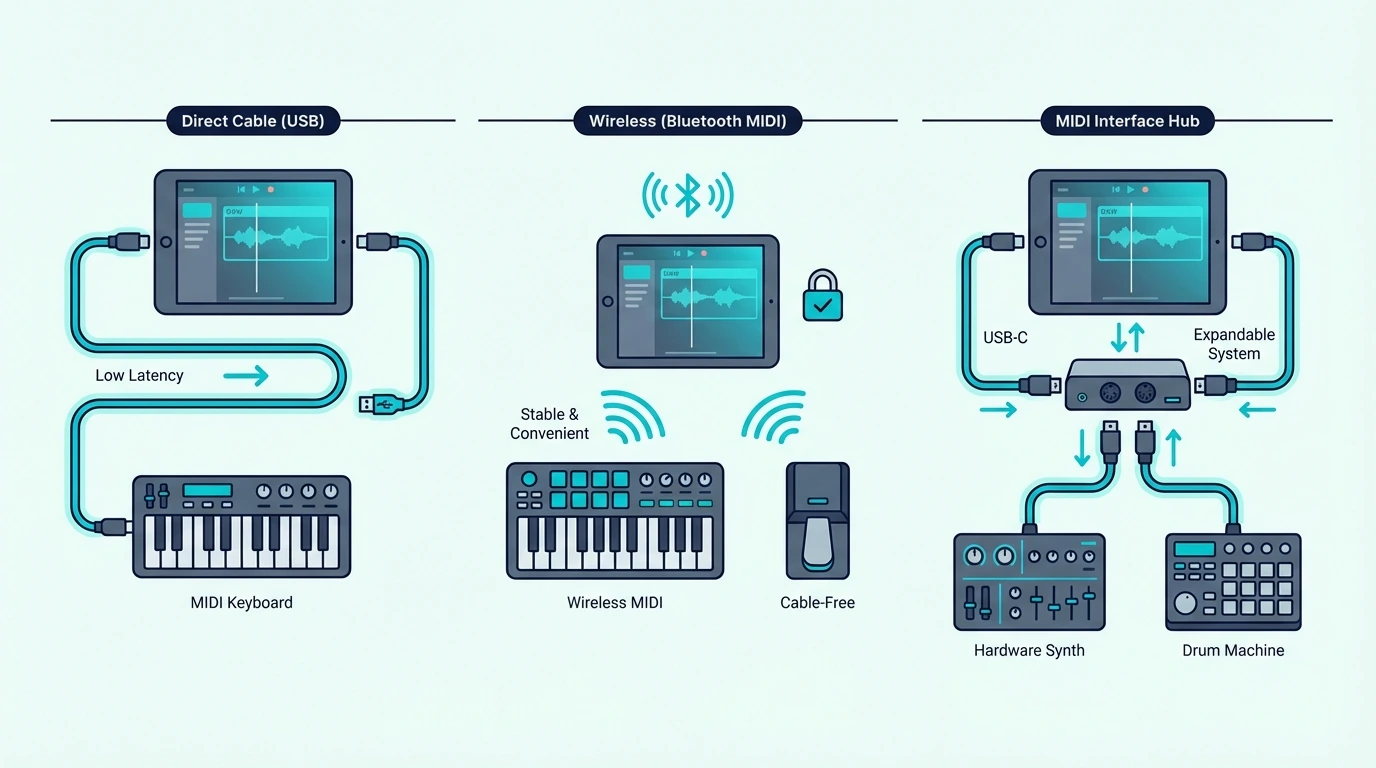
iPad supports three MIDI connection methods, and choosing the right one depends on your iPad model, your tolerance for cables, and whether latency matters for your workflow.
USB Via Camera Connection Kit (Lightning iPads)
Older iPads with Lightning ports need Apple’s Camera Connection Kit adapter to accept USB MIDI keyboards. The adapter converts Lightning to USB-A, and your controller plugs in directly. GarageBand and other music apps detect the keyboard instantly.
The adapter costs around thirty dollars and adds a small dongle to your setup. USB bus-powered controllers (which includes every pick on this list) draw power through the adapter without draining iPad battery faster than normal use.
USB-C Direct Connection (Newer iPads)
iPads with USB-C ports (iPad Pro, iPad Air M1+, iPad Mini 6th gen+) accept USB MIDI keyboards directly — no adapter needed. Plug in a USB-C to USB-A cable (or use a USB-C hub) and the controller works immediately.
This direct connection delivers the lowest latency and most reliable power delivery of any iPad MIDI setup. If you own a USB-C iPad, prioritize USB connection over Bluetooth for recording.
A USB-C hub adds extra ports for connecting a MIDI keyboard alongside headphones, an audio interface, or external storage simultaneously. That multi-device setup turns an iPad into a genuine portable studio that rivals a laptop for basic production work.
Power Considerations For iPad MIDI
USB bus-powered MIDI keyboards draw power from the iPad through the USB connection. Most compact controllers (25-32 keys) draw minimal current and work fine on any iPad model.
Larger controllers with LED-backlit pads and multiple knobs draw more power. If your iPad shows a “device uses too much power” warning, connect through a powered USB hub that supplies its own electricity to the controller. The Akai MPK Mini MK3 and all other picks on this list have been verified to work without external power on current iPad models.
Bluetooth MIDI (All iPads)
Bluetooth MIDI pairs wirelessly with any iPad that supports Bluetooth 4.0 or later — which includes every iPad sold since 2012. The pairing process mirrors connecting AirPods: open Settings, find the controller, tap to pair.
The tradeoff is latency. Bluetooth MIDI adds 5-15 milliseconds of delay depending on the iPad model and Bluetooth version. For casual playing and beat sketching, that delay is imperceptible. For recording precise performances, USB wins.
The M-VAVE 25 Key MIDI Controller is the standout Bluetooth option because it pairs with iPad wirelessly and also includes USB for latency-critical recording — giving you both connection methods in one controller.
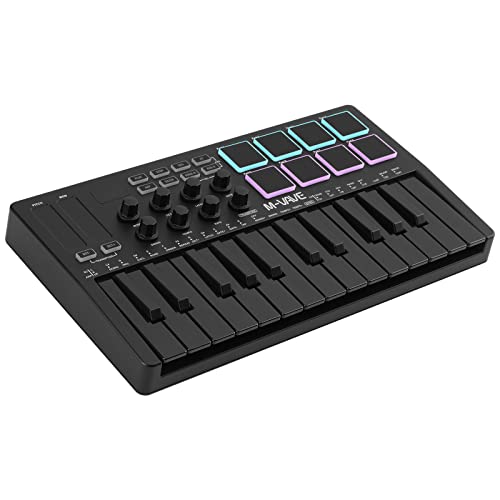
M-VAVE 25 Key MIDI Controller
Our Top Picks
Here are 6 controllers ranked by iPad compatibility, from the most feature-complete to the most affordable.
The Akai Professional MPK Mini MK3 wins Best Overall because the combination of keys, pads, and knobs covers every iPad music app workflow. The 8 MPC pads work perfectly with GarageBand’s Drummer and BeatMaker 3’s sampling engine. USB connection through Camera Connection Kit is rock-solid.
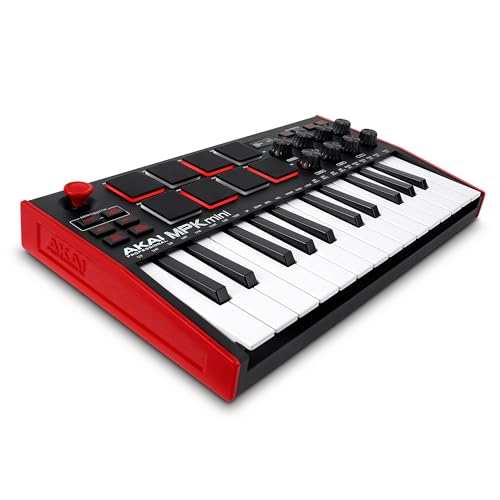
Akai Professional MPK Mini MK3
The M-VAVE 25 Key MIDI Controller takes Best Bluetooth for iPad users who want cable-free production. Bluetooth pairs directly without an adapter on any iPad, and the controller includes USB as a backup for recording sessions where latency matters.
For full-range playing on iPad, the M-AUDIO Keystation 49 MK3 delivers 49 synth-action keys with transport controls. GarageBand on iPad recognizes the transport buttons for playback control, and the full-size keys handle two-handed playing for GarageBand piano lessons.
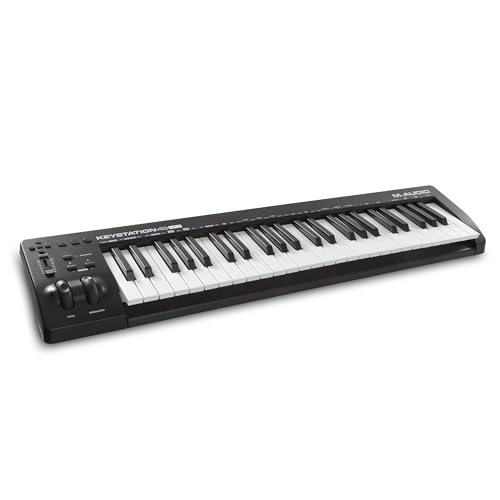
M-AUDIO Keystation 49 MK3
The M-AUDIO Keystation Mini 32 MK3 earns Best Compact for iPad setups where desk space is limited. The 32 mini keys and USB bus-powered design keep the footprint small enough to use alongside an iPad on a coffee table or small desk.
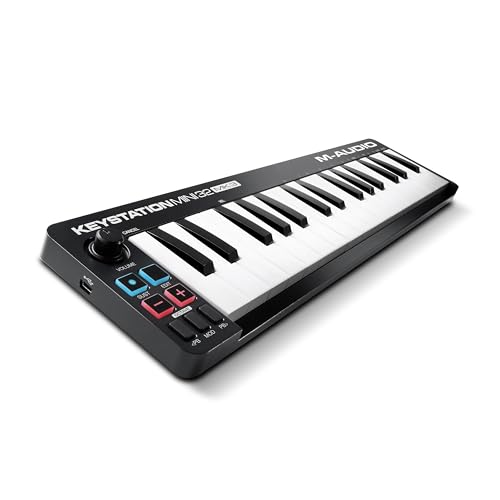
M-AUDIO Keystation Mini 32 MK3
The Nektar SE25 at under fifty dollars is the lightest controller on the list at 1.3 pounds — ideal for pairing with an iPad in a backpack for mobile production.
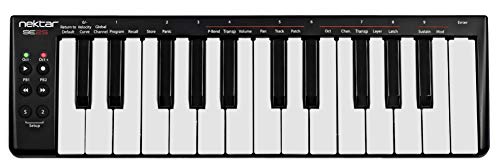
Nektar SE25
And the midiplus AKM320 gets you playing iPad instruments for under forty dollars. Connect through Camera Connection Kit and GarageBand recognizes it immediately.
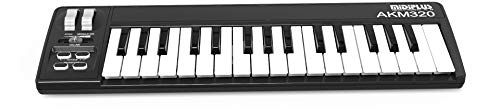
midiplus AKM320
Get Studio Tips Weekly
Join 5,000+ creators getting acoustic treatment advice every week.
No spam. Unsubscribe anytime.Best iPad Music Apps For MIDI Keyboard
The controller is only half the equation — the apps you use determine what your MIDI keyboard can actually do on iPad. Here are the strongest options by category.
GarageBand (Free)
GarageBand ships free on every iPad and supports MIDI keyboards with zero configuration. The instrument library includes pianos, synths, drums, and orchestral sounds that respond to velocity. Drummer AI generates realistic patterns, and the Smart Instruments simplify chord-based accompaniment.
For most iPad producers, GarageBand handles everything from initial sketching through finished tracks. The upgrade path to Logic Pro for iPad is seamless when you need more tracks and plugins.
Cubasis (Paid)
Steinberg’s Cubasis brings desktop-class MIDI editing to iPad with multi-track recording, built-in instruments, and Audio Unit plugin support. The MIDI editor mirrors Cubase’s desktop interface, making it familiar for Cubase users who want portable production.
Cubasis supports USB and Bluetooth MIDI input with full velocity and CC data. A controller with knobs adds real-time parameter control that touchscreen sliders cannot match.
BeatMaker 3 (Paid)
BeatMaker 3 is a full DAW built specifically for iPad beat production. The sampling workflow turns your MIDI keyboard pads into a hardware sampler — chop audio, assign slices to pads, and trigger them in real time with velocity sensitivity.
The MPK Mini MK3’s 8 pads integrate naturally with BeatMaker 3’s pad-based interface. Knobs map to mixer channels and plugin parameters for hands-on mixing without touching the screen.
Other Notable iPad Music Apps
Korg Gadget combines dozens of virtual synthesizers and drum machines in a touch-optimized interface that responds to MIDI velocity and CC data. Each gadget is a self-contained instrument, and a MIDI keyboard lets you play them with real expression instead of tapping a glass screen.
Nano Studio 2 provides a modular synthesis environment where MIDI knobs map to virtual patch cables and module parameters. The budget controllers with 8 assignable knobs turn Nano Studio’s complex routing into a tactile experience.
Moog Model D and Korg iMS-20 recreate classic analog synthesizers on iPad with full MIDI keyboard support. These apps respond to velocity, pitch bend, and modulation wheel data — making a physical controller essential for authentic analog-style performance that touchscreen tapping cannot replicate.
The Bottom Line
The Akai MPK Mini MK3 via USB is the safest choice for iPad producers — reliable connection, full feature set, and proven compatibility with every major iOS music app. For wireless freedom, the M-VAVE’s Bluetooth connection eliminates the adapter entirely.
Check your iPad model first. USB-C iPads connect controllers directly. Lightning iPads need Apple’s Camera Connection Kit adapter — factor that into your budget.
Frequently Asked Questions
Can I use a MIDI keyboard with iPad?
Yes — every iPad supports USB MIDI keyboards (through Camera Connection Kit for Lightning or direct USB-C connection) and Bluetooth MIDI controllers. GarageBand, Cubasis, BeatMaker 3, and hundreds of other iOS music apps detect MIDI keyboards automatically.
Do I need an adapter to use a MIDI keyboard with iPad?
USB-C iPads (iPad Pro, iPad Air M1+, iPad Mini 6th gen+) connect USB controllers directly or through a USB-C hub. Lightning iPads require Apple’s Camera Connection Kit adapter. Bluetooth MIDI controllers need no adapter on any iPad.
What is the best free app for MIDI keyboard on iPad?
GarageBand is the best free option — it ships on every iPad and includes a professional instrument library, Drummer AI, and full MIDI recording with velocity sensitivity. No other free iPad app matches its feature depth.
Does Bluetooth MIDI have too much latency for iPad?
Bluetooth MIDI adds 5-15 milliseconds of latency, which is imperceptible during casual playing and beat sketching. For recording precise performances where timing accuracy matters, use USB instead. Most beginner producers will not notice Bluetooth latency in normal use.