How to Connect MIDI Keyboard to PC — USB Setup for Windows That Works First Try

How to connect MIDI keyboard to PC is the first hurdle every Windows-based producer faces, but the process fails more often than it should because Windows handles USB MIDI devices differently than Mac — and most guides skip the Windows-specific driver and ASIO steps that actually matter.
The mistake beginners make is assuming plug-and-play works identically on Windows as it does on Mac. Most USB MIDI keyboards are class-compliant and technically work without drivers, but Windows audio latency defaults are unusable for real-time playing unless you install an ASIO driver — a step Mac users never need to think about.
This guide covers the complete Windows PC connection process from USB plug-in through ASIO configuration, DAW recognition, and first-note verification. Every step accounts for the Windows-specific quirks that cause problems on PC setups.
Below you will find the step-by-step connection process for Windows 10 and Windows 11, followed by troubleshooting for the most common PC-specific failures and ASIO driver setup for low-latency playing.
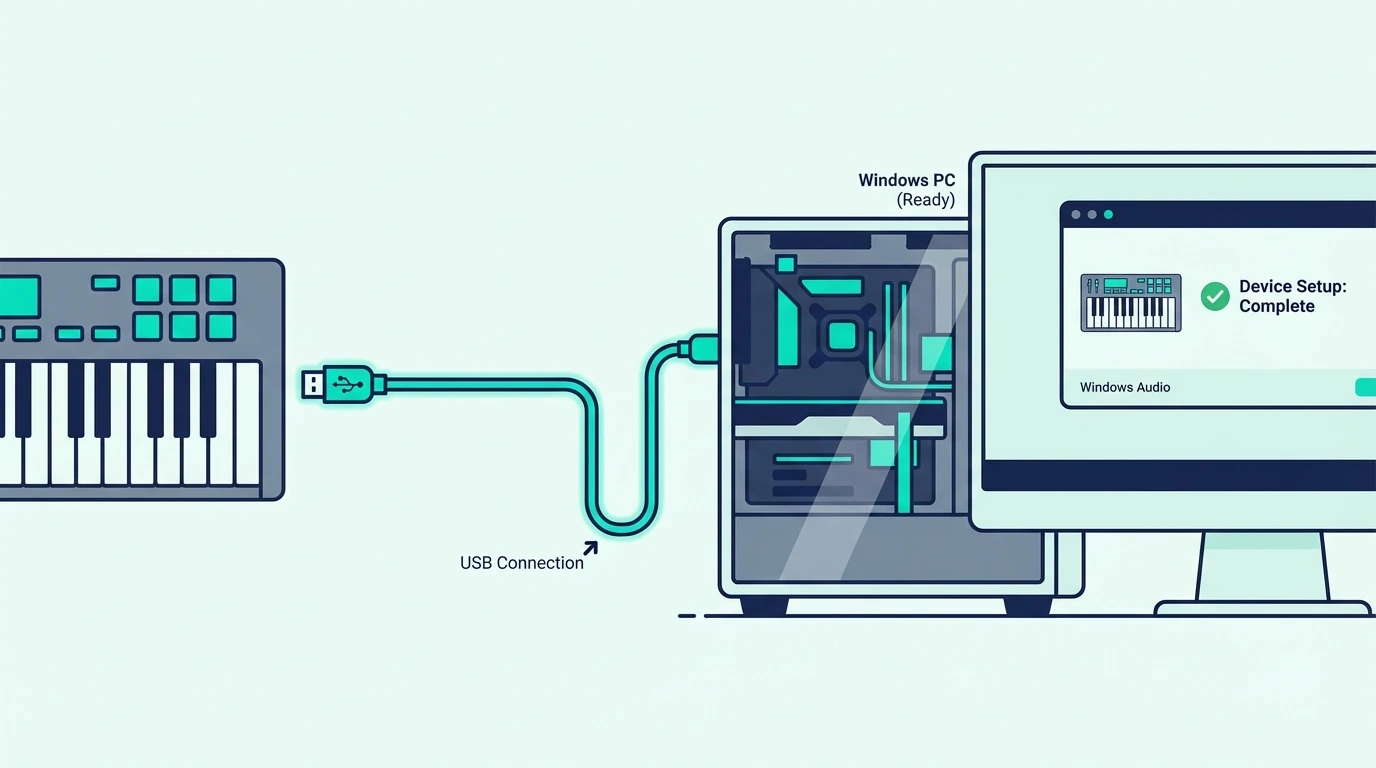
To connect a MIDI keyboard to a Windows PC: plug in via USB (the keyboard appears as a USB audio device automatically), install an ASIO driver for low latency (FL ASIO, ASIO4ALL, or your audio interface driver), open your DAW, enable the MIDI input in settings, and play. Most connection failures on PC are caused by missing ASIO drivers or the controller not being enabled in the DAW MIDI settings.
How Do You Connect a MIDI Keyboard to a Windows PC
Windows 10 and Windows 11 both support class-compliant USB MIDI devices natively. The operating system installs a generic MIDI driver automatically when you plug in the controller — no manufacturer driver needed in most cases.
Step 1 — Plug In Before Opening Your DAW
Connect your MIDI keyboard to a USB port on your PC. Avoid USB hubs for the initial connection — plug directly into a port on the computer itself to eliminate power delivery issues that hubs sometimes cause.
Windows displays a brief notification that it is installing device drivers. Wait for that notification to complete before proceeding. The process takes 5-15 seconds on first connection.
Step 2 — Verify Windows Recognizes The Device
Open Device Manager (right-click the Start button, select Device Manager) and expand “Sound, video and game controllers.” Your MIDI keyboard should appear in this list, often as “USB Audio Device” or by the manufacturer’s name.
If the controller does not appear, try a different USB port. USB 2.0 ports (usually black inside) are more reliable for MIDI devices than USB 3.0 ports (blue inside) on some motherboards. The Akai Professional MPK Mini MK3 and most modern controllers work on both port types, but older hardware sometimes has compatibility issues with USB 3.0.

Akai Professional MPK Mini MK3
Step 3 — Install An ASIO Driver
This is the step most Windows guides skip, and it is the single biggest cause of latency problems on PC. Windows default audio drivers (WDM/MME) add 50-200 milliseconds of delay between pressing a key and hearing sound — enough to make real-time playing impossible.
ASIO (Audio Stream Input/Output) drivers bypass the Windows audio stack and communicate directly with your audio hardware. The result is latency under 10 milliseconds — fast enough that the delay is imperceptible.
If you own an audio interface, install the manufacturer’s ASIO driver. If you do not own an interface, download ASIO4ALL (free) from asio4all.org. FL Studio users can use FL ASIO, which ships built-in with the software.
Step 4 — Open Your DAW And Enable MIDI Input
Launch your DAW and navigate to the MIDI or controller settings. The exact location varies by software.
In FL Studio: Options, MIDI Settings, find your controller in the Input list, click Enable. In Ableton Live: Preferences, Link/Tempo/MIDI, enable Track and Remote for your controller. In Cakewalk: Preferences, MIDI, Devices, check the box next to your controller.
Step 5 — Select ASIO As Your Audio Driver
In your DAW’s audio settings, switch the audio driver from the Windows default to the ASIO driver you installed in Step 3. Set the buffer size to 256 or 512 samples for a balance between low latency and stable audio.
Lower buffer sizes reduce latency but increase CPU load. If you hear audio crackling or dropouts, increase the buffer size until the audio is clean.
Step 6 — Test And Play
Create a software instrument track in your DAW, load any virtual instrument (piano, synth, drums), and press a key on your MIDI keyboard. You should hear sound with minimal delay.
The M-AUDIO Keystation 49 MK3 and similar class-compliant controllers work immediately after ASIO configuration — no additional setup needed beyond enabling the MIDI input.
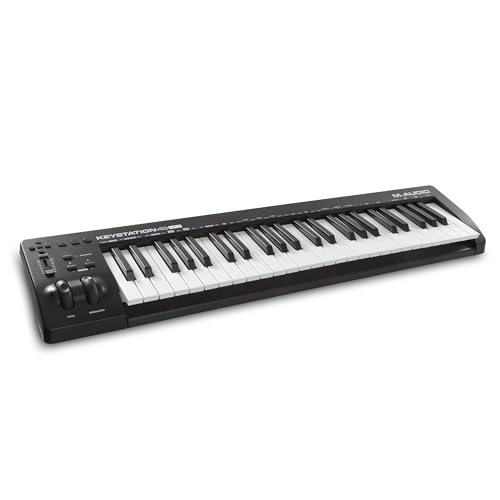
M-AUDIO Keystation 49 MK3
How Do You Fix MIDI Keyboard Issues on Windows
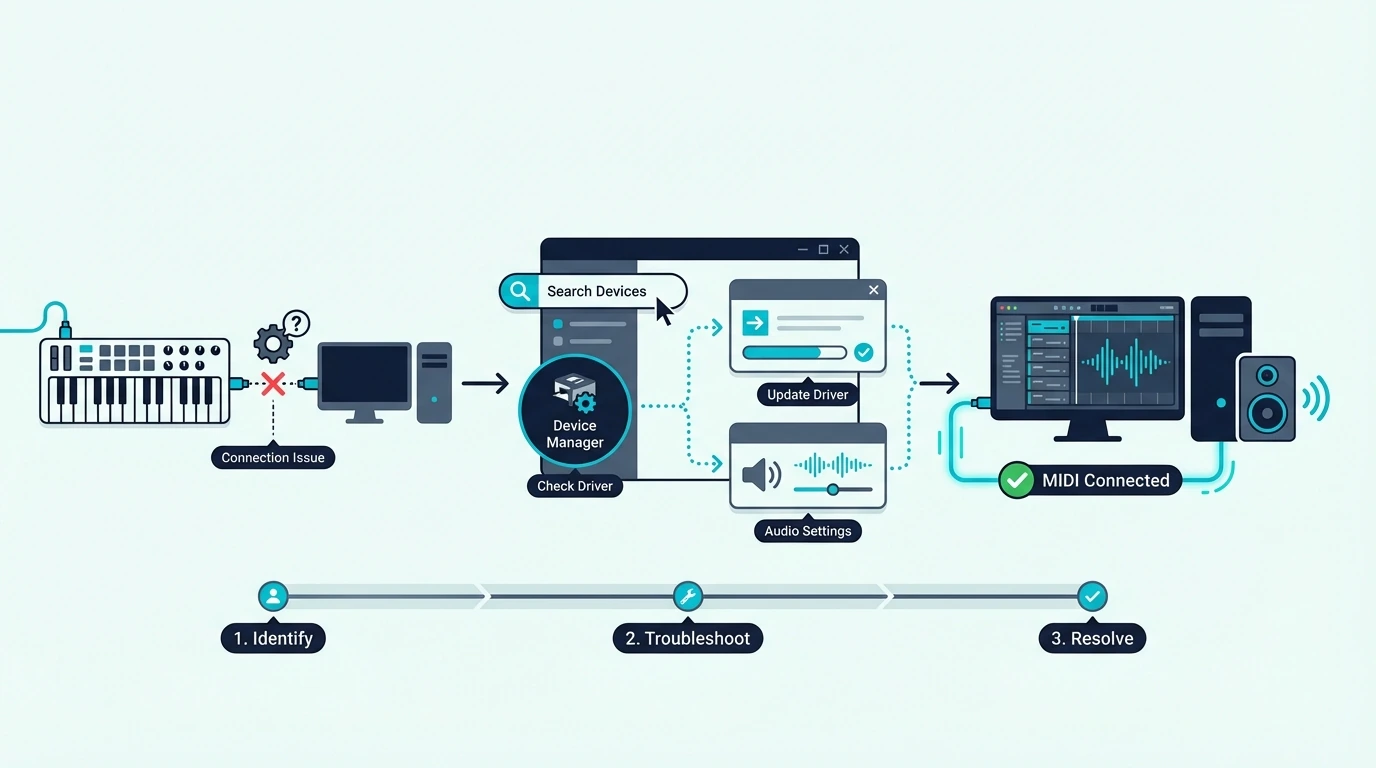
Windows PCs introduce connection issues that Mac users never encounter. Here are the fixes for the most common problems.
Driver Conflicts With Multiple USB Devices
Windows sometimes assigns the wrong driver to a USB MIDI keyboard when multiple audio devices are connected. If your controller stopped working after connecting a new USB device, open Device Manager, find the MIDI keyboard, right-click it, and select “Update driver.” Choose “Search automatically” and Windows reinstalls the correct driver.
Alternatively, unplug all other USB audio devices, reconnect just the MIDI keyboard, and verify it works alone before adding other devices back one at a time.
Windows Audio Exclusive Mode Blocking MIDI
Some Windows audio settings prevent MIDI devices from functioning alongside your audio output. Right-click the speaker icon in the system tray, select “Sound settings,” click your output device, and under Advanced settings, uncheck “Allow applications to take exclusive control of this device.”
This setting often causes DAWs to fail to initialize the audio driver when a MIDI keyboard is connected. Disabling exclusive mode resolves the conflict.
USB Power Management Disconnecting Controllers
Windows power management can disable USB ports to save energy, disconnecting your MIDI keyboard mid-session. Open Device Manager, expand “Universal Serial Bus controllers,” right-click each USB Root Hub entry, select Properties, and under the Power Management tab, uncheck “Allow the computer to turn off this device to save power.”
This prevents Windows from unexpectedly killing the USB connection during long production sessions. A budget controller like the midiplus AKM320 draws minimal power, so this setting rarely affects it, but controllers with LED-backlit pads and multiple knobs are more susceptible to power management disconnects.
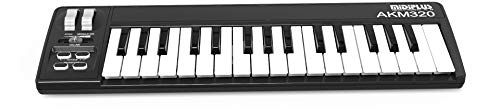
midiplus AKM320
5-Pin MIDI Keyboards On PC
Older keyboards with 5-pin DIN MIDI connections (no USB) require a USB-to-MIDI interface to connect to a PC. These interfaces plug into a USB port and provide MIDI IN and MIDI OUT jacks for your 5-pin cable.
The interface appears as a MIDI device in your DAW, and the setup process from Step 4 onward is identical to USB controllers. Quality USB-to-MIDI interfaces cost under twenty dollars and add negligible latency.
Get Studio Tips Weekly
Join 5,000+ creators getting acoustic treatment advice every week.
No spam. Unsubscribe anytime.Which DAW Setup Works Best for MIDI on Windows PC

Different DAWs handle MIDI setup slightly differently on Windows. Here is the quick configuration for the most popular platforms.
FL Studio On Windows
FL Studio is the most popular DAW for Windows producers. Open Options, MIDI Settings, enable your controller in the Input list, and the keys play whichever channel rack channel is selected. For FL Studio-specific controller setup, check whether your controller has a dedicated FL Studio script in the Controller Type dropdown.
Ableton Live On Windows
Open Preferences (Ctrl+Comma), navigate to Link/Tempo/MIDI, and enable both Track and Remote for your MIDI controller’s input port. Close Preferences and Ableton routes MIDI to whichever track is selected. For Ableton-specific integration, select your controller type from the Control Surface dropdown if available.
Cakewalk On Windows (Free)
Cakewalk by BandLab is the most capable free DAW on Windows. Open Preferences, MIDI, Devices, and check the box next to your controller in the Input list. Cakewalk detects class-compliant controllers automatically, and the MIDI setup mirrors most professional DAWs.
GarageBand Alternative For Windows
GarageBand does not exist on Windows. The closest free alternatives are Cakewalk (full-featured DAW), BandLab online (browser-based), or the lite DAW versions bundled with MIDI keyboards — Ableton Live Lite (bundled with M-AUDIO and Novation controllers) and MPC Beats (bundled with Akai controllers).
The Bottom Line
Connecting a MIDI keyboard to a Windows PC requires one extra step compared to Mac: installing an ASIO driver for low-latency audio. Without ASIO, the 50-200 millisecond delay makes real-time playing unusable. With ASIO configured, the experience matches Mac-level responsiveness.
USB class-compliant controllers like the Akai MPK Mini MK3 and M-AUDIO Keystation 49 MK3 work on any Windows 10 or 11 PC without manufacturer drivers. Plug in, enable in your DAW, configure ASIO, and play.
Frequently Asked Questions
Why does my MIDI keyboard have latency on PC?
The default Windows audio drivers (WDM/MME) add significant latency. Install an ASIO driver (ASIO4ALL for free, or your audio interface manufacturer’s ASIO driver) and select it in your DAW’s audio settings. Set the buffer to 256-512 samples for sub-10ms latency.
Do I need drivers for a USB MIDI keyboard on Windows?
Most modern USB MIDI keyboards are class-compliant and work without manufacturer drivers on Windows 10 and 11. Windows installs a generic USB MIDI driver automatically. Only older controllers (pre-2015) or those with proprietary features may require manufacturer-specific drivers.
Can I use a MIDI keyboard without a DAW on PC?
You need software to generate sound from MIDI input. Free options include Cakewalk by BandLab (full DAW), virtual piano applications, and the lite DAW versions bundled with most MIDI keyboards. Without software, the MIDI keyboard sends data but nothing produces audio.
What is the best free DAW for MIDI keyboard on Windows?
Cakewalk by BandLab is the most capable free DAW on Windows — unlimited tracks, professional mixing, and full MIDI support. Ableton Live Lite (bundled with many controllers) is another strong option. Both handle MIDI input from any USB controller without additional configuration.