
Pioneer’s DJ controllers unlock Rekordbox’s full potential for intuitive music management and low-latency mixing.
The deep integration between Pioneer’s hardware and Rekordbox software enables DJs to customize configurations for smooth creative expression.
Let’s explore Pioneer gear compatibility further and how to optimize controllers working with Rekordbox.
What DJ controllers work with Rekordbox?
The majority of Pioneer DJ’s controller hardware works seamlessly with Rekordbox software. This includes various DDJ models, XDJ all-in-ones, and some certified Mixars units that sync perfectly for music management and live performance after setup. We’ll analyze the depth of this integration further below.
What is Rekordbox?

Rekordbox is a specialized software made specifically by Pioneer for working DJs to help manage their music files and prepare playlists for performances. The software allows DJs to analyze their tracks to detect tempo, set cue points, add effects, and handle all the preparation work required before playing music live. Rekordbox is designed to integrate directly with Pioneer’s own DJ controllers and mixers to provide a complete hardware and software solution.
An important feature of Rekordbox is the different performance modes it offers to work with stand-alone controllers or with a computer. This allows DJs flexibility when using the software in different setups and venues. Whether playing off a laptop Rekordbox library or a USB drive, compatibility with Pioneer gear is seamless. For DJs who use Pioneer equipment, having Rekordbox is essential.
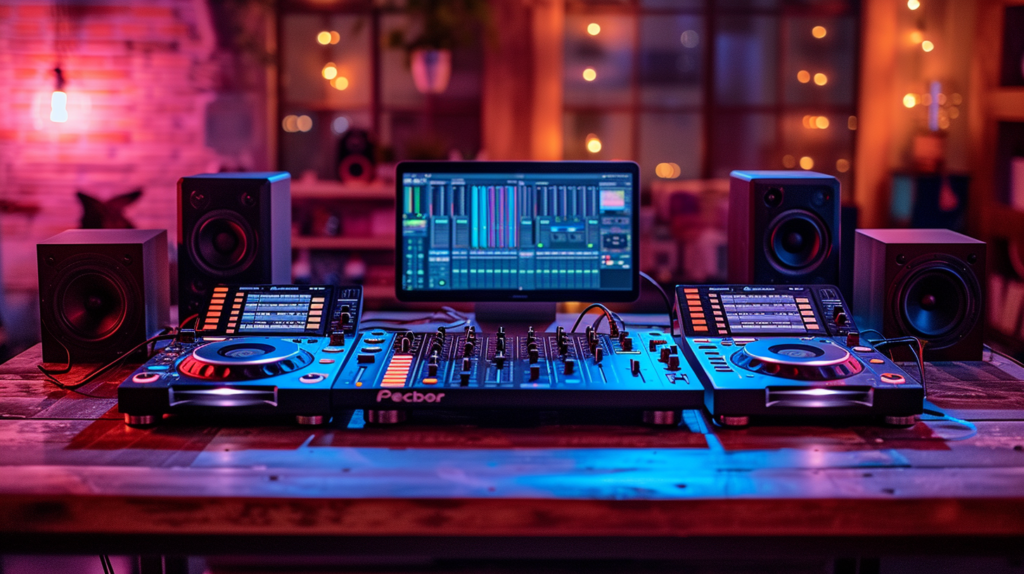
Pioneer DJ Controllers Compatible with Rekordbox
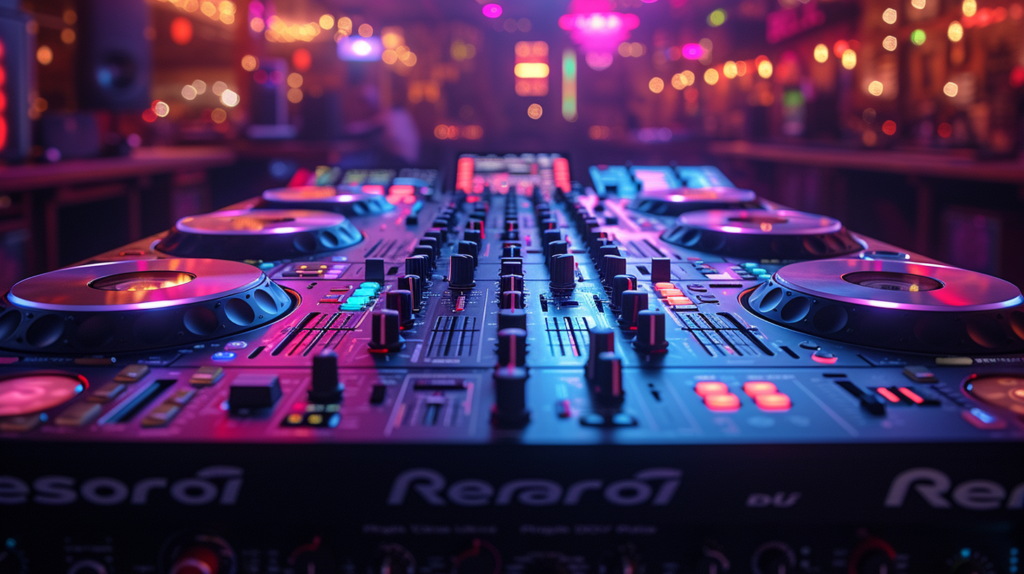
Pioneer has a wide range of DJ controllers and hardware that are designed to work perfectly with Rekordbox software right out of the box. This offers complete integration of music management and live performance capability for DJs. Here are some of the major Pioneer gear that supports Rekordbox compatibility:
Entry-Level Controllers
For those just starting out with DJing, Pioneer offers some more affordable controllers to use with Rekordbox software. Popular models are the DDJ-200 and DDJ-400, which offer features like jog wheels, performance pads, mixer controls, and device syncing with Rekordbox. The entry-level controllers are slimmed down to focus more on helping learn DJ techniques and how to use Rekordbox properly.
Advanced Controllers
Once DJs are ready to play more professional gigs, Pioneer offers advanced controllers that unlock more creative features. The flagship DDJ-1000 model offers large jog wheels, RGB colored pads, mixer effects, and supports 4-channel output. Another popular choice is the DDJ-SZ controller, which mimics the layout of Pioneer’s top DJM club mixers. These controllers allow extensive customization to suit a DJ’s personal workflow.
All-In-One Controllers
The XDJ line from Pioneer represents all-in-one controllers that have everything built right in. Models like the XDJ-XZ provide players, mixer, screens, and sliders all within a single unit. Having displays to view music libraries and waveforms means DJs don’t need a laptop. The XDJ-RR offers a slimmed down 2-channel version. Both are Rekordbox compatible.
Third-Party Support
In addition to their own hardware, Pioneer works closely with brands like Mixars to offer official Rekordbox certification on their controllers. DJs have even more options this way to suit different budgets and preferences while retaining seamless integration with Rekordbox DJ software. Support for different gear continues to expand.
Key Features to Use with Rekordbox
Having the right controller hardware unlocks many useful features when DJing with Rekordbox software. While different models offer varied feature sets, there are some core functions they tend to have in common for integration with Rekordbox such as:
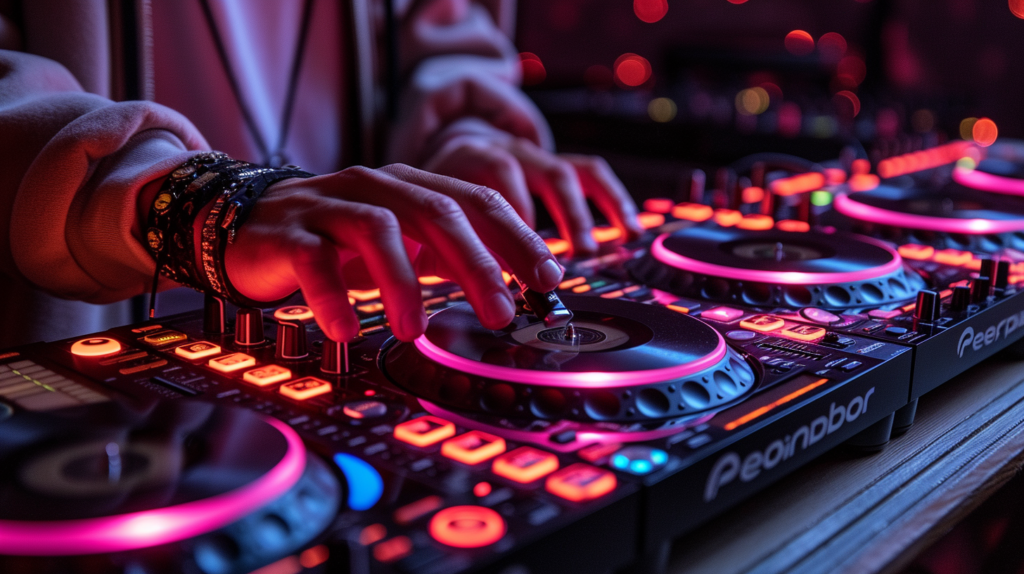
Jog Wheels
All compatible controllers come with touch-sensitive jog wheels for cueing tracks and scratching. The jog wheels simulate vinyl turntables, allowing DJs to speed up, slow down, spin, stop or reverse the music playback manually. The large, weighted jog wheels with adjustable tension mimic real decks for intuitive control.
Cue Points
Setting cue points in tracks ahead of time in Rekordbox’s library is crucial for live mixing and performances. DJ controllers have specialized buttons so accessing these cue points on the fly is quick and effortless. Multiple cue buttons allow jumping between different parts of the tracks.
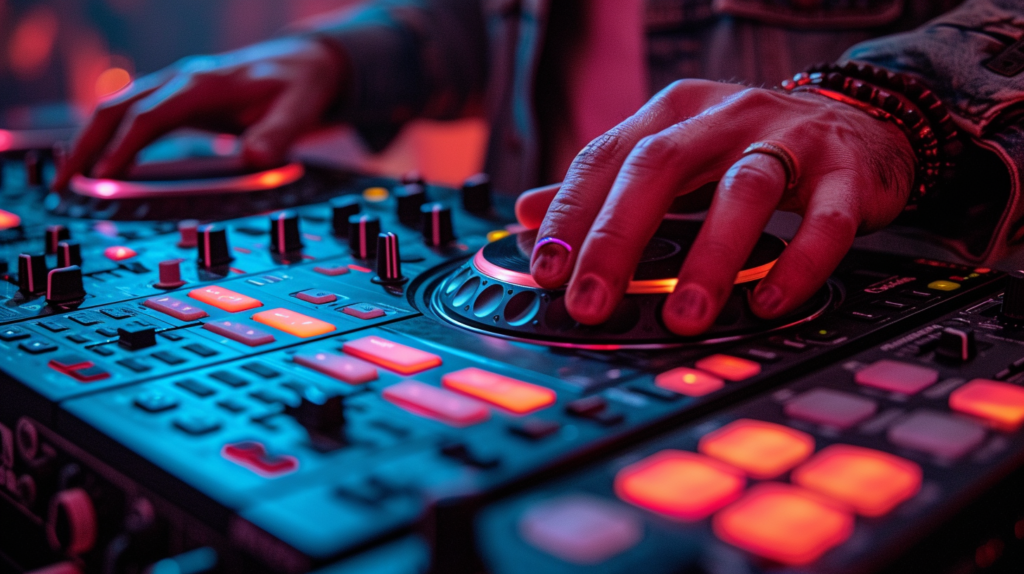
Performance Pads
Modern controllers incorporate large pads with RGB lighting that provide tactile control options for loops, beats, sampling and more. The pads can trigger one-shot samples or sustained loops seamlessly, adding creative dynamics. Pads even enable drumming out beats in real-time to layer over tracks.
Browsing and Loading
At the heart of the hardware and software integration is browsing music and loading tracks instantly off the Rekordbox library. Controllers simplify search, previewing and loading tracks even mid-performance so DJs can react fluidly. Everything stays perfectly in sync thanks to the integration.
Mixing Controls
Each controller also provides an array of channel faders, knobs, and buttons for controlling transitions and mixes between tracks. DJs can adjust EQs, levels, crossfaders and add effects; all the adjustments mirror on the software visually. Advanced controllers include filters, isolators and other creative controls.
Effects and FX
Applying effects like reverb, echo, delay help spice up transitions and buildups. Controllers let DJs trigger effects instantly, and many models include touch strips for dynamics and manipulating FX in real time. Especially flashy are Color FX which add trippy filters to tracks for visual energy.
Setup and Configuration
While Pioneer controllers are designed to work out of the box with Rekordbox nicely, DJs should still spend a bit of time setting things up tailored to their preferences and techniques. Proper configuration improves the hardware integration drastically.
Connecting and Audio
The first step is connecting the DJ controller hardware via USB to the computer running Rekordbox. Ensure the drivers are installed properly and the device mapped correctly. Set the controller as the primary audio output device within Rekordbox’s audio preferences accordingly. Audio routing to speakers or a club mixer will flow from the controller.
Customizing Jog Wheels
An important preference to set for feel is configuring the touch sensitivity and tension on the jog wheels to match your scratching and cueing style. Get these dialed in just right in Rekordbox’s settings. Testing with a variety of tracks helps settle on the responsiveness you prefer.
Mapping Pads
Take time assigning pad modes and making sure cue points, loops and samplers are set up logically for your workflow in Rekordbox. Having these performance controls mapped how you want ensures you can access them instinctively mid-performance. Arrange in order of usage frequency.
Optimizing Mixer Channel Settings
Finally, configure all the channel strip controls like crossfaders, EQ knobs, trim, filters and effects. Choose which deck layers you want active, adjust curves and channel assignments. This helps mix fluidly, especially when juggling multiple decks through complex transitions and keeping the audience dancing non-stop.
The key is investing effort initially so that your DJ gear is tailored tightly to integrate with Rekordbox perfectly. This makes playing live smooth, intuitive and focused purely on creative expression and reading crowds; not struggling with configurations. When customized properly, your Pioneer DJ controller seamlessly unleashes Rekordbox’s full potential.
Conclusion
In conclusion, Rekordbox’s seamless integration with Pioneer’s extensive DJ controller hardware unlocks powerful creative features for managing music libraries and performing live mixes. Models across entry-level, advanced, and all-in-one categories, as well as some certified third-party gear, sync perfectly thanks to customization options. Tight hardware and software unison, with rich responsive controls taking advantage of Rekordbox’s core capabilities, makes these DJ controllers top choices. After proper setup and configuration to optimize the workflow, DJs can craft captivating sets.