
Do you ever fumble with tangled wires and mismatched inputs trying to connect your DJ controller, only to end up with bad sound quality or no audio at all coming through the speakers? Properly interfacing the controller with an audio mixer is key to avoiding performance-killing problems. Let’s dive in to some expert techniques for solid, reliable connectivity that makes mixing magic possible.
How to Connect a DJ Controller to a Mixer
The key steps are to match your cables to the inputs and outputs between devices, adjust channel gains for proper signal levels without distortion, assign channels to the crossfader, and tweak settings in DJ software. We’ll explore specifics on making rock solid connections below.
Choose Your Equipment
When setting up your DJ controller with a mixer, the first step is to decide what equipment you need. The main pieces are the DJ controller itself and the mixer. There are many options available from brands like Pioneer, Numark, Denon, Roland, and others.
The DJ controller is the central device that will allow you to playback music, manipulate tracks, and perform mixes. Controllers come in different sizes, shapes, and capabilities. You’ll want to pick one that fits your budget and has the features you’re looking for. This may include jog wheels, performance pads, faders, buttons, knobs, inputs/outputs, and software compatibility.
For the mixer, you’ll need to determine how many channels you require. A basic 2-channel mixer provides inputs for connecting two sound sources, usually with a crossfader between them. Larger 4-channel, 6-channel, and even 8-channel mixers allow you to connect more media players, turntables, microphones or other devices. Consider if you want effects, EQs, meters, or other functions built into the mixing board.
You’ll also need cables for connecting the DJ controller outputs to the mixer inputs. These are typically RCA or 1/4″ TRS cables. Make sure you have the right type and enough length for your setup. Investing in quality cables helps ensure maximum audio signal transfer.
Connect the Audio Outputs
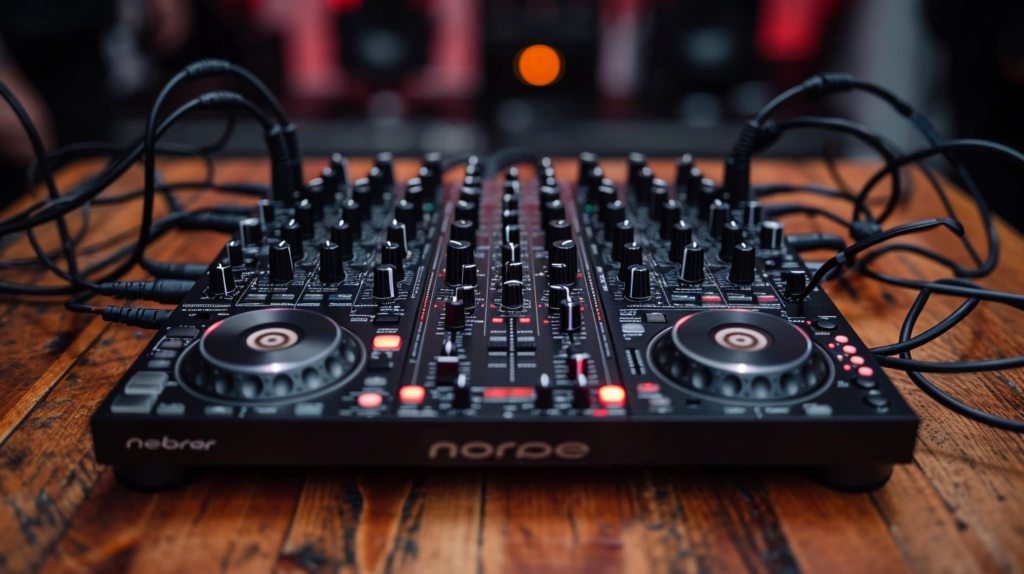
After choosing your DJ gear, the next step is connecting the audio outputs from your controller to the inputs on the mixer. The way the links are made will depend on the exact equipment you’re using, but the general process is the same.
Locate the main audio outputs on your DJ controller. These will typically be a pair of RCA jacks or 1/4″ TRS outputs, usually labeled “Master Out.” If your controller only has a single stereo output, you may need a “Y” splitter cable to connect both right and left channels.
For the mixer, you will want to plug the DJ controller outputs into Line level inputs, usually labeled “Line” or “CD”. Avoid connecting to Phono inputs which are meant for turntables. Line inputs are designed for modern digital signals instead of the weaker phono-level sources.
If your mixer has multiple line input channels, connect the controller to the first pair. For example, use Line 1/2 on a 4-channel mixer. This leaves the other channels open for adding more media players or external mixing devices later on.
The cables you use, either RCA or TRS, need to match up on both ends. Make sure the red RCA connectors go to red inputs/outputs for right channel and white goes to white for left channel. For TRS cables, the tip carries left audio, ring carries right audio and sleeve is common ground.
As far as cable length, shorter connections can provide better sound quality. However, make sure cables are long enough to comfortably reach between the DJ controller and mixer based on their positioning. Coiling up extra long cables can cause interference.
Connect Headphones

Cueing tracks through headphones before playing them live is an essential DJ skill. Headphone connectivity allows you to preview music to beatmatch tempos and align downbeats between songs.
Typically, you would plug your headphones directly into the headphone jack on the DJ controller. Nearly all standalone controllers have a dedicated headphone output specifically for cueing. This routes the headphone audio separately from the master outputs that go to the mixer and main speakers.
However, some DJ mixers also have headphone jacks. These will allow you to listen to cue signals from the mixer channels directly, in addition to the controller. Having both options enables more flexible monitoring between media players, controllers, turntables etc.
To cue tracks using the DJ mixer, press the Cue button for any channel to send the audio to headphones. Adjust the mixer’s headphone volume and cue/master blend controls as needed. Use mixer channel faders, gains and EQs to prime tracks before bringing them live.
For cueing tracks through the controller, use the software and hardware controls to send audio to the headphone out. Load songs to decks, set cue points, adjust gains, and mix songs by crossfading between decks.
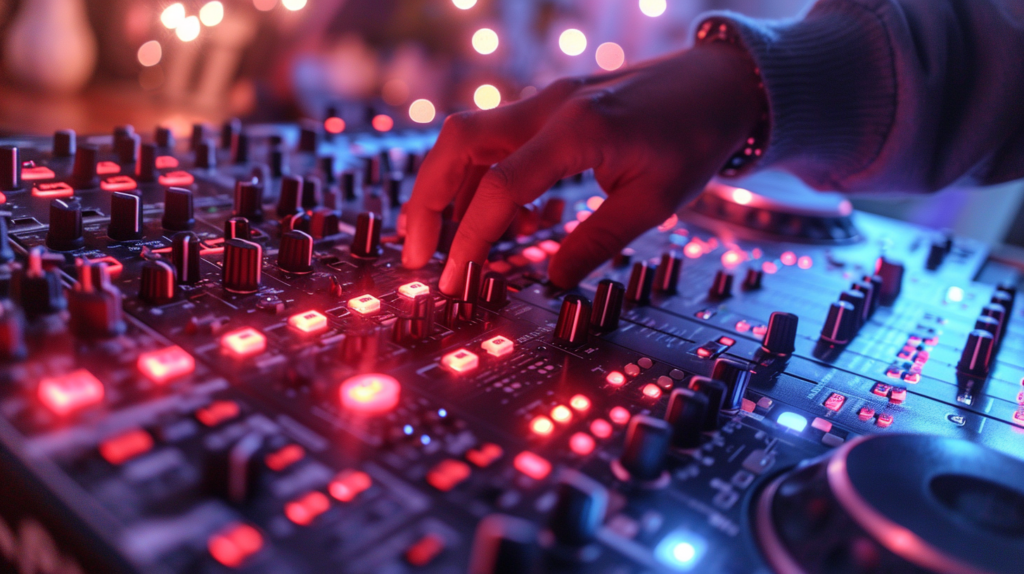
Set Channel Levels
When connecting multiple devices to a DJ mixer, it’s important to set proper gain staging and volume levels. Having signals that are too quiet or overly amplified will make smooth, seamless mixes challenging.
Start by ensuring the channel faders and gains/trims are completely down on the mixer for all channels the controller is connected to. Power on the controller and mixer before starting any software or music playback to avoid speaker pops.
In the DJ software/firmware, set channel output levels to maximum. Load an audio track to a software deck and let it play. Slowly increase the mixer’s channel gain or trim knob until signal meters are showing proper levels.
Aim for maximum levels on sound meter peaks falling around -12dB to -6dB, leaving some additional headroom below 0dB clipping. Adjust controller master levels lower if mixer gains need to be set too low.
Repeat this process for any other software decks and audio connections to the mixer. The goal is to end up with all channels—controller, media players etc.—having similar output levels going into the mixer. Then final master mix levels are controlled with the channel faders and master output.
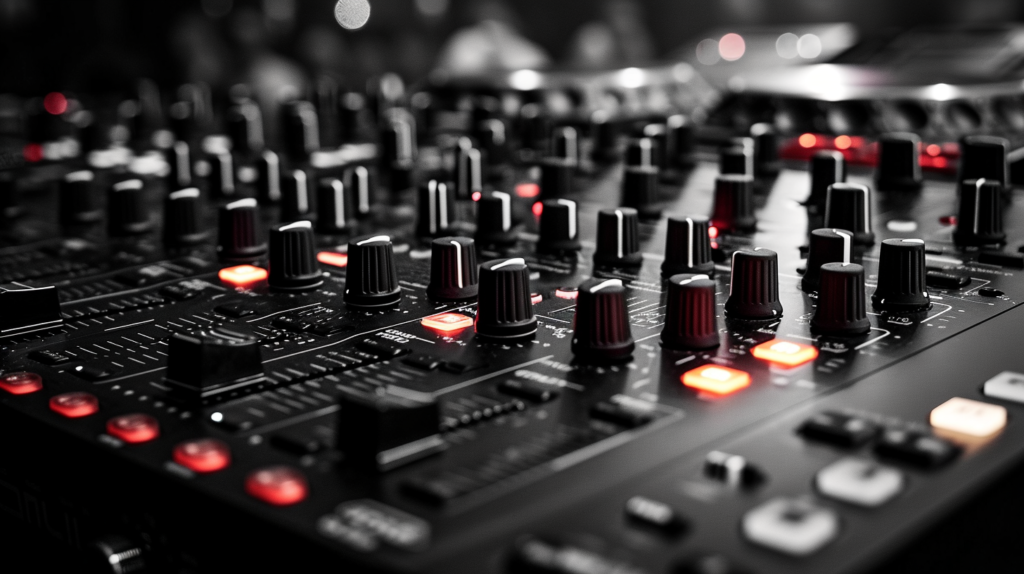
Set Crossfader Assignments
The crossfader on a DJ mixer allows you to transition smoothly between separate audio channels. Setting which channels are controlled by the crossfader is important for mixing recordings together.
Most 2-channel mixers have a simple left/right crossfader assignment between inputs 1 and 2. However, larger mixers offer more customizable options per channel. This allows you greater flexibility in what gets mixed using the crossfader.
A common configuration is to assign mixer Line 1/2 feeds from the primary DJ controller to the crossfader left/right sides. Then channels 3/4 could be reserved for alternate media players like turntables or CDJs used alongside the controller.
Another option is to set channels 1 and 3 left of the crossfader and channels 2 and 4 to the right side. This gives two input pairs on each side for more intricate mixing possibilities.
Many advanced mixers allow custom crossfader curve adjustments as well. A curve control changes how fast the audio transitions from one side to the other. Special effects like crossfader scratches rely on dialing in just the right curve setting.
Mix and Scratch

Once your DJ gear is interconnected and configured, it’s time to mix! Load up some great tracks and start blending them together. The controller crossfader, jog wheels, and mixer controls all work together for creative transitions.
Use the controller playback buttons, rotary knobs, or software interface to get songs started. Beatmatch tempos between decks through pitch faders or keylock functions. Sync downbeats with phase meters and nudging techniques.
Fade between tracks using the DJ software or external crossfader on the mixer. Slow blends work well for house/techno mixes while quick, cut-filled scratches shine in hip hop sets. Add effects from either device to build energy.
Practice scrubbing and brake style scratches by manipulating the controller jog wheels. Adjust software settings to change vinyl mode and platter tension response or sensitivity. Browse loops, samples and cue points to mix in creative elements on the fly.
Having both hardware controls on the controller and mixer knobs at your fingertips gives greater performance flexibility. Blend together all tools at your disposal to take DJ mixes to the next level.
Consider Advanced Connections

The basic DJ controller and mixer workflow detailed above provides solid mixing capabilities. However, creative DJs can expand even more by incorporating additional types of gear.
Consider adding media players like CDJs or turntables to your existing controller/mixer setup. Connect these to unused line inputs on the mixer to access their advanced features. This allows playback from all sources at once.
For example, cue tracks on the controller while vinyl records or CDs play out live on the other channels. Use mixer switches to transition between them all fluidly.
If including analog turntables, connect grounding wires and make sure Phono input channels are set correctly with the right loading capacitance and amplification.
For syncing vintage gear with modern controllers, MIDI connectivity can help. Some DJ mixers allow MIDI over USB or 5-pin DIN cables to integrate timing, transport controls, BPM data and more between different hardware and software.
Exploring additional audio, MIDI and lighting gadgets can enhance performances further. Bring that mobile DJ rig to the next level!
Conclusion
Connecting a DJ controller to a mixer opens up more creative performance potential. With the right cabling between devices, input gain staging, fader assignments and software settings, these tools can work together seamlessly. Practice mixing tracks, scratching, adding effects, syncing equipment with MIDI and more. As you become adept through regular use, your DJ abilities will continue growing. Implement some of the advanced connectivity options down the road to build an even more powerful hybrid setup.