Struggling with thin, weak sound from your new Sony soundbar?
Adding a powered subwoofer is the perfect way to achieve room-shaking bass, but what if your model didn’t come with a remote control?
The good news is you can easily connect your existing Sony sub to the soundbar without needing the remote at all.
With just a few simple connections and audio adjustments outlined step-by-step, you’ll unlock the full home theater experience.
Let’s dive in to the straightforward process of integrating subwoofer bass to your soundbar system manually for more captivating audio immersion.
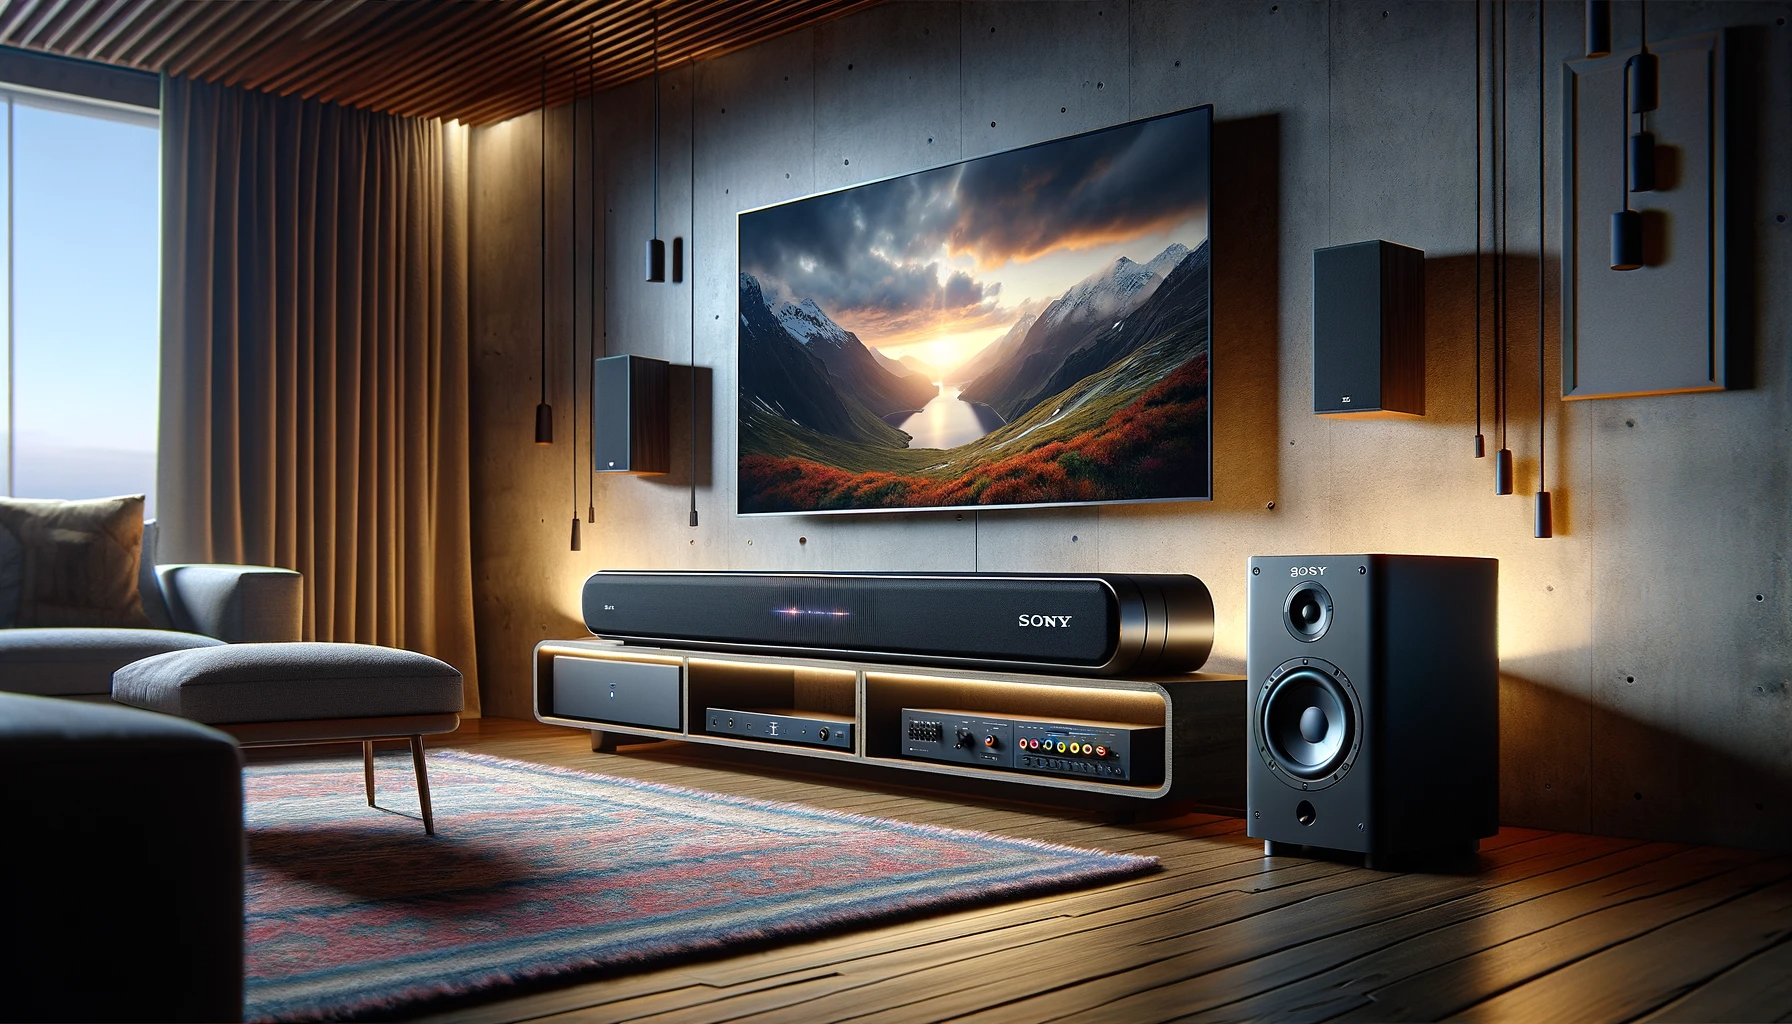
How to Connect a Sony Subwoofer to a Soundbar Without a Remote

Connecting a Sony subwoofer to a soundbar without the remote is easy.
Simply use RCA cables to connect the subwoofer outputs on the soundbar to the inputs on the subwoofer.
Then enable the subwoofer setting in the soundbar’s audio menu.
Test with bass-heavy content to ensure a solid integration before enjoying.
We’ll explore more specifics on executing this process smoothly now.
Check Soundbar Connections

When connecting a Sony subwoofer to a compatible Sony soundbar system, the first step is to familiarize yourself with the input and output connections available on the back of the soundbar itself.
Most Sony soundbars feature an array of audio connections to facilitate connection to your TV and other home audio components.
These connections can include one or more HDMI ports, an optical digital audio input, analog RCA audio inputs, and crucially for subwoofer connectivity – a dedicated subwoofer pre-out.
The subwoofer pre-out on a Sony soundbar is typically a pair of RCA style outputs that provide the low frequency audio signal that powers an external sub.
Before connecting the Sony subwoofer itself, you’ll want to check the back of your soundbar unit and locate the specific subwoofer pre-out connectors.
They are often colored red and white to denote right and left audio channels.
Make note of where this subwoofer output is located on your soundbar as you will need to connect it shortly using an appropriate RCA stereo audio cable.
Also take stock of what other equipment you have connected to the soundbar such as an HDTV via HDMI, a media streamer via optical input, or a game console via analog input.
Make sure all of those connections are solid and that audio plays properly through the soundbar before moving to the sub hookup stage.
Connect Subwoofer to Soundbar
Once you have confirmed the subwoofer pre-out RCA connection points on the back of the Sony soundbar, connecting the compatible Sony subwoofer itself is straightforward.
First, make sure both the subwoofer and soundbar units are powered off and are placed in reasonably close proximity to one another.
Then, grab a stereo RCA audio cable, sometimes called a subwoofer cable.
You’ll want to choose one of adequate length to comfortably span from the soundbar output to the subwoofer input.
With the equipment powered down, insert one end of the stereo RCA cable into the subwoofer pre-out jacks on the back of the soundbar unit.
The connectors are color coded; the white plug should fit snugly into the white port, while the red connector should slide securely into the red port.
With one end of the RCA stereo cable now attached to the soundbar, grab the opposite end of the cable with the two audio plugs.
Bring it over to the Sony powered subwoofer, located nearby.
On the rear or side panel of the Sony sub, there should be a corresponding pair of RCA style input jacks, often labeled simply as “inputs.”
As with the soundbar end, match the colors appropriately so the red RCA plug fits into the red input jack, and the white goes to white.
You may need to remove protective caps from the RCA jacks on the subwoofer first.
Push each plug in completely so both left and right RCA connections are solidly homed in their
respective input ports on the sub.
Visually inspect to confirm all plugs are properly inserted with no loose connections.
Configure Soundbar Settings

With the physical connections between soundbar and subwoofer now complete via the RCA cable, the next step is to power up the components and configure the soundbar settings to recognize and utilize the Sony sub.
Begin by plugging in both the soundbar and subwoofer power cables if you haven’t already done so.
Power on the soundbar first by pressing the appropriate button on the main console or remote.
The subwoofer should automatically power on shortly after, either via auto signal sensing circuitry or a discrete power toggle if present.
Give the system a few moments to initialize and stabilize.
You may see lights, meters, or icons momentarily blink or flash on either component during this process.
Once ready, the soundbar should show normal operational status like the currently selected input or listening mode.
If audio content begins playing from a synced TV or media source, mute it for now so you can focus on the configuration steps.
The next task involves accessing the audio settings menu on the Sony soundbar for subwoofer adjustment.
On many models this can be done by locating and pressing the “Settings” or similarly labeled button on the soundbar’s control panel or remote if available.
Use arrow keys and the “Enter” button to navigate to the appropriate subwoofer menu section, often called “Speaker Settings.”
Here you will see one or more parameters related specifically to the subwoofer functionality including:
* Subwoofer Audio: Off/On/+10dB
* Subwoofer Crossover Frequency: 80Hz/120Hz/150Hz
* Subwoofer Level: Various dB increments
For basic sub connection, the most important setting here is Subwoofer Audio which should be toggled to “On.”
This activates the soundbar’s subwoofer channel so bass frequencies are directed through the pre-out cables.
The Crossover Frequency determines the cutoff point where low frequencies get redirected to the subwoofer; 80Hz is common.
Sub Level controls the volume of bass tones sent to the subwoofer.
Start at a midpoint value.
Navigate to and adjust each setting accordingly using the soundbar remote.
Test Subwoofer Connection

With the physical connections secured between Sony soundbar and powered subwoofer, and the relevant soundbar audio parameters properly adjusted to enable the sub, it’s now time to test everything out.
This testing and troubleshooting stage is important to confirm smooth subwoofer integration and solid bass performance.
Mute or pause any background audio temporarily so you can clearly focus on tones produced by the sub itself.
Access a familiar bass-heavy audio or video source like streaming music or a Blu-ray concert film.
As the content begins actively playing through the Sony sound system, concentrate your listening specifically on the subwoofer speaker.
You should clearly hear strong, accurate bass notes and frequencies originating from that cabinet if wired correctly.
Walk around the subwoofer to verify bass tones remain consistent in volume and character; there should be no audible fluttering or interruptions.
Listen to the clarity and precision of complex low frequencies like bass guitar lines and kick drum patterns.
Also pay attention to the overall blend and balance between soundbar speakers and subwoofer.
There shouldn’t be a noticeable gap between where the soundbar leaves off and sub kicks in; the crossover transition should be relatively seamless.
Make subtle volume tweaks on the subwoofer itself if needed to achieve smooth balance with the soundbar output level.
Small incremental adjustments to the crossover value can also help integrate the sub blend.
Listen closely for about 10 minutes factoring in a wide range of musical content.
Once satisfied with the blend and bass response, enjoy your favorite audio through the full Sony home theater system!
Troubleshoot Issues

In some cases, you may run into problems when attempting to connect a Sony subwoofer to a compatible soundbar model.
If no audio comes through the sub when testing bass material, there are a few key troubleshooting tips to resolve common hookup issues.
Start by double checking all physical connections between the two components using the steps outlined earlier.
Verify RCA cables are fully seated in the appropriate ports without any loose plugs or gaps.
Also check that power cables are securely inserted on both pieces, LEDs are illuminated showing proper power up, and power outlets are active.
If connections check out, access the soundbar configuration menu again scrolling to the section governing the subwoofer settings.
Confirm the Subwoofer Audio parameter is toggled to “On” so the soundbar sends low frequency signals through the sub out.
Scroll through other settings like Sub Level and Crossover Freq to rule out accidental mute or signal loss.
Try resetting applicable soundbar settings to factory default in case changes were incorrectly applied.
Also eliminate other potential points of failure between source devices and the soundbar.
Swap out HDMI or other cables connecting Blu-ray players, streamers or game consoles into the soundbar.
Change inputs if needed or connect audio directly using auxiliary cable rather than relying on HDMI ARC for example.
If bass issue persists on all sources, unplug then re-seat the RCA cables linking soundbar to subwoofer.
Power cycle components after adjusting cables or settings.
These tips should help isolate and address common integration problems with a Sony powered subwoofer.
Connecting and integrating a Sony powered subwoofer with a compatible Sony soundbar system does not require advanced A/V calibration or equipment.
In most cases the setup process is straight-forward – simply linking the physical RCA audio cables between outputs and inputs respectively, then configuring key soundbar settings for sub management.
Taking care to properly check connections, cables and audio parameters as outlined above will assure a solid subwoofer foundation to complement the satellite speakers for more complete, bass-enhanced home theater enjoyment.
Conclusion
Connecting a Sony subwoofer to a compatible soundbar without a remote does not have to be complicated.
By following the outlined steps to check soundbar connections, securely link the subwoofer using RCA cables, configure the appropriate audio settings, test the subwoofer response, and troubleshoot any issues, you can achieve excellent bass performance to complement your soundbar system.
With some careful setup and testing, you’ll be enjoying impactful home theater audio in no time.