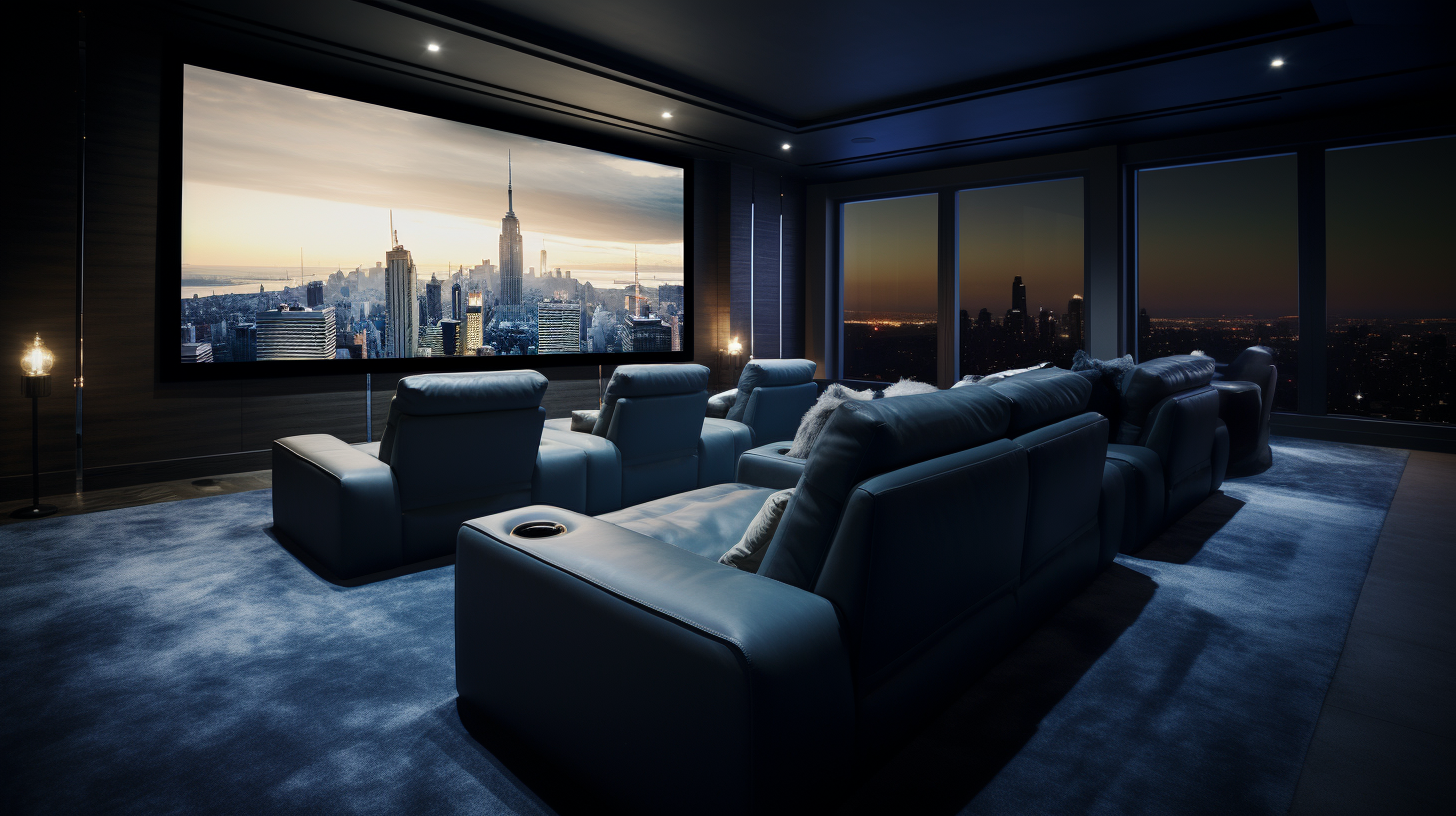
Nothing wrecks a thrilling movie night like noise complaints from the neighbors.
Properly soundproofing your home theater allows you to enjoy immersive audio at any volume without disturbances.
Let’s dive into the key steps for superior sound isolation in your cinema space.
Why Soundproof Your Home Theater?

Before diving into the how-to steps, let’s look at why soundproofing is so critical for an enjoyable home theater.
Block Disruptions to Other Household Members
Powerful home theater speaker systems combined with high impact movie sound effects will have no problem penetrating interior walls and floors.
The resounding booms, explosive crashes, screeching tires, and rumbling engines common in action movies and video games can easily travel through your home and disrupt other household members.
Loud movies late at night will quickly lead to complaints from family members trying to sleep.
Soundproofing contains this noise so it does not disturb your partner, children, roommates or anyone else in your home.
Treating sound leakage points provides noise isolation so you can enjoy full audio immersion without bothering anyone else in the house.
Prevent Noise Complaints from Neighbors
In apartments, condos, duplexes and other shared dwellings, containing sound is especially critical to avoid disturbing your neighbors. Even normal volume levels can transmit through walls and ceilings to neighboring units in multi-family homes.
And high volume movie playback will certainly generate complaints from neighbors trying to enjoy peace and quiet or sleep.
Installing soundproofing measures isolates your home theater sound so neighbors aren’t bothered by loud explosions, screeching car chases or alien battle scenes at all hours.
This allows you to enjoy movies and music during any part of the day without noise complaints. Proper sound isolation between units maintains good neighborly relations.
Block Unwanted Ambient Noise
In addition to containing your own sound, effective soundproofing also blocks external noise from entering your home theater space.
This ambient noise can include loud HVAC systems, appliance noise from washers, dryers or refrigerators, parking lot noise, traffic sounds, noisy neighbors and more.
Preventing these unwanted noises from infiltrating your home theater space allows for clearer audio and a more immersive listening experience without distractions. Focus on soundproofing exterior facing walls, windows, doors and ducting to block this ambient noise pollution.
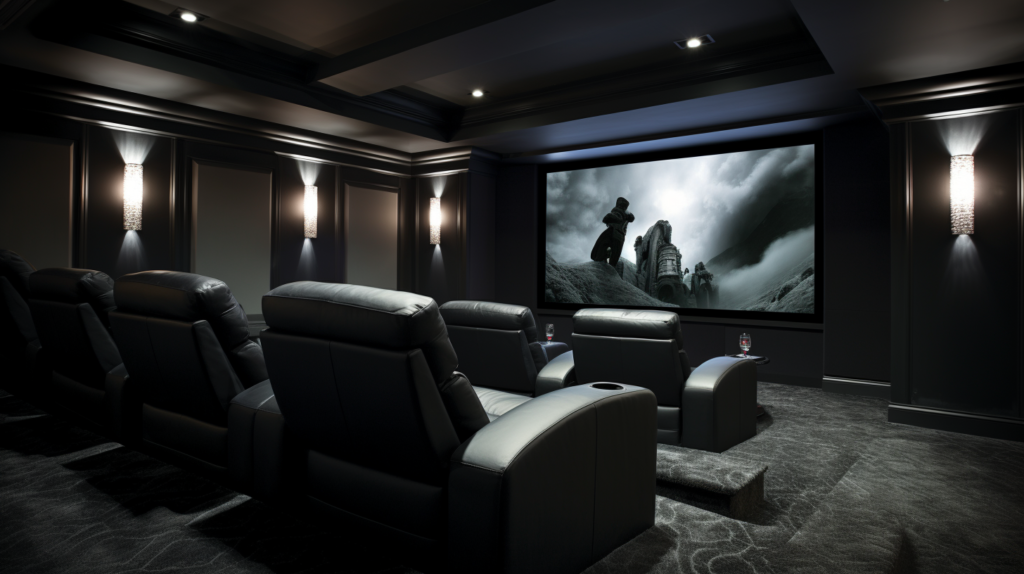
Achieve Privacy Over Listening Levels
Soundproofing also gives you the privacy to listen at desired volumes without bothering others. Whether for intense action movies, concert films or video games, uninterrupted listening at loud volumes enhances immersion.
Containing the sound prevents noise complaints from family or neighbors. You can crank up the volume for key sequences without worrying about leaks disturbing anyone else in the home or building.
Sound isolation allows enjoyment of content at your preferred listening levels.
Enhance Acoustic Quality
In addition to noise isolation, proper soundproofing also provides acoustic benefits. Sound leaks not only disturb others but also degrade the interior sound quality.
Preventing sound transmission enables optimization of the sound environment with acoustic treatment. Sound absorption, diffusion and bass trapping control reverb and reflections for clearer audio.
Combining acoustic treatment with soundproofing enhances audio fidelity for an optimal home theater experience.
Proper planning, materials and execution are needed to effectively contain home theater sound. But done right, you can enjoy immersive, cinema-like experiences without interruption or complaints.
Now let’s dive into the key steps for soundproofing your home theater space.
1. Soundproof the Home Theater Walls
One of the most critical parts of any home theater soundproofing project is treating the interior walls.
With powerful surround sound systems, much of the intense movie and gaming audio will transmit directly through interior walls.
Vibrations from heavy bass and sound effects will easily transfer to wall studs, allowing noise to penetrate to adjacent rooms.
Soundproofing the walls prevents flanking noise transmission to other rooms.
Here are the vital techniques for superior wall soundproofing in a home theater:
Expose and Insulate Wall Stud Cavities
The first step is to remove any existing drywall or paneling to expose the wall stud framing and cavity space.
This allows you to access and treat the spaces between studs where sound easily transfers.
Fill these stud bays with sound absorbing insulation like fiberglass, mineral wool or cellulose.
Insulation creates resistance and friction to dampen noise vibrations within wall cavities.
An insulation thickness of at least 3.5 inches is recommended, but thicker is better for increased sound blocking.
Replace any damaged or warped studs before refinishing.
Install Resilient Channels
Resilient channels are metal furring channels that create an air gap between drywall and studs for improved sound isolation.
The channels decouple the drywall from studs so vibrating noises have difficulty transferring between them.
Installing channels horizontally along studs with the flanges attached to the studs, then attaching drywall to the opposite side divides the wall into two sound isolating planes.
This dampens noise and prevents flanking between rooms.
Using acoustic sealant between channels minimizes sound leaks. Resilient channels are highly effective for reducing sound transmission through walls.
Use Double Drywall Technique
An alternative to resilient channels is attaching double layers of drywall to the wall studs using a staggered seam approach.
Using two de-coupled drywall layers provides increased mass to block sound.
Staggering the drywall seams eliminates direct vibration transfer points between layers.
The added mass and air gap makes it harder for sound waves to penetrate.
Apply acoustic sealant between drywall layers for optimal sound containment.
Though more labor intensive, double drywall can achieve similar noise reduction performance as resilient channels.
Seal Penetrations
Holes for electrical outlets, cable feeds and ducting are common sound leak points in walls.
Outline any penetrations with acoustic sealant before inserting drywall to create an airtight buffer.
Use acoustical outlet gaskets behind receptacle faceplates. Injection foam seals smaller holes, cracks and gaps in drywall.
Proper sealing locks in sound and prevents flanking noise to other rooms.
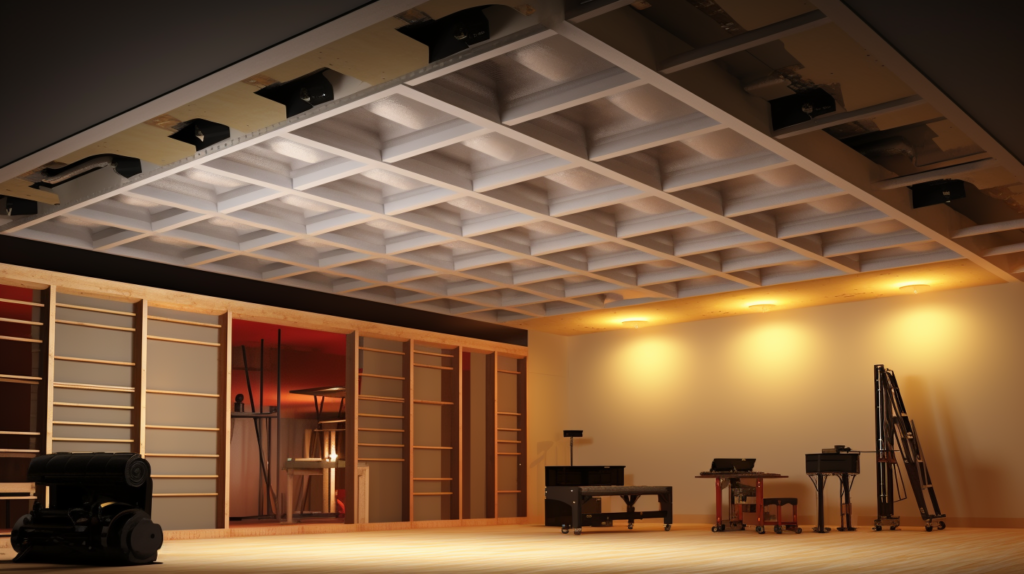
2. Soundproof the Home Theater Ceiling
The ceiling is another prime path for home theater sound leakage into other areas of the home.
Rumbling bass and high frequency sound effects can transmit vibrations directly into ceiling joists and travel upstairs to disturb household members or neighbors.
Applying similar soundproofing treatments as the walls will contain noise leaks through the ceiling.
Add Insulation in Joists
After removing any existing drywall or panels, expose the ceiling joists and insulate between them. Use sound absorbing insulation like Roxul Safe’n’Sound or fiberglass.
The insulation blocks vibrating noise by friction damping within the joist cavities.
Completely packing joists with an insulation thickness of at least 3.5 inches provides optimal sound blocking performance.
Install Resilient Channels or Double Drywall
As with walls, installing resilient channeling or double drywall techniques with staggered seams will decouple the ceiling surface from joists to prevent noise flanking.
Resilient channels work best for ceiling soundproofing, as double drywall ceilings can be prone to sagging issues over time.
Whichever technique you use, apply acoustic sealant between layers to minimize sound leaks.
Seal All Penetrations
Fill any gaps around lighting fixtures, HVAC vents, or ceiling speaker mounts with acoustic sealant for an airtight barrier.
Use metal grilles and housings for lights and speakers to prevent sound transmission.
Pay close attention to sealing ducts where they meet ceiling penetrations. Proper sealing achieves complete acoustic isolation for noise containment.
3. Soundproof The Home Theater Floor
Heavy bass and stomping effects transmit easily through floors, disturbing household members below a home theater space.
Adding mass and isolation between floor joists limits downward sound transfer.
Here are key steps for soundproofing floors:
Install Sound Damping Materials
Adding mass is critical for blocking noise through floors. Install a layer of sound damping material like mass loaded vinyl (MLV) or cork underlayment.
MLV is highly effective at damping vibrations and comes in thin, dense rolls for easy installation. Alternatively, cork underlay also helps absorb vibrations.
Glue underlayment securely across the entire floor to limit sound leaks at seams.
Build A Floating Floor
Next, construct a floating floor over the underlayment by installing a plywood base layer and using neoprene or rubber isolation clips to prevent direct contact with the subfloor.
The floating design decouples the floor from joists to prevent flanking noise.
Floating floors should have a perimeter gap filled with acoustic sealant. Top with additional MLV between plywood and finished flooring.
Add Carpet
Finally, install wall-to-wall carpeting over the finished floor. The additional rug padding adds softness to absorb sound vibrations.
Carpet also enhances acoustic control within the space. For best results, use thick, plush carpeting for superior noise blocking ability.
4. Soundproof The Home Theater Entry Door
Entry doors allow significant sound leakage that can disturb nearby rooms or spaces. Solid core wood doors provide far superior noise isolation compared to hollow core doors.
Ensure a tight seal around the jamb with weatherstripping. Install door sweeps at the base to cover any gaps.
For better results, replace hollow doors with well-insulated exterior style doors or install a second interior door.
Keeping entry doors closed is vital for preventing sound escape.
5. Soundproof Home Theater Windows
Like doors, windows are incredibly problematic for sound transmission. Replacing standard windows with thicker acoustically rated double or triple pane windows can significantly reduce noise infiltration and leakage.
If unable to replace windows, install interior window plugs or exterior storm windows for improved sound blocking.
Use thick soundproof curtains and ensure tight seals around windows with acoustic caulk to prevent sound leaks.
Windows are often the weakest acoustical link in a home, so take steps to substantially improve sound isolation.
Seal All Holes, Cracks and Gaps
Pay close attention to any cracks, holes, openings or gaps throughout the home theater space. Though small, these all allow sound to radiate out into adjacent areas.
Thoroughly seal air vents, electrical outlets, cable feeds, baseboards, and moldings with acoustic caulk. Use metal plates to cover switch and outlet boxes on shared walls.
Look for any tiny openings or imperfections during the sealing process. Leaving any holes unsealed can compromise all your other soundproofing efforts.
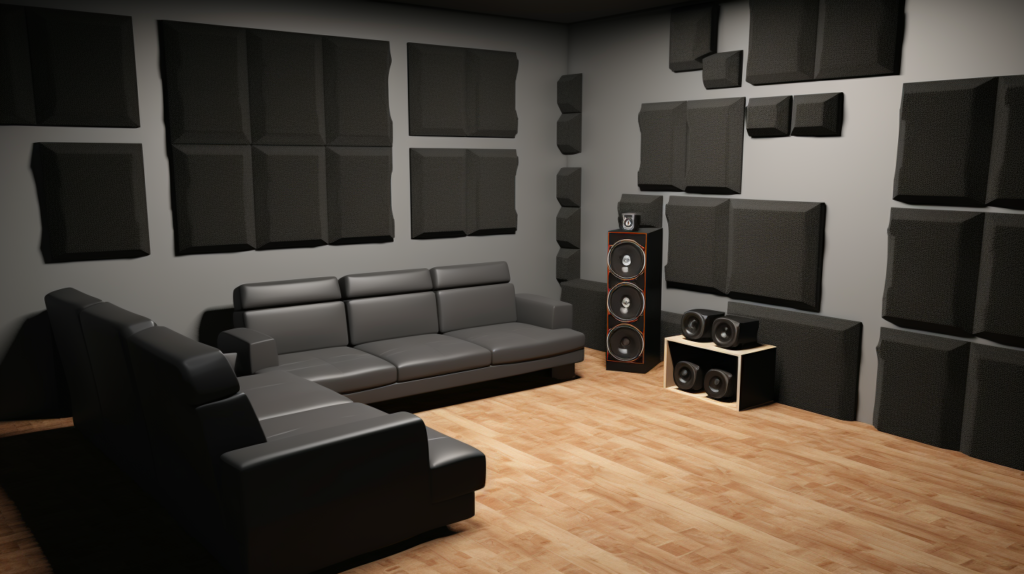
6. Add Acoustic Treatment To Home Theater
In addition to sound isolation, also treat the interior space with acoustic absorption and diffusion materials.
Strategically placed bass traps, absorptive panels and diffusers control sound reflections and reverb within the room.
This refines the sound environment for cleaner audio and enhanced immersion. Bass traps counter resonance buildup in corners and allow you to better hear deep frequencies.
Broadband absorbers reduce overall reverb and muddy reverberation caused by parallel hard surfaces. Diffusers prevent distinct echoes and make sound more dispersed.
Adding acoustic treatment puts the finishing touches on your optimized home theater environment.
With contained sound through soundproofing and controlled sound through acoustic treatment, you achieve the ultimate cinema experience at home.
Conclusion
Creating an immersive home theater requires diligent sound isolation and acoustic control.
Allowing sound to transfer freely into other rooms or dwellings wrecks the experience and quickly leads to complaints.
But methodically addressing each path of potential noise leakage and flanking allows you to crank up the volume without disturbances.
Follow the soundproofing steps outlined for walls, ceilings, floors, windows, doors and penetrations in your dedicated home theater space.
Combining this noise containment with proper interior acoustic treatment enhances audio fidelity for crisp, full range sound free of outside distractions.
With some careful planning and labor, you can construct the ultimate private and immersive home entertainment space for movies, gaming, and more.