If torrential downpours on your metal roof keep you up at night, it may be time for soundproofing solutions.
Thankfully, with the right combination of insulation, materials, and installation techniques, even noisy metal roofs can be effectively soundproofed.
Let’s dive into the top methods for reducing irritating metal roof noise…
Why Soundproof a Metal Roof
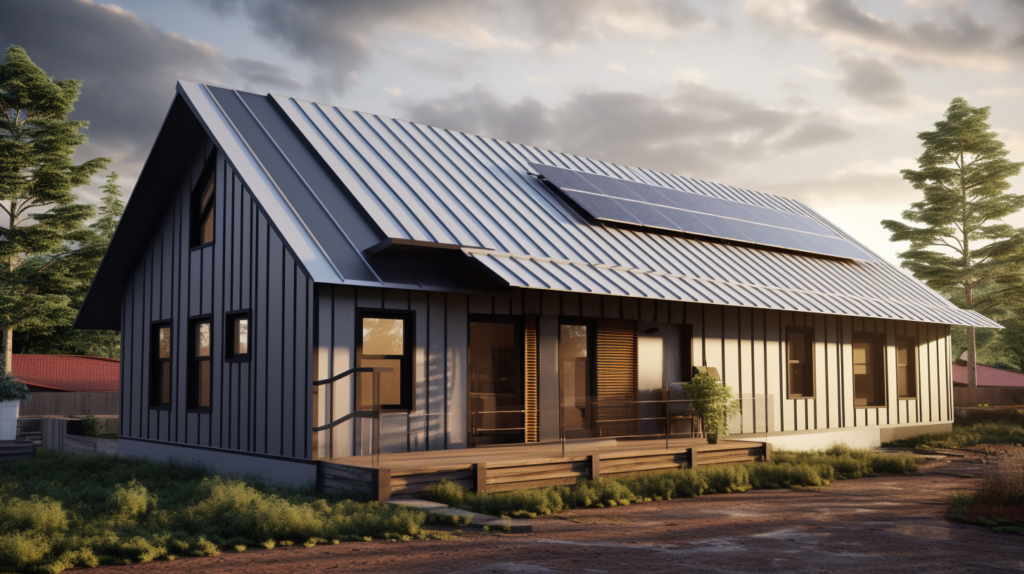
There are several key reasons why properly soundproofing a noisy metal roof is worth the investment of time and money. Loud noises coming through the roof can negatively impact relaxation and quality of life within the home. The constant drumming of rain on a metal roof makes it hard to have conversations, listen to music or TV, focus while working or reading, or get restful sleep. Hailstorms create startlingly loud noises like having someone banging on your ceiling. Even moderate winds can generate annoying vibrations and flapping sounds from metal roofing panels.
For households with small children or noise-sensitive individuals, these types of sudden loud noises can cause stress and anxiety. Soundproofing helps improve relaxation by eliminating the jarring sounds of thunderstorms or hail from permeating into interior living spaces. With exterior noise blocked, families can more easily go about normal indoor activities without disruption. Sound isolation also leads to better sleep uninterrupted by any rattling or vibrating from the roof above during windy nights.
Insufficient soundproofing also wastes energy since occupants may turn up music/TV volumes to drown out the noise, or run air conditioning more to cover rattling. Overall, a properly soundproofed metal roof creates a peaceful, welcoming environment and prevents noise problems from diminishing the advantages of a durable metal roofing system. The investment into sound isolation pays dividends by improving relaxation, productivity, and quality of life for years to come.
1. Add Insulation in the Attic
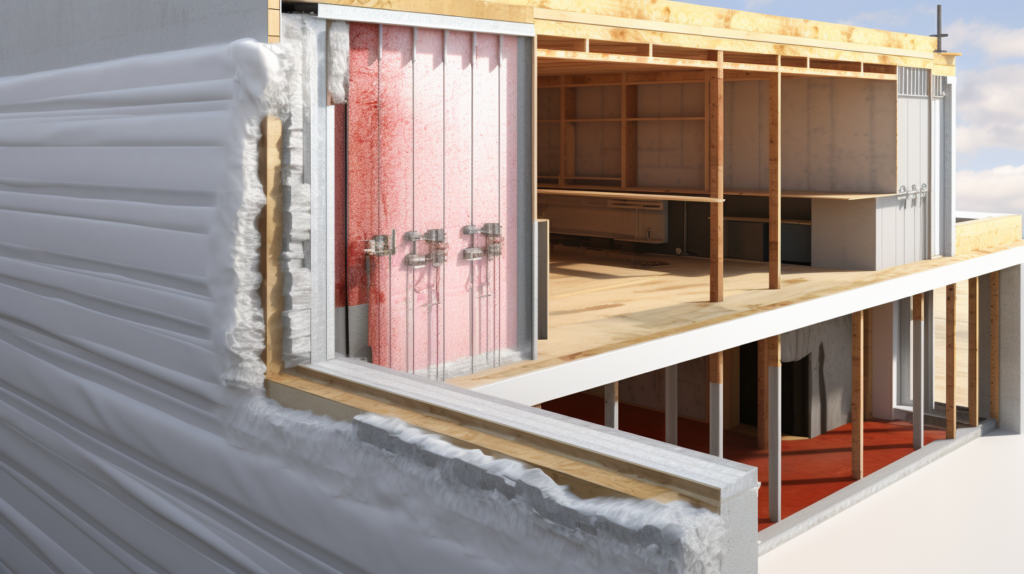
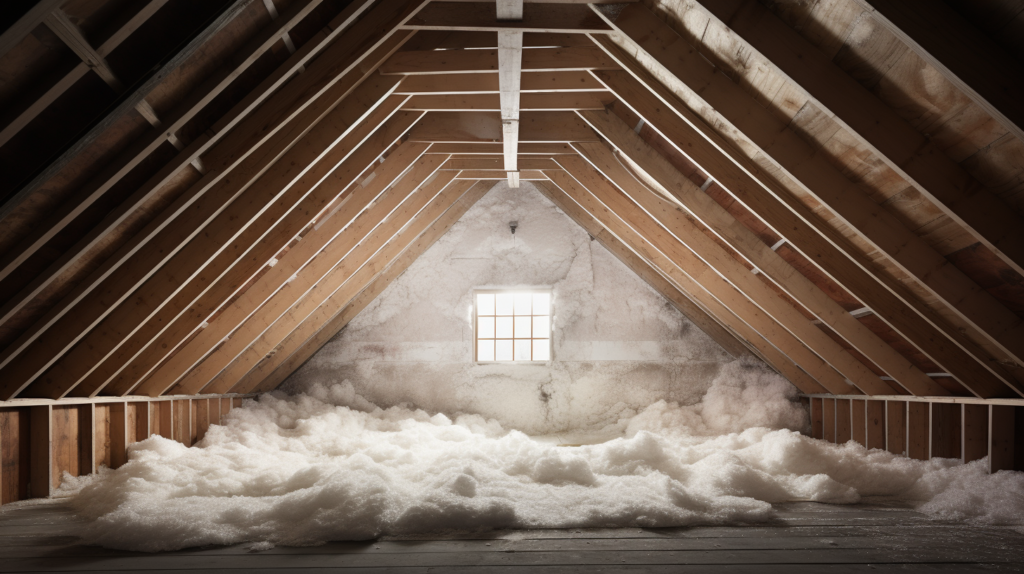
Insulating your attic is one of the most effective solutions for reducing noise from a metal roof. The attic has the least physical separation from the roof decking and absorbs a lot of the initial impact noise and vibration. Noise that makes it past the attic space will transmit down through ceilings to the rooms below. Therefore, the first line of defense is beefing up the attic insulation. This converts much of the acoustic energy into thermal heat before it can penetrate further into the home’s interior.
There are several factors to address when Insulating your attic for soundproofing:
Insulation Materials – Use insulation designed for optimal noise reduction like dense fiberglass batts or soundproofing mineral wool. More cost-effective fiberglass can still help, but higher density materials outperform traditional thermal insulators for dampening sound transmission. The key is using the right thickness and density insulation to achieve the desired noise reduction.
Coverage Area – It is not enough to just insulate between the attic joists or rafters. Make sure to also cover the attic floor fully, which receives the brunt of the noise from above. Leave no gaps or areas of bare decking exposed. Seal edges tightly to isolate the attic space.
Penetrations/Openings – Any penetrations like ceiling light fixtures, vents, wiring holes, access hatches, etc. create openings for noise leakage into the attic. Thoroughly seal and insulate around these penetrations so they do not compromise the integrity of your attic insulation barrier.
With the attic thoroughly insulated using the right materials and techniques, you can expect a significant improvement in noise reduction coming through the roof. Rumbling thunder, pounding hail, and other loud storms will be less jarring within the living spaces.
2. Install Interior Wall Insulation
While the attic insulation handles much of the noise, additional sound energy inevitably still gets through to the upper living spaces and bedrooms directly below the roofline. To further dampen this residual noise, insulating the interior walls of these rooms adds another protective barrier. This catches sound waves attempting to travel laterally through the wall framing and structure from the roof above.
For interior wall insulation, first identify walls that directly adjoin the roofline above. Targeting the top floor walls with direct contact to the roof provides the greatest acoustic isolation. Then install insulation designed to absorb and dampen sound between wall studs. Dense acoustic insulation, like Roxul Safe’n’Sound, performs optimally to block noise flanking through walls. Standard fiberglass insulation still helps improve walls but may not achieve the same noise reduction levels.
Safely work around any electrical, plumbing, or other built-in wall components when installing insulation in finished walls. Prioritize upper floor bedrooms, office, media rooms, or other living spaces where excess noise is most bothersome. Combine wall insulation with attic insulation to create a double sound barrier protecting interior rooms from intrusive roof noise.
3. Add Noise-Blocking Drywall Ceilings
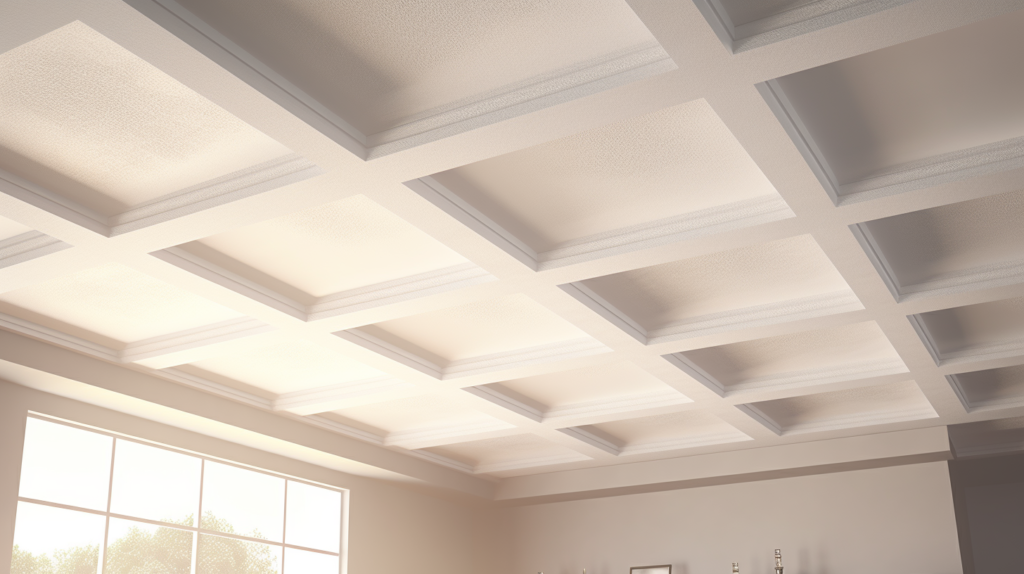
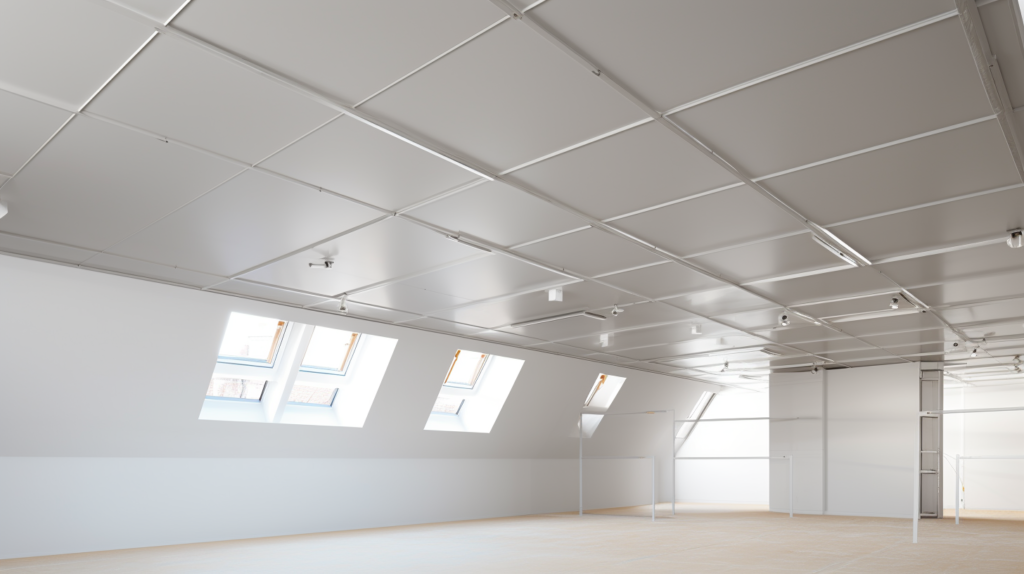
Installing a drywall ceiling is extremely effective at blocking noise, especially in rooms with vaulted ceilings. Vaulted ceilings have large exposed areas with no physical barrier between the roof decking and the interior space. This allows noise to transmit directly into living areas unimpeded. Drywall ceilings create a protective noise barrier and an additional layer of mass to help absorb acoustic energy. Homeowners with vaulted living rooms, bedrooms, or other spaces will experience a significant reduction in noise by installing a standard or soundproof drywall ceiling.
For rooms with existing drywall ceilings, adding mass loaded vinyl (MLV) can further dampen noise. MLV is a specialty heavy, limp vinyl material used in soundproofing. The dense properties block noise transmission through the ceiling. It can be layered above existing drywall or used when constructing new drywall ceilings. An alternative option is installing noise isolating clips or channels between ceiling joists. These clips decouple the drywall from the framing to prevent vibration noise from transmitting through.
Floating ceilings using these noise isolation techniques work incredibly well to minimize roof noise heard within interior living spaces. They add substantial sound blocking and absorption not achieved by insulation alone. Homeowners report a noticeable difference in noise reduction after installing soundproof drywall ceilings, especially in high ceiling rooms directly under their metal roofing.
4. Install Soundproofing Roof Underlayment
For homes undergoing new metal roof installations, sound dampening underlayment is worth utilizing. Roofing underlayment creates a protective secondary barrier between the roof decking and the metal roofing panels. Standard roofing felt or other paper-based underlayments provide basic waterproofing. But specialized sound dampening underlayments also absorption and insulation against noise. The underlayment disrupts noise energy trying to transmit directly through the roof sheathing to the interior space below. It also dampens vibration noises caused by panels or fasteners rattling against the roof decking.
There are a few common options for soundproofing underlayment:
- Asphalt/Rubber Composite – Multiple layers of rubber and asphalt absorb vibration and noise while remaining durable and waterproof. Provides effective acoustic isolation for metal roofs.
- EPDM – Rubber-like EPDM polymer sheets offer similar noise damping properties as asphalt/rubber underlayment. EPDM is lightweight and easily cut to size.
- Acoustical Felt – Dense fiber-based or wool-like felts absorb noise differently than rubber/asphalt materials. Works well but requires moisture barrier.
Proper installation is key to achieve the full noise reduction potential. Consult manufacturer guidelines to select the right underlayment thickness and apply adhesion strips, sealants, or tapes according to specifications. While DIY underlayment projects are feasible, hiring professional roofers ensures proper installation. If you are replacing an existing roof, other soundproofing methods will likely be required since access to the roof decking is limited. But for new metal roofs, start with a quality sound dampening underlayment for optimal acoustic isolation.
5. Choose Low-Profile Metal Roofing
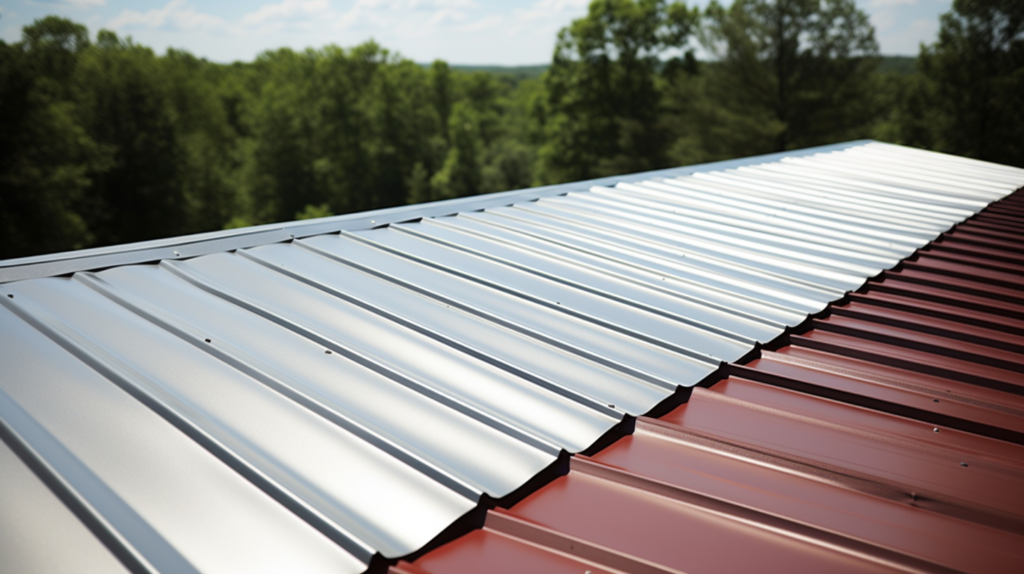
When it comes time to select the roofing panels themselves, the profile type makes a difference for noise potential. Corrugated and other wavy profiles inherently move more and create additional vibration. The gaps along the peaks and valleys allow for expansion/contraction but also increase noise transmission as air/water moves across them. Low-profile standing seam and flat sheet panels are inherently less noisy since they have less capacity for vibration.
However, even standing seam roofs make noise when rain or hail hits the panels. So the roofing profile alone will not eliminate noise issues. But choosing low-profile metal roofing is one strategy to minimize noise generated at the source before it ever reaches interior living spaces. Also consider coated aluminum, galvanized steel, or tin panels which are denser and ring/vibrate less than basic steel and aluminum sheets.
While installation and labor costs may be higher for standing seam and coated metals, the long-term acoustic benefits make it worthwhile, in addition to exceptional durability. Avoid unwavy barn tin, corrugated steel, or similar wavy products if possible. Combine with underlayment, insulation, and other soundproofing methods to really experience the full noise reduction benefits of a properly installed low-profile standing seam metal roof.
6. Secure the Roof with Proper Fasteners
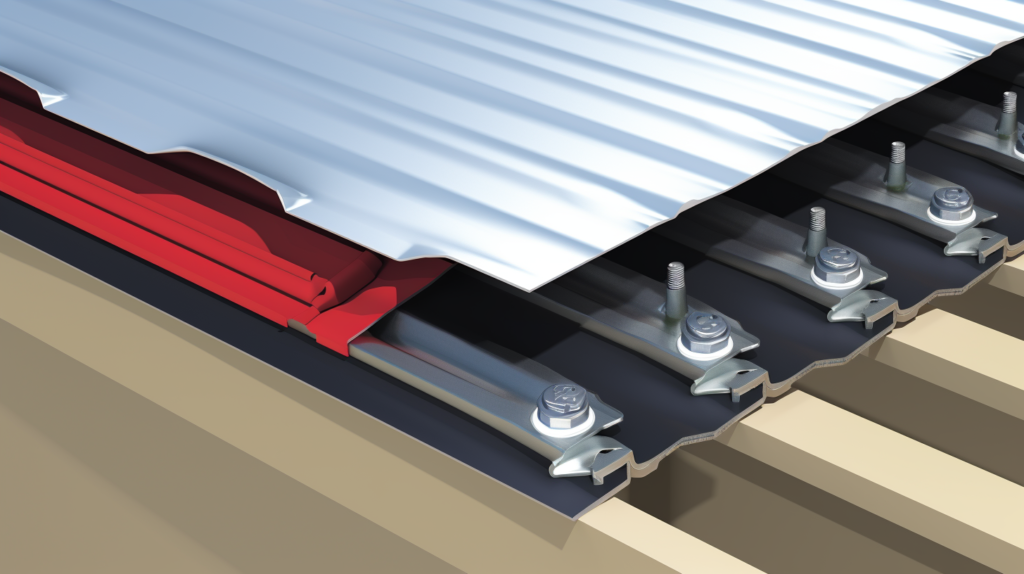
Having a properly secured metal roof is critical because of how easily panels vibrate and make noise. The screws, bolts, nails, or clips (fasteners) hold each metal sheet tightly to the roof deck/framing. However, shifting over time can loosen fasteners, allowing the panels to rattle more freely creating noise. Also, damaged, missing, or improperly installed fasteners result in looser sections prone to flapping in the wind.
Therefore routinely inspect your roof for any fasteners needing replacement or re-tightening. Signs like visible movement/vibration, audible rattling, or lifted panel edges indicate problem areas. Windy days make it easier to detect sections in need of adjustment. Use a battery powered impact drill for easier tightening of loose screws. Work carefully to avoid damaging roof coatings or panels when accessing fastener areas.
For older roofs, a combination of new and heavier duty fasteners may be needed. Heavier gauge screws withstand outdoor exposure better than standard nails or staples. Proper spacing between fasteners also prevents excess vibration. Adhere to manufacturer specifications for the span between each screw/clip. Enlisting professional roofing contractors to inspect and service fastener issues can be worthwhile for roof noise reduction and safety. Keep panels securely fastened to maintain acoustic isolation and peace of mind.
7. Perform Regular Roof Inspections and Repairs
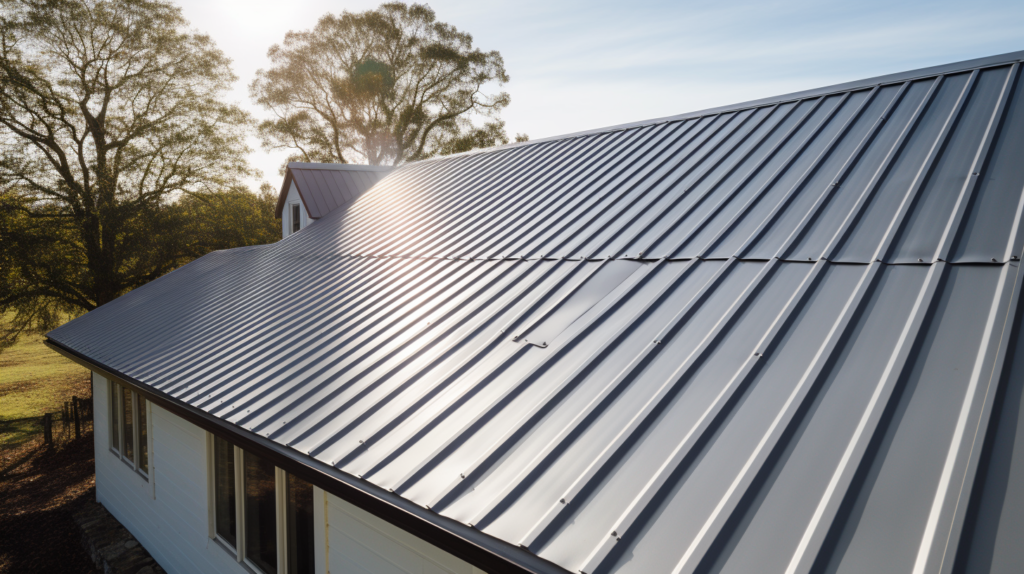
Continued exposure to the elements causes any roof to gradually degrade over time. Metal roofs hold up exceptionally well overall but still require periodic maintenance and repairs. Routine inspections help spot minor damage early before it escalinates into major costly issues. For reducing roof noise, inspect for:
- Loose or Separated Panel Seams – Look for gaps at the joints where panels meet, especially after storms. Re-seal separated seams to prevent water damage.
- Loose or Damaged Fasteners – Mark any clearly loose screws/clips and problematic areas prone to noise. Schedule repairs soon.
- Corrosion & Rust Spots – Seal any holes or gaps in panel coatings to maintain noise dampening integrity.
- Debris Accumulation – Remove leaves, pine needles, and other debris to prevent clogged gutters/downspouts.
- Roof Penetrations – Scan for any breaches around pipes, vents, antennas etc. and re-seal as needed.
Even a quick walk around the roof perimeter periodically to look for any evident issues helps avoid more problematic noise and damage later. For multi-story homes, consider hiring professionals annually to inspect and service items out of normal reach. Stay vigilant about repairs to achieve lasting noise reduction from your metal roofing investment.
8. Get Professional Soundproofing Assistance
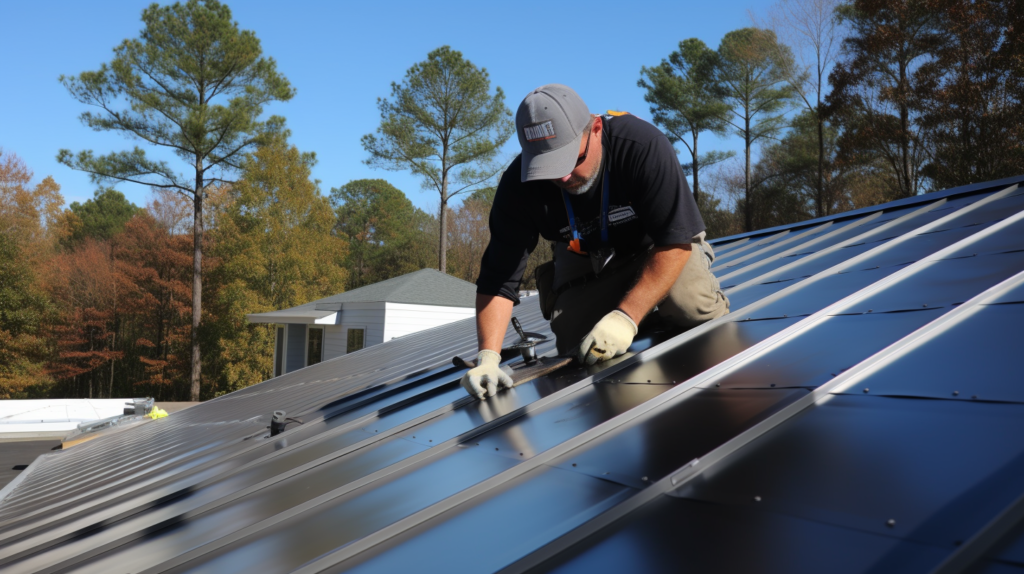
For homeowners struggling with problematic metal roof noise, enlisting professional soundproofing services is strongly advised. Acoustic engineers and contractors have extensive experience designing comprehensive sound abatement solutions for metal and other noisy roofs. They determine optimal insulation methods, materials, installation locations, and specifications tailored to your specific roof and home structure. Professionals properly implement multiple noise control techniques in the optimal layered sequence for maximum effect.
Cost-effective sound control packages combine products like acoustical insulation, vibration damping composites, soundproofing drywall/ceiling materials, and more. Materials are environmentally-friendly and use current noise control technologies ideal for metal roofs. Professional installation also ensures materials achieve proper noise reduction performance, which improper DIY projects may fail to accomplish. Investing in a customized professional noise solution package typically costs little more than DIY while providing superior noise control.
Most companies offer free site assessments to survey your current metal roof situation. This allows them to craft a detailed plan with expected noise reduction results and cost estimate, so you know what to expect. Reputable professionals guarantee their work and offer maintenance guidance to keep roof noise controlled long-term. If you want optimal acoustic isolation without the guesswork, consult professional metal roof soundproofing services.
Conclusion
Metal roofing provides many desirable benefits but also poses inherent noise control challenges from environmental factors. Fortunately, there are many ways to successfully reduce noise transmitting into interior living spaces. Careful sound insulation of attics, walls, and ceilings blocks the majority of noise flanking through surrounding structure. Underlayment and proper roofing materials reduce noise directly at the source. Routine maintenance and repairs also minimize noise from roof degradation over time. For best results, consult qualified soundproofing professionals to install an effective, tailored noise abatement solution. With the right combination of soundproofing strategies, homeowners can enjoy all the advantages of durable metal roofing without any of the disruptive noise drawbacks. Your home will become a peaceful sanctuary protected from the rumbling storms and other loud nuisances occurring above. Discover how proper sound control treatments can restore relaxation and comfort beneath your metal roof.
