
Is your overhead neighbor’s music, barking dog, or running footsteps driving you crazy? Suffering from excessive ceiling noise can make it hard to relax, work, or even think in your own home.
Fortunately, you can dramatically reduce sound transmission from upstairs without major renovations by installing acoustic panels on your ceiling.
Let’s dive in to learn how nitrile butadiene rubber (NBR) panels can effectively soundproof existing ceilings through an easy DIY upgrade.
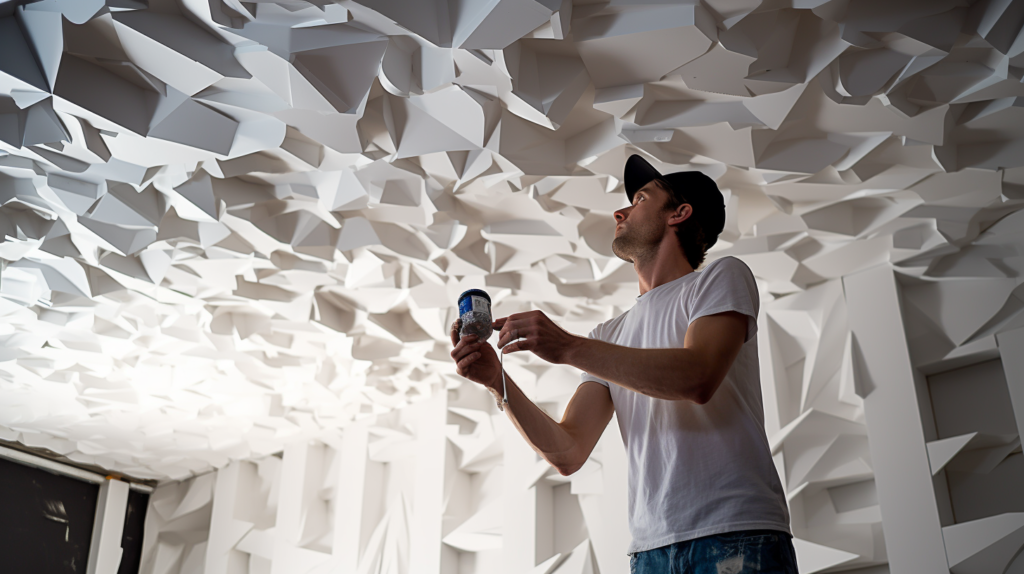
How to Soundproof Your Ceiling Without Construction
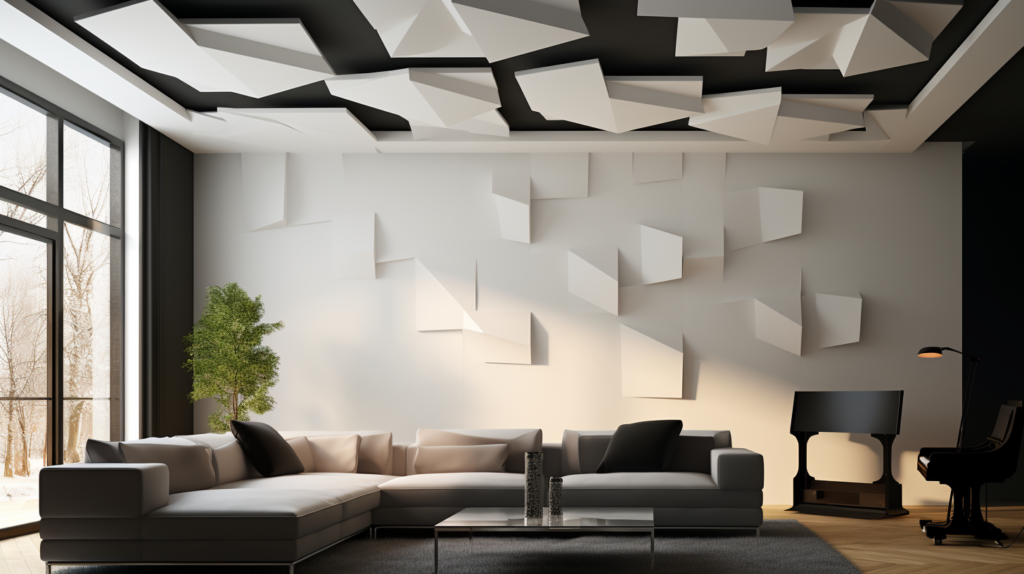
Excessive noise coming through ceilings from upstairs can be very disruptive.
Fortunately, you can dramatically reduce sound transmission without major construction projects by installing acoustic panels made of nitrile butadiene rubber (NBR).
With some DIY planning and effort, NBR panels create an overhead barrier that blocks noises like foot traffic, voices, barking dogs, TVs, and more.
What is Nitrile Butadiene Rubber?

Nitrile butadiene rubber (NBR) is a type of synthetic rubber known for its rugged durability, vibration dampening abilities, and inherent noise blocking properties.
The molecular structure and density of NBR prevents sounds from easily transmitting through the material by converting acoustic energy into subtle heat.
Rather than passing on noise vibrations like a traditional ceiling would, NBR absorbs and isolates the sounds.
Leading manufacturers leverage the unique attributes of NBR to engineer thin, lightweight panels ideal for overhead soundproofing applications.
These panels are fabricated to precision thicknesses between 1/2 inch to 1 inch for optimal acoustic performance.
Premium panels achieve impressive Sound Transmission Class (STC) ratings exceeding 25 and Noise Reduction Coefficient (NRC) over 0.70 when tested in accredited laboratories.
This quantifies the materials ability to reduce airborne sounds from traveling through ceilings.
NBR panels developed specifically for soundproofing also utilize peel-and-stick adhesive backing for easy DIY installation.
The panels come with an adhesive surface protected by a release film.
Peeling off the release film exposes the adhesive so panels can attach directly to existing ceilings without requiring nails, screws, or glue.
This simplifies the installation process without damaging overhead drywall or plaster.
High quality acrylic adhesive creates a tight acoustic seal between panels and ceiling surfaces to prevent sound leaks.
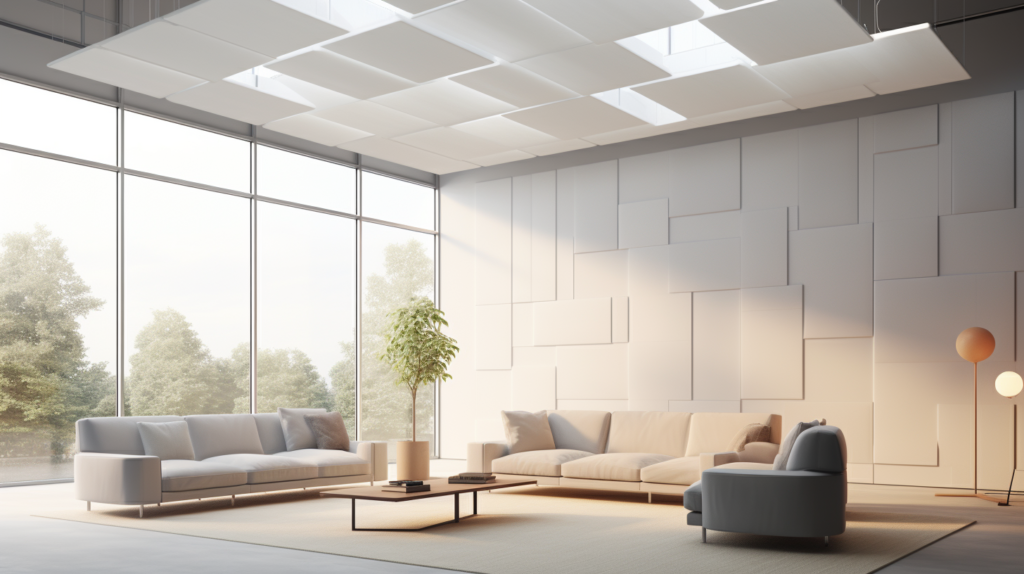
DIYers can transform rooms plagued by overhead noise into peaceful sanctuaries by installing NBR soundproofing panels across entire ceilings.
What Are The Benefits of NBR Ceiling Panels?
There are several notable benefits that make NBR the premier material choice for DIY ceiling soundproofing projects:
Effective Noise Blocking – The innate physical properties of NBR allow it to effectively dampen both airborne sounds and structure-borne sounds. Voices, television noise, footsteps, doors slamming, and similar sounds from upstairs are absorbed rather than being allowed to transmit into the room below.
Easy Installation – NBR panels come ready to mount out of the box with peel-and-stick adhesive backing. No mechanical fasteners, complex tools, or construction experience required. Panels firmly attach to ceilings with just pressure from hands or a seam roller.
Lightweight – Commercial grade NBR panels weigh only around 1 lb/ft2. Even large 4ft x 8ft sheets are manageable for one person to install overhead. Lighter panels simplify installation versus heavier materials.
Durable – Properly adhered NBR panels are engineered to maintain their integrity over decades. They do not sag, warp, crack, or decompose like other soundproofing materials. Long-term noise reduction is maintained.
Affordable – DIY NBR panel kits provide a budget-friendly path to upgrade a room’s acoustics. The peel-and-stick installation allows homeowners to self-install without hiring contractors for major renovations.
Sustainable – Quality NBR panels utilize non-toxic formulations without hazardous chemicals, plasticizers, or halogen compounds. Off-gassing is minimized for improved indoor air quality.
With benefits like these, NBR ceiling panels offer an ideal noise reduction solution. Their unmatched ease of installation combined with durable high performance makes NBR the top choice for DIY soundproofing.
Planning Your NBR Ceiling Project
The first step in any successful NBR panel ceiling project is taking measurements and planning the installation.
Begin by carefully measuring the length, width and any unique architectural details of each room that will be soundproofed.
Account for the exact dimensions of the entire ceiling area in each room needing treatment. Measure corner to corner and wall to wall ensuring complete accuracy.
Use a measuring tape and builder’s pencil to lightly record the room dimensions on the actual ceiling.
This allows visualizing the precise ceiling footprint and planning where seams will align.
Transfer these measurements to graph paper to map out a panel layout indicating the planned size and placement of each panel.
Having an installation map is crucial for calculating the total number of panels required and ensuring proper planning of the seams.
Stagger the seams from room to room rather than lining them up identically. This prevents potential noise leakage through small gaps if panels shift from perfect alignment.
Staggering creates acoustic breaks that enhance the overall noise isolation after installation is complete.
Take time to carefully measure and map the project during the planning phase. This will streamline purchasing materials and save time once installation begins.
Ensure you have all the necessary panels and tubes of acoustic caulk on hand before starting. Appropriate planning prevents delays and mistakes during the installation process.
Step-by-Step To Soundproof Ceiling Without Construction
With measurements taken of all overhead areas, the NBR panels purchased, an installation map completed, and acoustic caulk on hand, you are ready to move on to properly mounting the panels for maximum noise reduction.
Follow these steps for a successful DIY installation:
Step 1: Surface Preparation
Thoroughly clean all ceiling areas where panels will mount using a vacuum attachment and microfiber cloth.
Remove any dust, pollen, oils, or other surface debris that could impede adhesion. Patch any cracks, holes, or texture irregularities using drywall mud to create a smooth mounting surface.
Step 2: Layout Panel Locations
Use a measuring tape and pencil to lightly sketch the planned panel layout on the actual ceiling based on your map.
Mark the positions of each panel’s edges and seams. This allows seeing the layout in real scale before installing.
Step 3: Peel Adhesive Backing
Take the first panel and carefully peel away the release film to expose the adhesive surface while avoiding contact before placement.
Slowly peel the release film back while holding the panel to prevent the adhesive from folding over and prematurely sticking.
Step 4: Mount Panel to Ceiling
Press the first panel to the ceiling starting at one edge and working outward while applying pressure with your hands from the center outward.
Rub firmly over the entire surface to activate the adhesive backing and ensure a tight bond to the ceiling with no gaps or air pockets.
Step 5: Continue Installing Panels
repeating the steps above, continue installing panels one-by-one, edge-to-edge per your mapped layout.
Take care to firmly press each panel and smoothly transition from one to the next to create a seamless overhead barrier. Avoid gaps between panels which could allow noise intrusion.
Step 6: Cut Outlets and Fixtures
Use a sharp utility knife to cleanly cut panels around any lighting fixtures, vents, or outlets.
Take time to make accurate cuts for a professional, seamless appearance. Seal any perimeter gaps around cutouts with acoustic caulk.
Step 7: Seal All Seams and Edges
Once all panels are installed across the entire ceiling, go back and apply a bead of acoustic caulk along every seam and all perimeter edges where panels meet the walls and ceiling.
Smooth the caulk into gaps with a moist fingertip for thorough penetration to seal sound leaks.
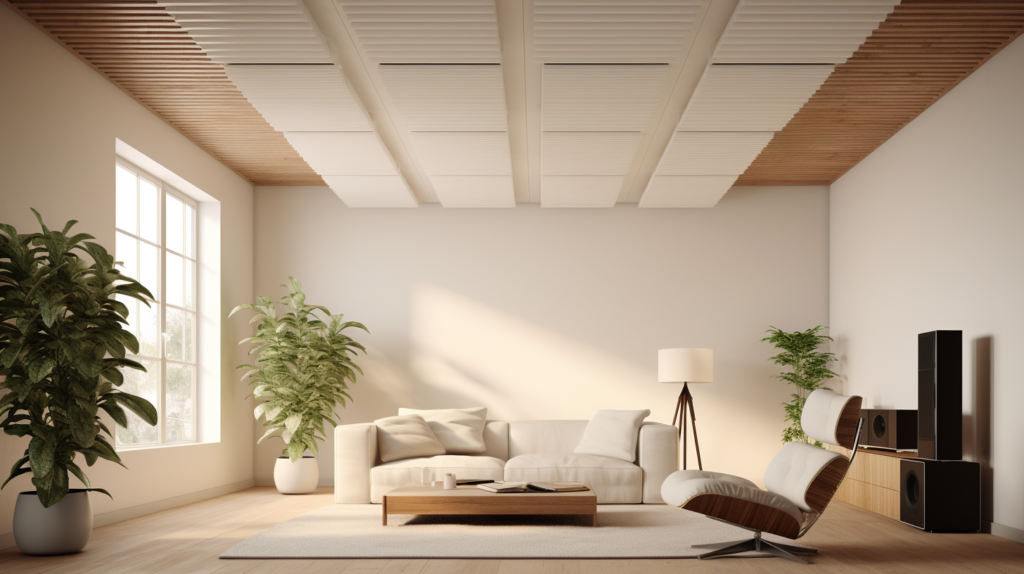
Carefully following these step-by-step instructions will result in a properly installed ceiling soundproofed with NBR panels.
Your diligence will pay off in rooms transformed into peaceful sanctuaries free of distracting overhead noise.
Living with NBR Soundproofed Ceilings
Once installation is successfully completed, you can immediately begin experiencing the benefits of overhead NBR soundproofing panels.
No longer will foot traffic, voices, barking dogs, music, televisions, and other unwanted noises from upstairs interfere with your home’s tranquility.
The continuous acoustic barrier will effectively block airborne and structure-borne sounds from transmitting into the room below.
Sleeping and napping become easier without disruptions from upstairs neighbors or family members.
Concentration improves for remote work, reading, homework, and creative hobbies without distracting background noise.
Sounds from kids and pets in upper levels of your own home also become less intrusive. Arguments over excessive noise are avoided thanks to improved acoustics.
For multi-family units, NBR ceiling panels create a noise buffer between floors for better relations with upstairs tenants.
Shared building surfaces readily transmit noise complaints without soundproofing treatment. Installing NBR panels proactively prevents problems before they start by enhancing acoustic privacy.
This also increases rental income potential and property values.
Over time homeowners may take the sound reduction for granted as overhead noises simply phase into the background.
But visiting guests will immediately notice the peaceful atmosphere your NBR soundproofed ceilings provide compared to untreated rooms.
Making the investment to properly soundproof overhead surfaces delivers continued rewards for years to come in the form of a serene, quiet indoor environment.
Maintaining Your NBR Ceiling Panels
NBR ceiling panels require minimal maintenance once installed. With the panels adhered tightly and edges thoroughly sealed, there is little ongoing work required by the homeowner. Here are some tips for maintaining panels:
- Clean gently using a vacuum brush attachment or microfiber cloth to remove dust. Avoid harsh chemical cleaners.
- Check perimeter caulk beads annually and reapply caulk if any cracks appear to maintain the acoustic seal.
- If panels suffer damage from objects hitting them, carefully patch with caulk and small panel scraps.
- Retain leftover panels to facilitate easier removal and reinstallation if ceiling access needed.
Conclusion
Soundproofing your ceiling with NBR panels is an affordable, effective DIY project that can make a real difference in reducing disruptive overhead noise.
Proper planning and installation allow you to create a peaceful oasis free of invasive noises from above.
The improved acoustics will enhance your home’s relaxation, productivity, and quality of life. Give NBR ceiling soundproofing a try and experience the blissful tranquility it brings.