If loud neighbors, city noise, or rambunctious kids make your home sound like a war zone, it may be time to soundproof those paper thin walls.
Adding spray foam insulation is an easy, budget-friendly way to reduce noise passing through interior walls.
Let’s dive in to the key steps for soundproofing walls with spray foam to create your own peaceful sanctuary.
What Is Spray Foam Insulation?
Spray foam insulation is a two-part polyurethane foam that expands and hardens to fill cracks, crevices, and spaces.
The two parts of the foam are kept separate until applied, at which point they are mixed together through the spray gun applicator.
As the foam expands, it fills the nooks and crannies of a wall cavity or space. Once fully cured and hardened, it creates a solid, air-tight barrier that is resistant to air leakage.
This air-tight property is what enables spray foam to effectively block sound transmission through walls and other building separations.
The density of the spray foam plays a big role in determining its effectiveness for soundproofing.
Higher density foam that is closed-cell and has an R-value of around R-6 per inch is best for blocking noise.
The higher the foam density, the less sound vibration and energy passes through it. Closed-cell spray foam resists water absorption better than lower density open-cell foam.
This means closed-cell foam won’t degrade, compress, or sag over time. It maintains its rigid structure and noise blocking properties.
For soundproofing, stick with a high density, polyurethane based, closed-cell spray foam recommended by the manufacturer.
How To Soundproof Wall With Spray Foam
Upgrading walls to reduce noise transmission is a common need in homes and offices.
Walls that lack insulation and allow sound to easily pass through can make rooms noisy and disruptive.
An effective DIY solution for better soundproofing is to insulate walls with spray foam.
When properly applied, the dense insulating foam dampens noises like voices, TVs, and music from traveling through walls.
Follow these key steps to soundproof existing walls using spray foam insulation for optimal noise blocking results.
1. Prepping The Wall Surface

Before starting the process of applying spray foam insulation to a wall for soundproofing, proper prep of the wall surface is required first.
Prepping the surface ensures the foam will adhere correctly and fully expand to fill voids without leaving gaps. This prevents sound flanking around the insulation barrier.
First, thoroughly inspect the wall for any cracks, gaps, or holes. Use caulk, sealant, or drywall compound to patch and fill any of these spots that could potentially allow air leakage.
Filling these areas prevents noise flanking through the gaps which would compromise the soundproofing effectiveness.
Next, clean the entire wall surface so that dust, debris, oils or any other contaminants are removed.
Use a damp cloth and mild detergent to wipe down the walls. Allow them to completely dry afterwards.
Any dust or residue on the walls can impede proper foam adhesion. A thorough cleaning makes sure the wall surface is prepared for the foam to stick tightly.
Also, make sure to cover any electrical outlets, light switches, vents or other openings that you do not want the foam applicator to accidentally spray into and clog.
Use painters tape and plastic sheeting to completely cover and seal off these areas from the foam.
Preventing the foam from entering unwanted areas again avoids improper application and sound flanking.
Doing all this upfront prep work ensures you have a pristine, sealed surface for the foam to stick to and expand fully into all voids.
Rushing ahead without prepping can result in poor foam adhesion and missed areas that compromise noise reduction.
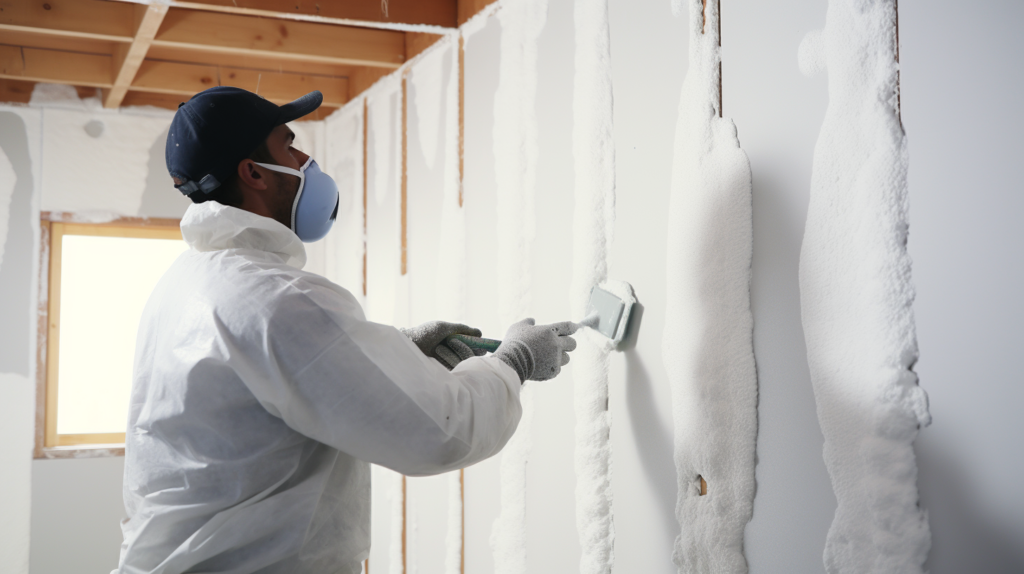
2. Applying The Spray Foam Insulation
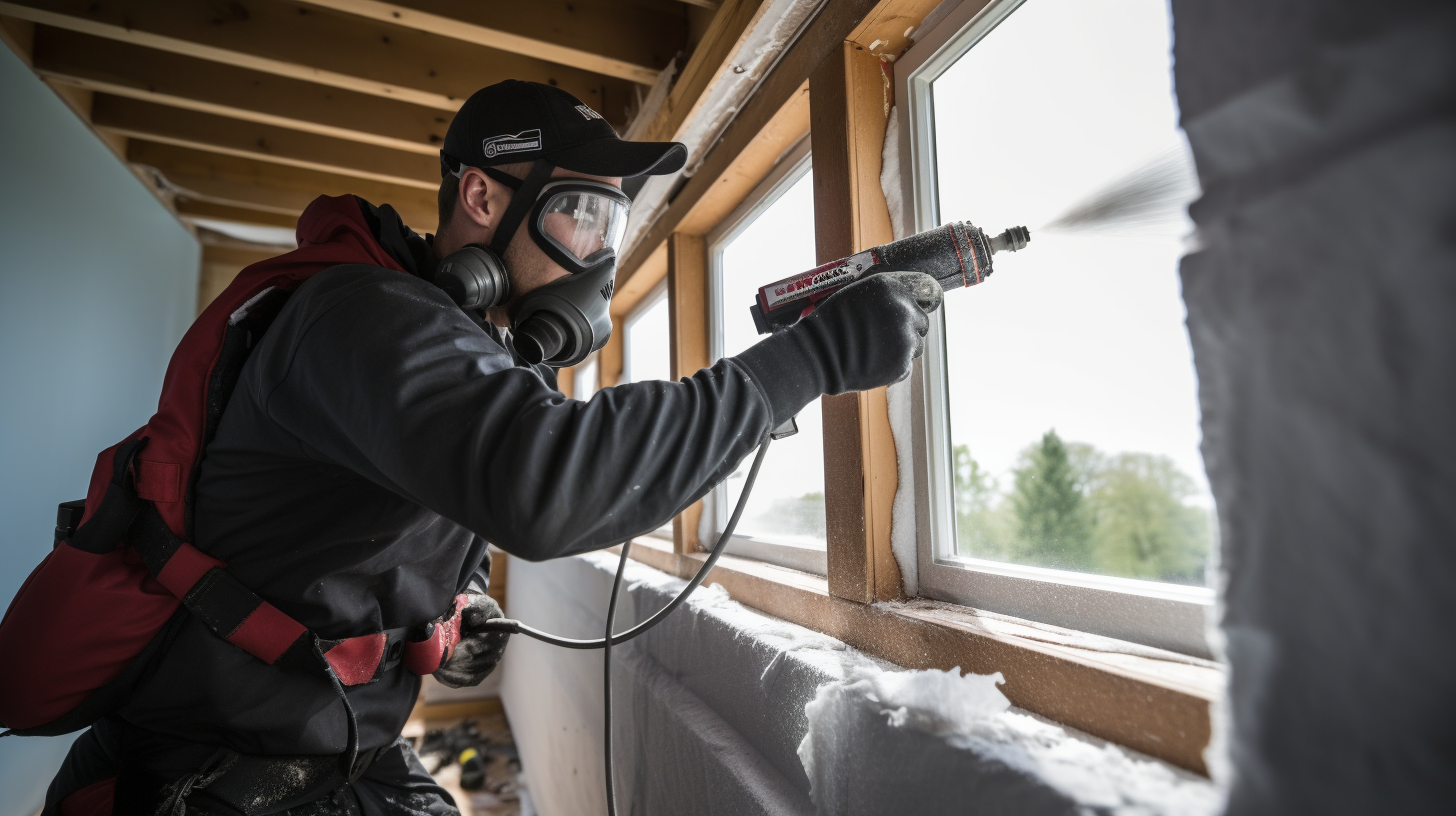
When applying the spray foam insulation for soundproofing, carefully follow all manufacturers instructions for safe use and proper mixing of the foam components.
Wear proper protective equipment such as gloves, goggles, and an N95 face mask when spraying.
Work only in a well-ventilated area and pay attention to ventilation requirements based on the type of foam used.
Start by thoroughly shaking the two foam canisters to mix the internal components.
Then attach them to the spray applicator gun and ensure you have the correct nozzle size installed as recommended for the specific foam product.
Slowly open the valves on the canisters so the two foam parts begin to mix and dispense through the nozzle.
Do a test spray on scrap materials or cardboard first to ensure proper mixing and application technique before fully opening the valves.
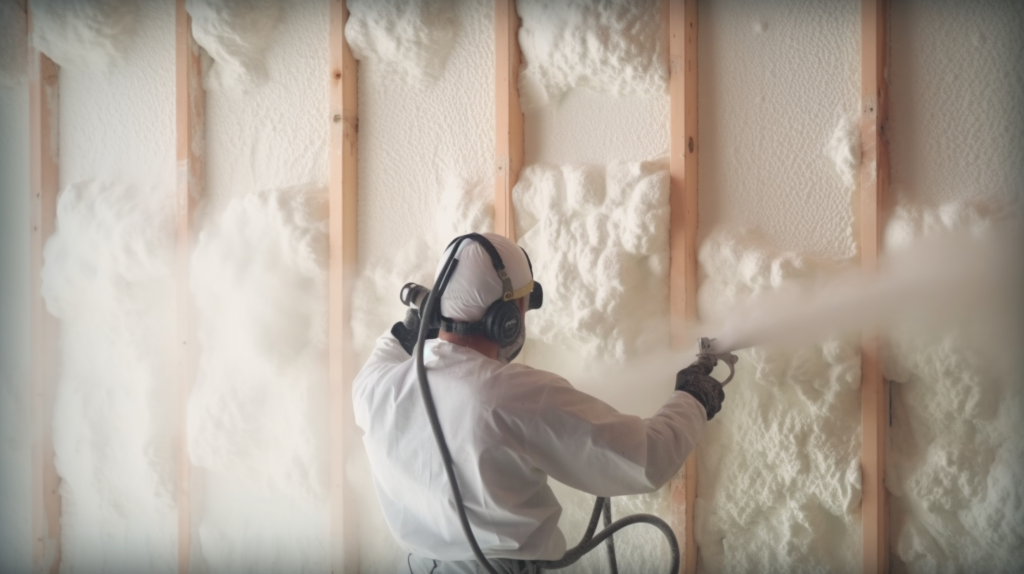
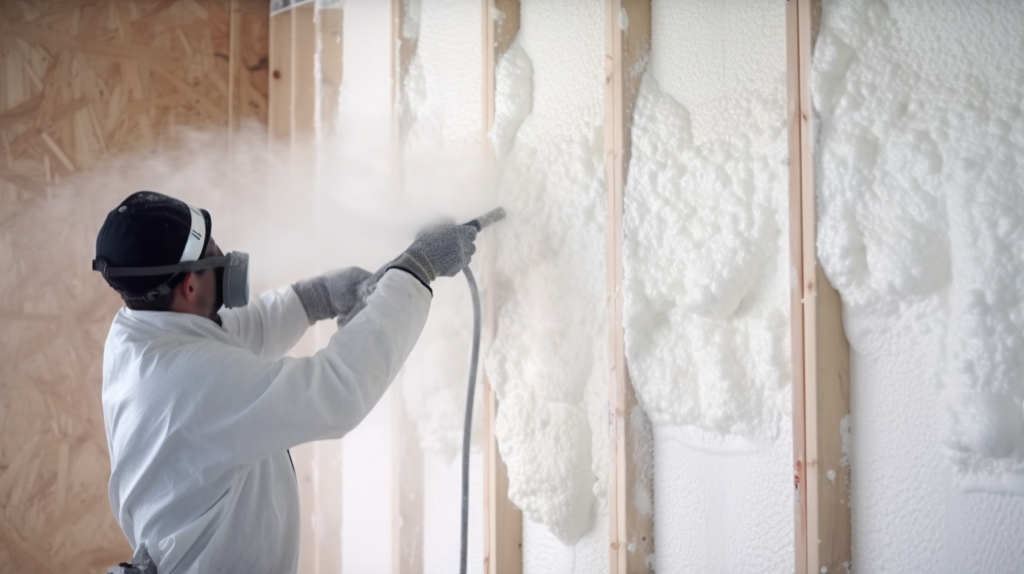
Apply the foam in multiple layers or “lifts”, waiting for each layer to fully cure before adding the next.
Spray 1 to 2 inch foam lifts until the desired depth is added to completely fill the wall cavity.
Move the applicator gun at a steady, even pass back and forth to achieve uniform coverage with each pass.
After applying a layer, visually inspect for any thin spots, holes, or gaps and fill them in with additional foam before moving on.
As the foam expands and makes contact with surfaces, use a drywall knife or trowel to smooth and shape it.
This ensures a flat, flush adherence to the wall surface. Foam typically expands to double or more its initial thickness, so be cautious not to grossly overfill the wall cavity.
Once the final layer is sprayed, let the foam fully cure and harden as directed, which can take 20 minutes or longer before adding any finish covering.
Proper foam application technique prevents gaps, cracks or weak spots that compromise soundproofing performance.
Taking care to build up multiple uniform layers and allowing proper cure time results in a dense foam barrier.
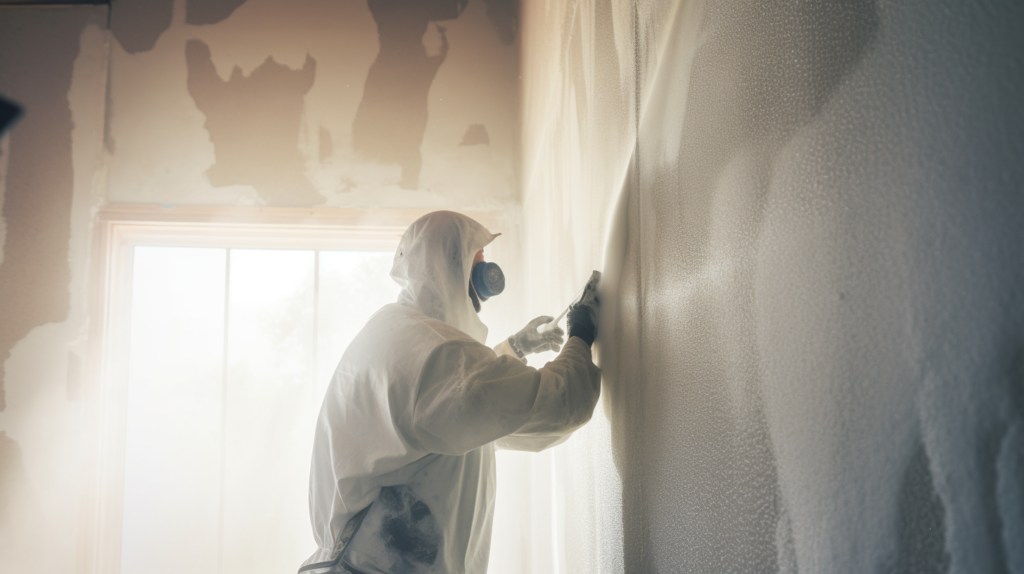
3. Adding A Finish Layer Of Drywall
After the spray foam insulation is fully cured and hardened, you can trim off any areas of excess using a serrated knife or foam cutter tool.
Ensure the foam is flush with wall studs before adding drywall.
Install new drywall sheets over the foam covered wall using drywall screws at regular intervals across studs. Make sure the drywall completely and evenly covers the spray foam layer beneath with no cracks or openings at edges.
Finish off the drywall layer using normal drywall finishing techniques. Tape over the seams between drywall sheets using fiberglass joint tape and drywall compound.
Apply two to three coats of compound over all taped seams, allowing each coat to fully dry as directed before sanding smooth and applying the next coat.
Finally, paint or apply whatever final wall covering is desired.
The drywall layer encloses the soundproofing foam insulation within the wall assembly.
Take care during drywall installation and finishing to not excessively compress, puncture or otherwise damage the foam layer.
Immediately repair any penetrations with additional spray foam. The goal is maintaining the integrity of the air-tight foam sound barrier.
4. Testing The Soundproofing Results
Once the spray foam insulation and drywall finish are fully installed, conduct testing to verify the effectiveness of the soundproofing application.
Use a decibel meter app or sound level meter to take noise readings from both sides of the wall before and after the soundproofing project.
Play music, use speakers, or create noise on one side of the wall while taking readings from the opposite side.
Compare the decibel level readings and noise audibility before and after the soundproofing application. There should be a noticeable reduction in noise transferring through the wall.
Larger reductions indicate better soundproofing results. Also visually inspect the finished wall for any overlooked cracks, gaps, or unfinished areas that could potentially allow noise leakage.
Seal and repair these spots to fully optimize the sound isolation.
Testing helps confirm the results of the spray foam soundproofing project. It also allows identification of any remaining flaws compromising noise reduction.
Correcting these ensures the wall assembly performs as intended as an effective sound barrier. Repeat testing as needed until satisfactory results are achieved.
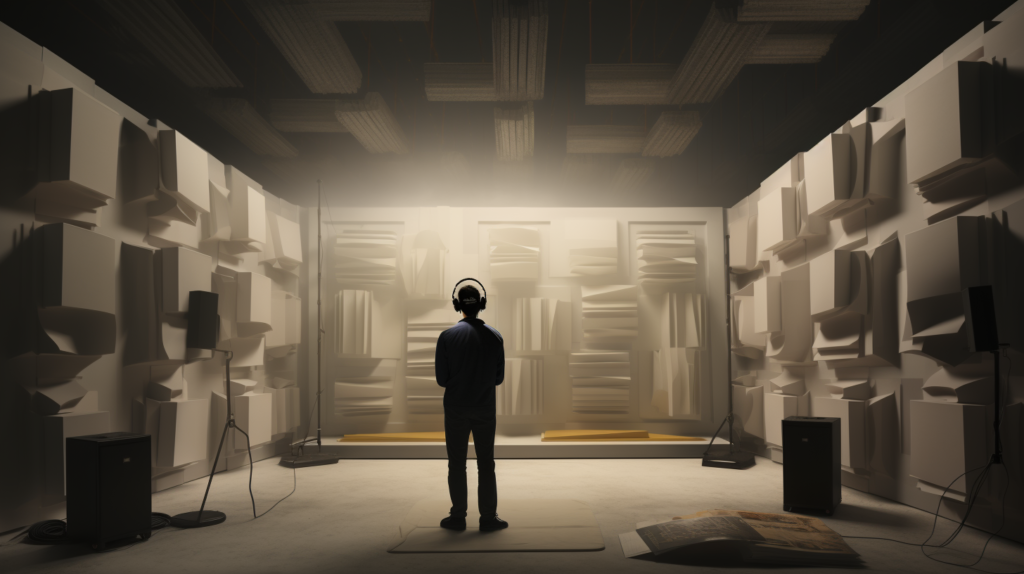
What Are The Better Alternatives To Spray Foam?

While spray foam insulation is a very effective DIY soundproofing technique for walls, alternative materials and methods do exist.
For even higher noise blocking capability, consider using rock wool or mineral wool insulation. These products come in batts or boards that can be friction fit into wall cavities.
The dense, porous structure of mineral wool dampens noise vibrations better than spray foam.
Another option is installing detachable soundproofing panels made from mass loaded vinyl (MLV) or sheets of nitrile butadiene rubber (NBR).
These types of limp, dense materials provide noise reduction by blocking the passage of sound waves.
Panels can be used on top of existing wall surfaces without having to expose and fill wall cavities. Just affix panels to the wall using specialty acoustic adhesives.
There are also specialty damping and isolation clips that can be used to decouple drywall sheets from wall studs.
This “floating wall” method reduces noise vibration transfer through the wall framing. However it requires careful installation of clips and channels to suspend the drywall properly.
The tradeoff with these other soundproofing materials and methods is that spray foam allows insulating and air sealing the wall cavities in one step.
Alternative approaches may require more specialized products, additional labor, and custom construction techniques to achieve the same noise reduction rating.
Nevertheless, evaluating different sound blocking strategies can help determine the right solution for your particular needs and budget.
Conclusion
In summary, spray foam insulation provides an affordable, straightforward way to effectively soundproof walls in your home.
You can transform noisy, thin walls into effective noise barriers with proper surface prep, foam application, drywall installation, and testing.
For more advanced soundproofing, mineral wool, sound panels, and floating walls present alternatives to further dampen sound transmission through walls.
You can evaluate your needs, budget and skills to choose the best soundproofing solution. With diligent DIY work, you can reduce unwanted noises and enhance peace and quiet.