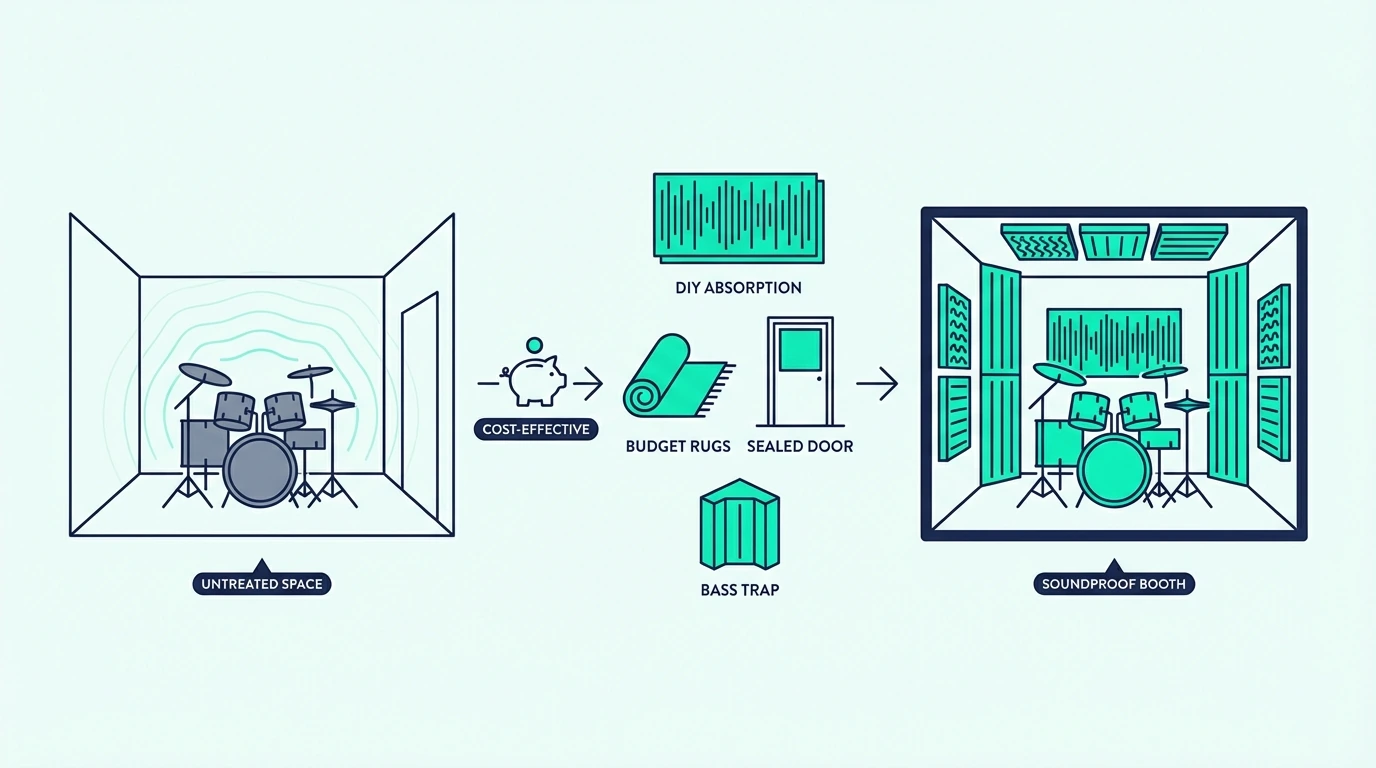
How To Soundproof A Room For Drums (Without Fooling Yourself)

How to soundproof a room for drums sounds like a music-room project, but drums punish floors, structures, and weak openings much faster than almost any other home setup.
That is why people still get complaints after hanging panels and closing the door. The kick pedal hits the floor, cymbals light up the room, and the shell of the room starts acting like part of the instrument.
The good news is that drum isolation gets much easier once you stop treating every room and every kit the same. A full acoustic kit upstairs, a low-volume practice setup in a basement, and an e-kit on a hard floor do not need the same plan.
Below, you’ll sort the problem by kit type, room position, floor path, booth decision, and build depth so you can tell when source reduction is enough, when the shell is failing, and when the room has outgrown cheap fixes.
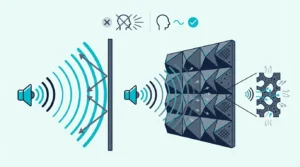
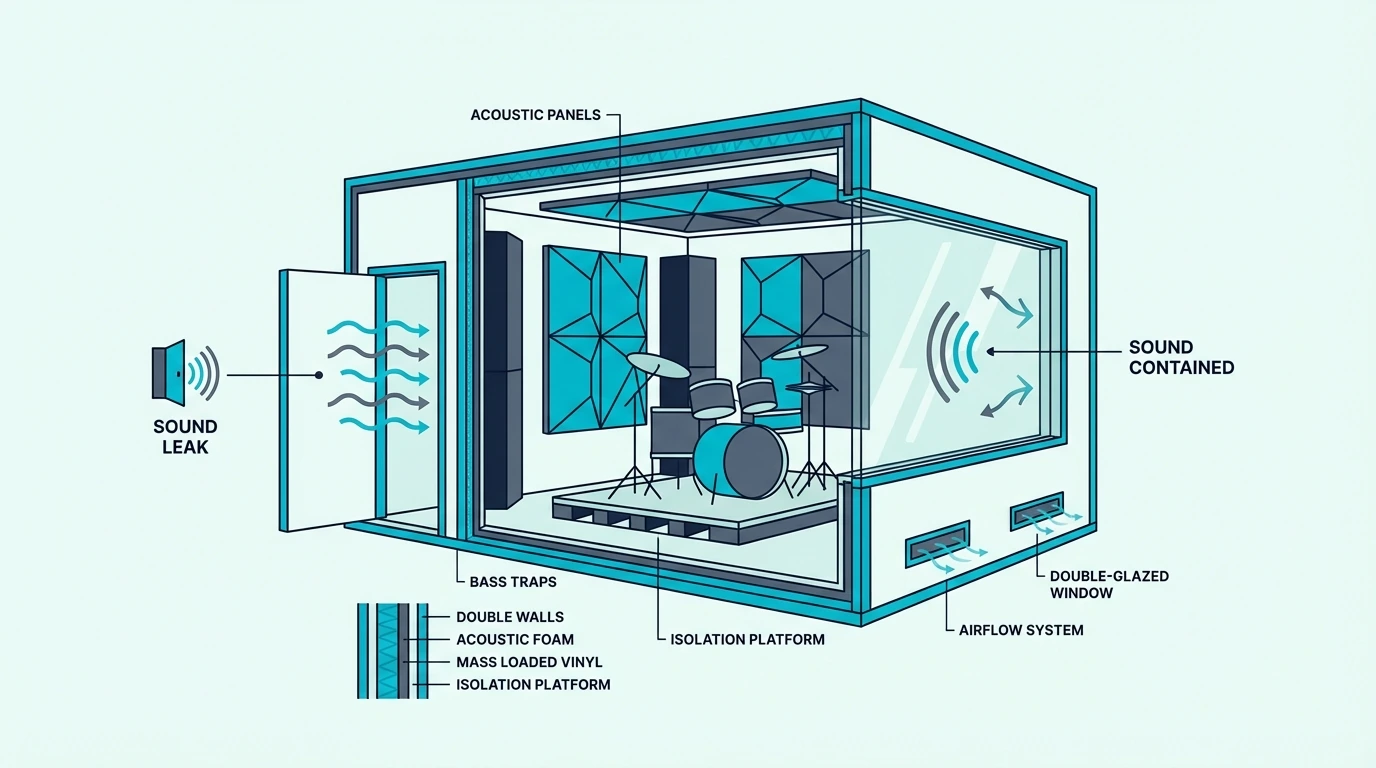
To soundproof a room for drums, start with the drum-specific failure points first: floor vibration, room choice, and the weakest openings. Low-volume kits, source reduction, mats, and better sealing can help a lot, but full acoustic drums in upstairs rooms, attached homes, or neighbor-sensitive houses usually need a stronger shell with more mass, better sealing, damping, and sometimes a booth, riser, or room rebuild.
Drums Break The Normal Soundproofing Playbook
Drum rooms fail differently from speaker rooms because the kit attacks the house in two ways at once.
First comes the airborne crack of cymbals and snare, then the kick pedal and hardware start feeding the structure.
Airborne Noise And Impact Arrive Together
Drums are hard to soundproof because they combine loud airborne noise with repeated impact. Cymbals and snares spray energy into the room while the kick pedal, stand hardware, and throne can feed vibration straight into the structure.
That double hit is what separates drums from a lot of other music-room problems. A guitar amp may mainly punish the wall, but a drum kit can light up the floor, the ceiling below, the shared wall, and the door in the same session.
Kit type changes how severe that gets. Full acoustic drums are the hardest case, low-volume cymbals and mesh heads ease the source, and e-drums can still create structure-borne noise if the pedals and rack are exciting the floor.
That is why drum advice has to be more specific than a general how to soundproof a room or even a broader music-room guide. Drums change the order of operations.
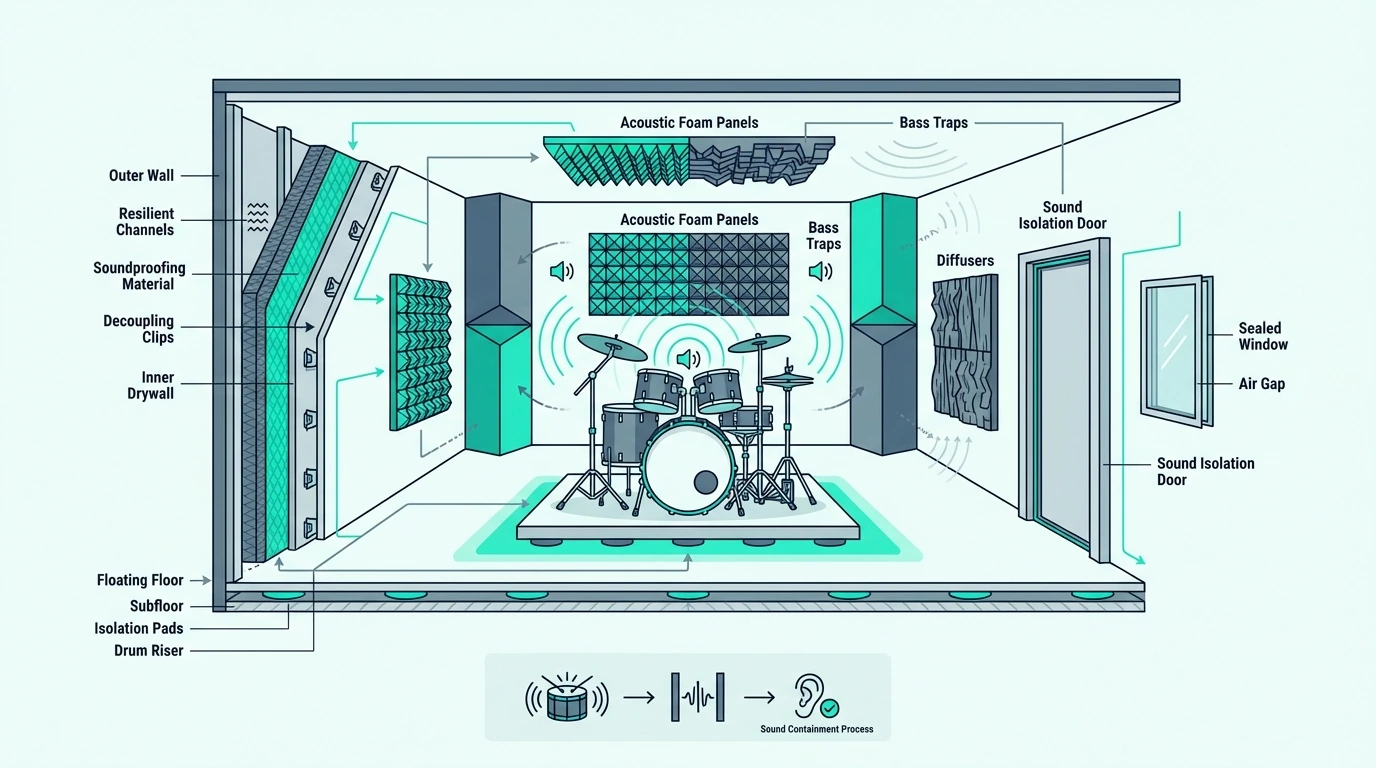
The First Leak Usually Starts Under The Kit
That two-part problem explains why the floor is so often the first failure point. In upstairs rooms or any house with someone below the kit, kick energy, stand vibration, and repeated foot force can create a worse downstairs complaint than the drummer expects.
Once the floor is active, the next failures are usually the wall and ceiling assemblies that share structure with bedrooms, offices, or the next unit over. In attached homes, those partitions may simply be too light for repeated drum energy.
Doors and windows still matter, but they are rarely the only issue in a real drum room. They become one more weak link inside a problem that is already being driven by impact and low-end transfer.
Room location changes that map fast. A basement or detached garage gives you a much better starting point than an upstairs bedroom because fewer sensitive rooms are directly connected to the kit.
Honest Targets Keep You From Buying The Wrong Fix
Once you know where the room is losing, you can set a target that matches reality. In a normal home, you can often make drumming much less intrusive, but full neighbor-proof isolation is difficult without deeper work on the assembly.
That gets harder with full acoustic kits in apartments, attached homes, and upstairs rooms. Those are the hardest environments because the structure is already working against you before you add a single material.
The easier cases start with separation built in. Basements, detached outbuildings, garages, and low-volume practice setups give you more room to win with staged upgrades.
If the real goal is late-night acoustic drumming with almost no outside audibility, be honest early. That is usually a serious build target, not a foam-and-accessory target.
The Upgrade Order Starts With The Floor
Once the target is honest, the spending order gets much clearer.
Drum rooms waste money when they decorate the walls before proving the floor path, the shell, and the weakest openings.
Start Where The Kick Pedal Hits The House
The floor matters because kick-pedal force and stand vibration can go straight into the structure. That is why downstairs complaints are often worse than the drummer expects even when the walls seem like the obvious culprit.
This is where drums pull away from the broader music-room conversation. A drummer often needs to think about mats, risers, pedal force, and floor contact before thinking about another wall layer.
A source-side product like TroyStudio Thick Sound Absorbing Interlocking Floor Mats is a good first-step fit when you want to reduce direct pedal and stand vibration on a finished floor. It is still mitigation rather than a true soundproof floor solution, but it matches the top-side problem honestly.
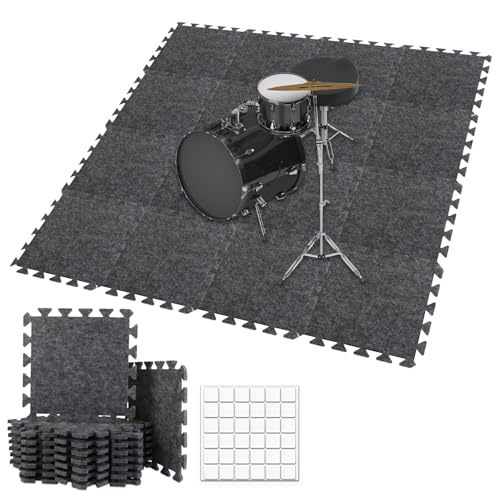
TroyStudio Thick Sound Absorbing Interlocking Floor Mats
If the floor is still driving the complaint after that, stop asking which panel to buy.
The next question is whether the room needs a better riser, a better floor strategy, or a different room entirely.
Once The Structure Starts Ringing, Accessories Stop Working
If the floor fix helps but the room still lights up the rest of the house, the shell has moved into the spotlight. Walls and ceilings become the main problem when the room shares structure with bedrooms, offices, or the next unit over and the floor path is no longer the only obvious failure.
That is common in attached homes, basement rooms under bedrooms, and garages tied directly to the house. Once those surfaces are flexing, random accessories stop being the answer.
Now the room usually needs more mass, better sealing, and a more deliberate wall or ceiling build. A barrier layer like Soundsulate 1 lb MLV fits this stage better than one more soft surface layer.
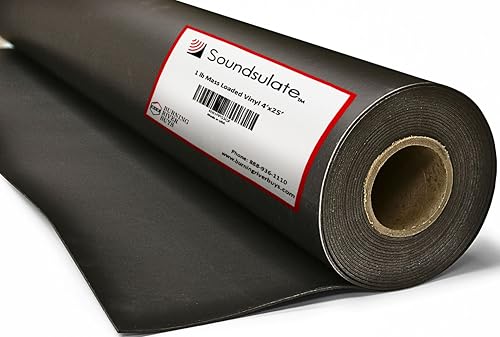
Soundsulate 1 lb MLV
That same shift is when how to soundproof a wall, how to soundproof a ceiling, best insulation for soundproofing, and best soundproofing material stop being background reading. The room is moving from mitigation into actual shell work.
Openings Still Matter, But They Rarely Lead The Whole Project
Even a stronger shell can still be undermined by obvious leaks at the door or window. Drum rooms punish weak openings fast, but those openings are usually the third priority after the floor path and the shell.
Visible light under the door, rattling glass, and clear air leakage are still worth fixing early. Those are honest quick wins because they remove a known leak instead of pretending to fix the whole room.
That is why a drum room still benefits from the same opening discipline as soundproofing a door and soundproofing windows. If the most obvious leak is visible light and air under the door, a first-step product like HomeProtect Door Draft Stopper is often worth trying.
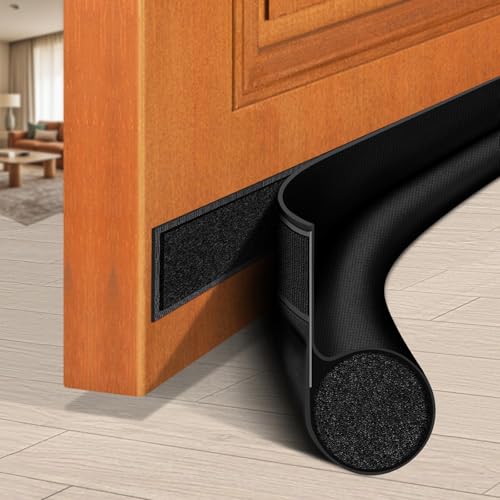
HomeProtect Door Draft Stopper
Keep the order honest, though. A better door seal may help, but it rarely replaces fixing the floor or the assembly that is carrying the kit.
Get Studio Tips Weekly
Join 5,000+ creators getting acoustic treatment advice every week.
No spam. Unsubscribe anytime.Budget Fixes Only Work When They Attack The Right Problem
That upgrade order also explains why cheap drum advice feels so inconsistent.
Budget fixes can buy real relief, but only when they reduce the source, calm the floor path, or tighten the exact place the room is losing.
Cheap Wins Usually Come From The Source Side
The best budget moves are usually source-side and weak-point focused. Better room choice, lower-volume components, floor control, door sealing, and obvious perimeter sealing help more than random decorative products.
This is where drummers gain the most by changing the source. Low-volume cymbals, mesh heads, mutes, practice pads, and even switching some sessions to an e-kit can cut the problem faster than another wall add-on.
If the room also has rattling trim or visible cracks around a window, door casing, or wall perimeter, Acoustical Caulk (29 oz) is one of the few cheap upgrades that actually matches the leak-path problem.
Acoustical Caulk (29 oz)
Budget help is still real help when the goal is fewer complaints and more usable practice time. It only works when the fix matches the target.
Most Cheap Drum Hacks Are Solving A Smaller Problem
Once you leave that honest budget lane, the hype starts. Foam-only advice is still the biggest trap because thin acoustic foam may improve reflections, but it does not stop much drum noise from escaping through a real wall, floor, or ceiling.
The same goes for egg cartons, thin “soundproof” sheets, one blanket hung on the wall, and random sticky tiles sold as isolation products. If the product does not reduce the source, tighten a leak, or strengthen the shell, it is probably solving a smaller problem than the drum kit is creating.
Bass traps get misunderstood for the same reason. They can help the room sound tighter inside, but they are not the same thing as stopping kick and tom energy from crossing the shell.
That split between inside sound and outside leakage is why drum-room hype often sounds convincing in the room and disappointing outside it. The internal acoustic problem and the isolation problem are not the same job.
The Budget Phase Ends When The Shell Keeps Losing
You have outgrown the budget phase when the kit is full-volume, the complaints are frequent, or the room shares structure with people who need quiet. Kick-heavy complaints are the biggest clue because structure-borne vibration can survive a lot of lightweight upgrades.
The same warning signs show up in upstairs rooms, attached homes, and late-night use. Those conditions raise the build requirement before you even start shopping.
If the room still leaks badly after you improve the floor path, the source, and the obvious openings, the answer is usually assembly strength rather than another small accessory. That is the point where the project stops being a budget patch and starts becoming a build decision.
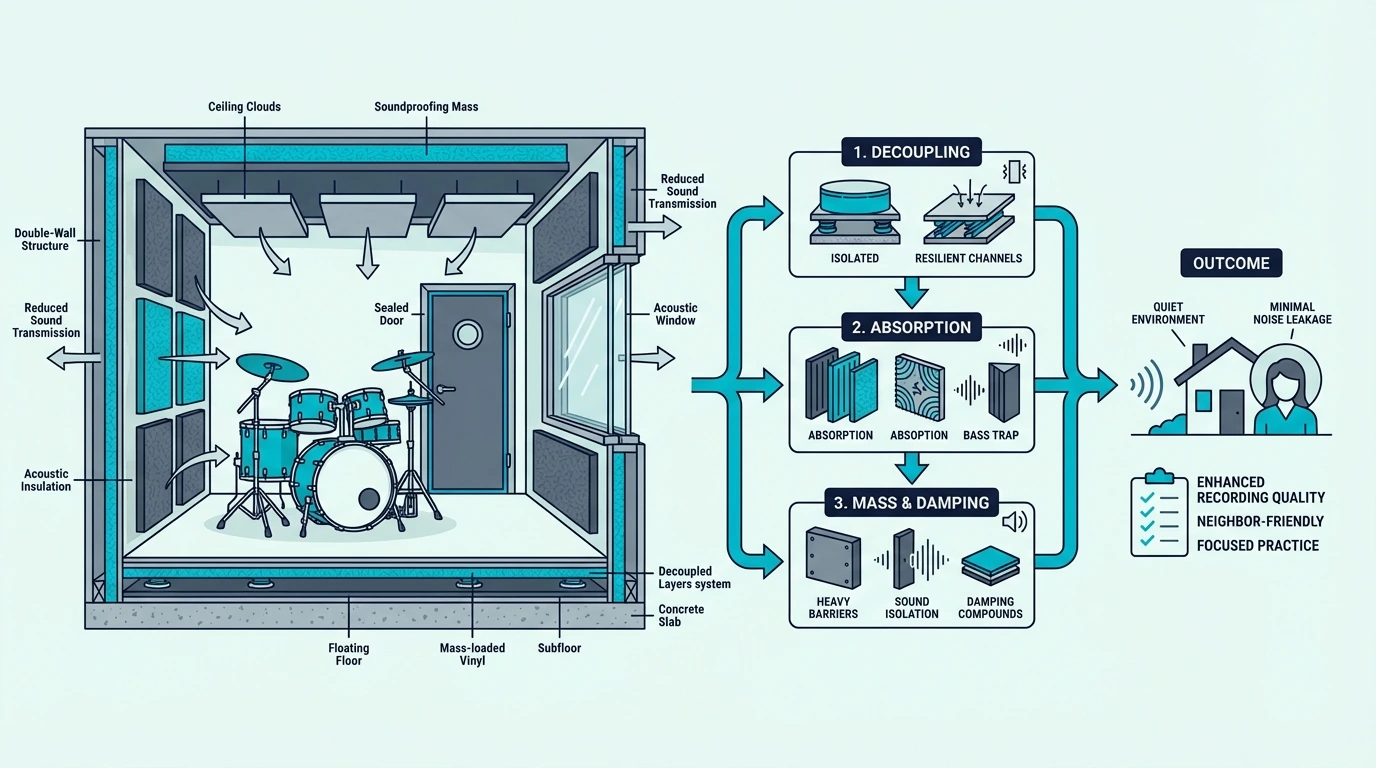
Booths, Whole-Room Builds, And Acoustic Panels Solve Different Problems
Once the budget stage runs out, the decision stops being about accessories.
Now you are choosing between isolating one fixed drum position, rebuilding the whole shell, or improving the room sound inside without expecting extra isolation.
A Booth Makes Sense When The Kit Position Never Moves
A booth makes sense when the kit position is fixed, the room is too hard to rebuild fully, or you need a more controlled practice or tracking zone inside a larger space. It works best when you are isolating one predictable drum position rather than trying to fix every part of the room equally.
Booths also make more sense in basements, garages, and dedicated practice spaces than in already cramped bedrooms. A tiny room inside another bad room can create comfort, heat, and usability problems if the shell decision is not thought through.
When you want a removable proof-of-concept around a fixed kit position, a heavy layer like US Cargo Control Sound Dampening Blanket can help you test the concept. The key is using it as a diagnostic step, not as the final answer.
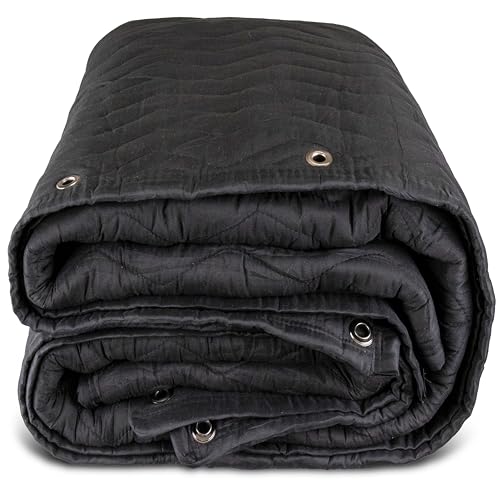
US Cargo Control Sound Dampening Blanket
Whole-Room Work Wins When Multiple Surfaces Are Already Failing
That booth logic breaks down fast when the floor, ceiling, and door are all losing at once. Treating the whole room is better when the kit lives there full time and the room itself is the shell you need to improve.
That is usually the smarter path for dedicated basement rooms, garages, or other spaces where you can actually upgrade the walls, ceiling, floor, and openings together. It is also the better path when isolating only one little zone would leave too much of the problem untouched.
Whole-room work is usually more predictable because every surface is pushing in the same direction instead of one isolated fix carrying the whole load. That matters a lot with acoustic drums because the source is so energetic and repetitive.
Acoustic Panels Help The Drummer More Than The Neighbor
That distinction becomes important right when people start shopping for treatment. Acoustic panels change what happens inside the room by reducing reflections and making the kit sound less harsh at the listening position.
They do not automatically stop sound transfer through the shell. A room can sound tighter to the player and still leak badly to the next room or the room below.
This is one of the easiest places for drummers to spend money on the wrong problem. Compare that with do soundproof panels work and best soundproofing panels so you do not mistake acoustic treatment for drum isolation.
Cost Rises With Build Depth, Not Wishful Thinking
Once you separate reduction from true isolation, the cost range stops looking random.
Drum rooms get expensive when the fix starts touching more structure, more surfaces, and more labor than a lighter music-room problem.
The Entry Tier Buys Relief, Not Silence
A basic setup usually means better room choice, quieter kit components, a stronger floor-side strategy, and targeted sealing. The result is usually “less annoying,” not “can’t hear it.”
That can still be enough for practice-heavy households where the goal is fewer complaints and a more manageable room rather than studio-grade isolation. It is the right tier for many drummers who mainly need reduction and better coexistence.
Serious Isolation Starts Charging You For The Shell
Once you move past that tier, the shell itself is changing. A serious build may include better floor isolation, more wall mass, improved ceiling treatment, stronger doors, and layered assemblies with damping between surfaces.
That is where the project starts to overlap with partial room-within-room thinking even if you do not build a full floating shell. Once multiple surfaces are changing, labor and material depth rise fast.
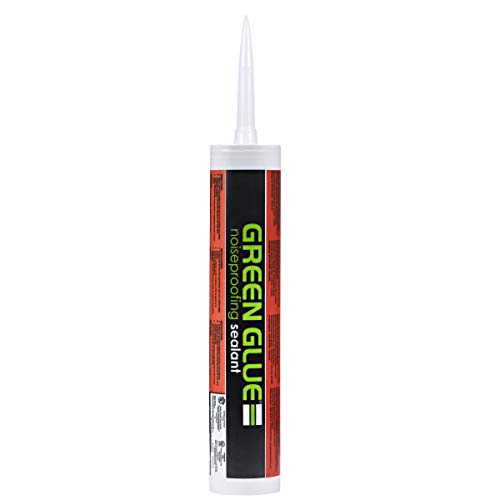
A product like Green Glue Noiseproofing Compound belongs in this category. It is valuable when the build is already serious, not when it is treated like a magic fix for a weak room.
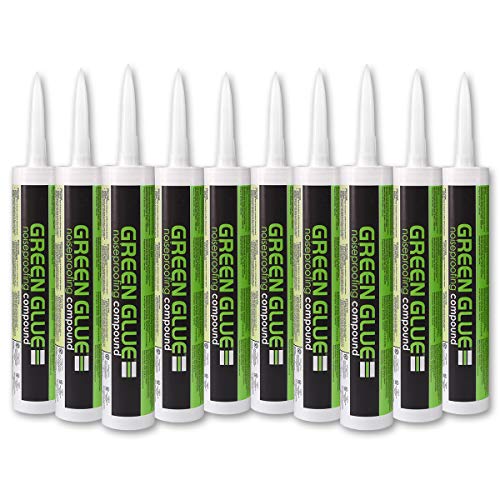
Green Glue Noiseproofing Compound
Professional Help Pays Off When The Wrong Guess Gets Expensive
That cost jump is also when guessing gets expensive. Call a professional when the room is for full-volume acoustic drums, repeated tracking, attached-home use, or ongoing neighbor complaints that have survived the obvious fixes.
The same goes for rooms that need a booth, a major riser, or multi-surface shell work and you do not want to guess wrong.
The Bottom Line
If you mainly need fewer complaints and more usable practice time, start with the quietest kit setup you can tolerate, the best room in the house, and the floor path before you touch anything else.
If you need a full acoustic kit to stay civil in an upstairs room, an attached home, or a neighbor-sensitive house, skip the fantasy stage and plan for real shell work, a booth, or a different room.
Frequently Asked Questions
How to play drums without disturbing neighbors?
Start by reducing the source first with quieter components and the best room you have available. Then control the floor path, the obvious leaks, and the shell in that order instead of assuming panels alone will carry the job.
What is the 80/20 rule in drumming?
In drumming, the 80/20 idea usually means focusing on the small set of skills and grooves that create most of your practical progress. It is not a soundproofing rule.
How do I cheaply soundproof my room?
Cheap fixes work best when they reduce the source and improve the obvious weak points. For drums, that usually means mats, seals, quieter hardware choices, and realistic expectations rather than expecting foam alone to contain the kit.
Can neighbors hear drum kits?
Yes, very easily in many homes. Drum kits combine loud airborne noise with structure-borne vibration, which is why neighbors can often hear them through floors, walls, and ceilings even when the room seems closed up.