Struggling to control sound reflections and reverb issues in your studio? The right rockwool acoustic panels placed strategically can optimize your listening environment.
Selecting the best rockwool density, thickness and mountings tailored to your specific room offers a cost-effective acoustic treatment solution.
Let’s dive into the key factors of rockwool grades and configurations that enable superb sound absorption across the entire frequency spectrum.
Identifying Problematic Frequencies

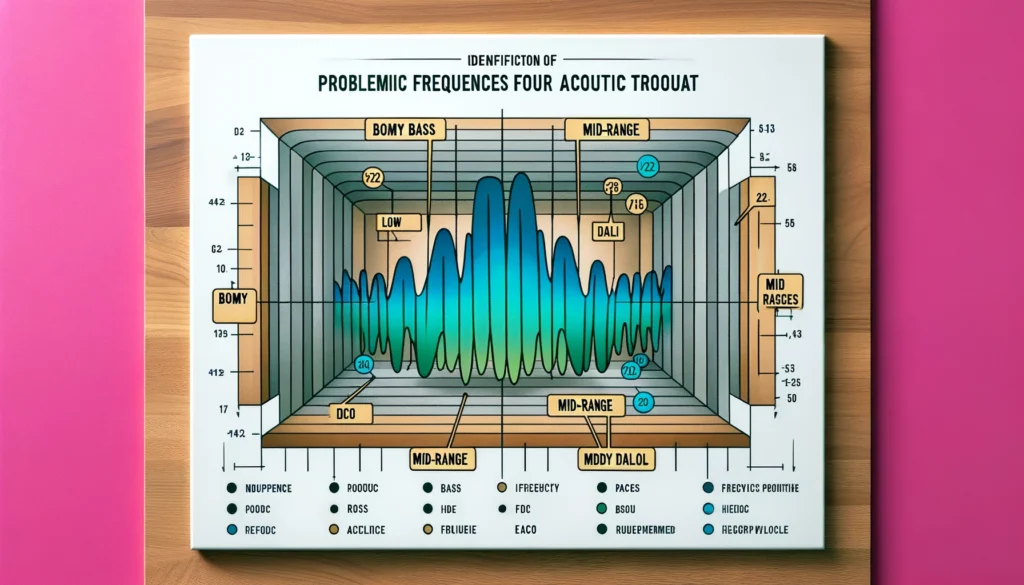
For rockwool acoustic treatments to be effective, first identify specific frequencies causing “boomy”, “muddy” or “ringing” issues in your room.
Bass traps target lows 125-250 Hz, mid-range absorption tackles dialog at 500-2000 Hz, while diffusion assists with high frequency echo control.
We’ll explore optimal panel selection and placement for comprehensive sound clarity improvement in your unique space.
Density Matters

Sound absorption relies on porous materials to dissipate sound energy into heat as sound waves enter small pores and friction occurs.
Rockwool and other mineral wool insulation materials work well for this due to their dense network of intertwined fibers full of dead air space.
The density of rockwool refers to its weight per cubic meter or cubic foot, and higher density products generally have more tightly-packed fibers and smaller pores.
This means lower frequencies related to thicker fiber interaction, while higher frequencies are controlled more by the depth of the overall product interacting with the facings.
In general, higher density rockwool absorbs lower frequencies better as there are more fiber-to-fiber contacts to create friction against the sound waves.
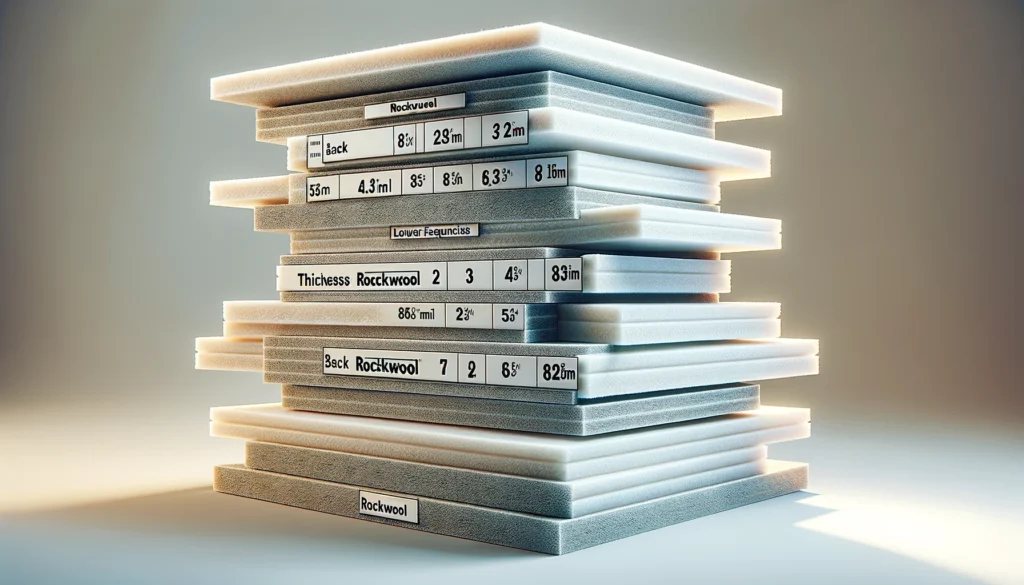
For example, 96 kg/m3 density targets 125 Hz and below, while 48 kg/m3 only absorbs effectively down to 250 Hz.
Common densities available are:
– 48 kg/m3
– 64 kg/m3
– 96 kg/m3
– Additionally heavier “bass trap” densities at 112+ kg/m3.
So in most cases, choosing the highest density rockwool (within budget constraints) provides the best low-frequency absorption.
Exception would be cost-driven applications like office soundproofing where high density 96 kg/m3+ may be overkill if not addressing substantial low-end problems.
Always match the product to density to the frequencies needing control.
Thickness Influences Performance

The thickness of rockwool biggest impact is on the lowest frequencies that the material can absorb effectively.
Doubling the thickness adds another octave lower in controllable frequencies.
So if 48 kg/m3 density normally works down to 250 Hz at 25mm thickness, at 50mm thickness this drops to 125 Hz absorption.
At 100mm thickness, absorption down to 60 Hz is possible.
Typical rockwool acoustic panel thickness options are:
– 25mm
– 50mm
– 75mm
– 100mm
Sometimes even thicker panels at 150mm or 200mm+ are used for bass traps in studios and theaters.
Recommended minimum thicknesses for applications:
– Home studios: 50mm with 75mm corner traps
– Professional studio: 75mm overall with 100-150mm bass traps
– Office, restaurants, etc: 25mm sufficient for speech clarity
So in summary, the thicker the rockwool, the better and broader sound absorption across lower frequencies.
But thickness adds cost, weight and space usage factors which can prevent super thick panels everywhere.
Strategically placing thicker absorbers at first reflection points and room corners maximizes benefit.
Facings Change Sound Profile

Rockwool insulation by itself has exposed fibers which can be an irritant if in occupied spaces.
So typically one side or wrap-around facings are added.
Common facings include:
– Fabric (Guilford of Maine, Hexotex, etc)
– Rigid fiberglass sheets
– Wood or metal composite boards
– Plastic wrap sealing
Adding any protective facing over rockwool does limit high frequency absorption above 5,000 Hz somewhat.
The small pores get covered restricting interaction with the highest sound waves.
But most acoustic treatments aim to control mid and low-end problems frequencies up to 1,000 or 2,000 Hz, so some high frequency attenuation is generally acceptable.
For fire safety, commercial installations often mandate fabric wraps or sealed plastic facings even behind additional wood frames or metal panels.
Alternatively UV resistant exterior-grade rockwool avoids exposed fiber problems for outdoor acoustics projects.
In summary, ensure to choose rated fireproof facing materials, or fully enclosed panels, when mandated by local safety codes.
Cutting Shapes Maximizes Coverage

The most common and easiest acoustic panel shape is basic squares or rectangles that stack vertically on walls and provide general mid-high frequency absorption.
But for wideband sound control including lower frequencies, more specialized shapes deployed strategically work better.
Angled panels, triangles, circles, and curved shapes scatter sound in more directions instead of allowing distinct reflection paths which contribute to flutter echo and room mode problems.
Bass trap corner mounting also increases low end interaction using density, air space and multiple boundaries.
First reflection point placement is key – the areas on surrounding walls where initial sound from speakers hits then bounces to the listening position.
Cut panels to fit floor-to-ceiling at first reflection points next to mixing/listening locations.
Get broader absorption and scattering effect combining both absorption and diffusion techniques.
In summary, cut rockwool acoustic panels to optimized shapes and place them strategically for maximum sound control in critical listening spaces.
Use basic squares for general areas then specialized triangles, circles and rounds at first reflection points and room corners.
Mounting And Air Gap Considerations

Maximizing sound absorption requires panels to have an air gap behind them so sound can interact with the rear face and edges.
Even 25mm gaps triple absorption capability versus panels flush mounted directly against walls.
Some mounting options:
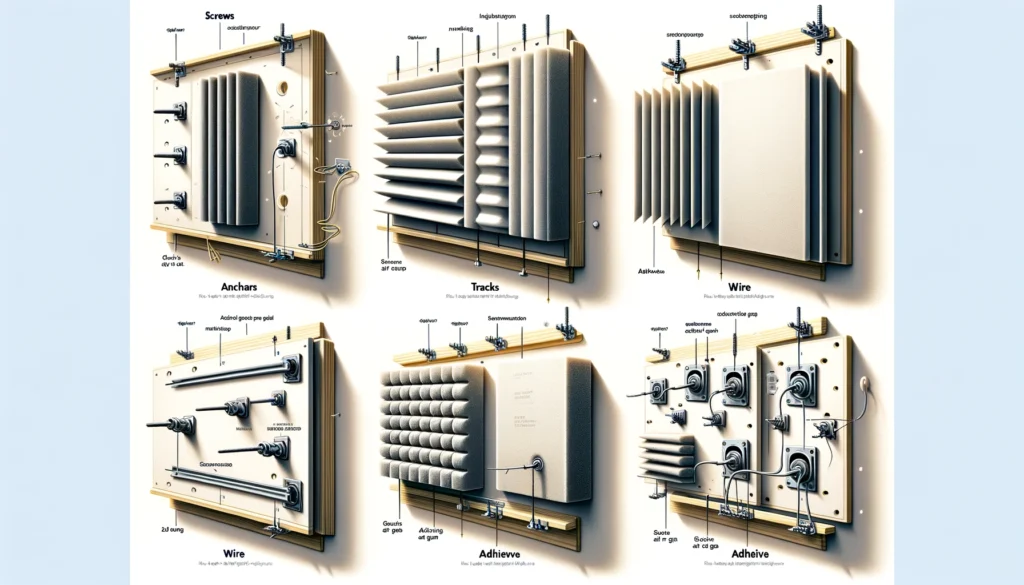
Mechanical
Screws, anchors, tracks or wire allow secure wall attachment while maintaining rear air gaps.
These work for all panel types but do require fixed penetration or hardware visibility.
Adhesive
Special acoustic panel adhesives (tapes, glue, Velcro, etc.) allow removable modular mounting.
Limitations are weaker support (weight restrictions) and lower frequency absorption since the panel ends up nearly flush to the wall.
Panels extending floor to ceiling have an inherent gap so additional spacing may not be necessary.
For partly-elevated panels leaving backing space helps maintain back absorption.
Can insert wood spacers or use deep picture rail hooks.
Having some additional measure to prevent panels ending up flush against walls assists in supporting claimed acoustic performance.
This allows sound waves to interact with more surfaces area dissipating energy through the rockwool.
So specify mounting methods that maintain at least 25mm of an air gap wherever possible.
In summary, choose mounting hardware appropriately to support panel weight, sizes and allow rear cavities for increased absorption across mid and low frequencies.
Work with specialists to model room responses when designing studios or critical listening spaces using rockwool for precision acoustic control.
Conclusion
Specifying the right rockwool brings cost-effective, high-performance sound absorption customizable in various applications.
Match density, thickness, facings and mounting methods to target frequency ranges needing acoustic treatment in each space.
Work strategically using angled panels, first reflection points and corner traps for comprehensive sound control.
Rockwool is among the best modular and adaptable studio and commercial acoustics materials available.