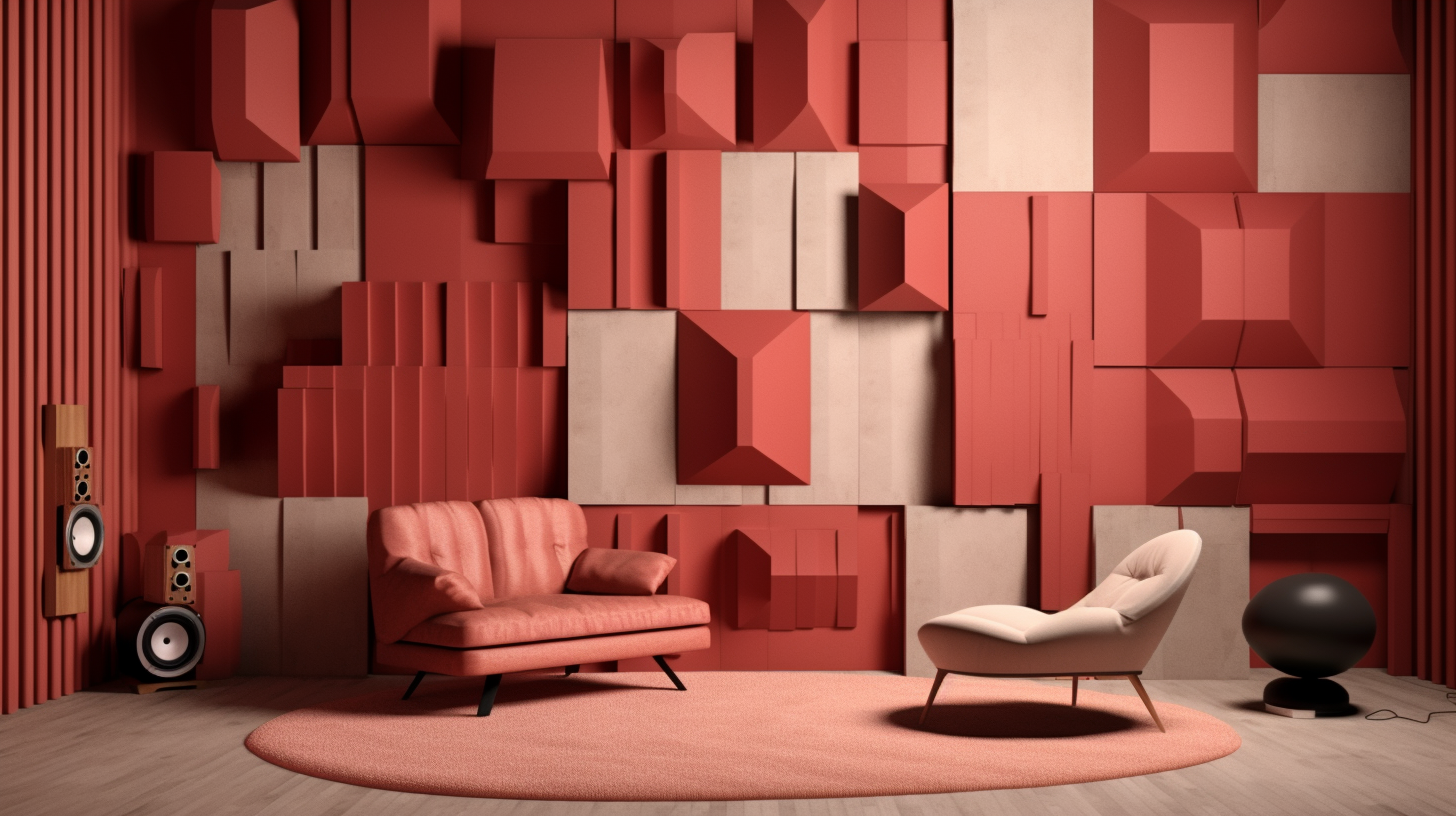
Have you ever wondered why music sounds so much better blasting in your car or through headphones than it does listening at home?
The issue likely isn’t your audio equipment, but rather your room’s poor acoustics.
Properly treating room acoustics through strategic placement of sound-absorbing and diffusing materials can make a dramatic difference in audio quality for critical listening environments like recording studios and home theaters.
In this comprehensive guide, we’ll explore the details of acoustic treatment and how optimizing room acoustics allows you to achieve accurate, balanced sound.
Let’s dive in and learn how to upgrade any space for pristine audio fidelity.
What Is Acoustic Treatment and Why It Matters
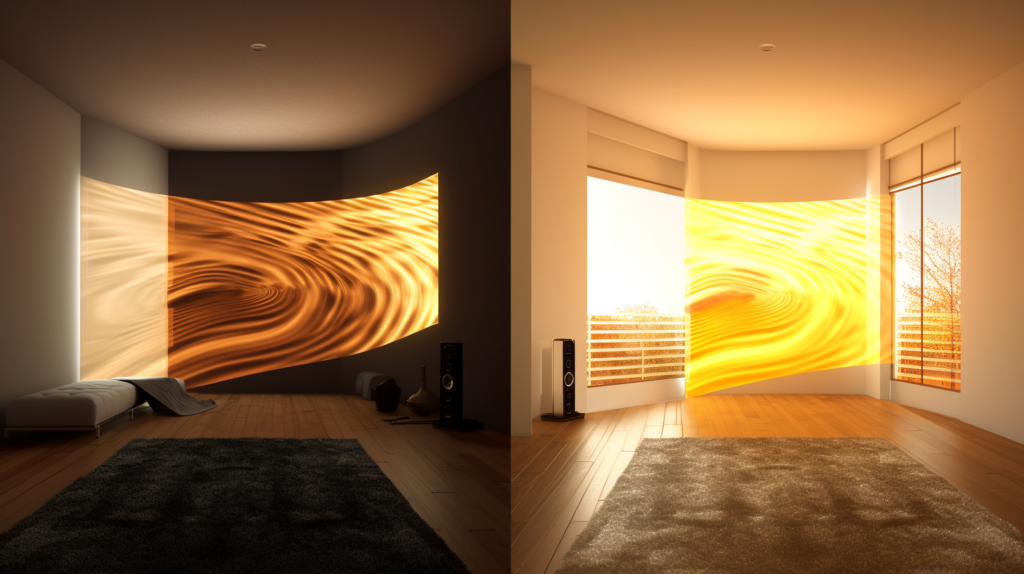
Acoustic treatment refers to specialized sound-absorbing and diffusing materials strategically placed in a room to control excess reverb, echo, resonances, and reflections.
The main goal of acoustic treatment is to create a neutral and accurate listening environment that is free of distortions, ringing, flutter echoes, and coloration.
With proper acoustic design, studios and home theaters can achieve pristine clarity, focused imaging, and reliable audio monitoring.
Common acoustic treatment products include broadband absorption panels, bass traps, diffusers, isolation shields, and overhead clouds.
These types of materials absorb or scatter problematic sound waves within a room to prevent smearing, masking, and an unbalanced frequency response.
Upgrading room acoustics through careful acoustic treatment allows you to hear audio exactly as intended.
It enables accurate critical evaluation when mixing, mastering, producing, or enjoying music and movies. Controlling reflections and resonances reveals subtle details and nuances in recordings.
For any dedicated listening room, whether a professional studio or home theater, acoustic treatment is one of the best investments you can make to dramatically enhance sound quality and achieve audio excellence.
What are the Benefits of Optimizing Room Acoustics?

Here are some of the major benefits that proper acoustic treatment delivers:
Acoustic treatment allows hearing audio free of distorting resonances, echoes, and reverb. It provides a neutral and accurate listening environment.
Optimized acoustics tighten and focus stereo imaging for pinpoint placement. Acoustic treatment controls problematic flutter echoes and ringing.
It smooths out uneven low-frequency room modes and standing waves.
Proper acoustic treatment absorbs early reflections that interfere with direct sound. It minimizes peaks, nulls, and coloration in frequency response.
Acoustic treatment enables reliable nearfield and midfield audio monitoring. Treating room acoustics reveals subtle details and nuances in recordings and improves clarity, presence, and articulation.
With comprehensive acoustic design, you can achieve balanced full-range frequency reproduction. It reduces listener fatigue from resonances and masking.
In short, upgrading room acoustics enhances almost every aspect of sound quality for highly accurate listening experiences.
What Acoustic Treatment Products Are Used in Studios?

There are several core types of acoustic treatment products used to optimize the acoustics of critical listening environments:
Broadband absorptive panels are mounted on walls and placed at reflection points to soak up excess reverberation and echo.
This reduces unwanted reflections that degrade audio quality and stereo imaging. Panels typically come in square, rectangular, or triangular shapes.
They are commonly made from rigid fiberglass, mineral wool, acoustic foam, recycled cotton, or other absorbent materials. For most rooms, acoustic panels should cover 25-45% of the total wall surface area.
Bass traps are extra thick acoustic panels designed to absorb troublesome low frequency buildups, standing waves, and resonances.
They are placed in room corners where low frequencies naturally accumulate. Triangle corner bass traps fit neatly into 90 degree corners to trap bass.
Effective bass traps can be constructed from rigid insulation or wood. Controlling low frequencies smoothes out the bass response for balanced sound.
Sound diffusers are geometric acoustic treatment products that scatter and disperse sound reflections in a complex, non-repetitive pattern.
This prevents distinct echoes and coloration. Diffusers work best when placed on the rear wall opposite the speakers and listening position.
They maintain some natural ambience while providing controlled diffusion.
Ceiling clouds are acoustic panels installed overhead above the primary listening area.
They help absorb sound coming from speakers in front of the listening position as well as reducing overall reverberation within the room.
Clouds can enhance clarity while retaining some sense of space and depth. They also add visual interest.
In addition to these core acoustic products, studios can benefit from portable isolation shields and baffles to control sound as needed.
Room furnishings like curtains, carpets, and sofas also provide absorption and diffusion.
The goal is covering key surfaces with specifically tuned acoustic treatments to create a controlled listening environment free of excess coloration.
How Should I Position Acoustic Treatment in My Studio?
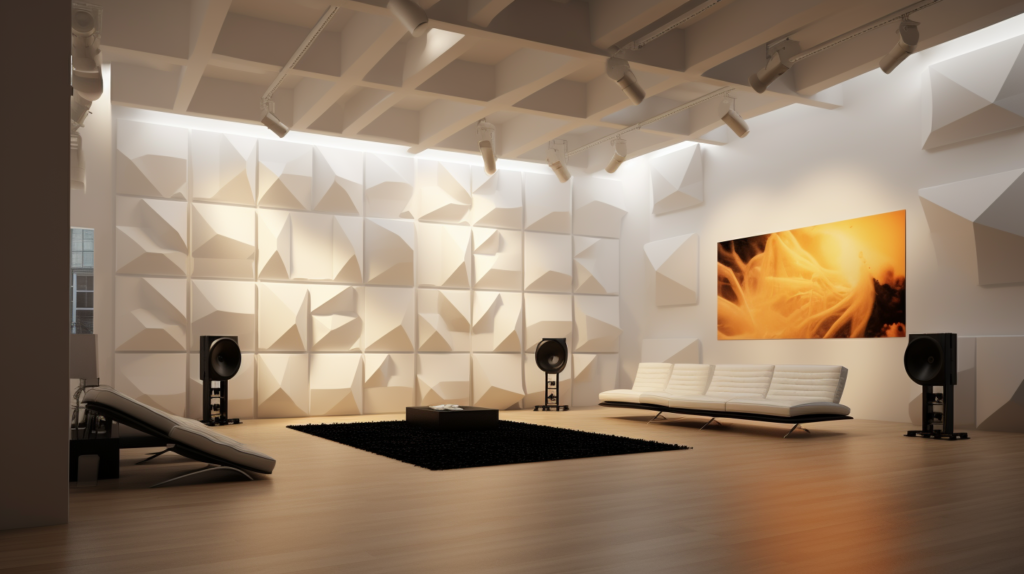
Proper placement of acoustic treatment products is critical for achieving accurate studio monitoring essential for mixing, mastering, and production work. Here are some best practices:
The first priority is mounting absorption panels at the main reflection points adjacent to the speakers and listening position.
This eliminates the first distorted reflections that interfere with and smear the direct sound from the monitors.
It’s ideal to cover as much of the front wall as possible surrounding the studio monitors with broadband absorptive panels.
This prevents localized reflections back into the mix position which distort imaging and frequency response. Panels can be spaced 2-4 feet apart.
Additional acoustic panels should be spread evenly across the room’s side walls to absorb excess sound and prevent distorted reflections and flutter echoes between parallel surfaces. Aim for 25-45% coverage of each side wall.
The rear wall can benefit from diffuser panels which maintain natural ambience while preventing distinct echoes.
Diffusion here enhances the sense of space and depth. Scattering the reflections creates an even, sustainable decay.
Placing bass traps in every corner of the room is critical for absorbing low-frequency buildups and smoothing out troublesome room mode resonances.
This evens out the bass response. Corner mounting maximizes low-frequency absorption.
Ceiling clouds directly above the mix position can help absorb sound from monitors and tighten early reflections for a more focused stereo image. The ceiling is often overlooked but contributes to reverb.
Overall, a balanced combination of tuned broadband absorption, diffusion, bass trapping
First reflection treatment will enable studio environments to achieve the pristine monitoring accuracy critical for audio work.
Consulting a professional acoustician can provide solutions for any room.
How Do I Add Acoustic Treatment to My Home Theater?

For the best surround sound immersion, home theaters also require comprehensive acoustic treatment throughout the space:
It’s beneficial to treat the side and rear walls with absorptive panels just like the front wall. This prevents localized reflections and helps maintain surround imaging.
Panels can cover 25-45% of the surface area and be evenly spread out.
Home theaters need bass traps in every corner of the room, both front and back. Low frequency resonances build up in all surfaces and can cause problematic boominess without sufficient trapping.
Mounting absorption panels at the key reflection points between surround speakers and the primary listening position eliminates first reflection distortions. This improves clarity.
Installing acoustic ceiling clouds directly above the seating area helps absorb sound coming from overhead surround speakers for greater envelopment.
It also reduces excessive reverb which benefits dialogue intelligibility.
Diffusers on the rear wall can enhance the sense of space and ambience within the surround soundfield. Scattering these back wall reflections creates a richer, more enveloping acoustic environment.
Consulting professional acousticians to properly design the complete home theater acoustic treatment ensures balanced coverage for ideal surround immersion.
Controlling directional reflections allows fully enjoying multi-channel audio as intended.
What Materials Work Best for DIY Acoustic Panels?
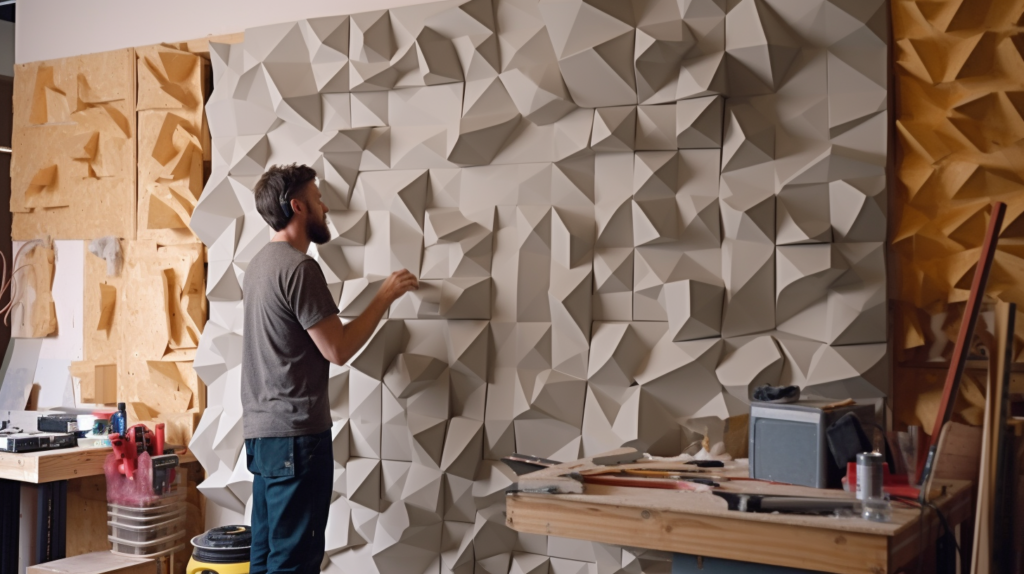
Creating your own homemade acoustic panels allows affordable and effective acoustic treatment. Follow these tips:
Use rigid insulation boards like Owens Corning 703 or Roxul Rockboard. These work great for absorption. Cedar and plywood make effective diffuser cores. Layering materials provides a blend of diffusion and absorption.
Measure panels to desired size such as 2×4 or 4×2 feet. Use a table saw, box cutter, or handsaw to cut insulation or wood cores neatly and accurately. For corner bass traps, cut triangles or beveled edges.
Wrap core materials tightly in natural burlap or other breathable fabric. This allows some sound through the permeable material. Stretch fabric taut and staple, glue, or tape securely on back.
Affix finished panels directly to walls using panel adhesive, Velcro strips, pins, screws, or nails. For flexibility, removable adhesive is useful. Screws into studs provide the most secure permanent mounting.
Paint or edge exposed sides of panels black or a matching color for a clean, polished look. Use acrylic craft paint and allow to fully dry before mounting.
With these DIY steps and the right materials, effective and great-looking acoustic panels can be fabricated to treat any room’s problem acoustics on a budget.
Is Acoustic Treatment Worth the Time and Expense?
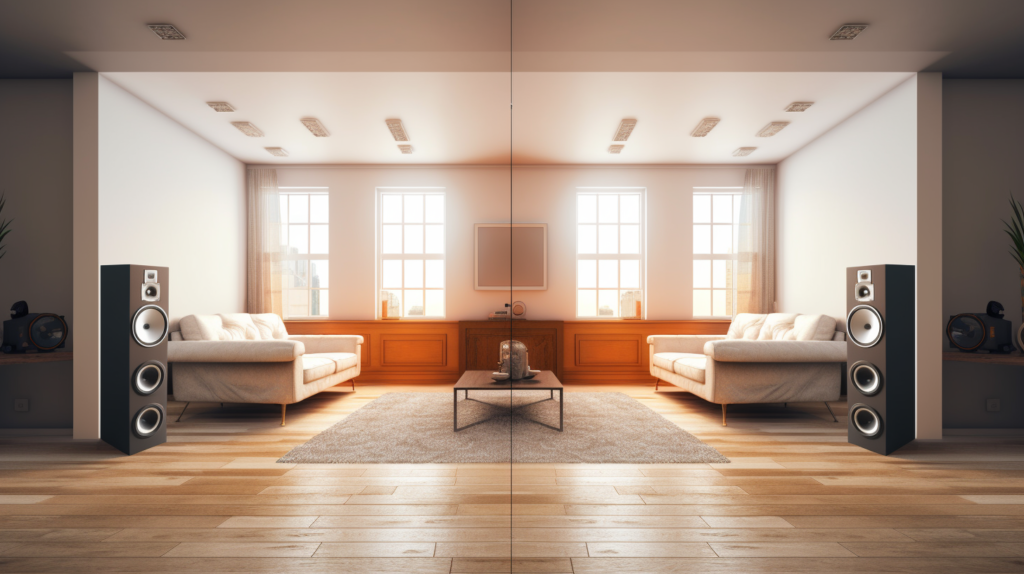
Upgrading studio or home theater acoustics does require a significant investment in time, effort, and money.
But acoustic treatment delivers immense sound quality benefits that make it very worthwhile, including:
Music, movies, and media simply sound their absolute best when room distortions are minimized through treatment. Hearing audio accurately is infinitely more satisfying.
For mixing, mastering, composing, and other critical tasks, proper acoustics are mandatory. Speakers and gear perform as designed only when the room is treated.
Quality speakers, amps, and components will never achieve their full potential in an untreated, reflective room. Acoustic treatment allows gear to truly shine.
Proper acoustic design enables reliable analysis such as frequency response measurements and spectral analysis. Minimizing excessive room influence is key.
While the investment in specialty acoustic materials and proper installation is significant, for rooms dedicated passionately to audio fidelity, the rewards are immense.
Controlling excess reverberation, resonances, and reflections allows hearing music and movies exactly as creators intended, with enhanced clarity and nuanced detail.
Though improving acoustics requires effort, for audiophiles seeking accurate and balanced sound, treating room acoustics is one of the wisest listening space investments you can make.
The results make a profound difference.
How Much Does Typical Acoustic Treatment Costs?
Here are rough estimates for average costs when upgrading room acoustics:
Acoustic Panels generally cost between $50 to $200 each. Bass Traps range from $100 to $300 each. Diffusers typically cost $100 to $500 each. Cloud Panels are usually $100 to $300 each.
Installation Supplies like adhesive, hardware and tools might cost $50 to $200. An Acoustician Consultation usually ranges from $200 to $2000.
For a 10′ x 10′ home studio or listening room, a properly designed and installed acoustic treatment system would likely cost $1500 to $4000 depending on room issues, products used, and installation complexity.
Larger spaces can easily cost $5000 to $10,000 or more. DIY projects can reduce costs substantially.
Myths and Misconceptions You Should Avoid Believing

There are some common misconceptions about acoustic treatment:
More absorption is always better – In fact, over-deadening a room is problematic. The goal is controlled, balanced acoustics optimized for the space.
Foam panels fix everything – Thin porous foam alone cannot properly address bass resonances or flutter echoes which require broadband absorption and trapping.
Treatment ruins natural ambience – Done right, treatment only eliminates excessive reverb and distortions while retaining a natural sense of space.
Diffusers prevent absorption – Well-designed diffusers both scatter and absorb sound, controlling echoes while allowing tuning of reverb.
Treatment is set it and forget it – Acoustics may need further adjustment over time as gear, furnishings, and usage change. It’s an evolving process.
Conclusion
Optimizing the acoustics in studios, home theaters, and other critical listening spaces through strategic acoustic treatment can make a truly dramatic improvement in sound quality, audio accuracy, and monitoring reliability.
While upgrading room acoustics does require an investment in specialty acoustic products and careful installation, for dedicated audiophiles, the benefits to both enjoyment and workflow are immense.
Being able to hear music, movies, and media exactly as creators intended is an invaluable enhancement.
Controlling excess reflections, flutter echoes, resonances, and reverb reveals nuanced details in audio recordings and allows equipment to perform to its full potential.
For those passionate about musical fidelity and performance, acoustic treatment delivers indispensable results.
Though improving room acoustics requires research and understanding of acoustic principles
With quality absorption, diffusion, bass trapping, and professional advice, dramatic enhancements in sound quality are eminently achievable.
For critical listening spaces, proper acoustic treatment is one of the wisest long-term investments you can make.
