Can You Put Acoustic Foam in the Dryer? Why Heat Ruins Panels
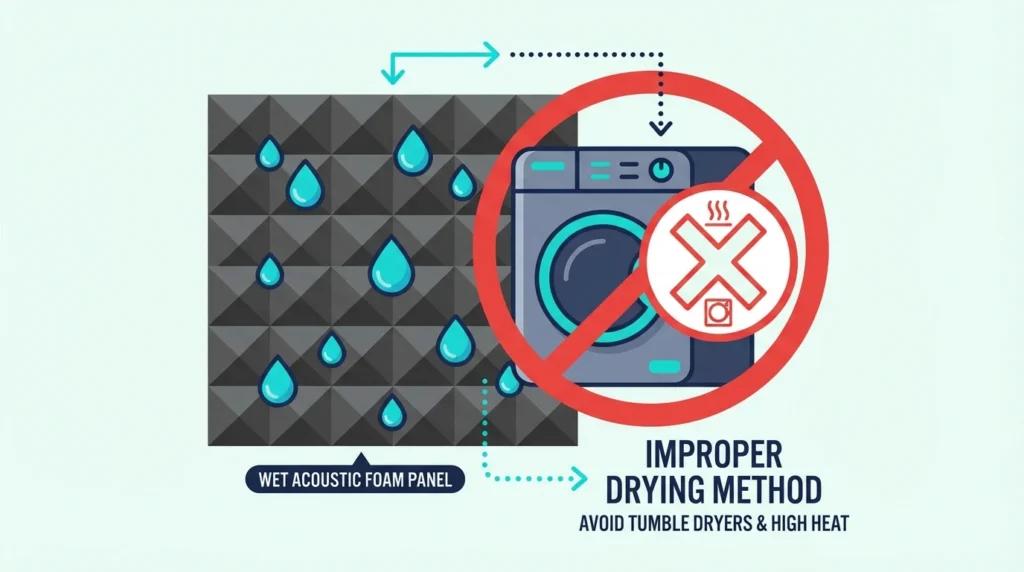
If your acoustic foam got wet and your first instinct is “throw it in the dryer,” don’t. A dryer is one of the fastest ways to permanently deform foam, because heat softens polyurethane and tumbling tears the shapes that help panels absorb reflections in your room.
The better path is boring but safe: remove as much water as you can, then dry with airflow and time. You’ll find what goes wrong in a dryer, what to do right away, and how to dry panels without inviting mold.
The steps below start with why dryers are dangerous for foam, then walk you through the drying method that keeps panels usable.
Can you put acoustic foam in the dryer? No. Heat can soften polyurethane foam, and tumbling can tear or crease panels so they never sit flat again.
Do this instead: gently press out water with towels, then air-dry with strong airflow (a fan helps). In humid homes, a dehumidifier can make the difference between “dries in time” and “starts smelling musty.”
Why Do Dryers Damage Acoustic Foam?

A dryer hits foam with two things it hates: heat and mechanical abuse. Either one can ruin a panel; together they almost guarantee it.
Heat Softens Foam (And Can Change How It Absorbs)
Most acoustic foam is polyurethane, and it softens when it gets warm. In a dryer, that can lead to warping, shrinkage, or hardened spots once it cools.
Even if the panel still looks “fine,” heat can deform the open-cell structure that does the absorbing. That’s why “it survived the cycle” doesn’t necessarily mean “it performs the same.”
Tumbling Tears and Creases Panels
Heat isn’t the only problem. Tumbling slams the foam around and compresses it over and over.
Wedges and pyramids snap, edges tear, and panels can come out with permanent folds that won’t mount flat. Even on “no heat,” the mechanical action alone can destroy foam.
You Can Also Damage Your Dryer
The risk isn’t just to the foam. If foam softens or sheds bits, it can smear onto the drum, clog the lint path, or leave residue that transfers to clothes.
That’s a messy cleanup at best and a safety risk at worst. Saving a few panels isn’t worth turning your dryer into a project.
Fire Safety Still Matters
Polyurethane is combustible, and a dryer is already a heat + lint environment. Even “fire retardant” foam isn’t “dryer safe” foam.
If you want the bigger picture on ratings, materials, and safe use, read whether acoustic foam is dangerous.
What Happens When Acoustic Foam Gets Wet?

Water doesn’t automatically “kill” acoustic foam. The real risk is what happens while it stays wet: trapped moisture, musty odors, and mold.
Open-Cell Foam Holds Water (Just Like It Holds Air)
Acoustic foam is open-cell, which is why it absorbs reflections in the first place. That same structure also soaks up water, and a panel can hold a surprising amount.
What’s Temporary vs What Becomes Permanent
While it’s wet, foam won’t absorb sound properly because the cells are full of water instead of air. Once it’s fully dry, it usually returns to normal unless it was heat-damaged or started breaking down.
The permanent problems tend to be biological and structural: mold growth, deep musty smell that won’t leave, crumbling foam, or adhesives failing behind mounted panels.
Time Matters (Especially in Humid Rooms)
The longer foam stays wet, the higher the risk of permanent damage. In warm, humid conditions, mold can start within a day or two, so the best move is to start drying immediately.
Understanding foam composition helps explain why water is problematic—see our guide on what type of foam is acoustic foam.
Get Studio Tips Weekly
Join 5,000+ creators getting acoustic treatment advice every week.
No spam. Unsubscribe anytime.How Do You Dry Acoustic Foam Safely?

The goal is to remove moisture without stressing the foam, then keep air moving until the core is dry. If you do that, most panels recover just fine.
Step 1: Get Water Out (Without Wringing)
Start by taking panels off the wall if they’re mounted. Trapped moisture behind foam is one of the fastest ways to end up with mold.
Lay the foam between clean towels and press evenly to wick water out. Don’t twist, wring, or crush it, because that can permanently crease the material.
Step 2: Air-Dry With Space and Airflow
Dry foam in a well-ventilated room where air can reach both sides. A drying rack, spaced slats, or propping panels on their edges works better than laying them flat on a solid surface.
Skip direct sunlight for long periods, because UV slowly ages foam and can make it brittle. Indirect light is fine.
Step 3: Add a Fan (Cool Only)
A standard fan is the safe “speed boost” because it adds airflow without heat. If you want faster drying than a box fan, a compact air mover like XPOWER P-80 air mover fan pushes a lot of airflow across the surface.
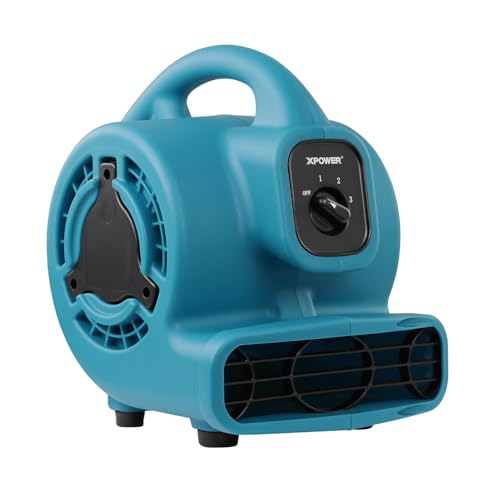
XPOWER P-80 Air Mover Fan (600 CFM)
Avoid hair dryers, heated fans, or putting foam near heaters. Hot air feels “efficient,” but it’s the same risk profile as a dryer in miniature.
Step 4: Use a Dehumidifier in Humid Rooms
If your home is humid, a small dehumidifier like TABYIK 35oz dehumidifier can be the difference between “dries in time” and “starts smelling musty.” Put the foam in a smaller room, run the dehumidifier, and keep air circulating with a fan.
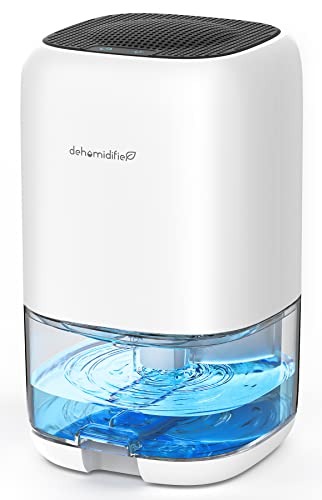
TABYIK 35oz Small Dehumidifier
When Is It Safe to Reinstall?
Lightly damp foam can dry in a day, but saturated or thick foam can take several days. Don’t remount until it feels dry through the middle and smells neutral.
If you’re unsure, give it an extra 12–24 hours. Remounting “almost dry” foam is how you end up with a musty smell that never quite leaves.
How Can You Prevent Acoustic Foam From Getting Wet?

Once you’ve dealt with wet foam once, prevention starts to feel very worth it. Most water damage is predictable, which means it’s avoidable.
Keep Foam Away From Obvious Water Risks
Avoid installing foam under leaky windows, near plumbing, or in rooms that stay humid without ventilation. Also be honest about your space: if you regularly eat or drink at your desk, treat the wall behind it like a splash zone.
Use a “Sacrificial Layer” When You Need Protection
If you’re worried about spills, mounting foam to a removable backing board can help, because you can take the whole piece down to dry. Fabric covers can also reduce direct splashes, as long as they’re breathable so moisture doesn’t get trapped.
If a room is consistently damp, the better fix is humidity control, not trying to make foam “waterproof.” If you’re not sure how humid the room runs, a cheap hygrometer like TempPro TP50 hygrometer (2-pack) makes it obvious.
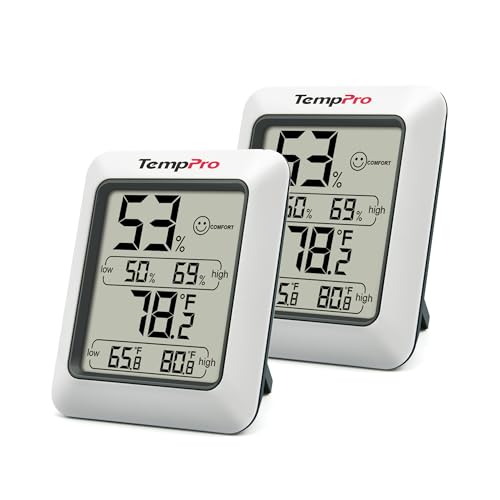
TempPro TP50 Digital Hygrometer (2-pack)
Clean Foam Without Soaking It
Vacuuming with a brush attachment handles most dust and keeps foam from becoming a sponge. If you need spot cleaning, use a barely damp cloth and let the area dry fully before you leave it mounted.
Our how to put acoustic foam on walls guide includes mounting and care tips that help prevent moisture getting trapped behind panels.
For regular maintenance that avoids water entirely, see our how to clean acoustic foam guide.
Should You Replace Wet Acoustic Foam or Try to Save It?

Most wet foam can be saved if you start drying quickly and it dries clean. The decision usually comes down to mold risk and whether the foam’s structure still feels normal.
When It’s Worth Saving
Try to salvage the foam if the water exposure was brief, you started drying the same day, and the panel dries without a persistent musty smell. Foam that’s still springy, returns to shape, and smells neutral is usually fine to keep using.
When Replacement Is the Safer Call
Replace the foam if you see visible mold, it keeps smelling musty after drying, or the panel feels hardened, warped, or crumbly. If you accidentally ran it through heat and it no longer compresses and rebounds normally, it’s unlikely to perform the same.
The Practical Cost Reality
If you’re using budget foam, replacement often makes more sense than days of “maybe it’s okay.” If you’re upgrading anyway, our best acoustic foam for recording guide can help you choose a better set.
If you’re unsure whether you’re dealing with water damage or age-related breakdown, see whether acoustic foam gets old. For a broader look at foam drawbacks, our cons of acoustic foam guide covers all nine limitations.
What Should You Do If Acoustic Foam Gets Moldy?

If foam smells musty after drying, treat it like a mold problem even if you can’t see obvious spots yet. The sooner you act, the better the odds you can safely salvage it.
How to Tell if It’s Mold
Common signs are a persistent musty smell, discoloration, or fuzzy/powdery patches (often black, green, or white). If you’re unsure, trust the smell, because mold can start inside the foam where you can’t see it.
If It’s a Small Surface Patch
Take the foam outside and wear a mask, because brushing can kick spores into the air. Gently remove loose growth, wipe or mist with diluted white vinegar, then let the panel dry completely with strong airflow.
Avoid leaving foam in harsh sun for hours, because UV ages foam over time. A short period outdoors for airflow is fine, but finish drying in a ventilated spot out of direct sun.
If It’s Widespread or Keeps Coming Back
If mold is spread across the panel, keeps returning, or the smell won’t leave, replacement is usually the safer call. Mold can penetrate the foam structure, and “looks clean” doesn’t always mean “is clean.”
Fix the Moisture Source
Whether you salvage or replace, fix the leak, spill pattern, or humidity issue that caused the problem. Otherwise the next set of panels can end up in the same cycle.
Conclusion
Don’t put acoustic foam in the dryer, even on low heat. Heat can deform polyurethane and tumbling can tear the shapes that help panels mount and perform properly.
Save panels by pressing out water with towels, then drying with airflow until the core is dry. A fan and (if needed) a dehumidifier are safe ways to speed the process up.
If foam smells musty, shows mold, or feels warped or hardened, replacement is usually the safer call. Going forward, keep foam away from spill zones and clean it with dry methods first.
Frequently Asked Questions
Can I use a hair dryer on acoustic foam?
Avoid it, because concentrated hot air can soften and warp foam even on low. Use a cool fan instead.
How long does acoustic foam take to dry?
Most panels dry in 24–72 hours depending on thickness, humidity, and airflow. Wait until it feels dry through the core, not just dry on the surface.
Will wet acoustic foam still work?
While wet, foam absorbs poorly because water blocks airflow inside the cells. Once fully dry, it usually returns to normal unless it warped, hardened, or grew mold.
Can I wash acoustic foam?
Full washing soaks the foam and raises mold risk, so it’s usually not worth it. Vacuum first, then spot-clean with a barely damp cloth and dry immediately.
What if my foam smells musty after drying?
A lingering musty smell usually means mold or mildew inside the foam. If vinegar plus thorough drying doesn’t clear it, replace the panel.
Can I put foam in the sun to dry faster?
Brief sun exposure is fine, but avoid hours of direct UV because it ages foam over time. Dry with airflow in shade and bring it inside once surface-dry to finish without baking it.

