Acoustic Treatment For Home Theater (Why Your Speakers Sound Wrong)
Figuring out how to do acoustic treatment for home theater comes down to one uncomfortable truth — the room matters more than your speakers, but most people spend thousands on gear and nothing on the surfaces that shape every sound those speakers produce.
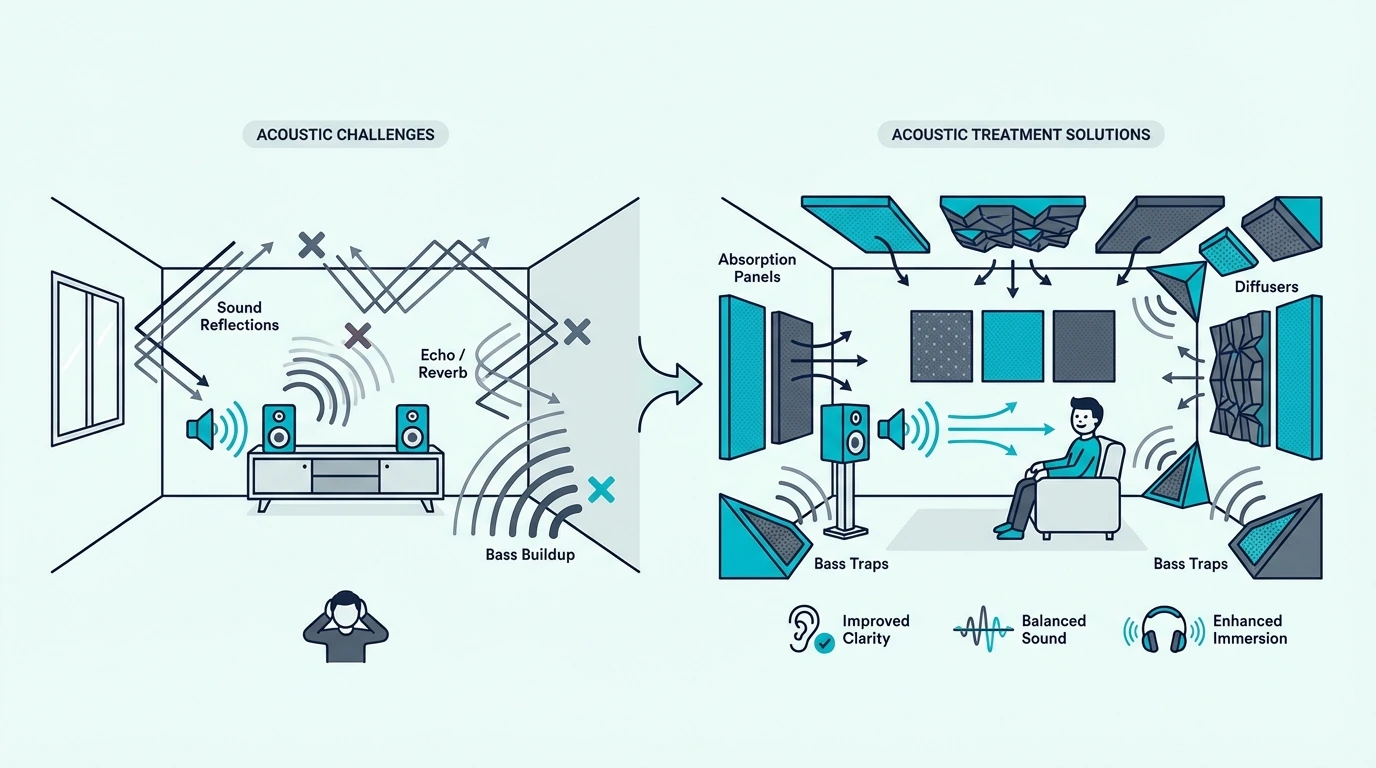
That boomy bass during action scenes, the dialogue you keep cranking up because it sounds buried, the surround effects that feel harsh instead of immersive — none of those problems live inside your equipment.
They live in untreated walls, corners, and ceilings that reflect, amplify, and smear sound waves before they reach your ears.
Fix the room first, and you get tighter bass, clearer dialogue, and surround sound that wraps around you instead of bouncing off every hard surface.
Below, this guide walks through the specific acoustic problems in a home theater, what treatment each surface needs, and how to handle the whole project on a budget without gutting the room.
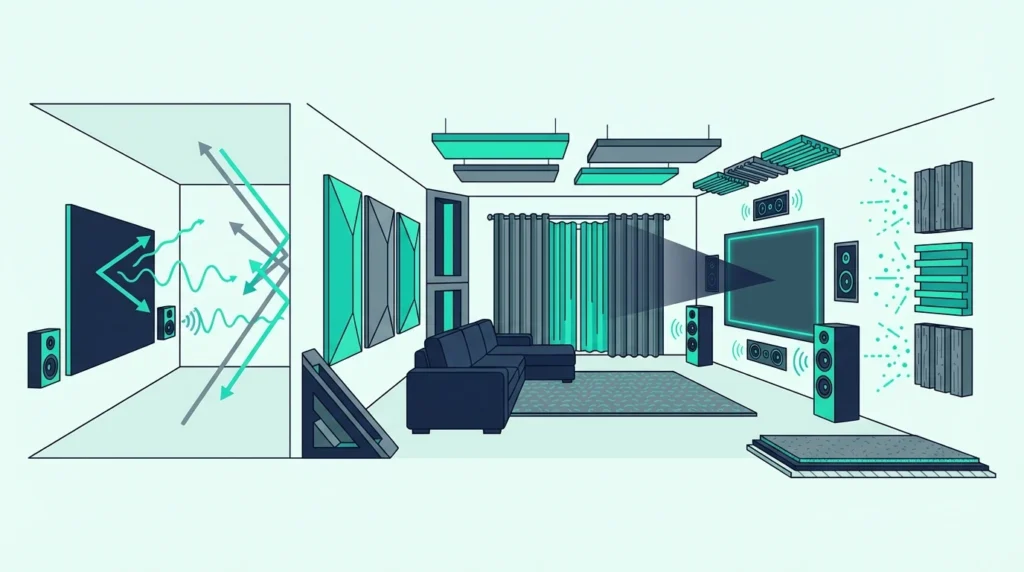
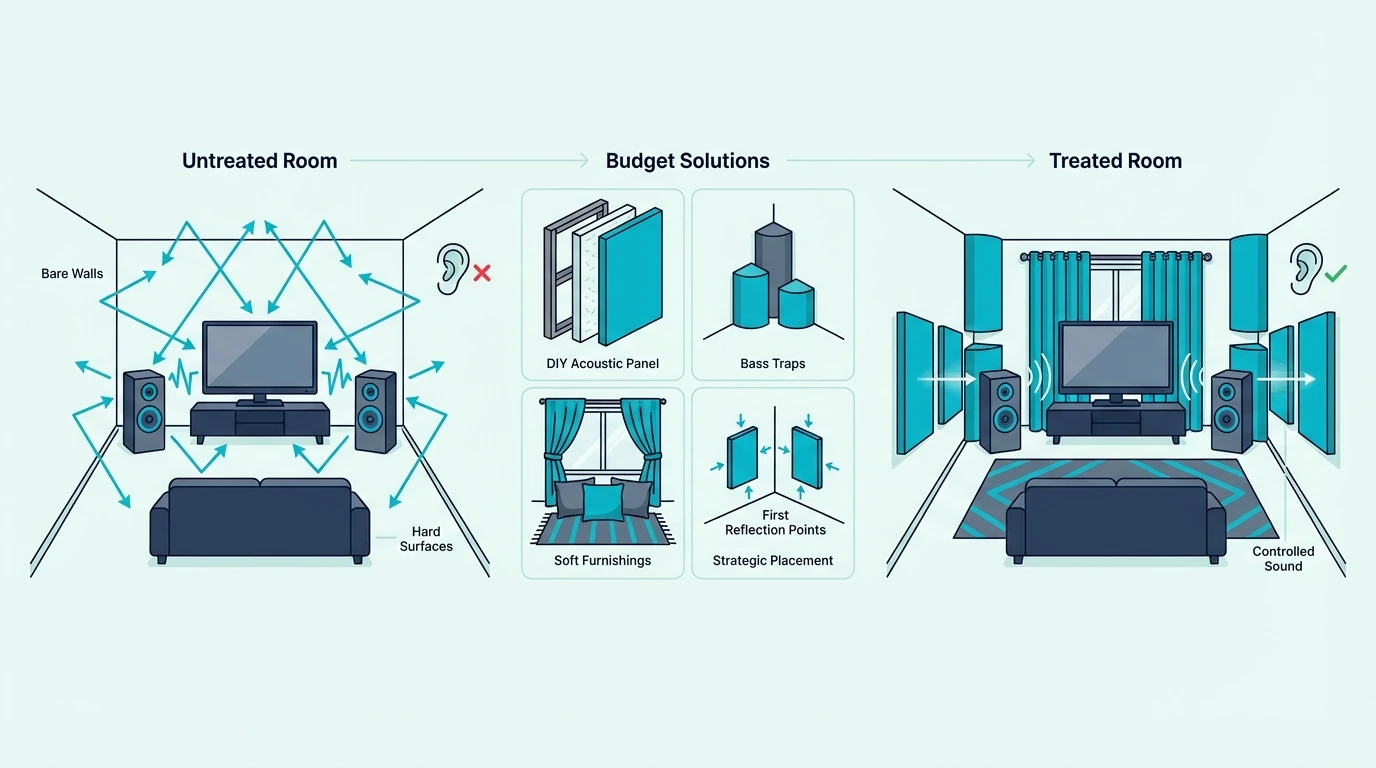
To treat a home theater acoustically, start with bass traps in all four vertical corners, then add absorption panels at the first reflection points on both side walls and the ceiling above the primary seating position. That combination controls the three biggest audio problems in most theater rooms: boomy bass, smeared dialogue, and harsh surround reflections.
What Are The Acoustic Challenges In A Home Theater?
A home theater stuffs a multichannel surround system into a rectangular box — and that box fights the speakers at every turn. Understanding what goes wrong helps you spend treatment dollars where they actually matter instead of covering every wall with panels and hoping for the best.
Bass Problems And Room Modes
Low-frequency sound waves are long — a 60 Hz bass note has a wavelength over 18 feet. When that wave hits a wall and bounces back, it collides with the next wave coming from the subwoofer and creates pressure zones that stack energy in certain spots while canceling it in others.
Those pressure zones are called room modes, and they turn every action scene into a muddy, booming mess in some seats while the seat two feet over sounds thin. A 12 x 15 foot room with 8-foot ceilings has its first three axial modes between 37 Hz and 70 Hz — right in the heart of movie bass and soundtrack low end.
Corner placement amplifies the problem because low-frequency energy naturally piles up where three surfaces meet. Every vertical corner in your theater room is a bass accumulator, and without treatment, that accumulated energy bleeds into everything else.
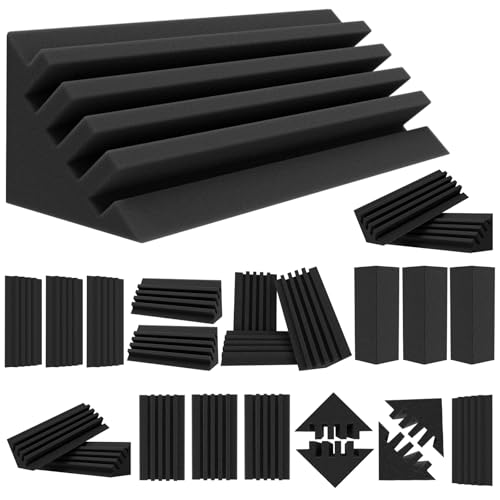
The fix isn’t EQ or turning the subwoofer down — those approaches change what the sub sends out, but they cannot change how the room responds. Bass traps in the corners physically absorb that excess energy at the source. Budget foam corner traps like the TroyStudio foam bass traps cover all four vertical corners for under 35 dollars and tame the mid-bass buildup that makes action scenes sound muddy.
TroyStudio foam bass traps
Dialogue Clarity And Early Reflections
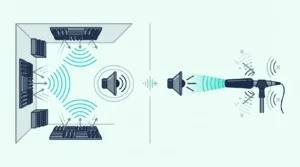
Your center channel speaker handles most of the dialogue in a 5.1 or 7.1 system. The direct sound from that speaker reaches your ears first, but within 5-15 milliseconds, reflected copies arrive from the side walls, ceiling, and the wall behind the screen.
Those early reflections smear the consonants that make speech intelligible. The word “kick” starts sounding like “thick” because the reflected copy slightly shifts the timing and frequency balance of the original signal.
Panels at the first reflection points on the side walls — the spot where sound from the center channel bounces to the primary seating position — restore clarity without deadening the room. You only need treatment at the specific points where reflections arrive earliest, not across the entire wall.
A quick way to find those spots: have someone hold a mirror flat against the side wall at ear height while you sit in the main seat. Wherever you can see the center channel speaker in the mirror, that’s a first reflection point.
What Acoustic Treatment Does A Home Theater Need?
Now that you see where the problems come from, the treatment plan writes itself. Each surface in the room plays a different acoustic role, and the treatment for each one serves a different purpose.
Bass Traps In Front And Rear Corners
Every home theater needs a minimum of four corner bass traps — one in each vertical corner of the room. Thicker traps perform better: a 4-inch thick fiberglass or rockwool trap absorbs meaningfully at 80 Hz, while a 6-inch trap reaches down toward 50 Hz.
Floor-to-ceiling traps outperform short triangular wedges because low-frequency energy distributes along the entire vertical edge, not just at ear height. If full-height traps feel too imposing, stack two 4-foot panels per corner to cover the critical zone.
The front corners (behind or beside the screen) deserve the thickest traps because the front speakers and subwoofer drive the most low-frequency energy into those junctions. Rear corners handle the reflected bass that the front traps missed.
For a dedicated theater room, fiberglass or rockwool insulation in a simple wood frame is the most cost-effective bass trap you can build. The material cost per corner runs far less than a single pre-made broadband trap at the same thickness.
Side Wall Panels At Reflection Points
Side wall treatment targets early reflections from all five front-facing speakers (left, center, right, and the two surround channels in a 5.1 layout). Panels at ear height between the screen wall and the primary row of seats intercept the reflections that cause the most damage to dialogue and imaging.
Two panels per side wall — placed at the first and second reflection points — handle the worst offenders. Each panel should be at least 2 inches thick and made from fiberglass or mineral wool wrapped in acoustically transparent fabric.
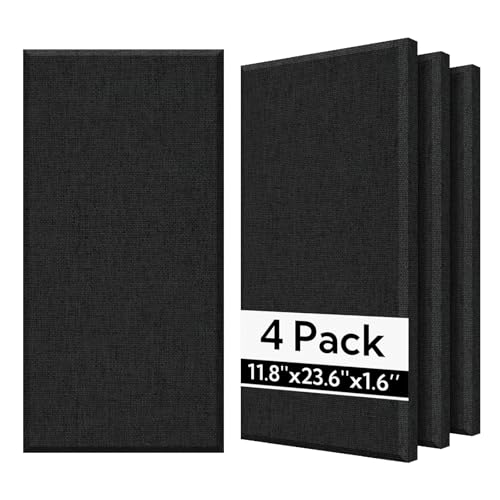
Ready-made panels like the UMIACOUSTICS 4-Pack Fiberglass Panels come with brackets for fast wall mounting and cover the mid-to-high frequency range where dialogue clarity lives.

UMIACOUSTICS 4-Pack Fiberglass Panels
If aesthetics matter as much as performance — and in a home theater, they usually do — decorative fabric-wrapped panels with high NRC ratings blend with theater decor while still absorbing in the critical speech frequencies.
Rear Wall And Ceiling Treatment
The rear wall catches reflected bass from the subwoofer and reflected surround energy from the rear speakers. Two treatment strategies work here depending on how much space you have.
Absorption on the rear wall works the same way as side wall panels — it kills reflections that would otherwise arrive at the seating position with a delay long enough to cause audible coloring. This is the safer choice for rooms with rear surround speakers mounted close to the back wall.
Diffusion on the rear wall scatters reflected energy in many directions instead of absorbing it. Scattered reflections sound more spacious and keep the room from feeling dead.
If your rear speakers are at least 3-4 feet in front of the back wall, diffusion adds a sense of envelopment that pure absorption cannot provide. The scattered energy fills the space behind you without creating distinct echoes.
The ceiling needs one treatment panel — a ceiling cloud — centered above the primary seating row. That single panel intercepts the strongest overhead reflection that otherwise smears the center channel image and creates a sense of the sound “collapsing” toward the ceiling instead of staying locked to the screen.
Get Studio Tips Weekly
Join 5,000+ creators getting acoustic treatment advice every week.
No spam. Unsubscribe anytime.Home Theater Treatment On A Budget
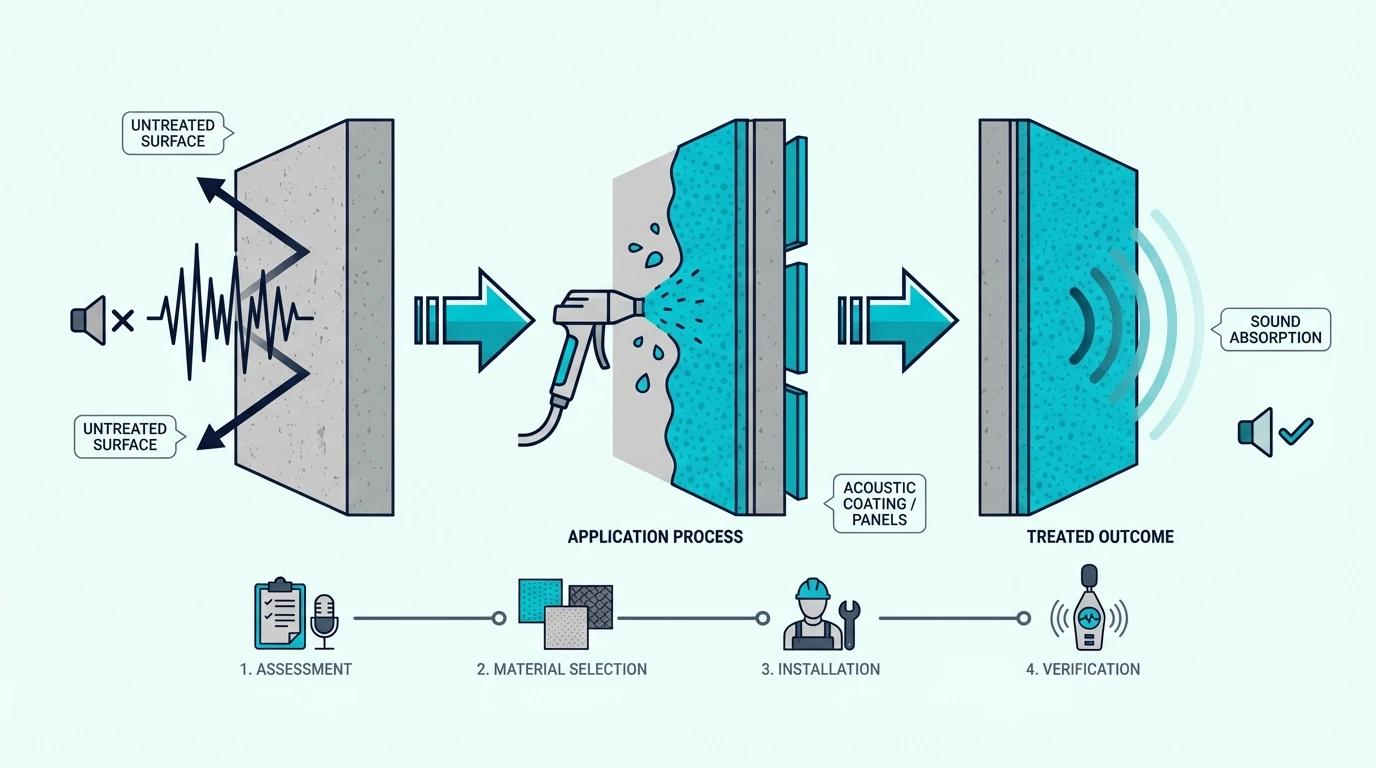
Professional acoustic panels are not cheap, but the room doesn’t care whether the treatment cost hundreds or thousands — it only cares whether the right material sits in the right place at the right thickness.
DIY Panels With Rockwool Or Fiberglass
A 2 x 4 foot panel built from a simple 1 x 4 pine frame filled with 2-inch Rockwool Safe’n’Sound or Owens Corning 703 and wrapped in acoustically transparent fabric costs a fraction of a comparable commercial panel. The SoundAssured Acoustically Transparent Fabric lets sound pass through to the core instead of bouncing off a sealed surface — which is the whole point of wrapping.
SoundAssured Acoustically Transparent Fabric
Building four side-wall panels and four corner traps from raw materials typically runs 40-60% less than buying the same coverage in pre-made panels. The tradeoff is time: plan a full weekend for cutting, framing, stuffing, and wrapping.
If you want step-by-step instructions for building your own panels, the process is straightforward enough for anyone who can operate a saw and a staple gun.
Prioritizing Treatment On A Tight Budget
When the budget forces you to choose, this order gives the biggest return per dollar:
- Corner bass traps first — they fix the most damaging problem (room modes) and improve the entire frequency range, not just the bass
- Side wall panels at first reflection points — two panels per side restore dialogue clarity immediately
- Ceiling cloud above the main seat — one overhead panel tightens imaging across the front soundstage
- Rear wall treatment last — absorption or diffusion here refines the surround field but is not critical until the first three are covered
That order matters because each layer compounds the previous one. Bass traps clean up the low end so the side wall panels can work on a cleaner signal, and the ceiling cloud locks the front soundstage into place once the walls are handled.
Heavy curtains over windows and thick rugs on hard floors help absorb scattered reflections in the mid and high frequencies. Neither replaces proper panels at reflection points, but they reduce the overall reverb time enough to notice, especially in rooms with tile or hardwood.
A full home theater treatment setup doesn’t have to happen in one purchase. Start with corners and side walls, listen for the improvement, then add the ceiling and rear wall when the budget allows.
Each step compounds — the room gets noticeably better with every panel you add. Most people report the biggest jump after installing corner bass traps, with dialogue clarity following closely once the side wall panels go up.
If you want to estimate the total project cost for acoustic treatment, the biggest variable is whether you build panels yourself or buy them pre-made.
Choosing Pre-Made Panels For Speed
Not everyone wants a DIY weekend project, and pre-made panels close the gap between effort and results. Budget-friendly options like the Olanglab Fiberglass Panels ship ready to mount with fabric wrapping and fiberglass cores that perform at the frequencies where dialogue clarity matters most.
Olanglab Fiberglass Panels
The advantage of pre-made panels is consistency. Every panel in the pack has the same density, the same NRC, and the same dimensions — no guessing whether your DIY cuts are even or whether the fabric tension is tight enough.
Mount them at the same reflection points you would use for DIY panels, and the acoustic result is nearly identical. The only real difference is cost versus time.
For a full list of budget acoustic treatment options, the roundup covers both DIY materials and pre-made panels with verified performance specs.
The Bottom Line
A home theater system is only as good as the room it plays in, and treating that room follows a clear priority order: corner bass traps first, side wall panels at reflection points second, ceiling cloud third, and rear wall treatment last.
Every step in that sequence fixes a specific problem — boomy bass, muddy dialogue, collapsed imaging, or harsh surround reflections. You don’t need to treat every surface to hear a dramatic improvement.
Start with the corners and reflection points, and the complete guide to acoustic treatment can help you plan the rest when you’re ready to expand. If you want a kit that bundles panels with mounting hardware, the best acoustic treatment kits roundup covers the options worth considering.
Frequently Asked Questions
How many acoustic panels does a home theater need?
A typical 5.1 home theater needs 8-14 panels: 4 corner bass traps (one per vertical corner), 4 side wall panels (2 per wall at first reflection points), 1-2 ceiling panels above the primary seating row, and 2-4 rear wall panels for absorption or diffusion.
Smaller rooms can get away with fewer panels because the reflection paths are shorter and fewer surfaces contribute overlapping problems. A 10 x 12 foot room often needs just 8-10 panels to sound dramatically better.
Do you need acoustic treatment in a home theater?
If you have ever turned up the center channel to hear dialogue during quiet scenes and then flinched when an explosion hit, that’s the room — not the receiver. Treatment controls bass buildup in corners and kills the early reflections that smear speech clarity.
Even a basic setup with four bass traps and four wall panels transforms a boomy, harsh room into one where every seat sounds balanced. For DIY builders, Rockboard 60 mineral wool boards produce enough material for four corner bass traps from a single 6-pack and deliver deeper bass absorption than any foam alternative.
What is the best acoustic treatment for a home theater?
Corner bass traps made from 4-6 inch thick fiberglass or rockwool deliver the single biggest improvement because they address room modes that no amount of EQ can fix. After corners, 2-inch thick fiberglass panels at the first reflection points on the side walls and a ceiling cloud above the listening position complete the essential treatment package.