Struggling with the limited mixing capabilities of your starter DJ controller?
connecting an external mixer unlocks more creative audio control and flexibility to grow your skills over time.
Let’s dive in to the step-by-step process for integrating a DJ controller with a professional mixer.
How to Connect a DJ Controller to an External Mixer
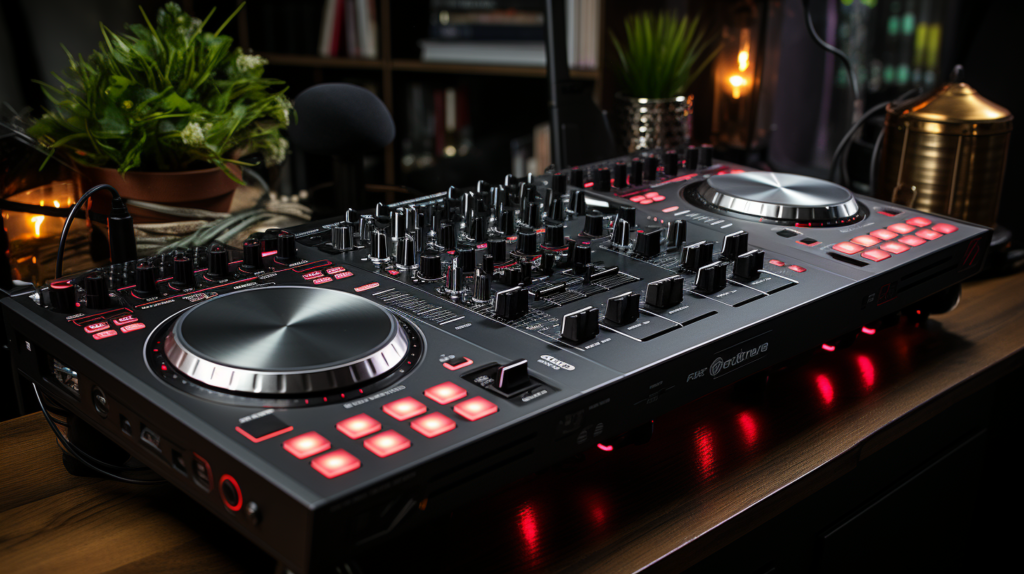
Briefly, you connect a DJ controller to an external mixer by using the right output cables from the controller into stereo inputs on the mixer, adjusting the trim/gain accordingly, sending the mixer output to speakers, and configuring internal software settings to match. We’ll explore the complete step-by-step process in more detail below.
Choose Your Equipment
When setting up to connect a DJ controller to an external mixer, the first step is to decide on the specific gear you will be using. The DJ controller is the central device that enables you to mix, cue, and apply effects to your digital music files on your computer. For home use, some popular all-in-one controllers include the Pioneer DDJ-400 or the Numark Mixtrack Pro III. If you want to upgrade to a professional club-style gear, the Pioneer CDJ-2000NXS2 is an excellent though pricey choice. When picking a controller, key features to evaluate are the audio interface quality, number of channels, jog wheel responsiveness, and the types of inputs and outputs included.
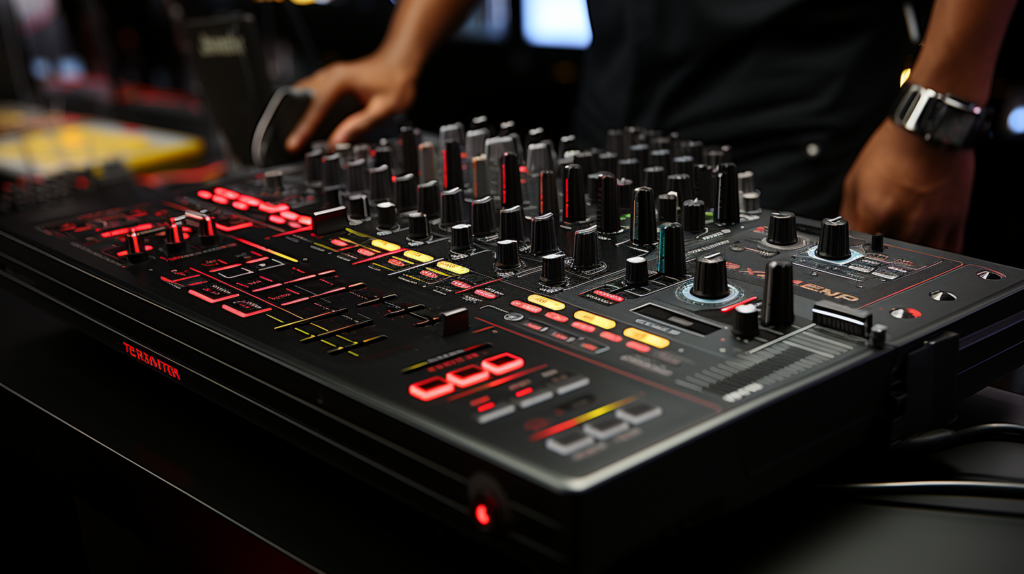
The external mixer serves several core purposes – it allows you to transition between various audio sources, adjust levels, route sound to different outputs, and color the audio with EQ and filters. For DJing, the Pioneer DJM-900NXS2 offers excellent channel customization, effects, and professional quality. Alternatively, the Allen & Heath Xone:23C provides great sound in a compact form factor. Things to look for in a mixer include audio bit depth, channel fader smoothness, internal effects engines, and booth output options. Together, your DJ controller and external mixer will give you an enhanced DJ setup and flexibility compared to a standalone all-in-one controller.
Connect with USB Cable
After acquiring both pieces of gear, the next step is connecting them together. First, use the included USB cable to plug your DJ controller directly into an open USB port on your computer. This creates the pivotal digital audio connection with your computer that enables the DJ software and controller to talk to each other. If prompted, install any required driver software and firmware updates so your computer fully recognizes the device.
With the controller connected via USB, open your DJ software of choice and configure it to route all audio through your controller. This effectively makes the DJ controller act as the default sound card output device for your PC. Different software like Serato DJ or Traktor Pro handle this configuration slightly differently, but generally this can be set in the audio output preferences section. What you want to achieve is having your DJ software send audio directly to the controller rather than to your computer speakers.
Connect Controller to Mixer
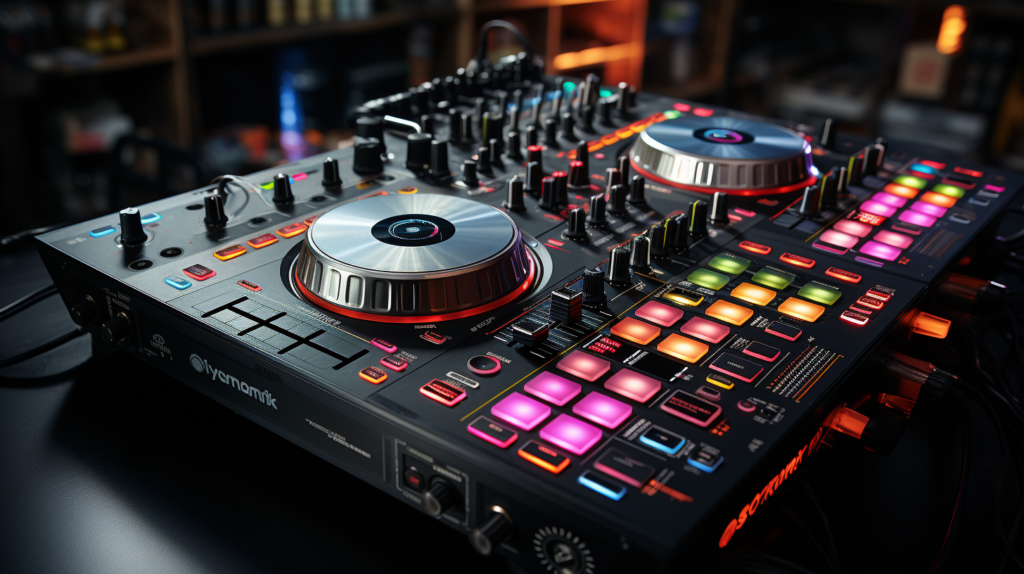
With the critical USB computer connection established, now you can connect your DJ controller to the external mixer. This is handled via physical audio cables between outputs on the controller and inputs on the mixer. Typically, you would use the main master outputs from your DJ controller into a set of line-level stereo inputs on the mixer. Common connections types are XLR, 1/4 inch TRS, or RCA cables.
For example, connect the 1/4 inch TRS master outputs from the DDJ-400 controller into the line inputs 1 and 2 on the DJM-900NXS2 mixer using quality balanced cables. The mixer then receives the primary master mix audio directly out of the DJ controller. The cue outputs on the some controllers can alternatively be used instead of the master outputs if needed. Just be conscious of levels as cue signals tend to be louder.
Set Channel Levels
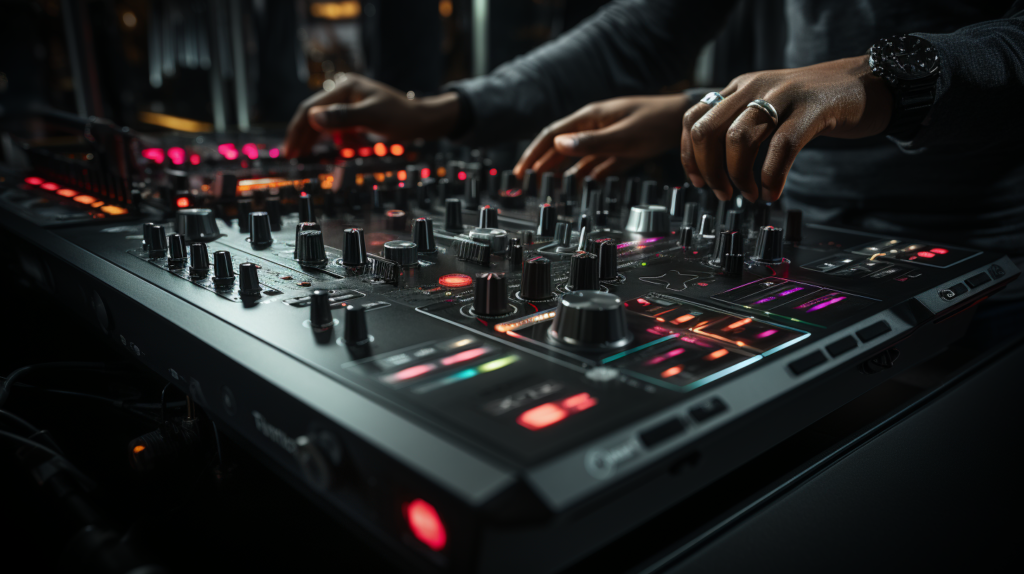
With all the physical audio connections between the DJ equipment wired up, the next step is calibrating the input channel levels coming into the external mixer. Use the gain or trim knobs on each channel to adjust the incoming audio signal strength to optimal internal operating levels. The goal is to match the output volume from the controller closely with any other audio sources plugged into the mixer like turntables or microphones.
Use the built-in level meters on the mixer to visually monitor the channel signal input levels. Tweak the trim knobs gradually while playing test audio from your controller until the meters register around 50% at typical maximum volumes. You want enough gain to prevent background noise while avoiding clipping distortion. Get this input gain staging dialed in properly as you transition between various audio sources.
Route Audio
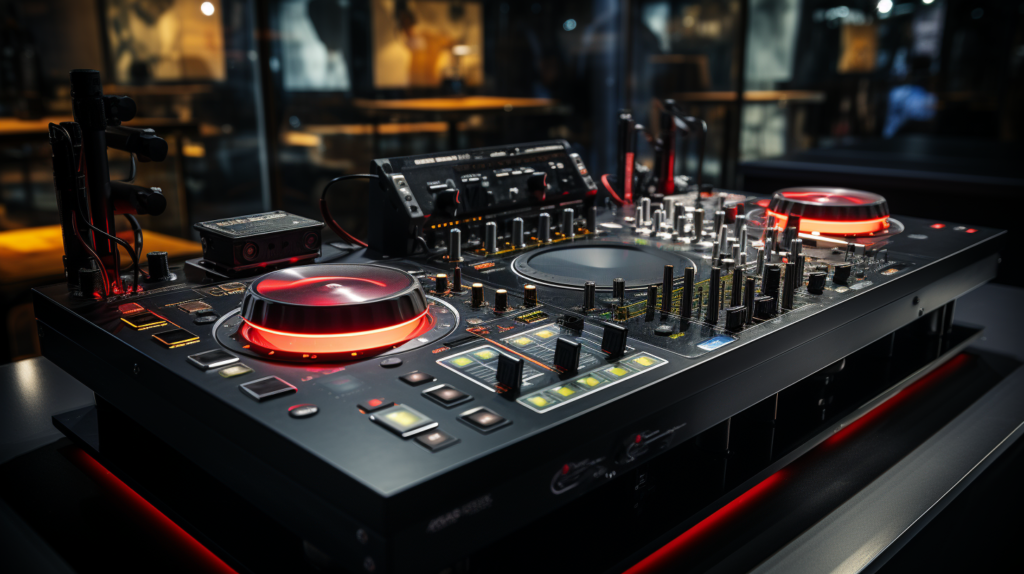
At this point, the core DJ gear interconnections are complete. Now focus on the final audio routing out of your mixer into your speakers or amplifier system. Using quality XLR or TRS cables, connect the main outputs from your mixer into the inputs on your amplifiers or active speaker system. The mixer now essentially controls the master mix that gets amplified out to your dancefloor.
You also typically want to leverage the independent booth output from the mixer to feed a separate monitoring speaker system. This booth output provides cue signals and your main mix isolated from the house system which is crucial for smooth DJ transitions in noisy club environments. Route this booth output to powered monitors located right by the DJ booth.
Check Buttons and Faders
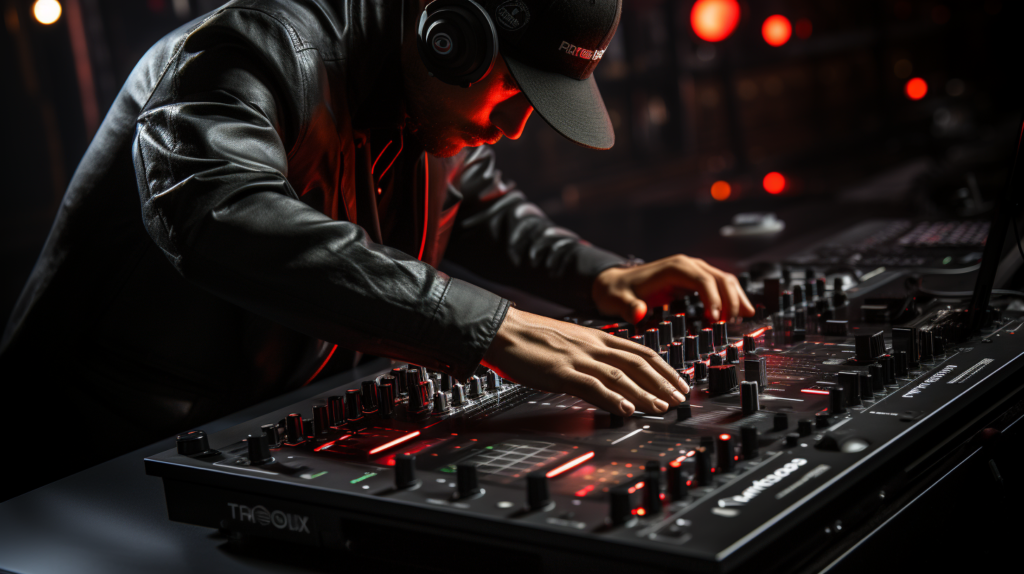
With all the equipment interconnected and audio levels calibrated, conduct some validation checks to ensure everything responds correctly. Play test audio tracks out of your DJ controller and move the channel faders and knobs on your external mixer to confirm things function in sync. The crossfader should smoothly blend between the input channels feeding from your controller for example.
Also check that transport buttons on the controller like play/pause properly start and stop the audio. Test cue/headphone buttons as well to make sure the mixer is receiving the cue audio being sent over the connection cables. Get familiar with the complete workflow using both pieces of gear in tandem to mix and transition your digital files.
Finish Set-up in Software
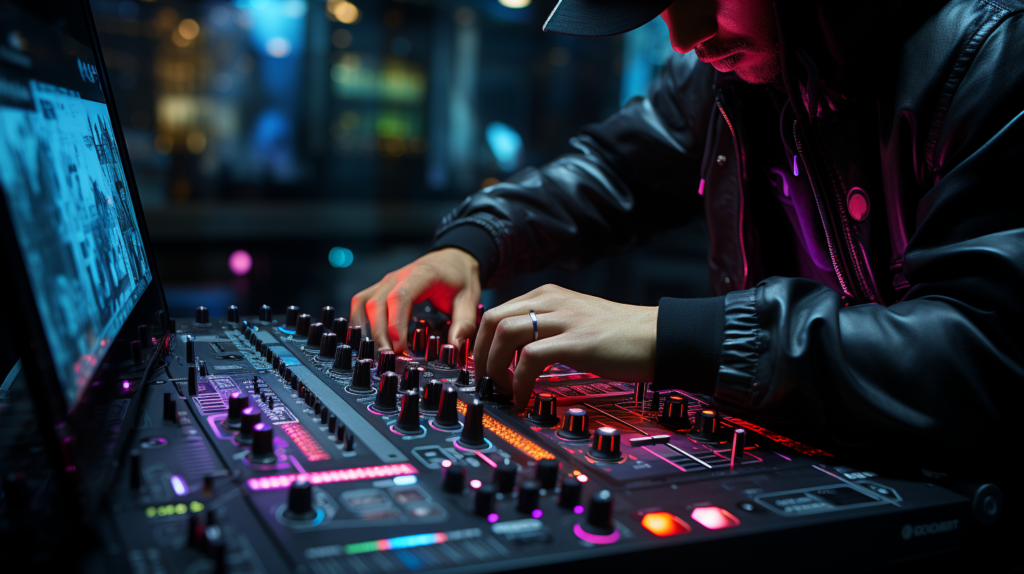
Lastly, finish up the configuration process within your DJ software itself. While the routing and connections establish the physical audio flow, you also need to check settings in software so your channels, effects, and more correctly correspond to the mixer and controllers. DJ software from Pioneer, Serato, and Native Instruments will have preferences to verify here.
A key example is setting your DJ software channels to accurately match up with the actual mixer channels they are wired through. Assign deck A in software to send audio specifically to mixer input 1 for example. Get this logical channel mapping properly squared away so that the software and hardware complement one another as you mix tracks. Test play tracks and transition between software channels while monitoring the correlating mixer channels. The matrix of connections both physical and logical should have audio flowing smoothly from software to speakers.
Conclusion
Connecting together a DJ controller with an external mixer provides a powerful combo for both hobbyists and professionals. Follow the steps outlined above to choose compatible gear, integrate the devices digitally and physically, calibrate levels properly, route audio to multiple zones, validate all button/fader response, and finalize the logical software setup. While this requires a bit more equipment and configuration than a standalone controller, utilizing an external mixer unlocks more flexibility to expand your DJ rig as your skills grow over time. The extra upfront effort pays off exponentially down the road.
