Struggling to cover your entire dancefloor with loud, vibrant sound from your DJ controller?
Connecting additional speakers in a structured way improves coverage and audio quality for better DJ performances.
Let’s explore step-by-step how to properly setup multiple speakers for controllers so you can take your events to the next level.
How Many Speakers Should I Connect?
The ideal number of powered speakers to connect depends on your DJ controller outputs and the size of area needing coverage. Most controllers have two master outputs for a main left/right speaker pair. Larger events may require connecting up to 8 total speakers, grouped into zones fed by splitter cables from the master outs. Evaluate your controller connectivity and venue square footage when deciding how many additional speakers your setup necessitates. More speakers allow louder volumes overall, with strategic placement around the performance space. Now let’s look at this process step-by-step.
Determine Your Setup
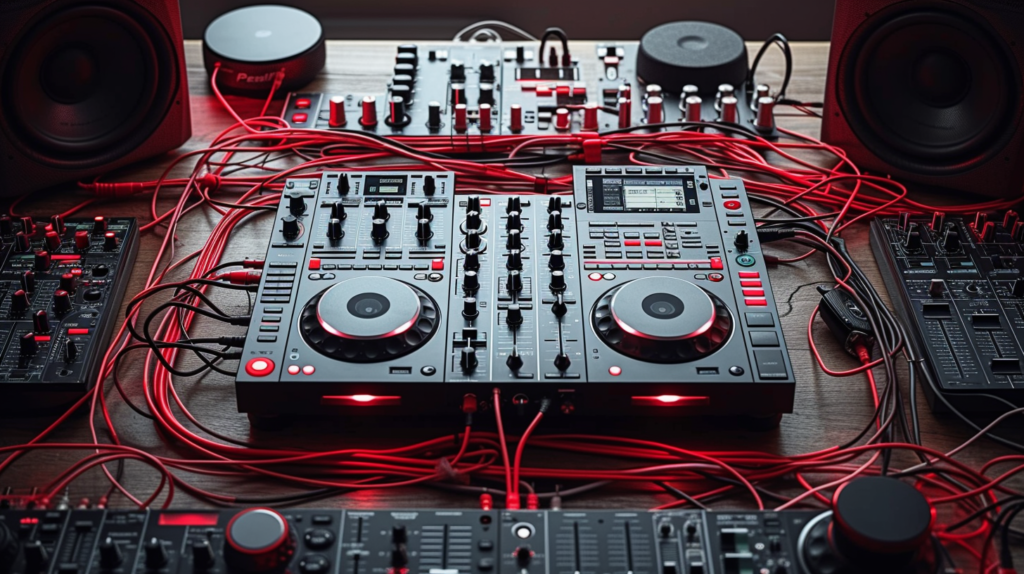
When connecting multiple speakers to a DJ controller, the first thing you need to determine is what type of setup you want. There are two main options here – either connecting the speakers in stereo (left/right), or connecting them in mono. Stereo sends different signals to different speakers – the left deck plays through the left speaker and the right deck plays through the right speaker. This creates a separation between the sounds and can improve the listening experience. Mono sends the same signal to all connected speakers. The sound will be consistent no matter where you stand, but you lose the separation between left and right. Determine if stereo or mono sound is more important for your needs when deciding on the setup.
Another key consideration is how many total speakers you want to connect. Most standard DJ controllers have outputs to connect two speakers, which would make a left/right stereo pair. But it is possible to connect more speakers beyond just two by using audio splitters or distributors. Consider the total area you need to cover with sound and how loud the system needs to be overall. Connecting four, six or even more speakers can allow for better coverage for large events and increased overall maximum volume. Just keep in mind that each additional speaker needs its own amplifier channel.
Choose Appropriate Speakers
When selecting speakers to connect to your DJ controller, you first need to decide if you want active/powered speakers or passive speakers. Active speakers have a built-in amplifier, so you just need to connect them directly to the controller with a cable to transmit the signal. Passive speakers require an external amplifier to power and process the audio signal before it reaches the speaker. If going the passive route, the impedances of the speakers and amplifier must match – if they do not, the sound quality and volume will be negatively impacted. A common impedance to look for is 4 ohms. But always verify the impedance specifications in the product details rather than just assuming.
Whether choosing active or passive speakers, the speaker wattage and sensitivity are also key factors to consider. Speaker wattage is a measurement of how much amplifier power it can handle before potential damage occurs. A higher wattage rating means the speaker can get louder without distortion or blowouts. Sensitivity refers to how loud a speaker will play with 1 watt of power – the higher the sensitivity, the louder the output. Make sure to select speakers with adequate wattage for your needs as well as reasonable sensitivity specs. Connecting speakers underpowered for your setup will result in poor quality sound.
Connect Using Balanced Cables
When running cables between your DJ controller and multiple speakers, using balanced connections is extremely important for minimizing noise and interference. Balanced cables utilize three internal wires rather than just one for unbalanced cables. This setup allows the cable to actively cancel out electromagnetic interference that can cause static, hums and buzzing in the speaker output. Common types of balanced cables are TRS (tip ring sleeve) and XLR cables. Always verify the specific balanced input/output connections used on both your DJ controller as well as powered speakers before purchasing cables.
It is also vital to use speaker cables with sufficient gauge (thickness) to handle the electrical current being transmitted. Thinner, lower gauge cables can become a bottleneck resulting in power and signal loss over longer cable distances. Using thicker power cables allows for full rated wattage throughput over extended runs with minimal loss or degradation. A 12 or 14 gauge speaker cable is generally sufficient for most small to medium sized applications. Larger scale events may require a very thick 10 or 8 gauge cable. Evaluate your specific power needs and cable run lengths to choose an appropriate thickness cable. This prevents power starvation at the speaker which severely reduces maximum volume capabilities.
Set Up Master/Slave Outputs
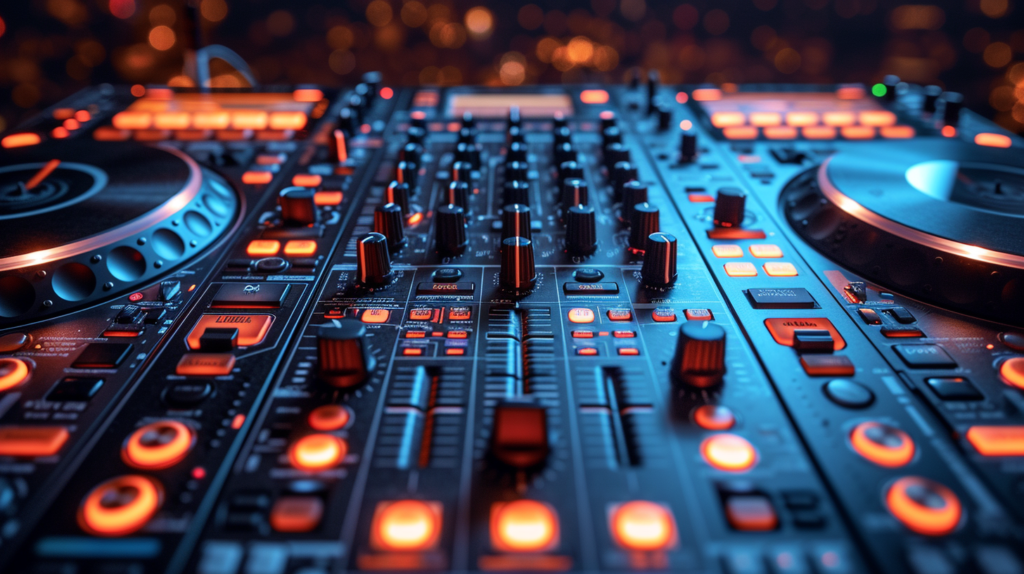
Most professional DJ mixers and controllers provide both a master output as well as an additional booth or zone output. These outputs make it easy to connect multiple sets of speakers. The main master output carries the primary stereo mix which is sent to your front facing or primary speakers. This output uses the full processing power for optimal sound quality to the audience. The second booth/slave output provides an independent volume control but sends the same stereo mix as the master. Connect your rear facing, backup or remote speakers to this booth output.
Having a second zone for additional speakers gives greater flexibility with speaker placement for larger spaces. It permits extending speakers away from the primary speaker location without degrading the sound quality. Adjust the master output for the overall mix to the front speakers. Then dial in the booth/slave output volume to balance sound levels to the rear speakers. This allows delivering the same audio experience to the entire space. Some DJ apps provide even more granular control for 3, 4 or more independent zones. Configure each zone to feed different speaker sets placed around your performance area as needed.
Distribute the Sound
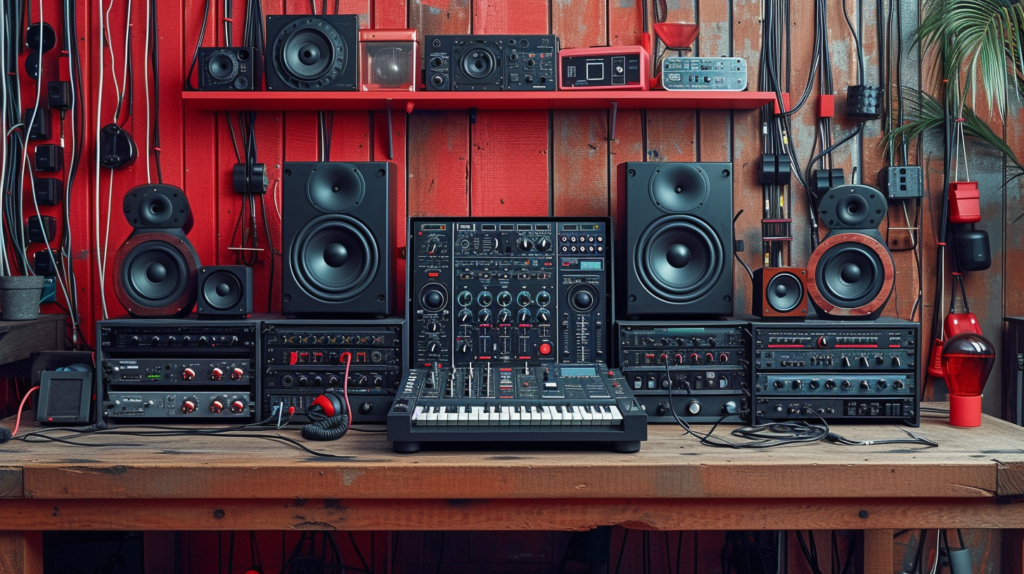
When connecting multiple speakers for a DJ controller setup, speaker placement is critical. Set up speakers strategically around the performance area in order to distribute sound evenly everywhere needed. Position front facing, forward throwing speakers at the front edges of the dance floor or in the audience area. Then place rear speakers further back towards Walls to bounce sound and fill any dead zones. Fill in gaps as needed with side speakers to complete full coverage. The goal is to avoid big differences in volume or losing the stereo effect for those on the outer edges.
Fine tuning the amplifier and DJ controller levels for each set of speakers helps reach the optimal balance. You may need to tweak relative levels over time as the event and crowd size shifts. If one speaker set seems louder/quieter, adjust output gain appropriately on the mixer or amplifier driving that specific set. Also utilize the individual channel EQs on the DJ controller to better calibrate the bass/mid/high frequency response on a per speaker basis. For example, boost the high EQ slightly on rear speakers to increase vocal clarity if they sound dull in the back. Proper level setting paired with tweaking EQs per speaker results in cohesive, professional audio across all speakers for any listener location.
When connecting and configuring multiple speakers for your DJ controller, follow this structured process. First determine your overall goals and approach whether aiming for stereo separation or consistent mono sound everywhere. Select the right number of powered or passive speakers accounting for impedances and amplifier power needs. Use thick, balanced cables to link all speakers and amplifiers which reduces interference. Connect speakers to master and additional slave/booth outputs on the DJ mixer for added flexibility. And finally distribute speakers effectively, then dial in levels and EQs for even sound throughout the entire venue or space. With attention to these details, your multi-speaker DJ setup delivers an immersive music experience everywhere the audience moves.
Conclusion
Connecting multiple speakers to a DJ controller setup requires some planning and effort, but pays dividends in superior sound coverage and quality. By determining your goals for stereo or mono sound, impedance-matching your equipment, using thick balanced cables, distributing master and booth outputs, and strategically placing speakers, your audience enjoys an immersive music experience no matter where they are. While complex, a well-configured multi-speaker rig gives DJs flexibility and confidence during performances.
