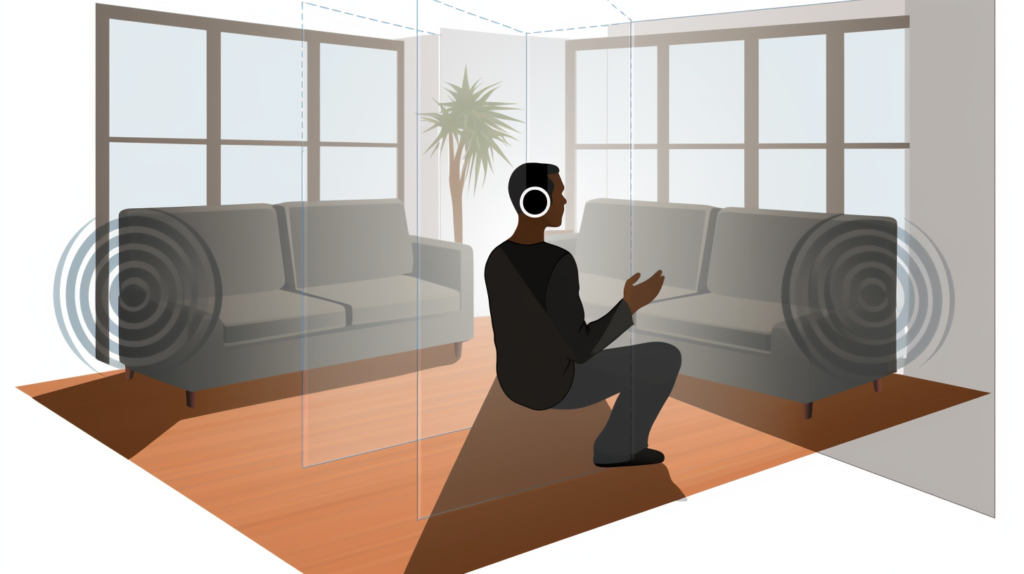
Do your home audio recordings sound muffled and echoey?
Does the playback from your surround sound system lack clarity?
You may need acoustic foam panels.
Acoustic foam can significantly improve sound quality in any room by absorbing excessive reverb, echo, and unwanted reflections.
With strategic foam panel placement based on key acoustic principles, you can craft a custom DIY acoustic treatment solution without major construction or breaking the bank.
In this comprehensive guide, we will cover everything you need to know about using foam panels to enhance your room’s acoustics. From choosing the right foam to optimal installation and placement, you’ll learn how to create an affordable, custom acoustic environment.
Let’s dive in and transform the sound of your space.
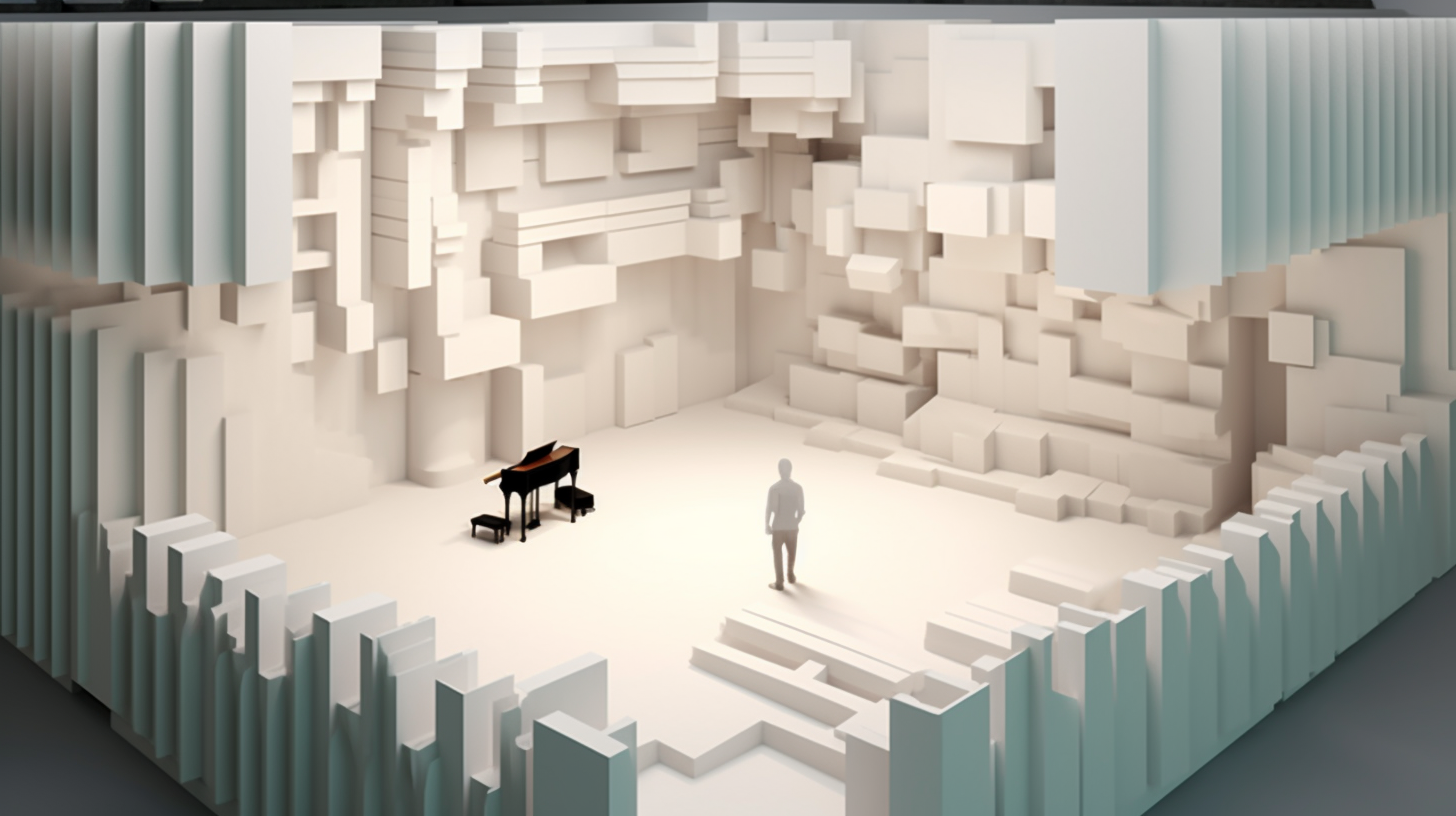
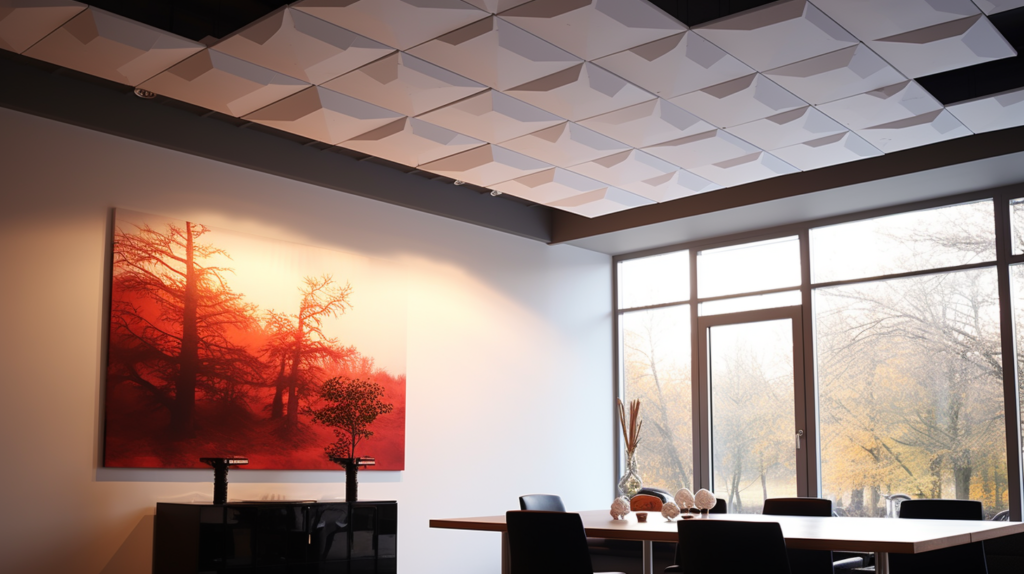
What is Acoustic Foam and Why Should I Use It?
Acoustic foam, also known as acoustic panels or sound absorbing foam, refers to open-cell foam designed to absorb sound energy rather than reflect it.
The porous structure of acoustic foam soaks up unwanted room reverberation and echo that can make audio recordings sound washed out and listening environments unpleasant.
Acoustic foam is used to treat room acoustics by damping mid to high frequency sounds, reducing flutter echo and smoothing out irregularities in a room’s frequency response.
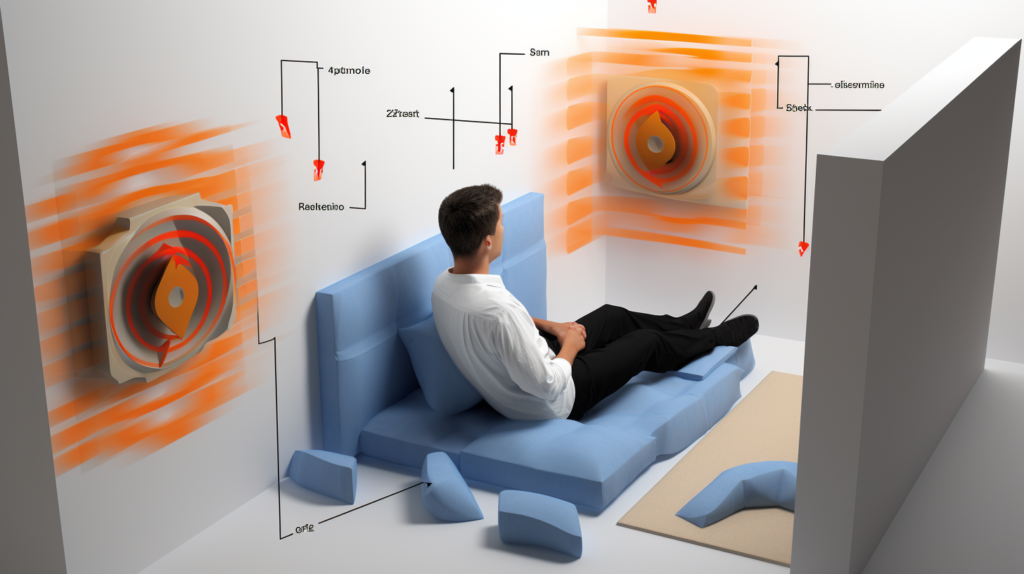
Acoustic foam works through a combination of energy absorption and diffusion. As sound waves hit the porous foam surface, friction from the intricate cell structure converts the acoustic energy into minute amounts of heat.
The convoluted surface shape also serves to scatter sound waves in different directions which breaks up focused reflections.
Quality acoustic foam can absorb a wide range of frequencies but typically performs best in the 500Hz to 4000Hz range which corresponds to human speech and most musical instruments.
There are several benefits to using acoustic foam panels:
- Improves audio clarity for recording, podcasting, video conferencing and other applications by reducing room noise and echo. Vocals and instruments sound tighter and more professional.
- Creates a better listening environment for music, movies and gaming by absorbing reflections and damping resonances. Provides a more immersive sound experience.
- Affordable and easy acoustic treatment option compared to building dedicated sound rooms. Foam goes up quickly with minimal tools using adhesive or basic hardware.
- Effective at dampening echo and “boominess” in problematic spaces like basements, garages and indoor pools. Makes large rooms sound less reverberant.
- Lightweight and portable acoustic treatment great for temporary studios or when sound needs frequently change. Panels can be rearranged or removed easily.
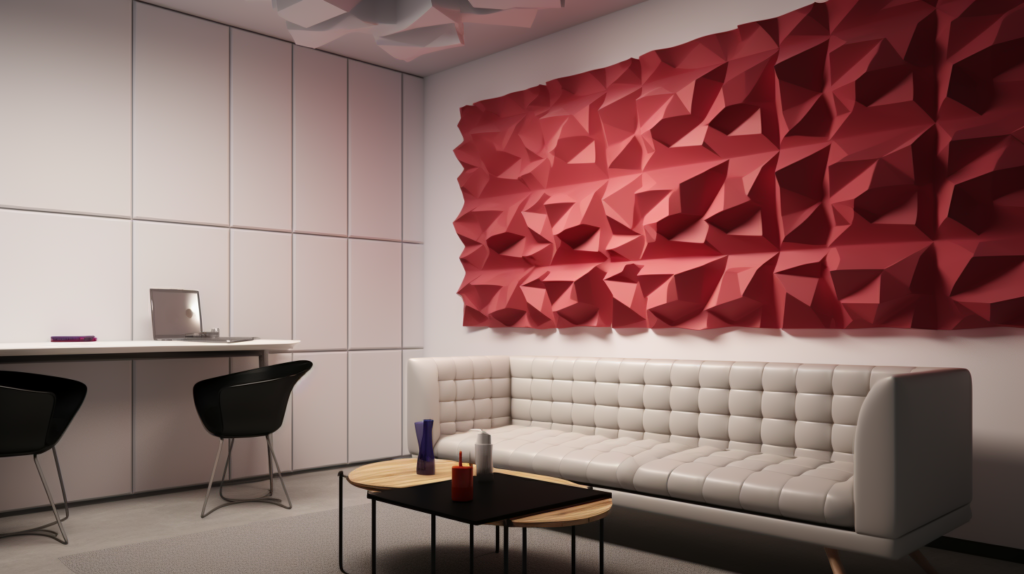
- Visually appealing options available including color choices and different foam shapes beyond basic flat panels. Allows for custom room designs.
You should consider installing acoustic foam panels any time you want to improve the listening environment in a room by reducing excess reverb and unwanted reflections. Key use cases include:
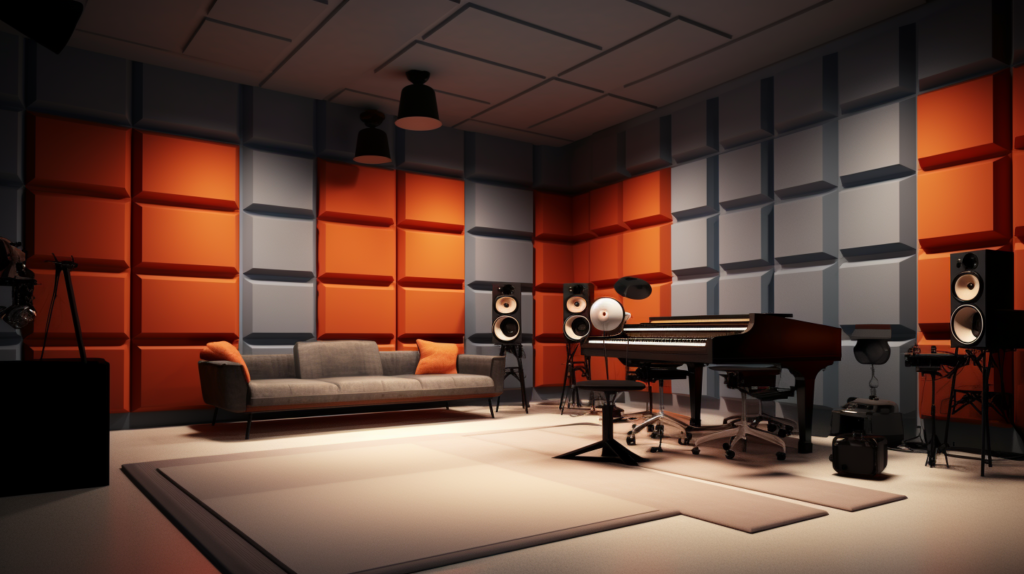
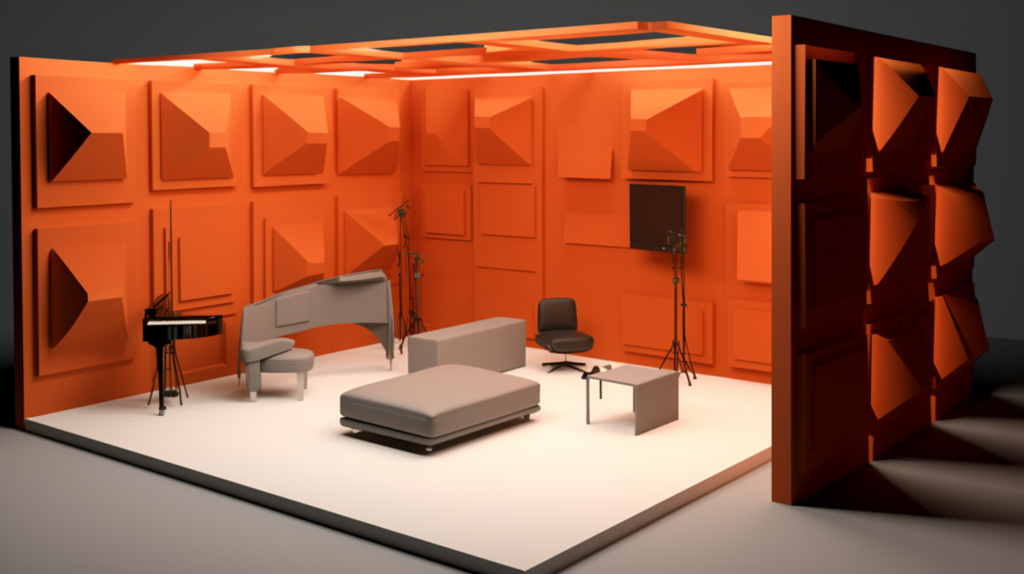
- Home music studios – tame room acoustics for better recording and mixing
- Media rooms – improve sound for clearer TV, movie and music playback
- Office spaces – reduce noise and echo for conference calls, podcasts and voice work
- Basements & garages – control “boomy” resonances in large reverberant rooms
- Apartments – allow quieter listening and recording without disturbing neighbors
Properly placed acoustic foam absorbs the short sharp echoes caused by reflective surfaces that create an overly bright, muddy or indistinct sound. Treating these early reflections and bass resonances allows you to hear the direct sound from speakers or monitors accurately.
While acoustic foam is not a substitute for building a professionally designed sound studio, it is an excellent affordable solution for hobbyists and those working in imperfect existing spaces.
How Do I Choose the Right Acoustic Foam for My Needs?
There are several factors to consider when selecting acoustic foam to best meet your needs:
Foam Type
First, the various foam shapes and styles each have different acoustic properties:
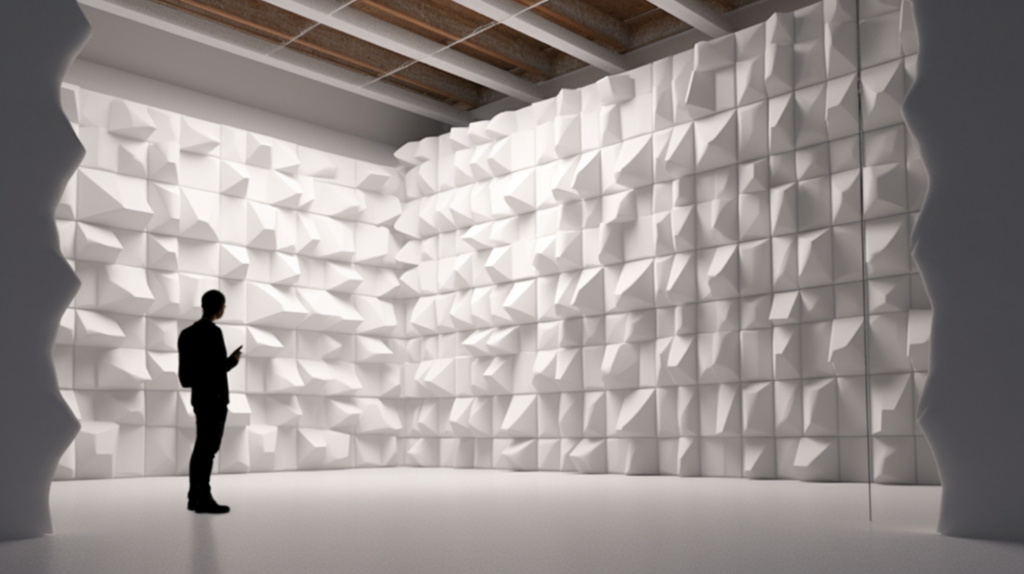
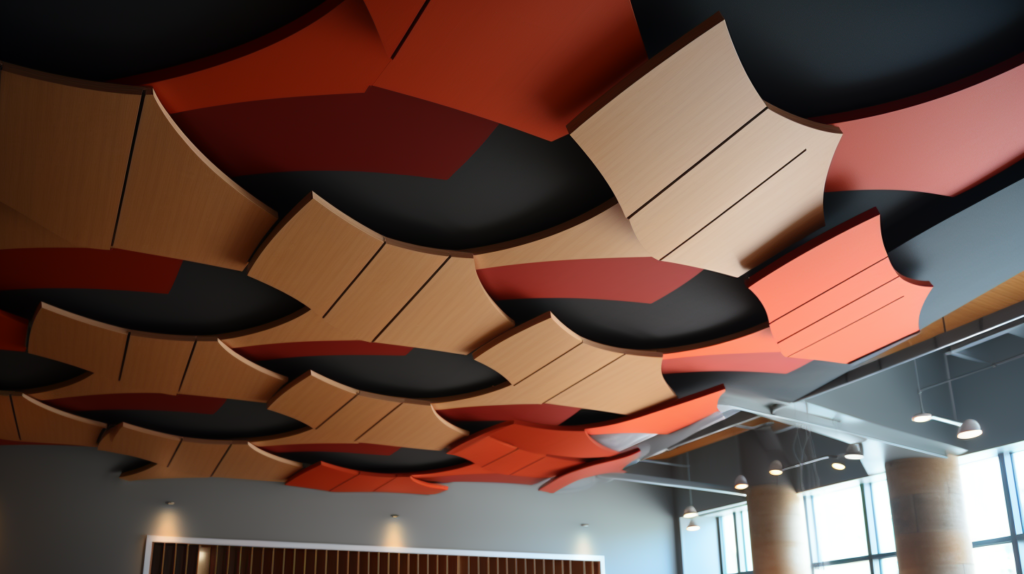
- Pyramid or wedge foam – These angular panels made from cut foam blocks are the most common. The angled facets help scatter sound waves in different directions for diffusing effects. Pyramid foam also allows for air gaps between panels.
- Egg crate foam – This grid style foam with little peaks and valleys provides more diffusion than flat panels and is good at absorbing sound from multiple directions. The gaps help break up standing waves.
- Flat panels – Simple plain foam sheets offer clean aesthetics, though less diffusion. Stacked flat panels create variable thickness for broadband absorption.
- Bass traps or super chunks – Large dense corner blocks designed to absorb low frequencies down to around 125Hz. Great for taming boomy resonances.
- Diffuser panels – Specially designed to scatter and redirect sounds evenly. Help address flutter echo and harsh reflections.
Consider the primary goals – basic echo reduction, professional studio quality, or enhanced bass response? Pyramid, wedge and egg crate foam are the most cost effective choices that work for general room treatment.
Invest in super chuck bass traps for ultra low frequency absorption.
Foam Density, Quality and Thickness
Foam density and quality also impact acoustic performance. More porous open-cell foam absorbs better across a wider frequency range.
Denser foams at around 1.5 to 2 lbs/cubic ft density provide mid to low frequency absorption down to around 250Hz.
Check foam is UL fire rated for safety. Avoid very lightweight bargain foam which can lack durability and be less effective.
Quality name brand studio foam strikes a good balance.
Standard thickness acoustic foam panels range from 1 inch to 4 inches deep. 2 inch panels work well for basic broadband absorption. Use thicker 4 inch panels for greater low end response, especially if mounting on walls versus ceilings.
Corner mounted bass traps are usually 6 to 12 inches deep or more for capturing deep low frequencies.
Placement
Where you place foam also significantly impacts performance:
- Ceiling foam – Handles mid to high frequencies but avoids absorbing critical speech frequencies. Creates an ambient bright sound.
- Upper wall foam – Absorbs mid-range frequencies, effective for vocals and instruments.
- Lower wall foam – Captures more low frequency information, making it ideal for absoring floor and speaker resonances.
- Corner foam – Dense corner traps prevent buildup of troublesome low frequency room modes for smoother bass response.
Consider your goals – do you want to softly dampen an overly live room, crisp up a dull boomy space, or fully treat a studio?
Use a blended approach as needed – ceiling cloud panels for general damping, supplemented with corner bass traps and wall panels at reflection points for crisp audio recording and mixing.
Aesthetic Considerations
Acoustic foam comes in a range of colors, sizes and shapes to suit your room:
- Color choices like black, grey, blue and beige allow panels to subtly blend in. Bright colors can make a design statement.
- Smaller 12″ x 12″ panels offer flexibility for creative patterns. Larger 24″ x 48″ tiles cover space quickly.
- Alternate foam shapes or add diffuser panels for visual interest. Consider textured or fabric wrapped foam.
- Only cover 20-30% of wall space for a balance of absorption and natural room liveliness. Avoid an overly “dead” sound.
White and light grey foams blend in discretely. Bolder colors like purple and red can project energy. Choose charcoal foam and minimal coverage for a clean modern look.
For a funky creative space, opt for multi-colored asymmetric panels. Let room use and aesthetics guide foam choices.
Overall, select acoustic foam that fits your space, performance needs and budget. Do you want basic functional sound absorption or high end professional studio treatment?
Buy quality UL rated foam from acoustic brands, and determine placement strategy based on your goals. Properly installed foam can make an audible improvement in sound quality.
What Do I Need to Do to Prepare My Walls or Ceiling for Acoustic Foam?
Installing acoustic foam properly requires some preparation of the mounting surface to ensure the panels adhere securely and function as intended. Here are the steps to prep walls or ceiling for foam:
Clean Surface
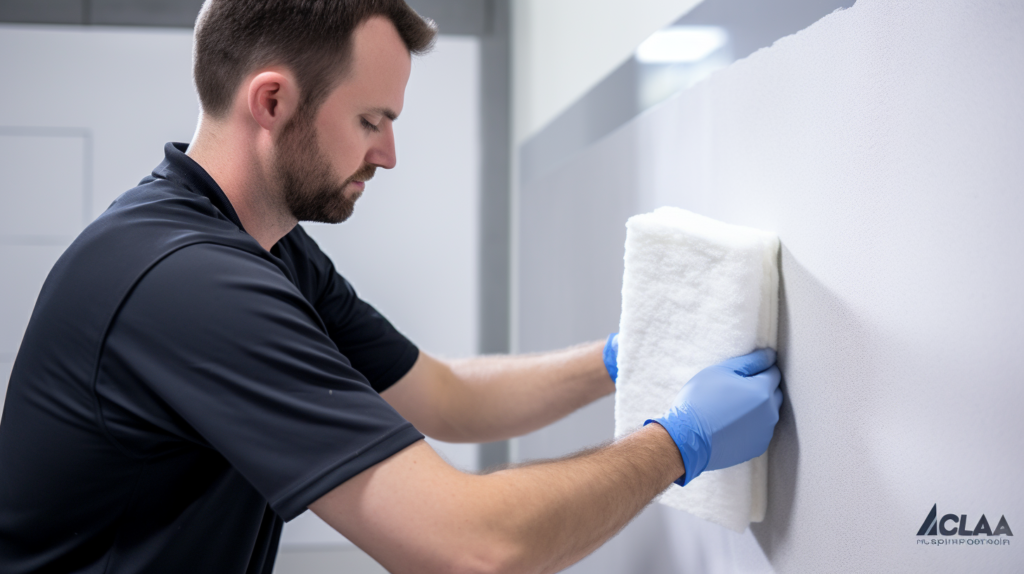
Start by cleaning the surface thoroughly. Wipe off any dust, dirt, grease or existing adherence residue using water, mild detergent and microfiber cloths.
Rinse and dry completely. Any particle debris or moisture trapped under foam can reduce adhesion or even mold over time.
For textured surfaces, use a brush attachment on a vacuum to deep clean grooves and crevices.
Fill Imperfections
Next, address any cracks, holes, gaps or irregularities in the surface by filling with caulk, spackling paste or joint compound. Allow filler to dry fully and sand smooth.
Minor dents or skipped paint spots can be remedied with skim coating compound. The goal is to create an even uniform surface.
Prep Painted Surfaces
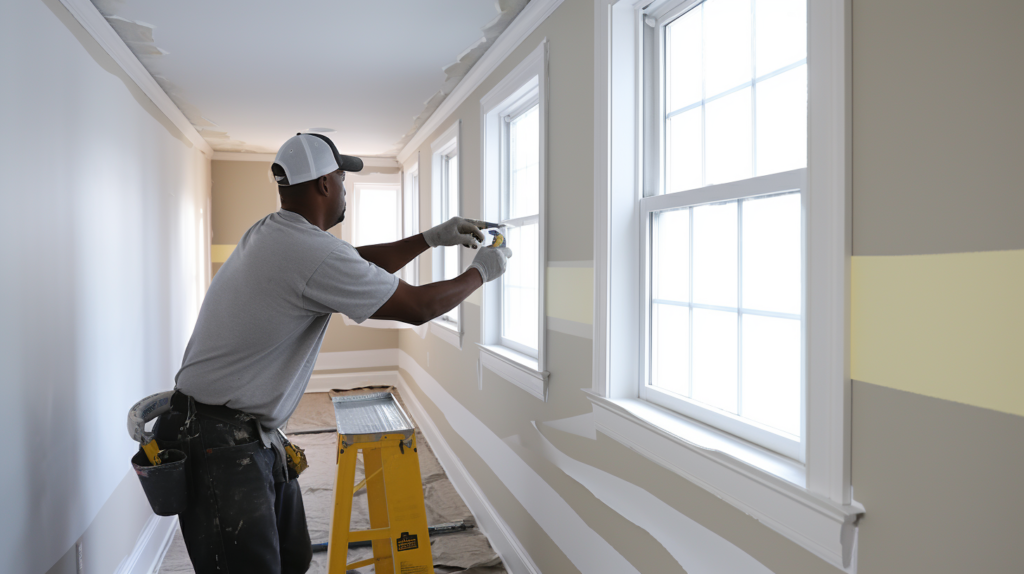
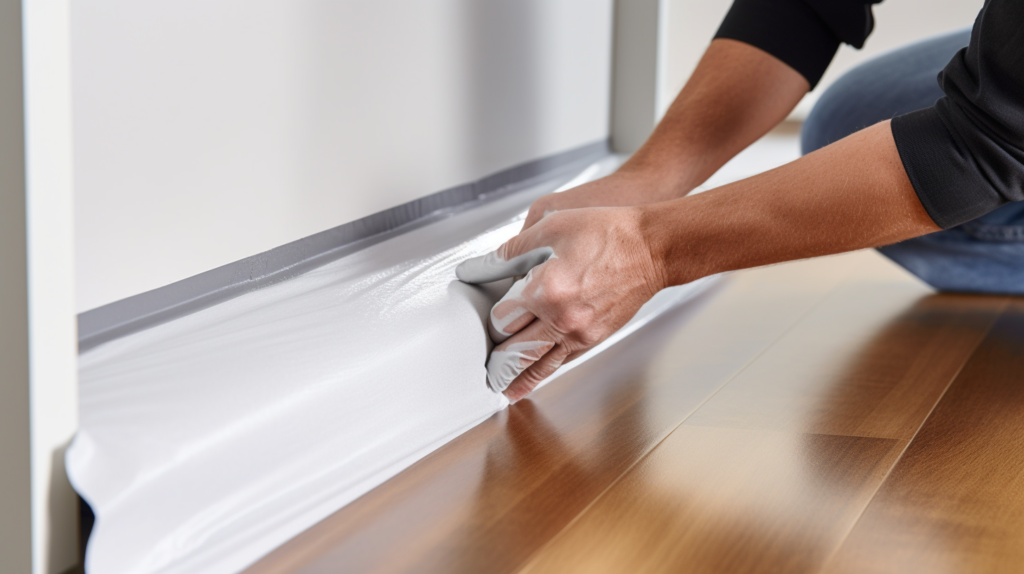
On painted walls, use painter’s tape to seal baseboards, ceiling joints and trim edges. This prevents adhesive seeping under the foam and creating ridges.
Lightly sand glossy surfaces to degloss for better adhesion. Standard flat or eggshell paint typically works well, while semi-gloss can repel adhesives.
If painting specifically for foam installation, allow 1-2 weeks for paint to cure completely before applying adhesive. Primer designed for foam, like Kilz Adhesion Primer, can help create a uniform neutral PH surface and prevent reactions with aging paint.
Prime Bare Surfaces
For unfinished walls, prime bare drywall, plaster, concrete and other porous surfaces with an appropriate primer-sealer. This binds dust, evens absorption and provides a sound basecoat for adhesive.
Allow primer to fully dry before installing foam.
Check for Moisture
Identify and remediate any moisture issues prior to foam install. Use moisture meters and probes to spot leaks, seepage or condensation that could loosen foam or lead to mold growth.
Repair roof and plumbing leaks, improve ventilation, or take other steps to keep mounting surfaces permanently dry.
Proper prep prevents future headaches like peeling panels or discolored foam. While minor dust and paint bubbles can be tolerated, addressing cracks, gaps and serious imperfections now makes for easier, better looking foam application.
A clean, sealed surface allows adhesive to grip securely.
What Are the Best Ways to Mount and Hang Acoustic Foam?
Acoustic foam panels can be installed using either adhesive, mechanical mounting, or a combination of both approaches:
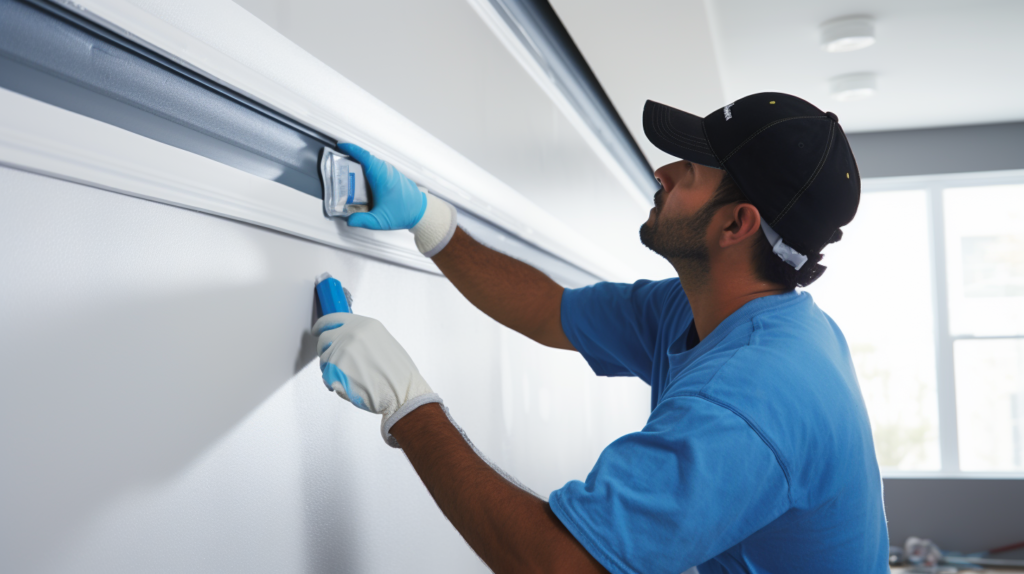
Adhesive Mounting
Adhesive mounting involves using liquid adhesive, spray adhesive or adhesive strips/tape to affix foam directly to the wall or ceiling surface. This method creates a seamless professional finish without visible hardware.
It also allows precise panel placement flexibility during initial mounting.
For permanent foam installation, liquid adhesive designed for foam provides the strongest bond. Popular options like Loctite PL Premium Polyurethane Construction Adhesive cure slowly to allow repositioning during initial placement, then set permanently with a strong grip.
Other liquid adhesives like mirror/foam mounting glue or acrylic caulk also work well. Apply adhesive using a zigzag or asterisk pattern on the foam back according to manufacturer specifications.
Press foam in place with firm even pressure, temporarily taping outside edges.
Spray adhesives offer faster coverage for large jobs. Use short bursts for an even coat, avoiding runs. Mount panels working top to bottom to avoid dripping on already installed foam.
Most spray adhesives set quickly.
For lightweight panels, high quality removable adhesive strips like Command Picture Hanging strips allow damage-free removal. Foam tape with acrylic or silicone adhesive also works for low to medium weight panels.
Replace strips and tape after removal and rehanging.
Allow at least 48-72 hours for liquid adhesive to fully cure depending on product used before regularly handling panels. Follow all manufacturer drying recommendations.
Properly applied adhesive creates a long lasting bond.
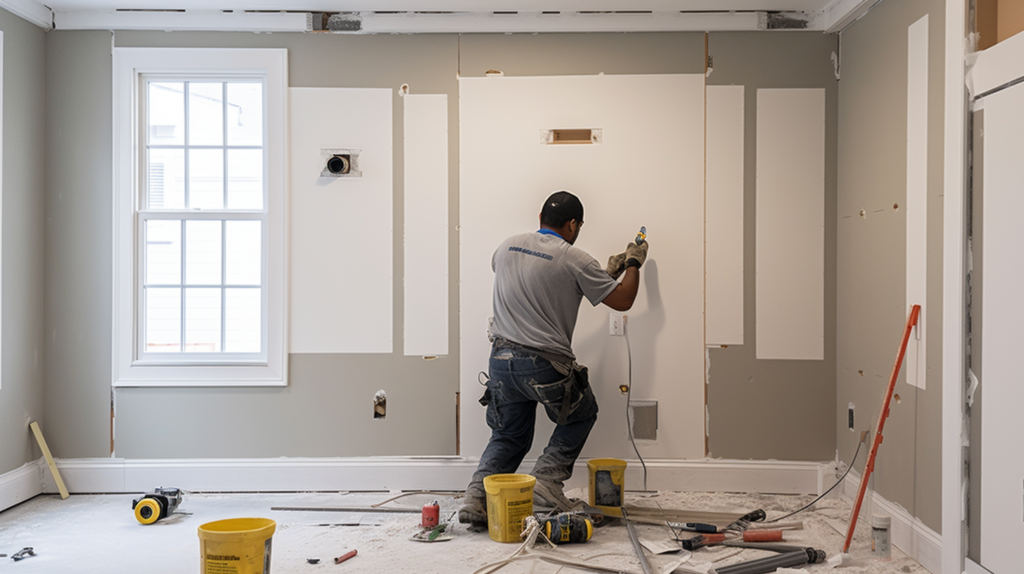
How to Install Acoustic Foam
In this section, you’ll learn the essential steps for installing your acoustic foam panels on both walls and ceilings.
How to Install Acoustic Foam on Wall
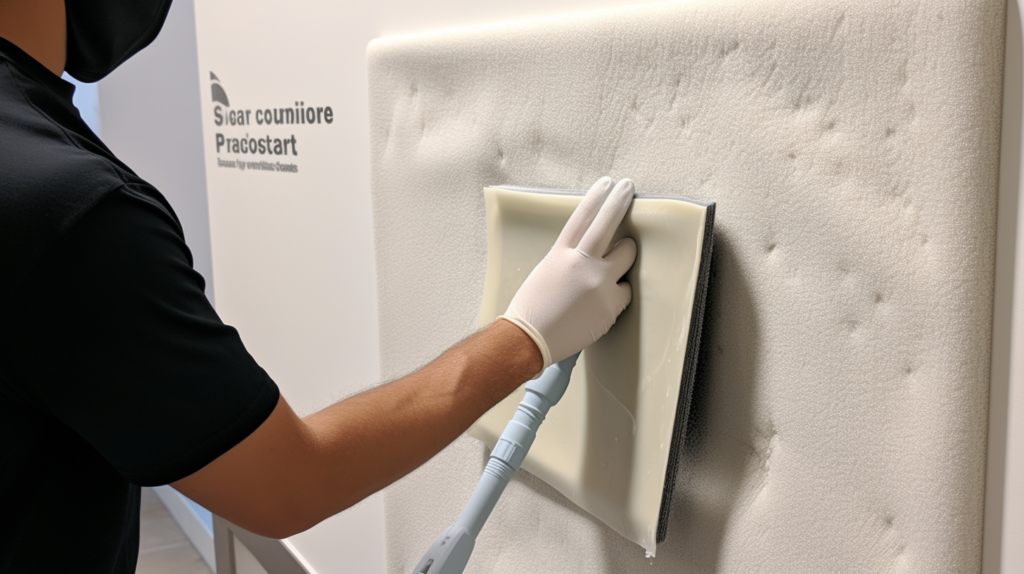
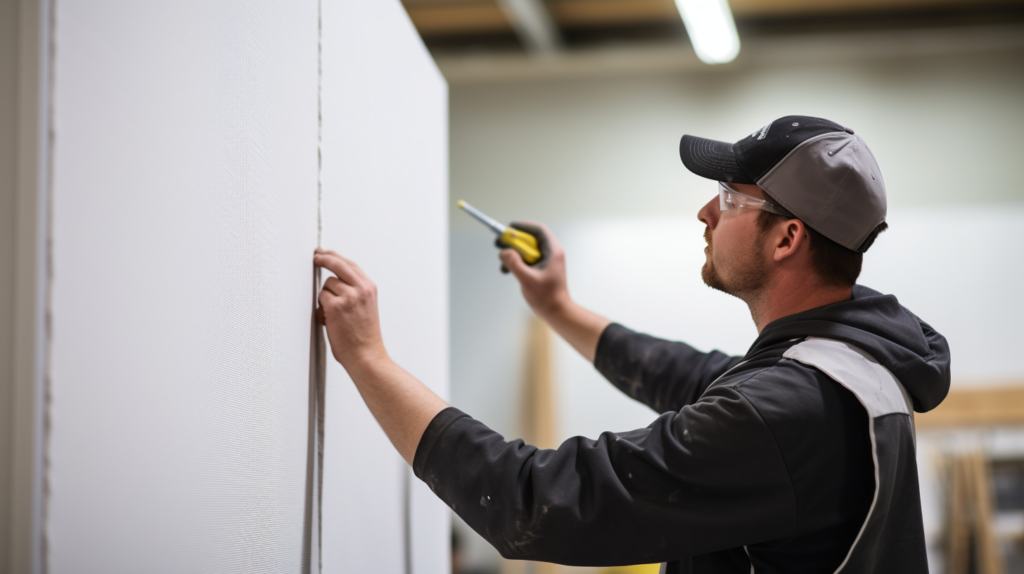
When installing acoustic foam panels on your wall, the first action to take is to measure and mark the areas where you intend to place these panels. Employ a measuring tape along with a level to make light pencil marks that serve as your guides.
After marking, it’s recommended to temporarily place the panels on the wall using painter’s tape. This step allows you to step back and evaluate the arrangement, ensuring everything aligns according to your plan.
Once you’re pleased with how it looks, you can proceed to applying adhesive to the panels. Should you be using liquid adhesive, apply it onto the back of each foam panel in a zigzag or an asterisk pattern, as per the manufacturer’s guidelines.
If adhesive strips are your choice, situate them at the corners of each panel. After applying the adhesive, align the panel with your pencil marks on the wall and press it firmly against the surface. To secure its position while the adhesive sets, you may use painter’s tape.
Repeat these steps for all the panels, and don’t forget to periodically step back to review the overall alignment, making adjustments as necessary.
If you’re considering using polyester acoustic panels, these are generally lighter and may only require adhesive strips for effective mounting.
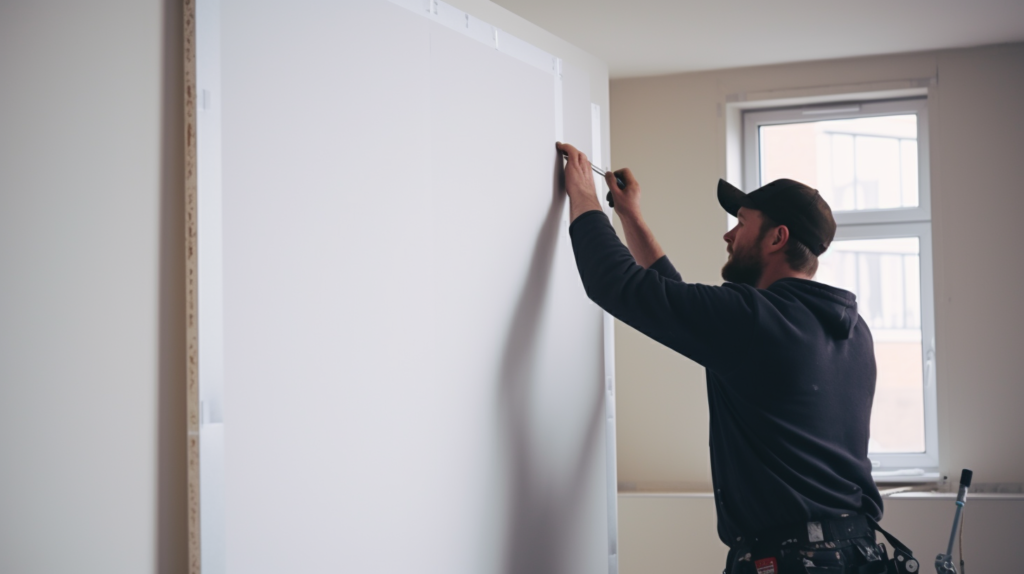
How to Install Acoustic Foam on Ceiling
Installing acoustic foam panels on the ceiling requires some additional considerations for safety. Ensure you have a robust ladder and ideally, another person to help.
Start by using a measuring tape and a level to mark the ceiling where the foam panels will be placed. As with wall installation, it’s a good practice to first test the placement of these panels.
Use painter’s tape to temporarily affix them to the ceiling, allowing you to ensure they are evenly spaced and properly aligned.
After you’re satisfied with how the panels are positioned, it’s time to apply adhesive. Use a strong adhesive compatible with ceiling installations and apply it to the back of each panel.
Once the adhesive is applied, carefully ascend the ladder and align the foam panel with the markings you made earlier. Press the panel firmly to ensure it adheres well to the ceiling.
Given that gravity is working against you in ceiling installations, you may also want to use additional mechanical fasteners like small screws to further secure the panels.
In both wall and ceiling installations, it’s imperative to let the adhesive cure for about 48 to 72 hours. This period ensures that the panels are securely adhered, allowing them to function at their best in absorbing sound.
Where Should I Place and Position Acoustic Foam in My Room?
Strategic placement of acoustic foam is key to effectively treating room acoustics. Follow these guidelines for optimal foam panel positioning:
Identify First Reflection Points
Use an acoustic mirror or sound wave analyzer software to locate the major first reflection points in your room. These are where sound waves bouncing off floors, ceilings and walls first return to the listening position, causing distorted echoey sound.
Place foam panels at these reflection points to absorb first reflections. Focus initially on the front wall holding speakers/monitor and side walls, as these create the most immediate acoustic interference for listeners.
Space and Arrange Wall Panels

On walls, space panels 2 to 4 feet apart depending on how much coverage you want. Closer spacing absorbs more, while further spacing leaves some liveliness.
Arrange panels to ensure stereo symmetry left and right.
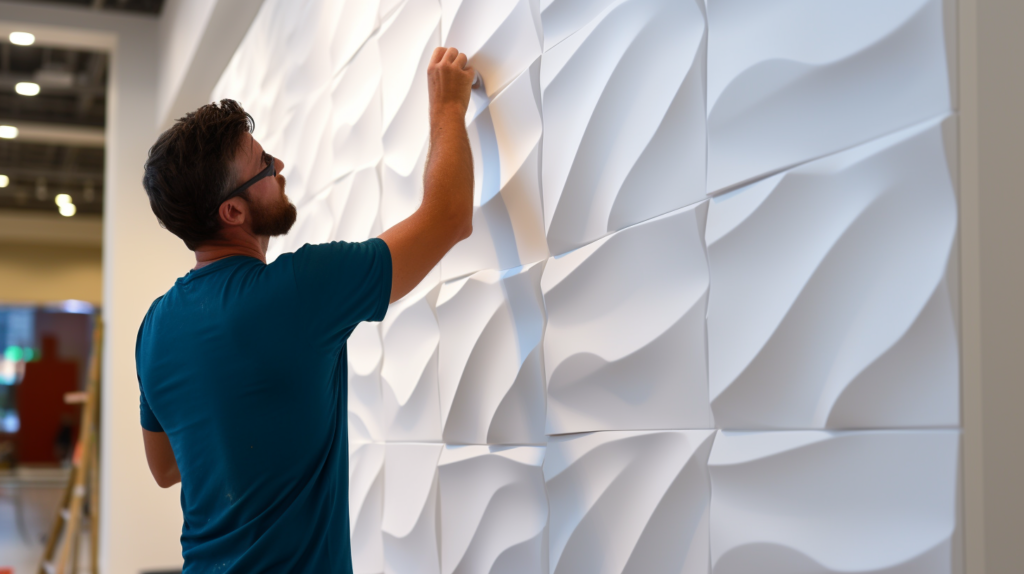
Mixing sizes like alternating 2’x4′ and 1’x1′ panels creates visually appealing patterns. Break up large flat spaces for optimal diffusion by varying panel sizes and shapes.
Treat Corners
Solid thick corner mounted bass traps absorb low frequency buildup and smooth room resonances. Prioritize back wall corners, then front wall, for starter bass control.
Professional studios use corner traps down the entire vertical junction.
For maximum bass trapping, combine corner mounting with additional wall panels spaced 4-6 inches from corners. This allows the edges of wall and corner foam to function together acoustically.
Cover Ceiling
Covering the entire ceiling with 1″ or 2″ acoustic foam tiles helps absorb sound reflections and flattens flutter echo. Use a staggered checkerboard or diagonal placement pattern for best diffusion and coverage.
Leave a small gap between ceiling tiles to avoid moisture buildup. For high ceilings, prioritize covering above the listening space first. Add clouds later as needed.
Balance Absorption
Avoid covering more than 20-30% of total wall space with foam to maintain a natural room liveliness. Supplement panels with reflective material like plexiglass diffusers or shelves to tune room sound, counter dead zones and liven sections like behind a mixing console.
Experiment with panel quantities and arrangements to find the right balance of absorption and diffusion that sounds best for your particular room size and use.
Consider Room Shape

Focus foam placement based on a room’s shape and problem frequencies. For example, reduce flutter echo in narrow rectangular rooms by covering a wide back wall section.
Shunt corner bass buildup in square rooms with thick corner traps.
Follow a concept of symmetry, spacing and balanced coverage adapted to each room’s unique shape. Measure acoustic effects and reposition panels over time for maximum benefit.
Proper foam placement transforms sound.
How Can I Get the Most Performance from My Acoustic Foam?
Follow these guidelines to ensure acoustic foam performs optimally:
Allow Full Adhesive Cure
Allow adhesive to fully cure for 48-72 hours before regular room use, especially for ceiling tiles. Premature loading or vibration can disrupt bond formation and loosen panels over time.
Avoid disturbing or cleaning foam until completely set.
Carefully Handle foam

Use care when temporarily removing panels for access. Pull slowly in a twisting motion to break adhesive seal without ripping foam.
Re-adhere promptly using fresh adhesive to ensure strong reattachment.
Clean and Maintain Foam

Gently vacuum foam every 6-12 months using a soft brush nozzle to remove dust buildup. Immediately wipe liquid spills with a dry microfiber cloth to prevent discoloration or staining.
Avoid harsh cleaners which may degrade foam.
Repair Any Damage

Split panels or foam tears can be repaired using small amounts of matching adhesive applied properly into gaps. For wall panels, replace severely damaged sections for best appearance.
Do not re-adhere ceiling tiles with major tears or loss as adhesion will be compromised.
Supplement With Bass Traps
While acoustic foam effectively absorbs mid to high frequencies, add dedicated bass traps for professional quality low frequency absorption necessary for mixing and mastering. Dense corner mounted or wall traps prevent bass buildup.
Add Diffusers If Needed

To liven up dead zones or brighten absorptive spaces, add diffuser panels made of wood, plexiglass or other rigid reflective materials. Diffusers scatter and redirect sound evenly to complement foam absorption.
Use Room Analysis Tools

Use room analysis software, test signals and measurement mics to analyze your space. Identify problem resonant frequencies and adjust foam placement accordingly for best results.
Proper acoustic testing fine tunes foam treatments.
Trust Your Ears

Since every room is unique, rely on your ears to guide placement testing different panel configurations until you achieve the desired sound for your particular space. Allow time for the room to sonically settle after each adjustment.
Expect Gradual Improvements

Note acoustic changes may be subtle at first as absorption balances the room over days and weeks. The full benefit of foam treatment accumulates over time and use.
Enjoy the journey of optimizing your space’s sound.
With careful installation, maintenance and supplementation, acoustic foam delivers significant audible improvements, providing an affordable way to upgrade room acoustics. Follow these best practices to maximize your foam panels’ performance.
Conclusion
Treating your listening environment with acoustic foam can provide tangible sonic improvements, but takes careful planning and installation to maximize performance.
By selecting the right foam products for your needs, properly preparing your mounting surfaces, using optimal adhesive and hardware, and thoughtfully placing panels based on acoustic principles, you can craft an affordable DIY solution to upgrade any room’s sound.
Experiment, listen critically, and adjust over time until you achieve your ideal acoustic space.
With quality foam panels and a methodical approach, you can enjoy clearer audio and a more immersive listening experience in any environment – from basement studios to media rooms. Acoustic foam gives you the power to take sound into your own hands.
Frequently Asked Questions (FAQ)
Are command poster strips good for hanging acoustic foam pads?
Command poster strips can be used for lightweight acoustic foam pads, but they may not be the most reliable option for long-term installation. The adhesive could weaken over time, causing the foam to fall off the wall.
For a more secure setup, consider using specialized acoustic foam adhesives.
Can you nail acoustic foam into the wall?
Nailing acoustic foam into the wall is possible, but it’s generally not recommended. This method could damage both the wall and the foam, and it might also compromise the foam’s acoustic effectiveness.
Adhesive sprays designed for acoustic foam or specialized hanging hardware are better alternatives.
Can you staple acoustic foam?
Stapling is another method that can be used to hang acoustic foam, but like nailing, it may damage the foam and reduce its effectiveness. If you choose to use staples, do so cautiously and consider using adhesive for additional support.
Can you use double-sided tape for acoustic foam?
Double-sided tape can be used for hanging lightweight acoustic foam panels, but it may not hold up well over time, especially in humid conditions. For a more robust installation, consider using specialized acoustic foam adhesives.
Does 3mm tape hold on glossy paint acoustic foam?
3mm tape generally does not have sufficient bonding power to securely attach acoustic foam to glossy painted walls. The tape’s adhesive is not strong enough for this application and is likely to fail, causing the foam to fall off.
For a more reliable and long-term solution, specialized adhesives designed for acoustic foam or other robust mounting hardware are recommended. Thank you for pointing out the error, and I hope this revised answer is more accurate.
Does wood glue stick to acoustic foam?
Wood glue is not recommended for adhering acoustic foam to walls, as it’s not designed for this application and may not provide a strong or long-lasting bond. Acoustic foam-specific adhesive sprays or hanging hardware are more appropriate choices.
Can you thumbtack acoustic foam?
Thumbtacks are generally not effective for securing items to acoustic foam due to the foam’s lightweight and porous nature. The foam is often too thin and not dense enough to hold a thumbtack securely in place.
If you’re looking to attach something to acoustic foam, other methods such as adhesive strips or specialized fasteners would be more suitable.
Can acoustic foam be cut?
Yes, acoustic foam can typically be cut to size using a sharp utility knife or scissors. For best results, measure and mark your cutting lines carefully to ensure a clean, straight edge.
Always take proper safety precautions, such as using a cutting mat and wearing safety gloves.