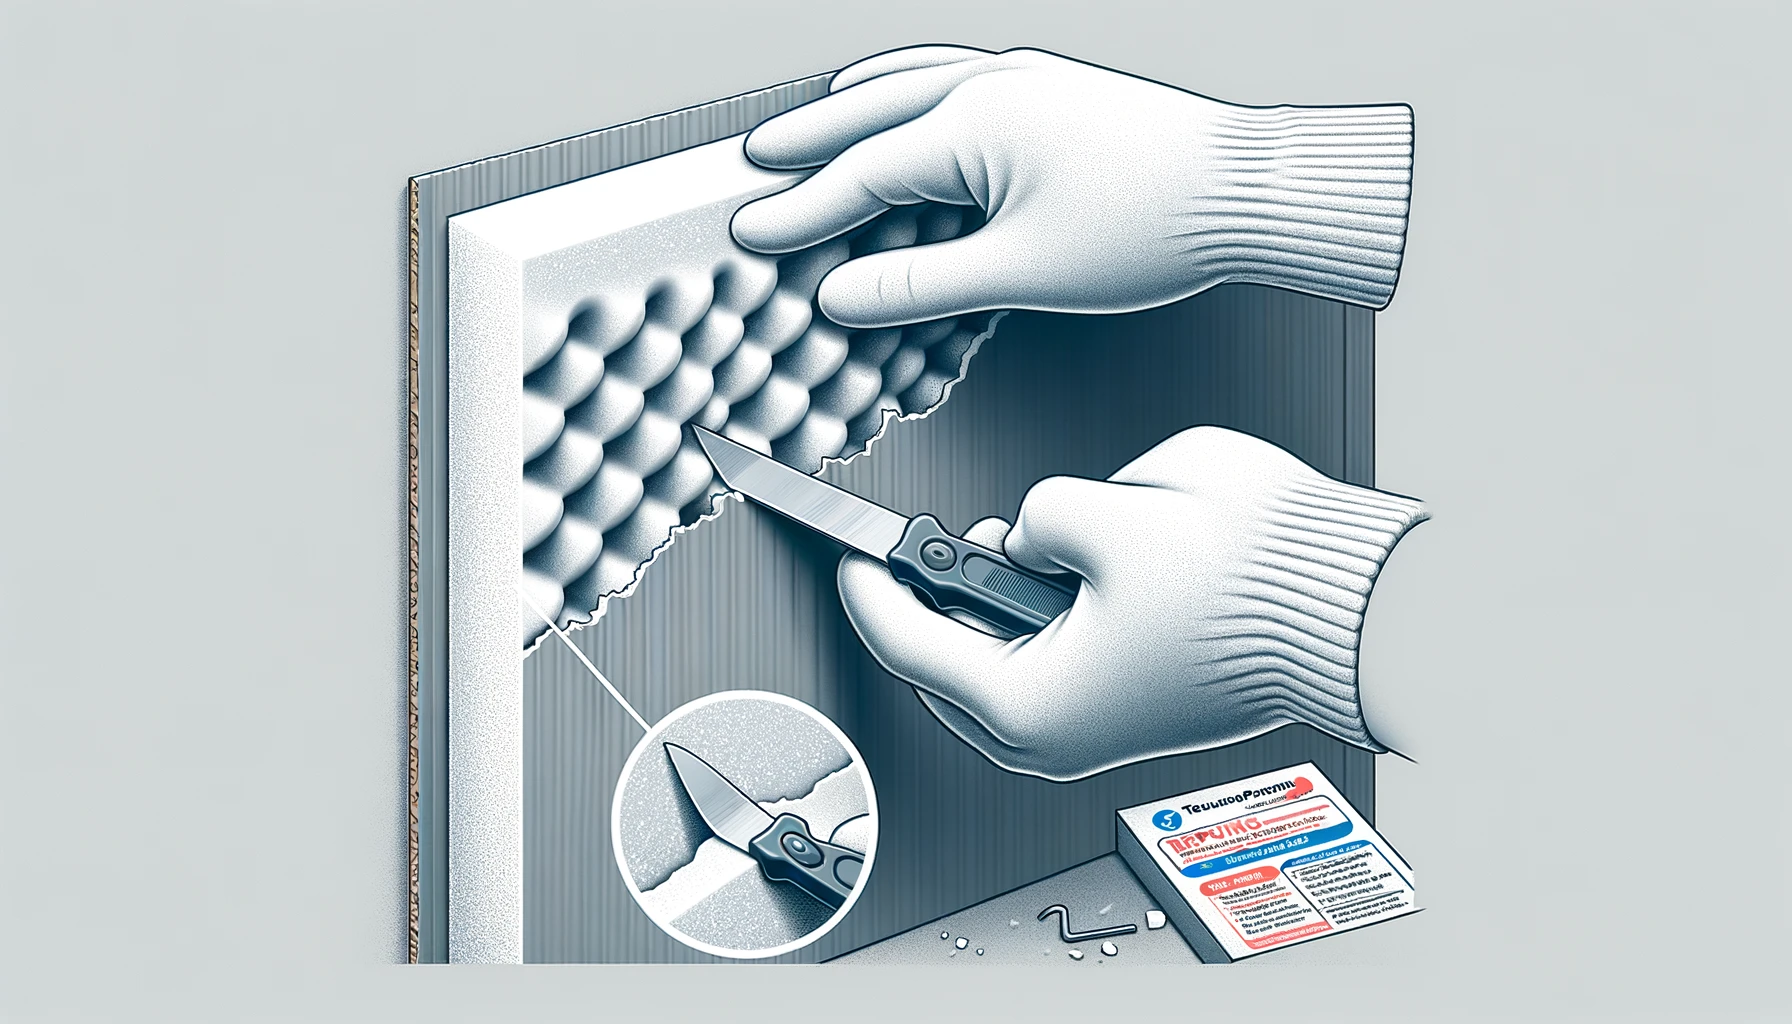
Struggling to remove those outdated acoustic foam panels?
Taking down acoustic foam correctly is key to avoiding damage or safety issues.
Let’s dive into the step-by-step process for safe, effective acoustic foam removal
Can I Remove Acoustic Foam Myself?

Yes, you can absolutely remove acoustic foam panels yourself if you carefully follow key safety tips and removal best practices.
Just be sure you have the right tools on hand and take precautions to avoid wall damage throughout the process.
We’ll outline proper acoustic foam removal techniques step-by-step below.
Why You May Need to Remove Acoustic Foam
There are a few reasons why you may need to remove acoustic foam panels that have been installed on walls or ceilings.
If you are redecorating or changing the use of a particular room, the existing acoustic foam may no longer match or fit in with your plans.
For example, if you are converting a basement room from a home theater to a children’s playroom, dark colored acoustic foam covering the walls would need to be taken down.
Acoustic foam can also deteriorate over time, particularly if it gets exposure to moisture or direct sunlight.
The adhesive may fail causing panels to fall off, or the foam itself could start disintegrating requiring replacement.
If water damage or natural breakdown has impacted your foam’s noise dampening abilities or aesthetics, it best to properly remove and replace it.
You may also need to take acoustic foam down if you want to reposition panels to improve sound absorption in a particular location in the room.
Carefully removing the panels allows you apply fresh adhesive and mount them again in optimal spots.
Gather the Right Tools

Removing acoustic foam cleanly and completely requires having certain tools handy.
Sharp utility knives or razor blades allow you to slice through foam and adhesive for removal, but must be used carefully to avoid damage underneath.
For foam panels mounted with adhesive, plastic putty or taping knives are ideal for sliding between the foam and wall to gently pry and separate the glue.
Adhesive remover chemicals or solvents are often needed to break down stubborn glue residue left behind on walls after you detach ceiling or wall-mounted foam.
These chemicals must be applied cautiously according to direction to prevent harming yourself or the surfaces underneath.
For acoustic foam placed high on walls or across ceilings, having a sturdy ladder or step stool close by helps you reach to cut and pry off panels safely.
Avoid leaning dangerously on chairs or furniture while trying remove foam above your normal reach.
Protect Yourself and Surroundings
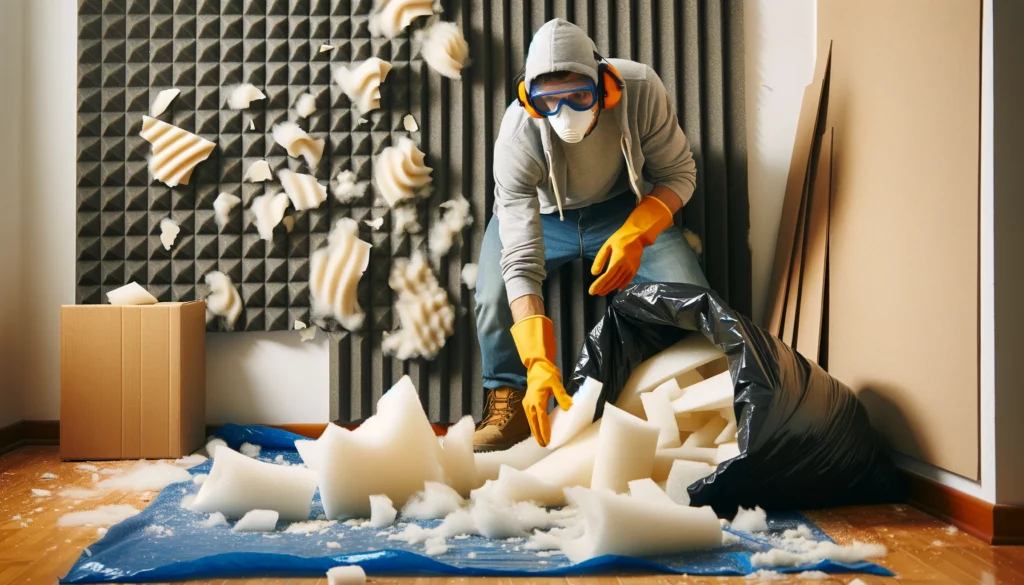
When taking acoustic foam down, certain precautions are necessary for protecting yourself and your surroundings from damage throughout the removal process.
Wearing thick gloves provides protection if utility knife or razor blades slip while slicing foam.
Clearing any furniture, artwork or valuables away from the immediate area you are working on prevents accidental harm and gives you adequate space.
Dropping foam pieces as you detach panels can very messy, so lay a tarp or drop cloth below on flooring and over any permanent objects.
Having a large garbage bag opened up underneath your elevated position catches cut pieces as they fall and keeps debris better contained.
If using adhesive removers or solvents during glue residue cleanup, open nearby windows in the room to circulate fumes outside rather than inhaling directly.
Follow all label safety directions closely when working with harsh glue removal chemicals to avoid burning skin or lungs.
Carefully Cut the Foam Panels
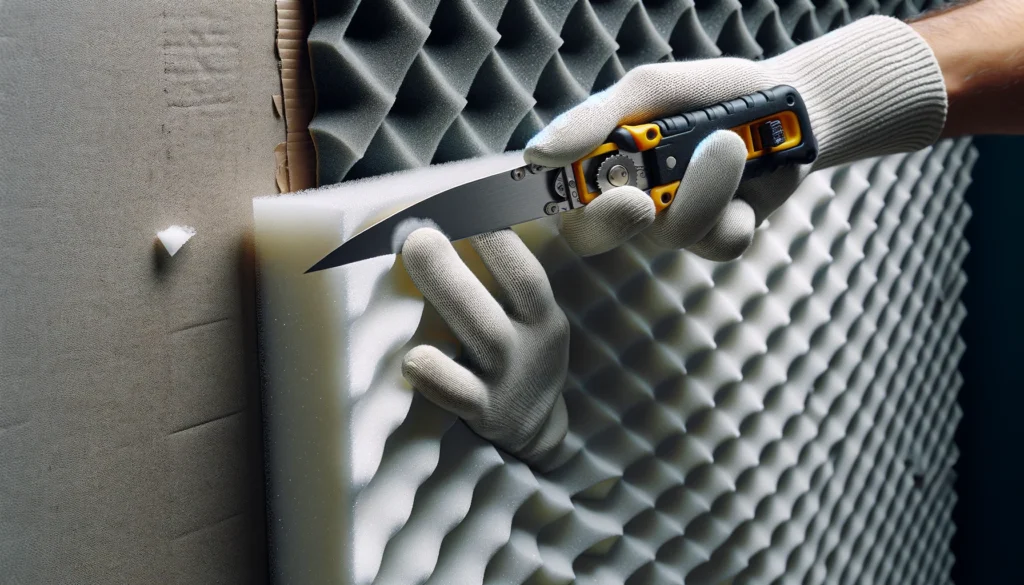
With preparatory steps completed, you are ready to get hands-on removing installed acoustic foam from your walls or ceilings.
Carefully cutting into the foam is required initially to slice through any adhesive or glue behind panels.
Working methodically in one section at a time, use a new sharp utility knife or razor blade edge to cut evenly through foam backing rather than tearing haphazardly.
If panels have been directly glued on, patiently slide the blade horizontally behind them, separating foam from adhesive little-by-little to avoid ripping drywall paper or damaging the wall underneath.
Apply steady even pressure at the start, then ease foam pieces off the wall as the adhesive gives way.
How aggressively you can pry pieces outward depends on glue type used.
For simple sticky tack mounts, foam can be pulled off easily.
Strong construction-grade adhesives require working the knife blade bit-by-bit around the entire panel to finally detach, taking care not to gouge into walls.
Carefully cut panels into manageable pieces as needed so they are easier to handle carrying away for disposal or recycling.
Removing Adhesive Residue
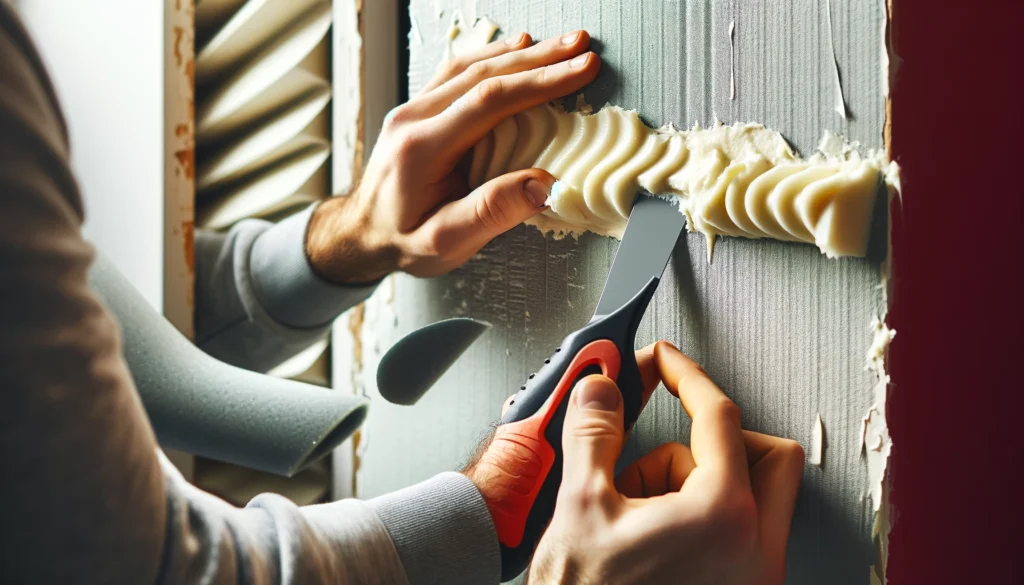
After clearing acoustic foam panels off the underlying surface, leftover adhesive residue is often stubbornly stuck and needs removing as well before resetting replacement foam.
Using appropriate solvents or glue removal products can breakdown stickiness for effective residue elimination.
Check chemical suitability for your unique adhesive type and apply strictly according direction given.
Test first in a small hidden location to ensure reactions dissolve glue properly without damaging drywall or paint underneath.
Then spread the adhesive remover thoroughly across remaining foam glue areas, allowing the solvent time to penetrate and loosen the stickiness for the next steps.
Once waiting period elapsed, take a broad plastic putty knife and gently scrape crusted glue substance up bit-by-bit.
Solid panels leftover should peel up relatively easily, but some liquid glues seep into porous drywall during initial application.
Use a rolling, lifting motion and moderate pressure with putty knife to collect adhesive buildup without tearing delicate wall paper or causing greater damage issues underneath.
Thick foamy residue may require reapplying removal solutions and scraping repeatedly to fully eliminate all stubborn adhesive behind foam panels.
Patch and Prep the Surface
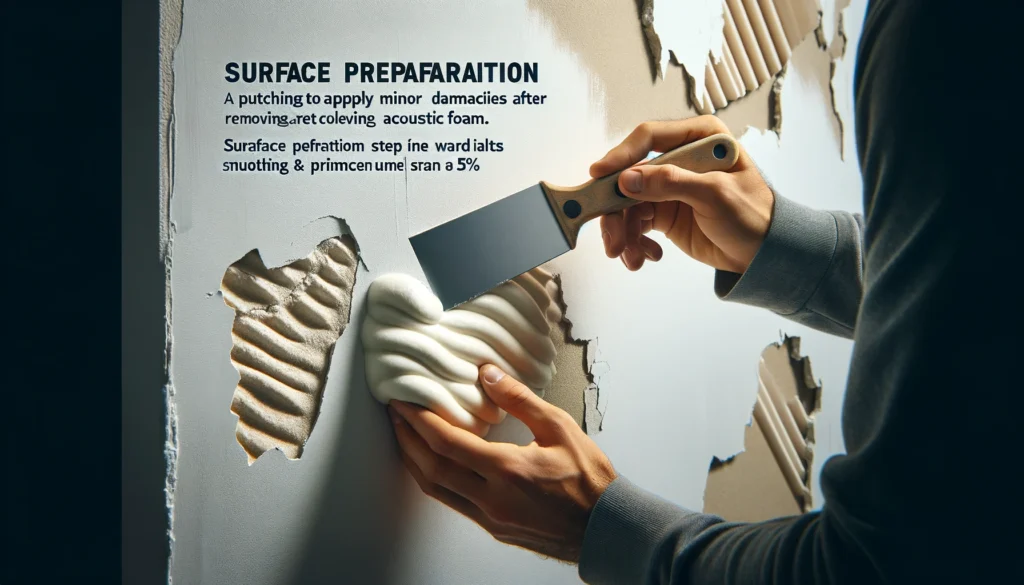
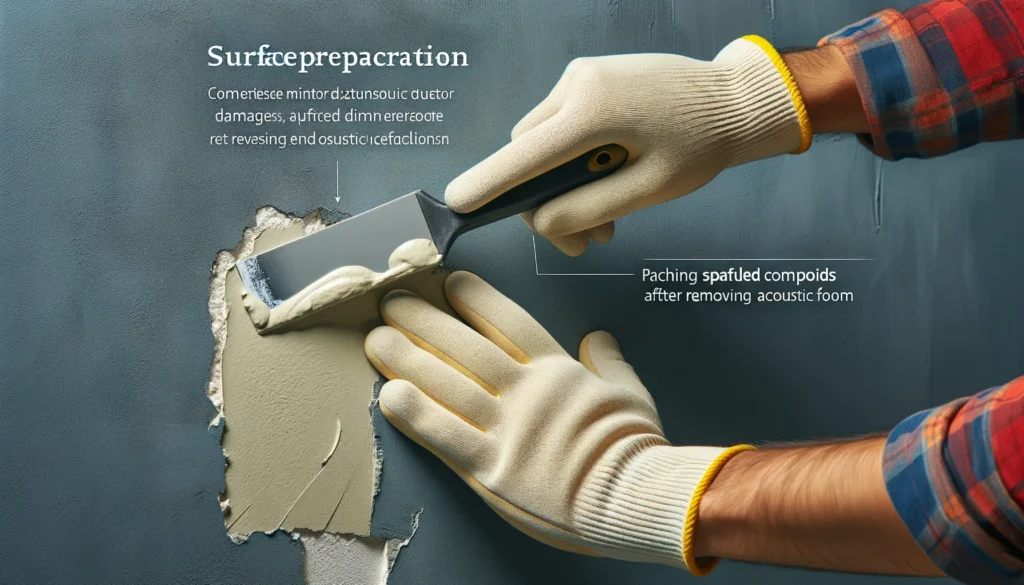
Depending on your acoustic foam removal experience, the underlying ceiling or wall surfaces may have small leftover pockmarks, gouges and other minor irregularities needing repair before installing replacement foam panels.
Use premixed lightweight spackle compound and putty knife to smoothly fill any nicks, cracks or tiny holes created during glue scraping efforts, feathering outward edges for flush blending once dry.
Allow adequate drying per spackle guidelines, then sand smoothed as necessary, wiping up all dusty debris afterwards.
Inspect overall area and spot prime with appropriate sealant type if bigger sections of drywall paper torn off or synthetic material exposed that will compromise proper adhesion when reapplying permanent acoustic foam using glue or adhesive.
Evaluate if full priming coat needed across entire surface for uniformity.
Use painter’s tape temporarily attached nearby to outline original acoustic foam panel size and arrangements planned as helpful guide placing new pieces later.
Carefully preparing project site this way sets up renewed long-term acoustic foam positioning success.
Dispose of the Foam
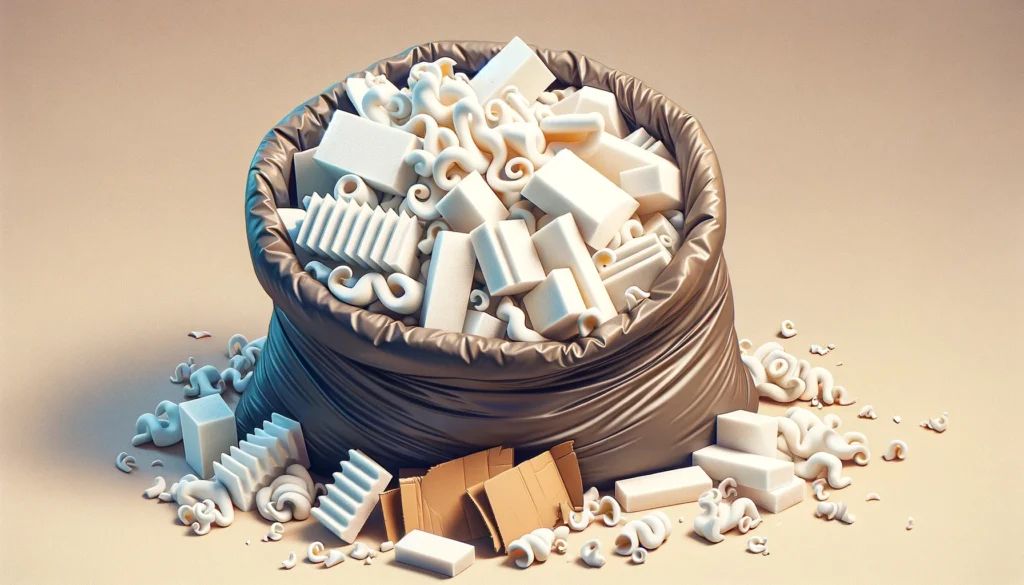
As final important step after fully detaching existent acoustic foam pieces from ceilings or walls, properly contain all the rubble debris for appropriate disposal.
If your local municipal recycling center accepts vinyl foam and fabrics, neatly bag scraps to transport there soon as possible.
Foam waste without wood, metal or plastic frames mixed in can often be recycled responsibly rather than clogging landfills.
Not all regions offer such programs however, so check area handler guidelines and policies first.
If no foam recycling available, tightly tie sturdy garbage bags shut after filling each halfway with foam fragments to contain mess through standard waste removal process.
Leave bags in place underneath work site until finishing entire acoustic foam stripping project to simplify gathering all residue garbage together for curbside pickup or drop-off.
Many acoustic foam adhesives and their removal solvents have harmful manufacturing chemical components, so allowing debris to blow around freely or failing to contain foam bits completely should not be tolerated, demanding proper safety protocols for disposal.
Handling old acoustic foam removal thoughtfully from start through finish protects yourself and surroundings well throughout the entire renewal process.
Conclusion
Removing acoustic foam effectively requires careful prep and execution to avoid compromising walls or ceilings.
But once panels are fully detached and adhesive residue eliminated, fresh new foam can be mounted in the renewed space for improved sound absorption.
Just be sure to dispose of old foam safely and responsibly after completing the stripping process.
