
Want your at-home podcasts to sound as polished as a top studio? Learn how to optimize any room’s acoustics for broadcast-ready audio.
Carefully analyzing a room’s existing acoustics and strategically adding absorption, diffusion and bass trapping creates a balanced listening environment optimized for podcasting.
This comprehensive guide breaks down the methodology. Let’s dive in…
1. Assess the Room’s Current Acoustics

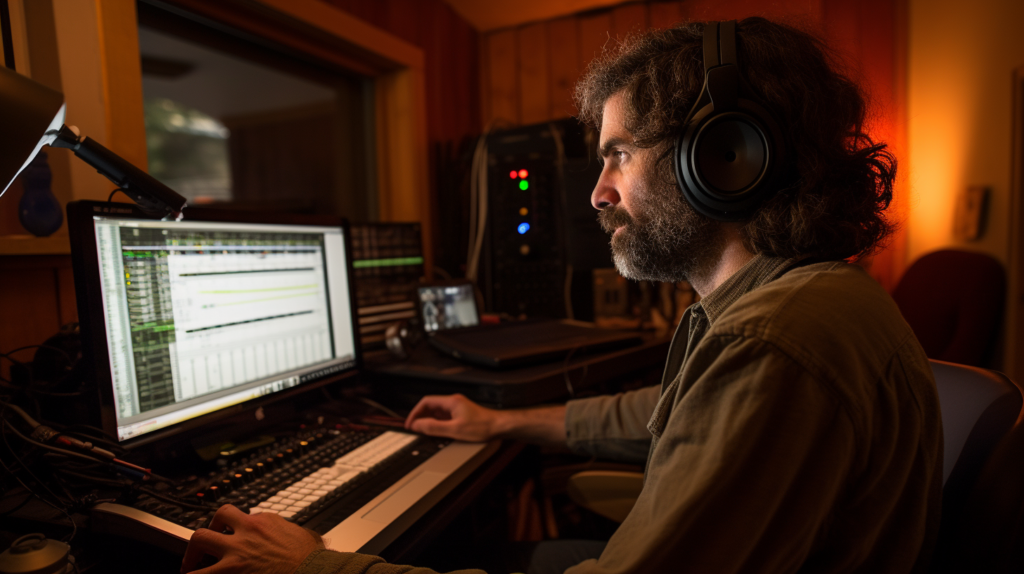
The most critical first step when acoustically treating a space for podcasting is to carefully analyze the room’s existing sonic characteristics before adding any materials or modifications. This involves critical listening tests as well as visual inspection of the space.
To assess the current acoustics, make one or more simple recording tests in the untreated room. Capture some basic speech to replicate a podcast episode. Play back the recordings through quality speakers or headphones and listen intently to aspects like clarity, reverb decay time, coloration, and frequency response balance. Make notes on any audible issues like excessive echo causing distant hollow sounding speech, flutter echoes causing distinct repeats, boominess muddying up the low end, or dead/dry zones.
While listening to test recordings, slowly walk around the room and listen from multiple positions to identify any problem spots where the sound becomes unintelligible or highly colored. Also note locations where the sound seems well balanced. Make sure to check corners, as these are prone to bass buildup issues.
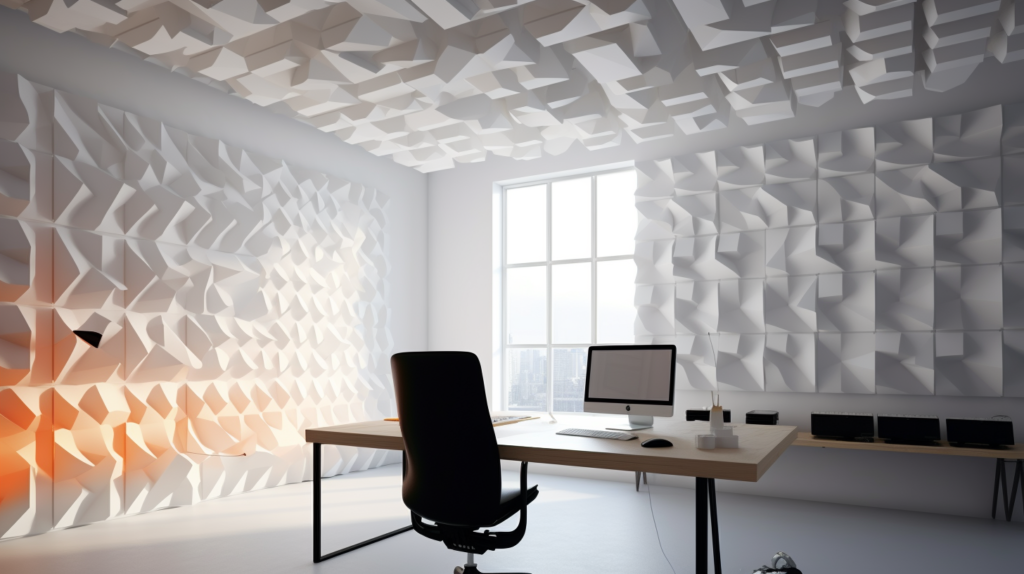
Visually scan the surfaces of the room and categorize them as either reflective or absorptive. Hard, dense materials with smooth finishes like glass, tile, concrete, and drywall tend to be highly sound reflective. Softer porous furnishings like carpet, curtains and acoustic ceiling tile naturally absorb more acoustic energy. Take stock of the ratio of reflective to absorptive surfaces, as too many hard surfaces will exacerbate echo.
Analyze the physical proportions of the room. Long parallel walls can cause flutter echo, and cubical rooms strengthen problematic room modes. Irregular wall angles and niche spaces also distort the sound. Understanding the room’s geometry informs strategic placement of treatments.
Carefully assessing the untreated room reveals acoustic deficiencies informed by listening tests and visual inspection. This data makes it possible to strategically address issues through placement of absorption and diffusion.
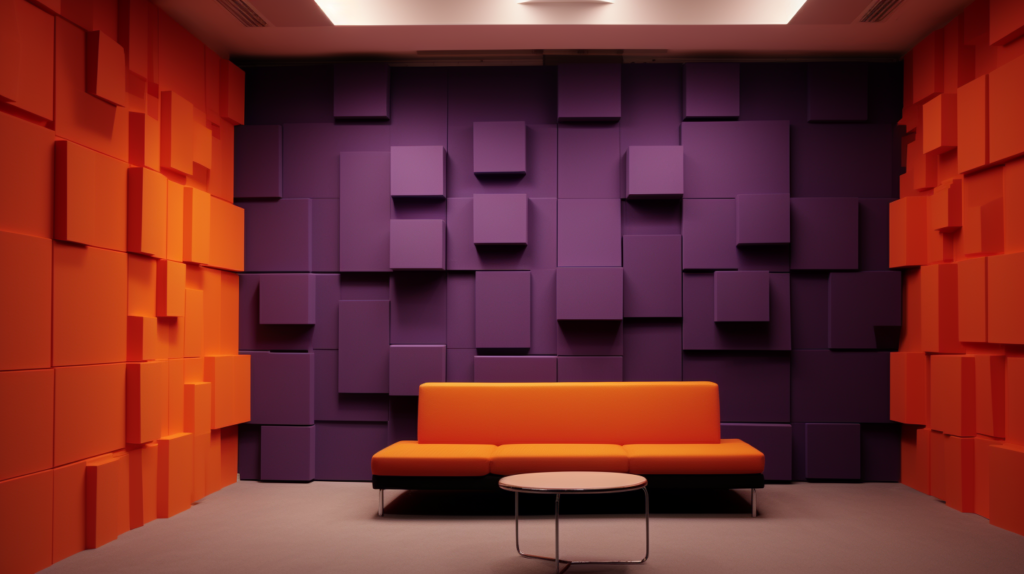
2. Add Broadband Sound Absorption
After identifying the room’s existing acoustic issues through testing and analysis, the next step is adding broadband absorption across frequencies to generally control excessive reverberation. Key techniques include:
Mount acoustic panels on identified problematic walls for mid-high frequency absorption. Spread panel placement evenly across walls to create uniform damping. Prioritize placement near sound sources like mics.
Place thick dense bass traps in corners to absorb low frequencies before they build up and resonate. Corners encourage dangerous bass exaggeration that muddies up the sound.
Install absorptive materials like fabric covered fiberglass directly on ceilings to absorb sound energy striking the overhead plane before it can reflect back down.
Lay down carpets wall-to-wall and large area rugs to bring absorption to the floors. Bare floors reflect a lot of sound energy and need treatment.
In general, distribute varying absorption materials throughout the room’s boundaries to catch initial sound reflections before they can bounce around and create excessive reverb coloration.
Layering different absorbers tuned to varied frequency bands creates relatively flat, balanced absorption suitable for podcasting. Place treatments based on listening test data.
3. Diffuse Early Reflections
While broadband absorption helps control excessive reverb and flutter echo, diffusing sound is also important for blending reflections evenly throughout a space rather than allowing distinct echoes to be audible.
Strategically place geometric diffuser panels on identified problematic walls and overhead ceiling surfaces that listening tests revealed as causing distinct flutter echoes or strong single reflections. Diffusion scatters sound in many directions instead of allowing sound to reflect directly back toward the listener or podcast subject. This adds natural space and blend.
Avoid leaving large flat parallel walls or overhead areas untreated. Break up these reflective areas with a combination of absorptive and diffusing treatments to prevent distinct echoes forming between parallel surfaces.
Densely spaced irregular diffusers work best for scattering mid and high frequencies. Well-placed diffusers dispel echoes and make reflections more natural sounding, without obvious discrete repeats.
Diffusers and absorbers together create a balanced blend of damping unwanted sound while spreading necessary ambience and space. Add diffusion anywhere distinct flutter echoes or harsh reflections were audible during room analysis.
4. Tune Problematic Room Modes
In addition to controlling overall reverberation and isolated echoes, it’s critical to address problematic room modal resonances which cause uneven, unnatural low frequency reproduction.
Room modes create resonant exaggerated bass peaks or dips at particular low frequencies related to the room’s physical dimensions. During initial audio tests, listen closely for hollow/boomy bass response. Use a frequency analyzer or spectrum app to identify key problematic modes. Make notes on the measured Hz of the most obtrusive room mode resonances.
Once the most offensive room modes are quantified through testing and analysis, add bass trapping treatments specifically tuned to those exaggerated low frequency bands using precision membranes and/or precisely sized resonating cavities within panels. This provides highly targeted low-end absorption at the specified problem frequencies.
For especially difficult low frequency room mode resonances, install multiple membrane-based Helmholtz or slat absorbers which are inherently designed to absorb only select narrow bands of low frequency sound energy through precision tuning of the absorbers’ physical properties.
Careful and extensive bass trapping applied at identified problematic room modes smoothes out the uneven low frequency response by attenuating the exaggerated resonant peaks specifically, preventing muddy and unnatural bass reproduction.
Targeting bass trapping and low frequency absorption to analyzed room mode trouble spots results in properly balanced, high quality bass response with a flattened room curve devoid of egregious peaks and dips.
5. Isolate Noise Sources
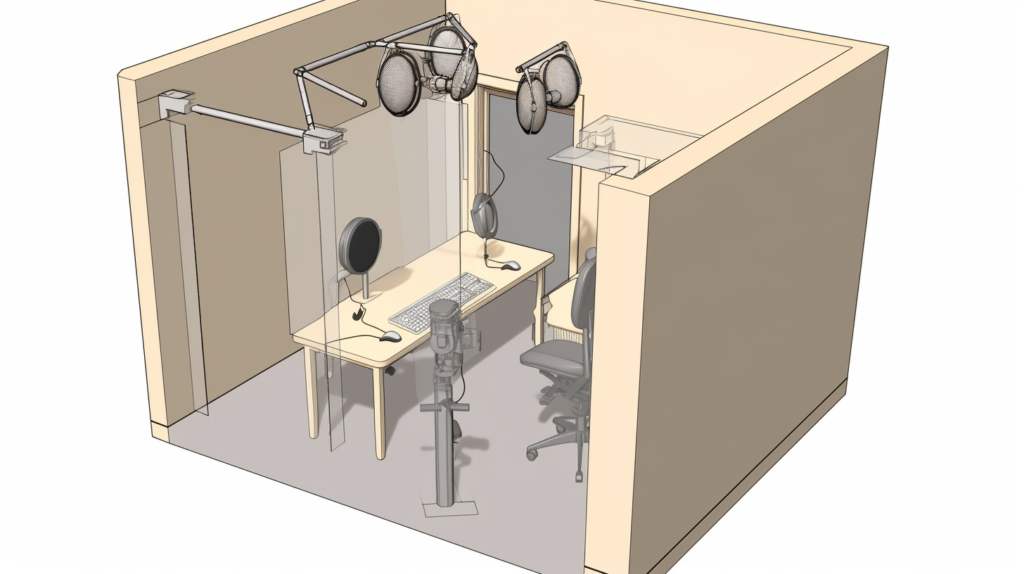
In addition to treating the room itself for optimal acoustics, it’s imperative to isolate potential mechanical and electronic noise sources that could interfere with precision podcast audio capture.
Use shielded low-noise microphone cables as well as mechanical isolation mounts to prevent contact between microphones and stands. This eliminates vibration transmission through connections. Suspended shock mounts also isolate floor vibrations from mics.
Place computers, monitors, and other noisy equipment like external hard drives on foam, sorbothane or spring isolators to decouple vibrations that could get transferred through furniture and floors. This prevents structure borne rumble and hum.
Keeping microphone stands, booms and pop filters completely isolated from walls prevents audio contamination from outside noise infiltrating. Prevent surface contact whenever possible.
For power, use a linear power conditioner and isolate audio circuits from AC lines. This avoids electromagnetic interference from other devices and electrical systems from coupling into audio gear and cabling.
Any potential electronic or mechanical noise sources should be thoroughly isolated and contained to prevent inadvertent coupling of vibration, hum or hiss during recording. This maintains a lower noise floor.
6. Final Testing and Adjustment
After completing initial sound treatment installation based on baseline analysis, retest recordings made in the room while monitoring for incremental improvements. Make careful placement adjustments:
Listen critically to new test recordings, and continue noting any remaining acoustic deficiencies like isolated echoes or boominess. Use this information to hone placements further.
Iteratively make minor adjustments to absorption and diffusion panel placement, angles and density to refine the acoustic response. For example, move panels closer to identified sound sources to catch first reflections faster.
Add additional bass trapping, diffusers or absorbers incrementally if certain frequencies still sound unnaturally amplified or distinct echoes are still noticeable during testing.
The goal is to achieve a controlled reverb blend across frequencies, without excessive echo coloration, using the minimum amount of treatment material. So make adjustments gradually until reaching the ideal acoustic sound. Placement can take some trial and error.
Treating room acoustics for polished podcasting requires patient iterative testing and tweaking until a transparent, balanced sound is achieved, free of distractions.
Conclusion
Optimizing a room’s acoustics for professional podcast recording requires a deliberate multi-step process. First, critically analyze the raw untreated space through rigorous listening and inspection to reveal sonic issues to address. Then strategically introduce tuned broadband absorption complemented by diffuser placement based on initial analysis. Extensively measure and target problematic room modes using focused bass trapping. And thoroughly isolate any potential on-site noise sources. Following this prescriptive methodology while continually testing and refining, it’s possible to cost-effectively transform an everyday enclosed space into an accurate, transparent, acoustically balanced studio environment ideal for podcast audio capture and production. While an investment of time and effort is required, proper acoustic treatment pays dividends in achieving clear and engaging podcast recordings.