
Have you ever been in a room where you struggle to hear someone speaking or music sounds muffled and indistinct?
The acoustics of indoor spaces have a huge impact on how we experience sound, yet it’s an invisible factor often overlooked.
By taking key acoustic measurements and properly interpreting the data, you can analyze a room’s sound issues and intelligently treat problems like excessive reverberation and noise.
In this guide, let’s explore the must-know measurements, professional tools, DIY techniques, and interpretation strategies for comprehensively evaluating and improving room acoustics.
Acoustic Measurements to Evaluate Room Sound Quality
Evaluating the acoustics of a room requires making key measurements that analyze different aspects of sound behavior.
The most important measurements are reverberation time, background noise levels, speech transmission index, and sound absorption coefficients.
Reverberation Time
Reverberation time, known as RT60, indicates the time it takes for sound to decay by 60 decibels after the source stops.
It is measured by generating a test signal like a sweep tone and recording the sound decay curve. RT60 quantifies how live or dead a room is.
For speech intelligibility, an RT60 of 0.6-0.8 seconds is optimal. Music spaces need longer RT60 of 1.5-2 seconds.
Background Noise Levels
Background noise levels are measured using NC and NR curves which rate ambient noise over frequency bands.
Unwanted mechanical noise like HVAC systems or exterior traffic noise contribute to background noise.
Excessive levels make it hard to hear desired sounds clearly.
Ideal NC levels for classrooms and offices are 30-40 dB while professional music studios aim for NR 10-20 dB.
Speech Transmission Index
The speech transmission index (STI) predicts speech intelligibility based on reverberation, background noise, and signal distortion.
It ranges from 0 (unintelligible) to 1 (perfectly intelligible).
Critical spaces like classrooms and conference rooms should have an STI of at least 0.60.
More robust STI of 0.75+ is needed for spaces like theaters.
Sound Absorption Coefficients
Sound absorption coefficients measure how absorptive surfaces are by material type and thickness.
They range from 0 (fully reflective) to 1 (fully absorptive) over different frequencies.
This helps determine how much sound treatment is needed by calculating the room’s total absorption area.
For example, carpet has an absorption coefficient of 0.1-0.5 while acoustic panels are 0.6-0.9.
Together these measurements provide a detailed analysis of room acoustics by capturing reverberation, ambient noise, speech clarity, and absorption properties.
They help diagnose issues and inform treatment options to achieve good sound quality.
Professional Equipment for Measuring Room Acoustics
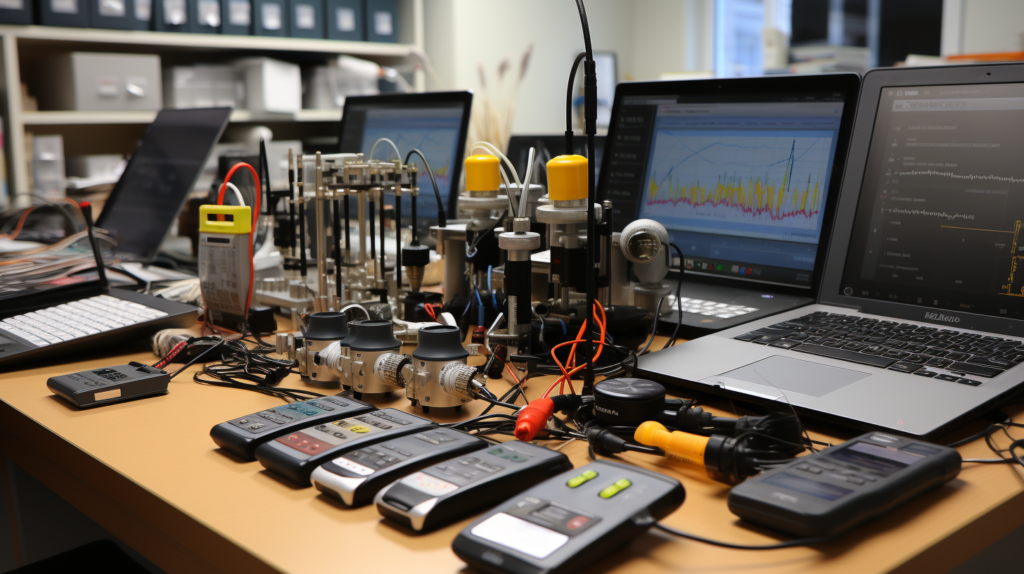
To take accurate acoustic measurements, specialized professional-grade equipment is necessary.
This includes sound level meters, acoustic analyzers, sound sources, testing microphones, and other gear.
Sound Level Meters
Sound level meters objectively measure loudness across the full audio spectrum.
They contain an extremely sensitive microphone and provide decibel readings across frequency bands like 63Hz and 125Hz.
Features like slow, fast, impulse, and peak response times can capture varying sound characteristics.
Class 1 and Class 2 sound level meters meet high international accuracy standards.
Acoustic Analyzers
Acoustic analyzers are used to record and analyze complete frequency and time information.
Options like impulse response measurement visualize reverberation decay.
Real time analysis shows spectra over time.
Frequency sweeps assess full range response.
Acoustic analyzers also include functions like RT60 calculation, signal generation, and sound level data.
Sound Sources
Sound sources produce test signals needed to measure room response.
This includes speakers with frequency sweeps, white/pink noise signals, and more.
Simple hand claps or balloon pops work too.
Controlled, consistent excitation of the room is necessary for measurements.
Testing Microphones
Testing microphones pick up sound and reverberation in the room.
Small diaphragm condensers give flat frequency response.
Omnidirectional polar patterns prevent biased readings.
Professional acoustic mics connect to sound level meters and analyzers.
With all this equipment and expertise, acousticians can take precision measurements according to international standards.
While costly, it provides the most accurate room analysis.
DIY Ways to Check Room Acoustics Without Pro Tools
Professional acoustic equipment can be expensive and require expertise.
For more casual users, there are DIY techniques to assess room acoustics using everyday items.
Though not as accurate, they can indicate the existence of issues.
Clap/Hand Test
The clap/hand test is the most basic way to subjectively evaluate reverberation.
Clap your hands and listen to the “echo.”
Excessive ringing means too much reverberation.
Quick damping indicates good absorption. This test gives a rough sense of the room’s liveliness.
Smartphone Recordings
Smartphone recordings are another simple approach.
Use a recording app to capture the sound decay after making a loud noise like popping a balloon.
Analyze the waveform and listen to estimate RT60.
There are even apps that attempt to calculate it.
While imprecise, it illustrates sound reflections.
Sound Meter Apps
Sound meter apps use a phone’s mic to measure loudness in decibels.
They lack the accuracy of true sound level meters but can still detect general ambient noise issues.
Test background noise levels with the app to compare against recommended NC/NR standards.
Subjective Surveys
Finally, subjective surveys of occupants assess perceptions of sound quality in rooms.
Factors like speech, music, and noise clarity can indicate problems not captured by measurements.
Though not quantitative data, user feedback provides real-world insights.
These DIY techniques give a reasonable snapshot of room acoustics for small-scale and residential purposes.
However, professional measurements are still required for true acoustic design.
Interpreting Acoustic Measurements to Improve Room Sound

The purpose of taking acoustic measurements is using the data to analyze and improve room sound quality.
Proper interpretation and application of the results is key.
Compare to Recommended Standards
Start by comparing measurement values to recommended standards for the space type.
For example, classrooms should have 40-50 dB ambient noise and 0.6 second RT60.
Identify any measurements that deviate from guidelines to pinpoint issues.
Determine Treatment Needs
Excessive reverberation or noise levels indicate treatment is required.
Prioritize addressing levels furthest from recommendations first.
Calculate precisely how much absorption or blocking is needed using area and coefficient formulas.
Identify Problematic Frequencies
Analyze full spectrum RT60 and noise measurements to reveal problematic frequencies.
Mid and high frequencies are easier to control.
Special attention may be needed to treat low frequency problems.
Identify the sources of unwanted noise like HVAC systems.
Validate with STI and Surveys
STI and survey results validate real-world speech intelligibility, complementing the physical measurements.
Low STI and complaints of poor speech clarity also signify improvements are needed, even if RT60 and noise levels fall within standards.
Carefully interpreting acoustic data ensures the proper diagnoses of room issues.
Applying the results directly informs treatment selections and design improvements for ideal sound.
This allows creating spaces with clear, intelligible speech and music, free of excess noise and reverberation.
Conclusion
Properly evaluating room acoustics requires utilizing a mix of professional-grade measurements and practical DIY techniques.
Critical data like reverberation time, background noise, speech transmission index, and absorption coefficients provide a comprehensive analysis.
This acoustic insight is only useful if correctly interpreted against standards to identify issues, determine needs, pinpoint problem frequencies, and validate with real-world speech clarity.
With quality measurements and proper application, the path is cleared to intelligently treat rooms for optimal sound character, free of excessive noise and echo.
The ultimate goal is crafting spaces where speech communication thrives and music shines through clearly.
By following acoustic science, that ideal listening environment can become reality.