Can a simple coat of paint unintentionally mute your acoustic panels?
Painting over porous noise-reducing acoustic treatments often seems like an easy DIY way to add decoration, but risks turning essential sound absorbers into reflected sound barriers instead.
Before pulling out the paint brushes for acoustic panels, let’s explore just what gets lost beneath the makeover along with better ways to safely integrate necessary treatments into room aesthetics.
Can You Paint Acoustic Panels?
No, you cannot paint acoustic panels as it will alter their acoustic properties and reduce their ability to absorb sound in your space.
Painting acoustic panels can negatively alter their acoustic properties and reduce their ability to absorb sound in your space.
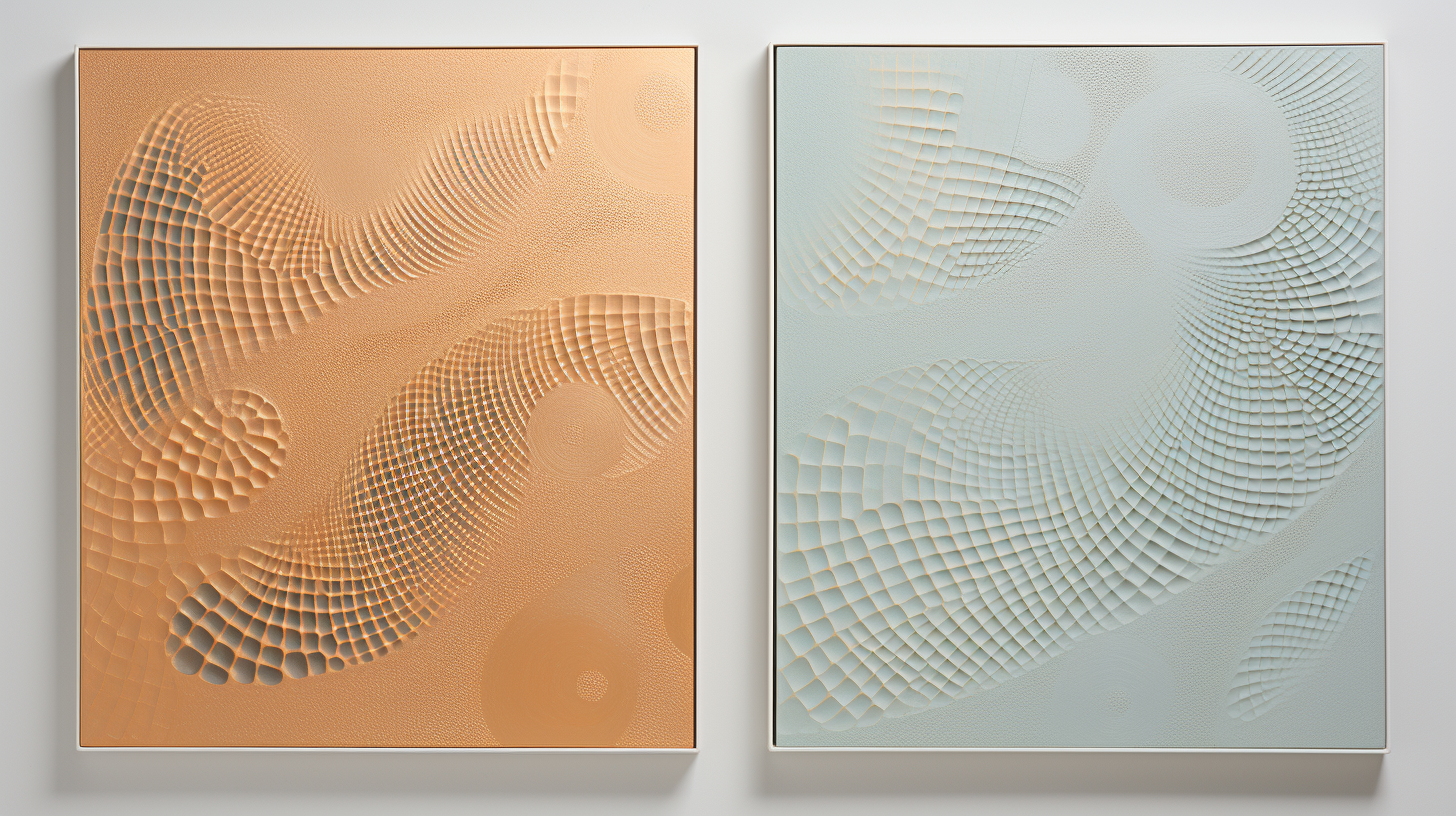
When layers of paint build up on the porous surface of materials like foam, fiberglass or mineral wool, it fills in the tiny holes and gaps in the material that allow it to trap sound waves.
This essentially turns an acoustic panel from an absorptive noise reducer into a sound reflector. The more paint applied, the less audio absorption ability remains.
Tests show painted panels can decrease noise reduction coefficients by up to 30%. Such a dramatic shift sacrifices the primary practical purpose of acoustic treatments.
Beyond impaired sound quality, painting panels also runs the significant risk of trapping odors, air pollutants, volatile organic compounds and fumes from the paint over time in your space.
These materials then gradually off-gas from the panels into the surrounding air and can greatly reduce indoor air purity.
Reports of allergy-like symptoms or reactions are common in spaces with recently painted treatments.
For optimum audio performance and healthy indoor air quality, it is highly inadvisable to paint over acoustic panel materials.
Maintaining their intended acoustical porosity should take priority over decorative preferences for appearance.
What To Use Instead Of Paint?

Rather than attempting to paint your existing acoustic panels in spite of potential sound and air quality risks, consider exploring some alternative options that allow you to safely add desired colors, prints, patterns or visual flair.
Popular replacements for traditional panels include using fabric wrapped acoustic panels that come available in over 100 different fabric colors, styles, textures, and patterns.
Manufacturers like Audimute, Primacoustic, GIKEN, Acoustical Solutions, and Clearsonic offer broad catalogs full of fabric choices, from solids or bold contemporary prints to faux leathers and more traditional woven textures.
This allows the flexibility to match unique room aesthetics exactly while retaining acoustic integrity.
Another great option is to use polyester acoustic panels instead of natural materials, which provide comparable sound absorption metrics to traditional high-density foam or fiberglass.
Brands like Soundsocks, Clearsonic and Auralex offer polyester panels featuring over 60 standard color options from subtle earth tones to bright, vibrant statement hues perfect for music spaces.
Beyond conventional rectangles, triangular or curved polyester panels can add modern geometric interest while still controlling crucial reflections.
If you desire more unique acoustic artwork to showcase your personal taste, there are companies that allow you to upload and print completely custom designs which are then adhered onto acoustic foam or fiberglass with specialized printable films.
Your images show through while allowing the actual texture and perforations of the material itself to remain visible rather than being obscured by paint.
This fosters authentic one-of-a-kind acoustic installations guaranteed to draw eyes while protecting sound integrity.
Backlit LED panels behind acoustic foam or fabric present another creative approach to add mood-enhancing visual interest without any paint required.
Painting Tips If You Insist To Paint Your Acoustic Panels
If you ultimately decide to paint acoustic panels despite potential acoustic and air purity risks, be sure to follow crucial application tips to preserve as much sound absorption integrity as possible.
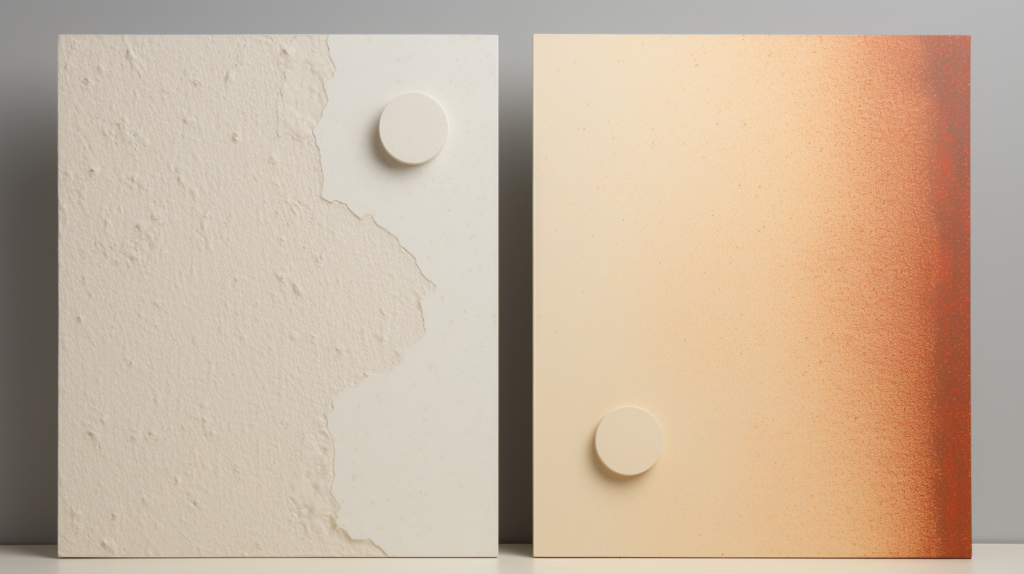
First, only use very thin coats of ultra matte, flat interior grade latex paint. The flatter the sheen, the less surface area gets filled in by thicker coatings.
Too much paint build up on porous acoustic materials can mean up to a 30% loss in sound wave trapping NRC ratings after drying.
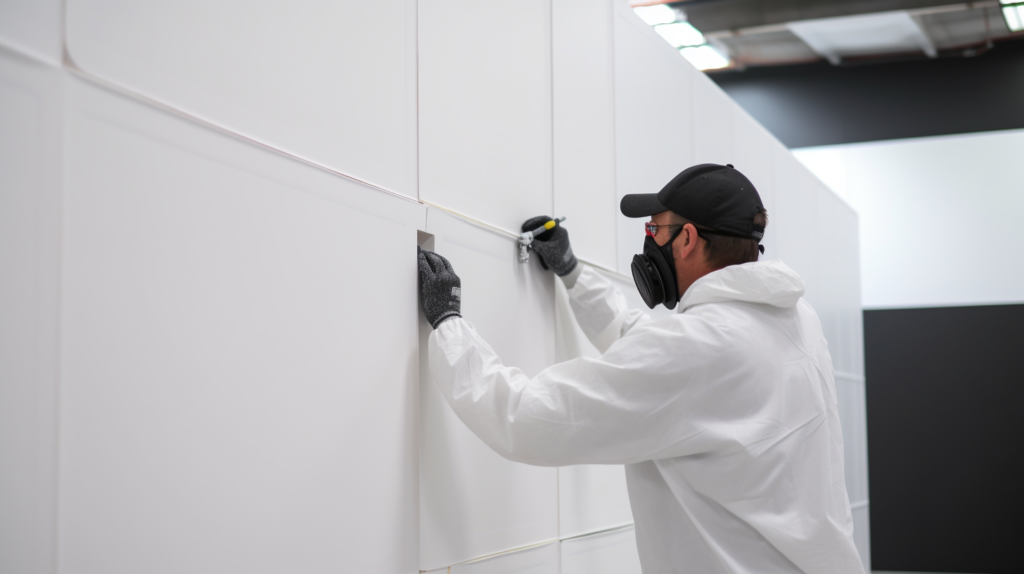
So spray lightly and frequently allow proper drying and recoating time in between layers to prevent saturation barriers.
Using a small paintbrush likely leads to excess paint pooling deeper into the material compared to a low-pressure, fine finish air sprayer held further back.
Sprayers also create a more seamless application across jagged surfaces like rigid fiberglass.
However paint is applied, be extremely judicious with coverage amount so as not to overwhelm the acoustic porosity and permeability needed for panels to actually control sound as intended.
Follow all manufacturer specifications on painter sprayer selection and warn against brush techniques to ensure suitable viscous paint penetration. Request water-based over oil-based paints whenever possible as well.
Sealing all panel edges thoroughly with a clear acrylic sealer is also crucial before painting panels to prevent side saturation damage over time or cracks down the road as the materials expand and contract.
Sealants protect core integrity against moisture exposure leading to warping or other dysfunction.
Lastly, let panels fully cure flat for at least 72 hours far away from intense light or heat after final paint application before reinstalling to prevent sagging issues, stabilize adhesion, prevent trapped off-gassing and avoid accidental damage to unfinished applications.
Rushing the curing process often leads to paint peeling, bubbling or cracking quickly after mounting.
Carefully following these tips provides acoustic panels the best possible chance of retaining some degree of sound absorption after painting
Expect the tradeoff of some degree of audio functionality being impaired under many coats of latex paint without alternative sealing/protective steps being properly taken.
Beyond Painting For Decor
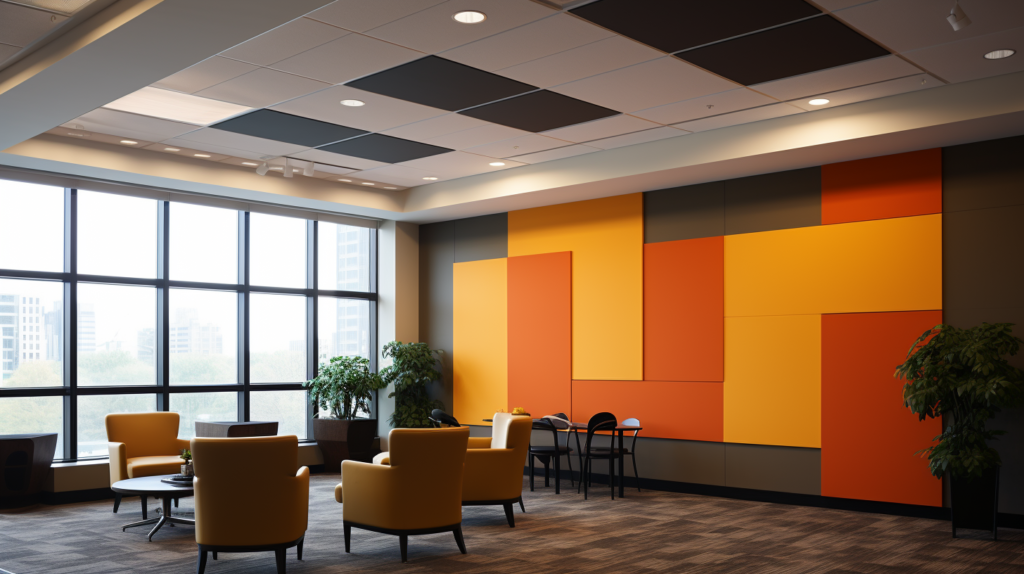
Beyond comparing the sound absorption tradeoffs of painted panels versus safer fabric or custom print options, some alternative decorative approaches also exist to help necessary acoustic treatments blend into existing room aesthetics.
Strategic placement centrally among focal points in a space can draw eyes toward panels intentionally while allowing them to serve practical sound dampening needs from optimal areas of a room.
Symmetrically gridding panels on walls or ceilings also fosters cohesion.
Additionally, framing acoustic panels with trim boards, architectural moldings, or sound diffusing wood slats stained to complement other woods in a space helps unify them decoratively into a room’s layout and color story harmoniously.
Applying a fresh coat of color to walls or ceiling areas where acoustic panel groupings will be placed also fosters a more custom backdrop that ties treatments together better than default white drywall behind might.
Matching panel mounting hardware to wall paint colors instead of default black or silver metal also goes far in achieving a polished integrated appearance.
For those reluctant to introduce more vibrantly colorful panels into their neutral walls or living spaces, accent uplighting or downlighting purposefully positioned on panels helps draw attention to their decorative visual presence and dimensions through strategic wash lighting or gradient effects.
This showcases shadows, depths and dimensions of 3D acoustic units at different times of day without requiring permanent vivid pigment changes to their surface through inadvisable painting.
Conclusion
In conclusion, although painting acoustic panels seems like an easy DIY decorative approach on its surface, the negatives often far outweigh the positives once panels become entirely non-functional due to extreme saturation and off-gassing.
Since controlling noise issues and perfecting sound dynamics should remain the central goal of acoustic treatments in any space, it is unsuitable to sacrifice their audio absorption skill set completely for the sake of surface appearance vanity alone.
Luckily many creative options beyond painting exist to add welcome visual flair or colors that livens blank panels without stripping away acoustic functionality.
The range spans from complete material replacements like mass-produced fabric wraps or custom prints to standalone lighting illusions.
With the right alternative decorative approaches instead of paint, acoustic treatments do not need to stay monotonously plain white while still allowing them to execute their core sound support duties properly.
Before picking up a paint brush without exploring substitutions, critically prioritize room needs and consider the vast array of alternative acoustic treatments available.