How to Connect a DJ Controller — Complete Setup Guide for Every Scenario
How to connect a DJ controller sounds like it should be plug-and-play — but the number of Reddit threads asking “why is there no sound” after connecting proves otherwise. The real issue isn’t the USB cable between your controller and laptop.
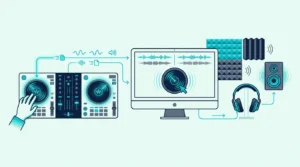
It’s the audio output chain: getting sound from the controller to your speakers and headphones simultaneously, without ground loops, latency, or missing channels.
Most connection problems are caused by the audio routing between your controller’s sound card, your laptop’s built-in audio, and your speakers. When the DJ software sends audio to the wrong output device, you get silence through the speakers, silence through the headphones, or — worst case — the same audio in both, which makes cueing impossible.
That routing confusion happens because DJ controllers add a second sound card to your system. Your laptop already has one (built-in speakers), and the controller adds another (RCA/headphone outputs).
The DJ software needs to use the controller’s sound card, not the laptop’s — and that setting doesn’t always configure itself automatically.
Below, you will find step-by-step connection guides for every common DJ setup — controller to laptop, controller to speakers, controller to phone, and controller to a PA system — so you get sound flowing correctly on the first try.
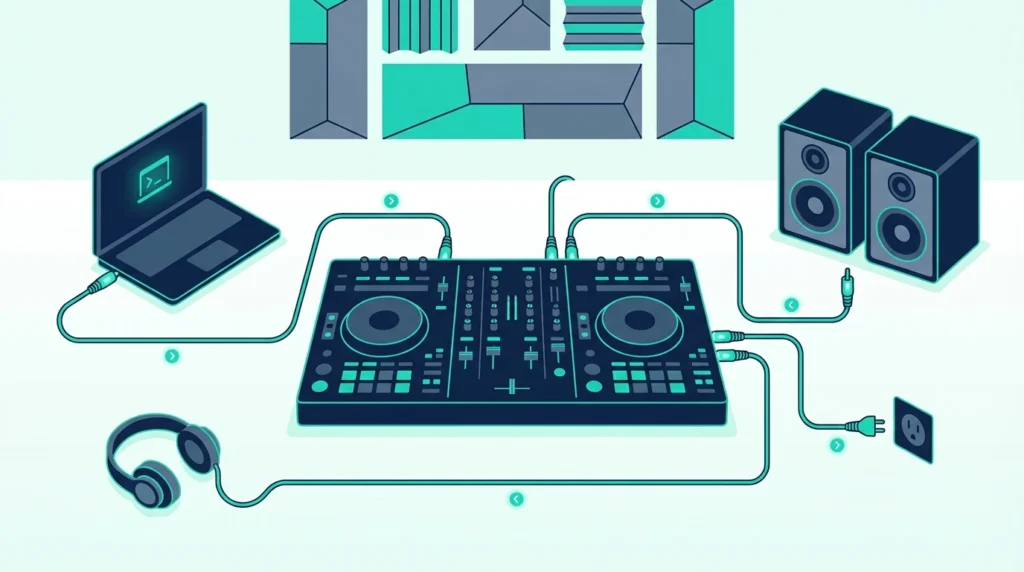
To connect a DJ controller: plug a USB cable from the controller to your laptop, connect speakers to the controller’s RCA output (not the laptop’s headphone jack), plug headphones into the controller’s headphone jack, and set your DJ software’s audio output to the controller’s sound card. That three-cable setup handles 90 percent of home DJ configurations.
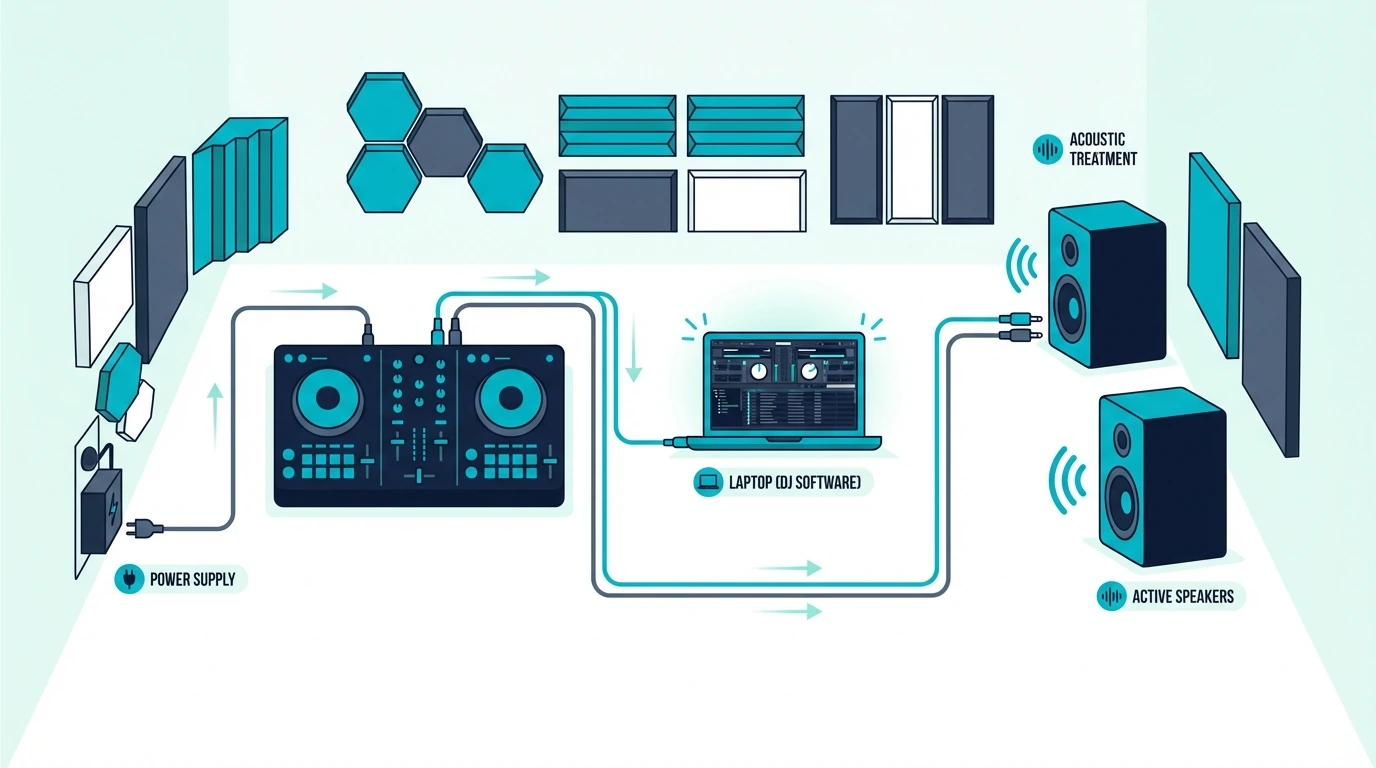
The Basic Setup — Controller to Laptop to Speakers
Step 1 — USB Connection
Plug the USB cable from your controller into your laptop. Most modern controllers use USB-C (like the Pioneer DJ DDJ-FLX4), while older models use USB-A.
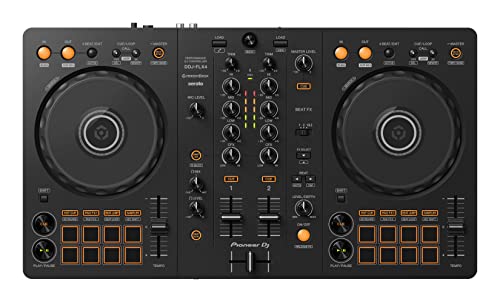
Pioneer DJ DDJ-FLX4
The USB cable carries both data (MIDI commands to the software) and power (no external power adapter needed for most controllers).
Your DJ software should detect the controller automatically. If it doesn’t, check the manufacturer’s website for a driver download — some controllers require a dedicated driver on Windows.
If you haven’t chosen a controller yet, our best DJ controllers roundup covers every budget and software ecosystem.
Step 2 — Speaker Connection
Connect your speakers to the controller’s RCA output — not to your laptop’s headphone jack. The controller’s RCA output carries the master mix signal that your audience hears.
Use a standard RCA cable (red and white connectors) from the controller’s main output to your speakers’ RCA input. If your speakers only have TRS (1/4-inch) or XLR inputs, use an RCA-to-TRS or RCA-to-XLR adapter cable.
The PreSonus Eris 3.5 accepts RCA, TRS, and aux — making it the most flexible speaker choice for DJ controller setups.
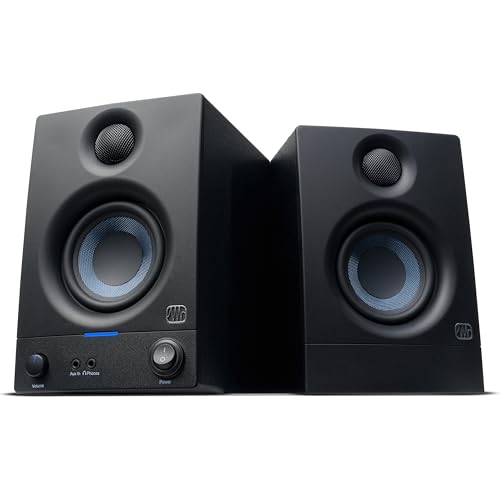
PreSonus Eris 3.5
Step 3 — Headphone Connection
Plug your headphones into the controller’s headphone jack (usually 1/4-inch or 3.5mm on the front panel). This output carries the cue signal — the track you’re previewing before the audience hears it.
The headphone output is separate from the speaker output. That separation is what makes live DJ mixing possible — you hear the next track in your headphones while the current track plays through the speakers.
Step 4 — Software Audio Settings
Open your DJ software and navigate to the audio settings. Set the output device to your controller’s sound card (not “Built-in Output” or “MacBook Speakers”).
The controller appears as a named audio device — “DDJ-FLX4” for Pioneer, “DJControl” for Hercules, etc.
If you skip this step, audio routes through your laptop speakers instead of the controller’s outputs. That means no headphone cueing, no separate speaker output, and no way to mix properly.
Connecting to a Phone via Bluetooth

Which Controllers Support Bluetooth
The Pioneer DJ DDJ-FLX2 and Hercules DJControl Mix both support Bluetooth connections to phones and tablets. Pair the controller with your phone’s Bluetooth, open the WeDJ or DJUCED app, and start mixing wirelessly.
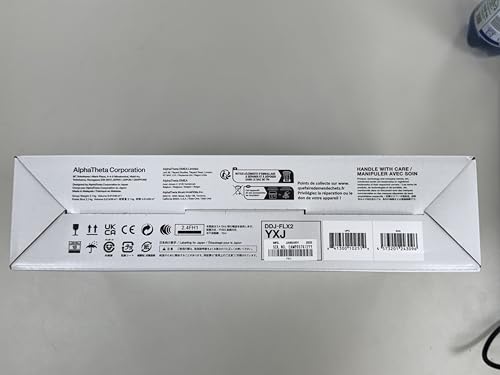
Pioneer DJ DDJ-FLX2
Bluetooth Limitations
Bluetooth introduces latency (a small delay between your physical input and the audio response). For casual mixing at parties, the latency is acceptable.
For beatmatching by ear or scratching, the delay makes precise timing difficult.
USB connections have zero perceivable latency. Use Bluetooth for casual sessions and USB for serious practice.
Get Studio Tips Weekly
Join 5,000+ creators getting acoustic treatment advice every week.
No spam. Unsubscribe anytime.Connecting to a PA System
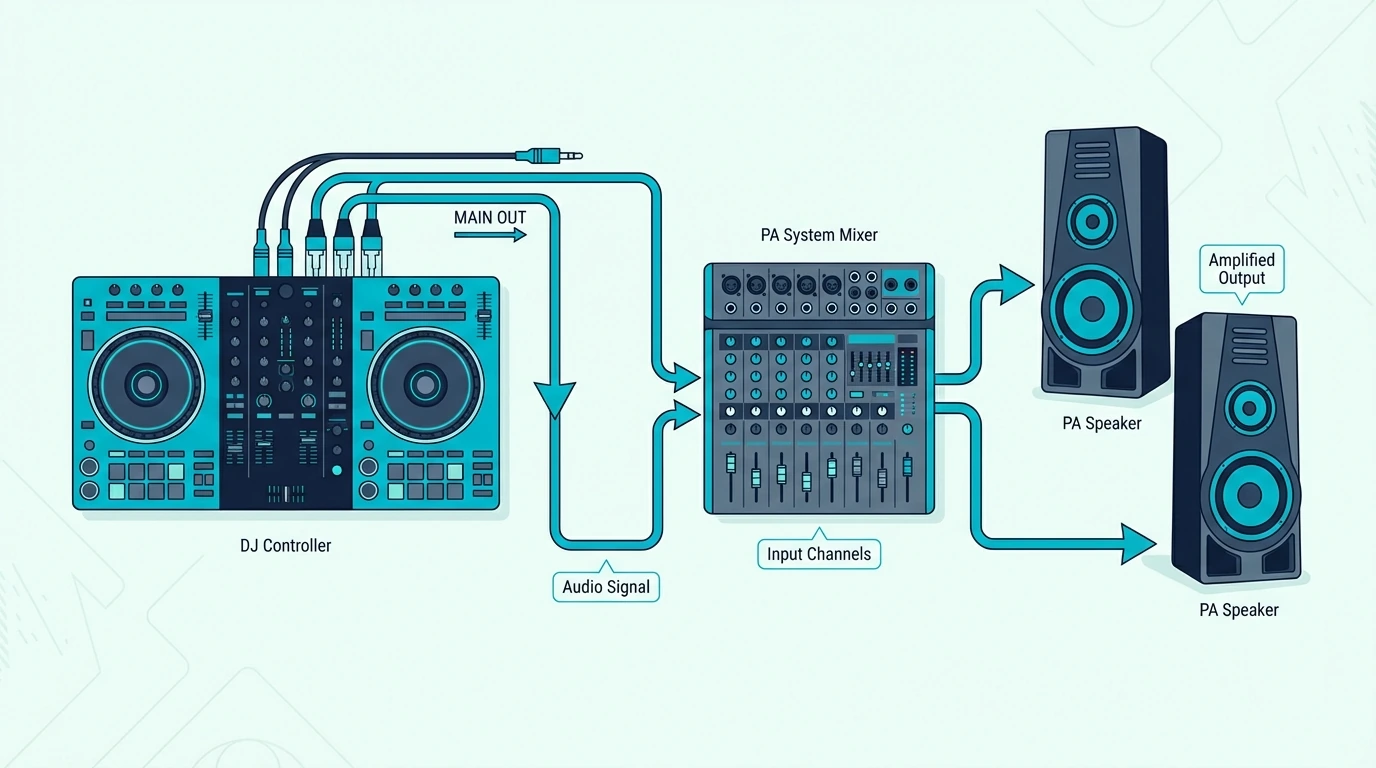
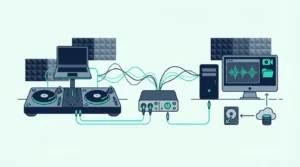
Venue Setup
At a gig, connect your controller’s RCA output to the venue’s PA system or DJ booth mixer. Most venues have an RCA or XLR input on the booth mixer or amp rack.
Carry an RCA-to-XLR adapter cable as backup — venues vary.
Gain Staging
Match your controller’s output level to the venue’s input sensitivity. Start with your controller’s master volume at 75 percent and adjust up or down based on the venue’s level meters.
Clipping (red lights on the venue mixer) means your output is too hot.
Proper gain staging prevents distortion and ensures your mix sounds clean at any venue volume. This is one of the first things a sound engineer will check when you plug in.
Ground Loop Hum
If you hear a constant low hum through the speakers after connecting, you have a ground loop — caused by your laptop charger and the venue’s audio system sharing an electrical ground. Unplug your laptop charger (run on battery) or use a ground loop isolator inline with your RCA cables.
Ground loop isolators cost under twenty dollars and eliminate the hum instantly. Carry one in your gig bag as standard practice.
For DJs who want to avoid the laptop-and-cables setup entirely, standalone controllers run without any computer connection — simplifying gig setup dramatically.
Troubleshooting Common Connection Issues
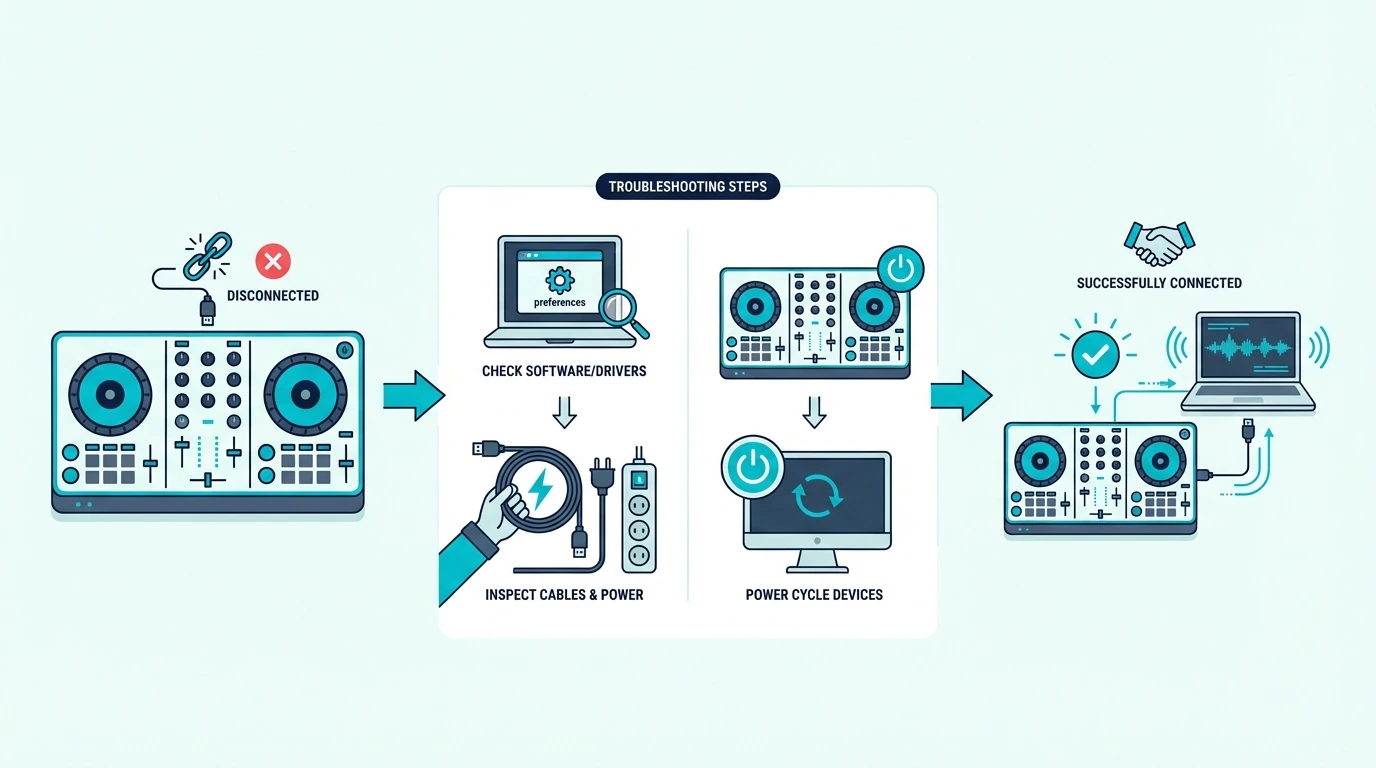
No Sound Through Speakers
Check that your DJ software’s audio output is set to the controller’s sound card, not your laptop’s built-in output. Then verify that a track is loaded and playing, and that the channel volume fader and master volume are both up.
If the software shows audio levels but the speakers are silent, check the RCA cable connection. A loose cable or a cable plugged into the wrong port is the most common hardware cause.
No Sound in Headphones
Verify that the cue button for the active deck is engaged on your controller. The headphone output only plays audio from decks with cue enabled.
Check the headphone volume knob on the controller — it’s a separate control from the master volume. Also verify the cue/master blend knob is set toward the cue side, not the master side.
Audio Plays Through Laptop Speakers Instead of Controller
Your DJ software is using the wrong audio device. Open audio settings and change the output from “Built-in” to your controller’s named device.
Restart the software if the change doesn’t take effect immediately.
On Windows, check that the controller’s driver is installed. Mac typically recognizes controllers automatically, but Windows often requires a dedicated driver from the manufacturer’s website.
Latency and Crackling
Audio crackling usually means the buffer size in your DJ software is too low for your computer’s processing power. Increase the buffer size in audio settings (try 512 or 1024 samples).
Higher buffer sizes add a tiny amount of latency but eliminate crackling.
Close all unnecessary applications running in the background. Web browsers, streaming services, and cloud sync apps compete for CPU resources that your DJ software needs.
The DJ software you use also affects latency performance — Rekordbox and Serato are optimized for low-latency controller communication, while generic audio apps may introduce additional delay.
The Bottom Line
Connecting a DJ controller takes three cables: USB to laptop, RCA to speakers, headphones to controller. Set the DJ software’s audio output to the controller’s sound card, and sound flows correctly through every output.
Most connection problems come from audio routing — the software sending sound to the wrong device. Check that setting first when troubleshooting, and 90 percent of “no sound” issues resolve immediately.
Once your controller is connected and producing clean audio, the next step is learning to mix your first two tracks using the headphone cueing that your setup now supports.
Frequently Asked Questions
How do I connect my DJ controller to speakers?
Use an RCA cable from the controller’s main output to your powered speakers’ RCA input. If your speakers have TRS or XLR inputs only, use an adapter cable.
Connect speakers to the controller — not to your laptop.
Can I connect a DJ controller to my phone?
Controllers with Bluetooth support (like the DDJ-FLX2 and DJControl Mix) connect wirelessly to phones and tablets. Non-Bluetooth controllers require a USB OTG adapter to connect to Android phones or a Lightning/USB-C camera adapter for iPhones.
Do I need an external sound card with a DJ controller?
No — most DJ controllers include a built-in sound card that handles both speaker output and headphone cueing. External sound cards are only needed if your controller lacks one (budget models under a hundred sometimes skip it).
Why is there no sound from my DJ controller?
Check three things: (1) DJ software audio output is set to the controller’s sound card, not laptop speakers. (2) A track is loaded and playing with the channel fader up. (3) The RCA cable is firmly connected from the controller to your speakers. These three checks resolve 90 percent of “no sound” issues.