Struggling to get your microphone audio playing properly through your DJ controller’s speakers or monitor mixes?
Connecting microphones to DJ gear can be complicated between checking hardware compatibility, selecting the right cables, dealing with input configurations, and adjusting gain staging for clear signal monitoring.
Let’s dive into a complete step-by-step guide to hook up your microphone to any DJ controller flawlessly.
How to Connect Microphone to DJ Controller
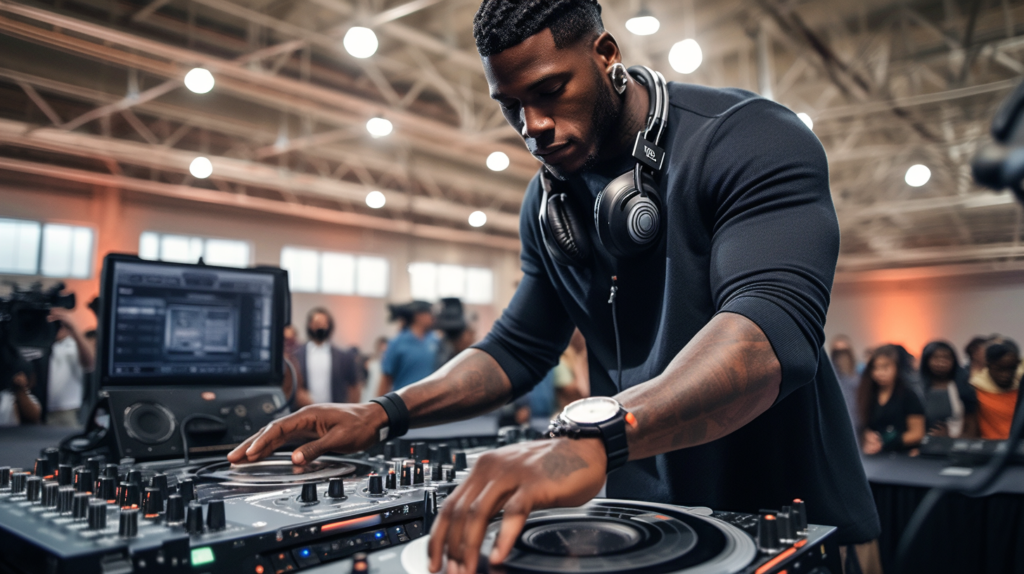
Connecting a microphone to your DJ controller allows you to do vocals, MCing, announcements and more over your mix tracks. You simply need compatible gear, the right cables, and to connect to a hardware input properly for signal flow into the system. We’ll explore the full process more below.
Determine Your Equipment
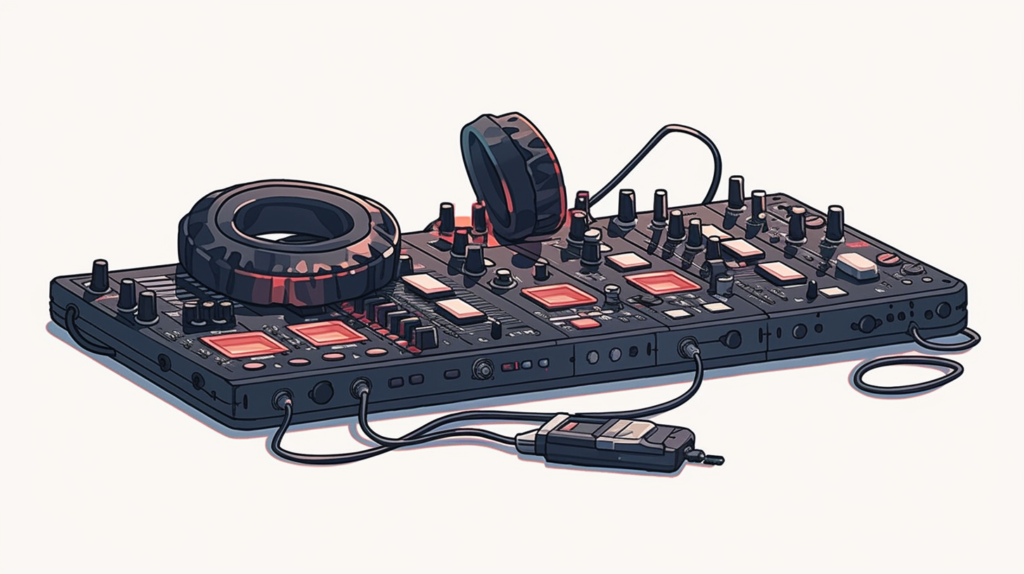
The first step is gathering details on the DJ controller and microphone you’ll be using. You specifically want to identify the make and model of both pieces of equipment. Most controllers and mics have the manufacturer and model printed directly on the hardware chassis or base. Detachable microphones in particular require you to check the model details on the base instead of the microphone capsule. If the details are worn off or difficult to read, checking specification sheets online can also verify the exact model.
Once you’ve determined the make and model of both the DJ controller and microphone, examine the inputs and outputs available on both pieces of hardware. DJ controllers usually have various input options to allow connectivity of different audio sources, like media players, smartphones, synthesizers or external mixers. However only specific inputs will be compatible with microphones, so you need to figure out which ones those are. This is also true when checking the output connections on your microphone or microphone receiver if using a wireless system. The ports present could be quarter-inch, XLR, RCA, 3.5mm or other types that need to match with cables.
Checking your controller and microphone manuals as well as online specifications can clarify compatibility between the equipment and connections available. Getting confirmation that the microphone or mic system outputs will integrate properly with the particular controller inputs is an important step before purchasing any additional cables or adapters. Once you’ve gone through the full process of identifying models and checking hardware ports, you’ll know exactly what cables are required.
Choose the Right Cables
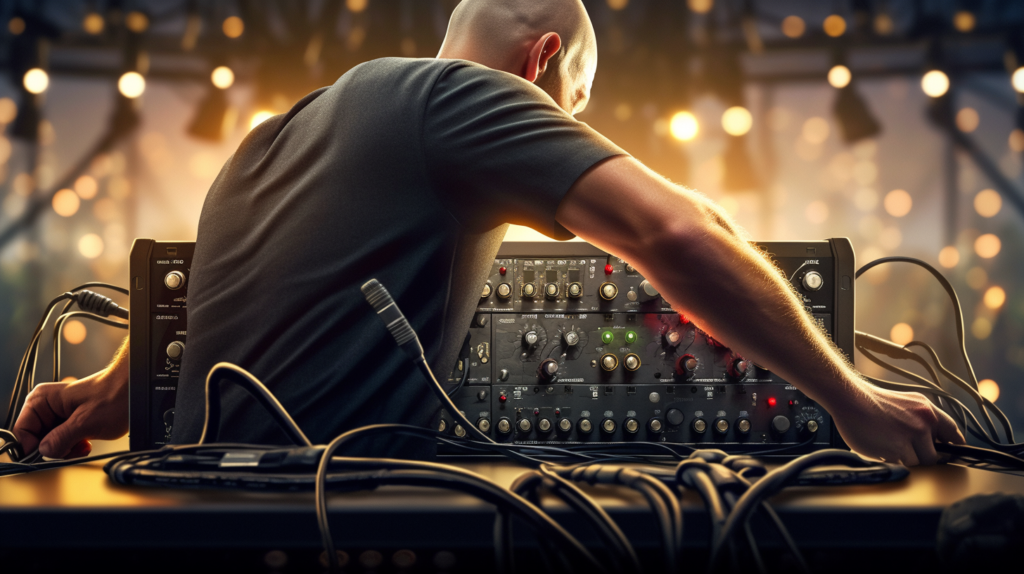
The next step is selecting the appropriate connector cables to physically link the microphone and DJ controller ports you’ll be utilizing based on the ports available. There are a variety of connector types and cable configurations to choose from. Some common options include XLR cables, quarter-inch instrument cables, RCA cables, 3.5mm auxiliary cables, 6.35mm adapters and more. Consider factors like the required connector types, cable length needed for your setup, and whether the cables are balanced or unbalanced.
For example, if your controller has an XLR mic input jack but your microphone only has a quarter-inch output, you would need an adapter cable that converts between the two. Excessively long cables can cause interference so try to get cable lengths as short as reasonably possible for the intended positioning. Different cables will also impact the signal quality and clarity as well, where balanced XLR and TRS cables provide better transfers than unbalanced TS or RCA cables over longer distances. Account for these variables when selecting your connectors and cables to avoid setup issues.
Ideally you’ll be able to find a single cable that directly connects the respective inputs and outputs between your hardware without any adapters needed. This avoids multiple connection points and lessens signal degradation issues. Purchase high quality cables from reputable audio brands when possible for optimal transfers during use. Testing cables when you first connect is also a good practice to isolate any that are faulty or damaged. Getting the right cables and connections is what enables moving the microphone signal into the DJ controller.
Connect Using Line/Mic Input
With your equipment details gathered and appropriate cables acquired, the next phase is connecting the microphone to the DJ controller. If your controller specifically has an input labeled as a dedicated microphone input, this will be the best option to use. Dedicated microphone inputs on DJ mixers and controllers are designed to deliver optimal signal levels and clarity specifically for microphones. This allows adjustment of gain staging, phantom power, and hardware monitoring that auxiliary inputs may not offer.
The connection cable ends would plug directly from that dedicated microphone input on the controller into the respective output on the microphone hardware. These microphone-specific inputs are usually XLR, TRS, or TRRS connections. Using the dedicated input maintains complete separation of the microphone signal from the other mixer channels to prevent bleed or interference. The one downside of dedicated mic inputs is that they limit you to a single microphone. If you did need to connect multiple microphones simultaneously, you would need multiple dedicated mic inputs, use a sub-mixer, or leverage auxiliary inputs instead.
If using the dedicated microphone input, consult your controller’s documentation on the input specifications, available adjustments, and overall functionality details. Interface with any integrated hardware or software monitoring tools to check levels and signal activity when first connecting. Most controllers with dedicated mic inputs also provide EQ, dynamics processing and sometimes effects that can be specifically applied to refine and polish the microphone audio before sending it through the main mix.
Use Auxiliary Inputs
If your DJ controller or mixer does not actually have a dedicated microphone input, the next best option is leveraging an auxiliary input instead. Depending on the specific hardware model, auxiliary inputs could be available in the form of RCA left/right inputs, 3.5mm stereo mini-jacks, or quarter-inch line-level connections. Sometimes labeled as CD inputs, phono inputs, line inputs or similar names, you want to utilize whichever stereo auxiliary inputs are available.
One downside is that these auxiliary inputs are designed primarily for media players, synthesizers, drum machines and other line-level sources instead of dedicated microphones. You’ll often need adapter cables to convert between connectors to get your microphone outputs into these auxiliary stereo inputs properly. Signal levels, available processing, and volume levels will function differently than a hardware mic input as well so additional gain and EQ adjustments may be required.
Using an open auxiliary input is really the only option if you need multiple microphones connected to a controller without dedicated per-microphone inputs and channels. In these cases, consider a small sub-mixer to combine multiple mics before entering the master controller. Also wireless microphone systems with integrated stereo outputs can effectively leverage auxiliary inputs cleanly. Check your controller manual and configure the input sensitivities and mixing appropriately when routing microphones via auxiliary connections instead of XLR or TRS mic ins specifically.
Configure Input Settings

Upon getting the physical microphone connections linked up to your controller, some initial configuration is required for proper signal flow and function. Consult your controller’s documentation for specifics on routing, settings and controls related to microphone connectivity. If using a dedicated hardware microphone input, there may be integrated options for phantom power, pad switching for signal attenuation on overload, adjustable input gain trim, polarity switching, and other signal staging controls affecting the mic input strictly.
Adjust the input gain or trim levels to achieve a strong input meter response from the microphone without clipping or distorting the signal on vocal peaks. Enable +48V phantom power on the input if necessary for powering a condenser microphone as well. Most microphone inputs would also provide EQ knobs for low, mid and high frequency shaping, auxiliary sends to external effects, and dynamics controls like gates and compression as well. Set up these processing tools optimally for the microphone and use case, tweaking in the headphone cue monitor mix as needed.
If routing your microphone via an auxiliary stereo input instead, similar input gain staging adjustments may need to be made at that channel strip instead, albeit with less processing available in most cases. Attenuation or boosting through the channel EQ would replace dedicated microphone channel tools. Some controllers may have a microphone setting or preset usable even on auxiliary inputs to partially optimize the channel for microphone use instead of general line level signals. Output routing to headphone queues and setting levels for monitoring are critical regardless of using dedicated microphone inputs versus auxiliary channel workarounds.
Set Up Monitoring
Getting usable microphone signal transferred into the DJ controller is only the first step – setting up proper monitoring is essential to complete the hardware connectivity process. Monitoring means listening to the microphone input using headphones plugged into the DJ controller cue channel or booth output. This could also include using integrated software monitoring in a DVS controller setup or external mixing board feed. Dedicate one side of headphones purely to the microphone channel or cue mix.
Monitoring the microphone input this way allows you to detect issues like poor gain staging levels, distortion from clipping, inconsistencies from cabling faults or interference, reduced frequency response, feedback risk from open mics or poor placement and other problems that would otherwise go unnoticed. Tweaking gain levels, phantom power, EQ processing, dynamics, and placement while monitoring the changes in real-time lets you dial in an optimized microphone input signal. Check microphone monitoring before, during and after making configuration changes until the desired clarity and consistency is achieved.
Getting viable signal from the microphone to your headphones is the verification that connectivity between the devices is working properly. Seeking out and correcting the issues heard through monitoring is what takes the setup to a polished signal flow. Don’t rely solely on the visual input meters – actually listen to determine optimal levels versus poor performance. Going through this process results in a perfectly configured microphone input ready for live performances without unexpected problems coming through the main speakers and monitor mixes.
Conclusion
In summary, getting a microphone connected to a DJ controller requires first identifying your equipment models and ports, acquiring the proper cables, connecting via dedicated mic inputs when available or auxiliary stereo inputs alternatively, adjusting input settings, and monitoring the signal flow through headphones. Following this process ensures your microphone signal gets cleanly integrated into mixes.
