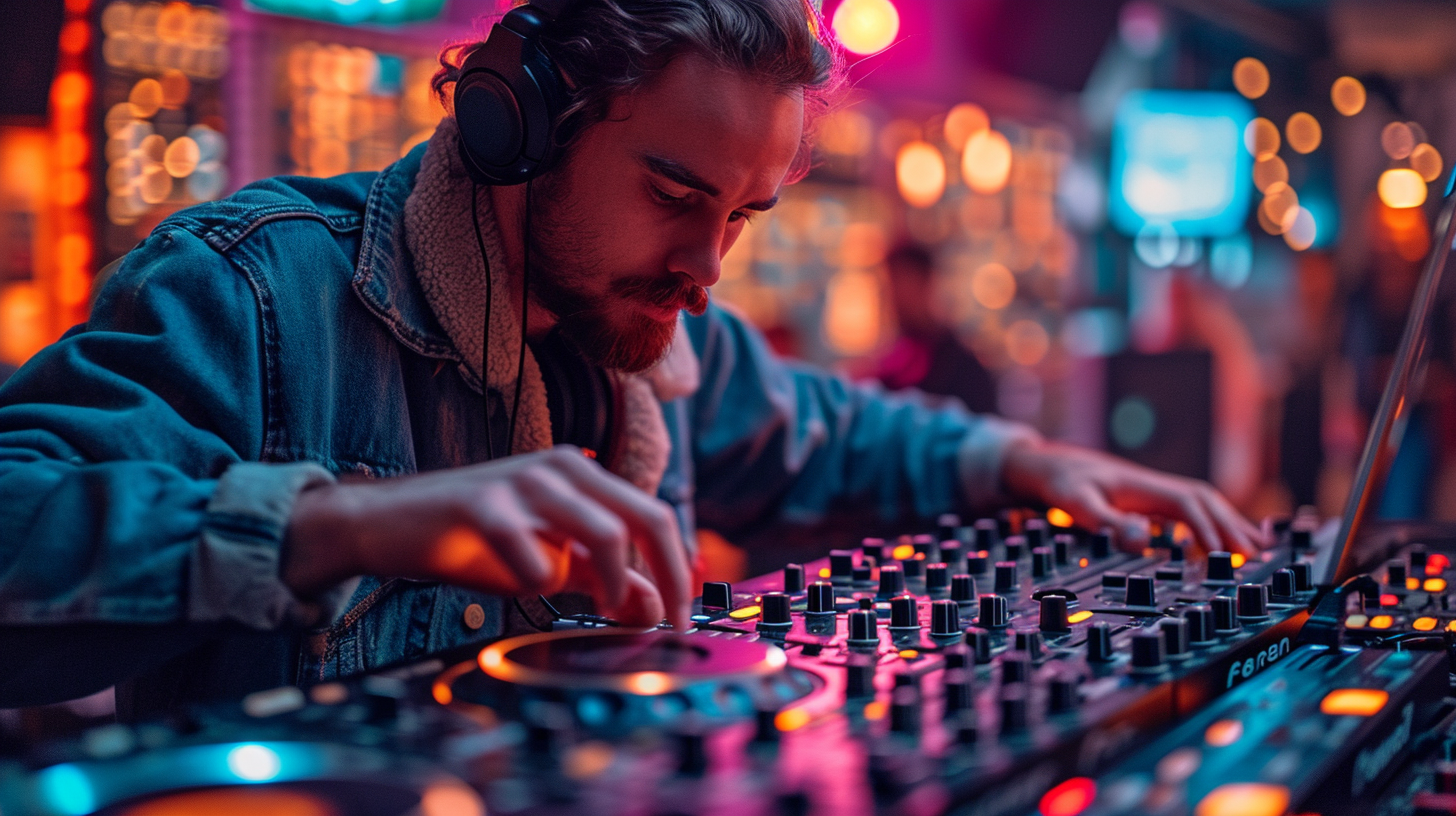
Struggling to get your DJ controller working with your laptop?
Properly connecting DJ hardware with computers enables seamless mixing capabilities and mobile performances.
Let’s dive into the key steps for interfacing your controller and laptop successfully so you can start sharing beats in no time.
How to Connect a DJ Controller to a Laptop
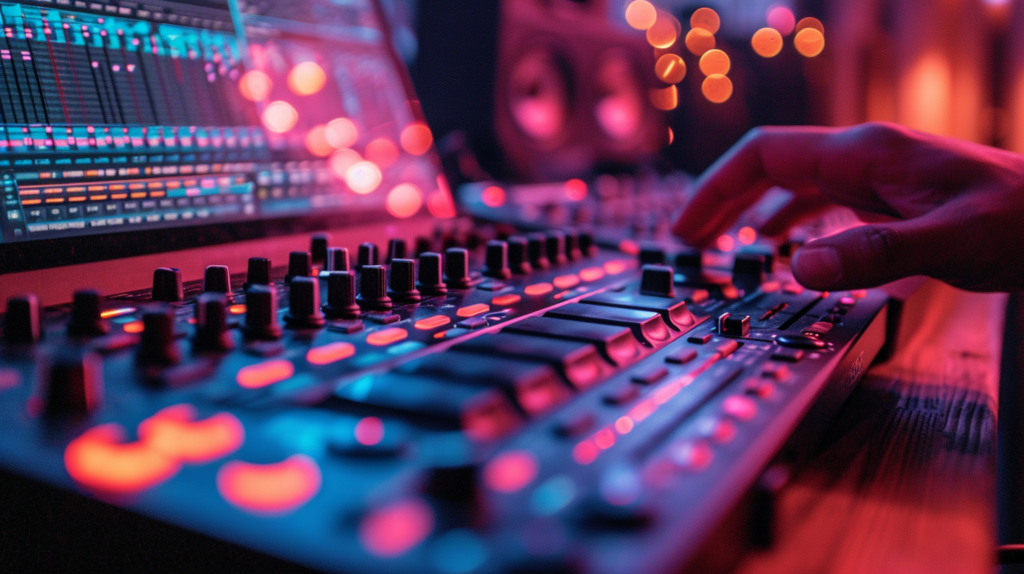
To connect a DJ controller to a laptop, first install the manufacturer’s software for the controller model, then use the included USB cable to interface the devices. In the software settings, map the controller, route audio signals, calibrate hardware sensitivity, and test functionality with a track. Once optimized, import music libraries for seamless mixing capabilities.
Choose Your Equipment
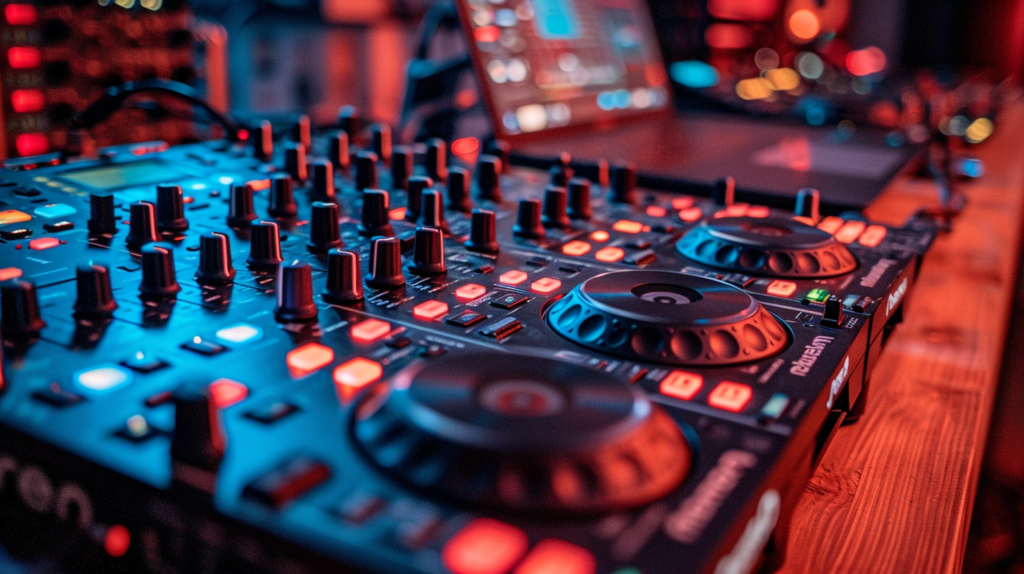
When getting started with DJing, the first step is to choose your equipment. The main pieces you need are a DJ controller and a laptop. There are many DJ controllers on the market from companies like Pioneer, Numark, Denon, Roland and others. Some popular models are the Pioneer DDJ-400, Numark Mixtrack Pro 3, Denon MC4000, and Roland DJ-202. Consider how many channels you want to mix with, built-in audio interfaces, jog wheel sizes and other features when selecting your controller. Your laptop will run the DJ software and needs the minimum system requirements to operate everything smoothly. Make sure your laptop has enough processing power, RAM and an available USB port. Also confirm that it has a headphone jack and good built-in speakers or that you have separate speakers to connect.
When shopping for your gear, choose a DJ controller and laptop that fit your budget but also have the necessary ports and capabilities to work together properly. The most important connection is that your laptop needs a USB port that matches the connector and cable that comes with your DJ controller. USB-A and USB-C are the most common. If they do not match, you may need an adapter. Your laptop should meet or ideally exceed the minimum system requirements set by the manufacturer of your DJ software. This includes elements like the processor speed, RAM amount, operating system version, available disk space and more. Having a more powerful laptop allows you to run additional programs simultaneously if needed without lagging.
Install the Software
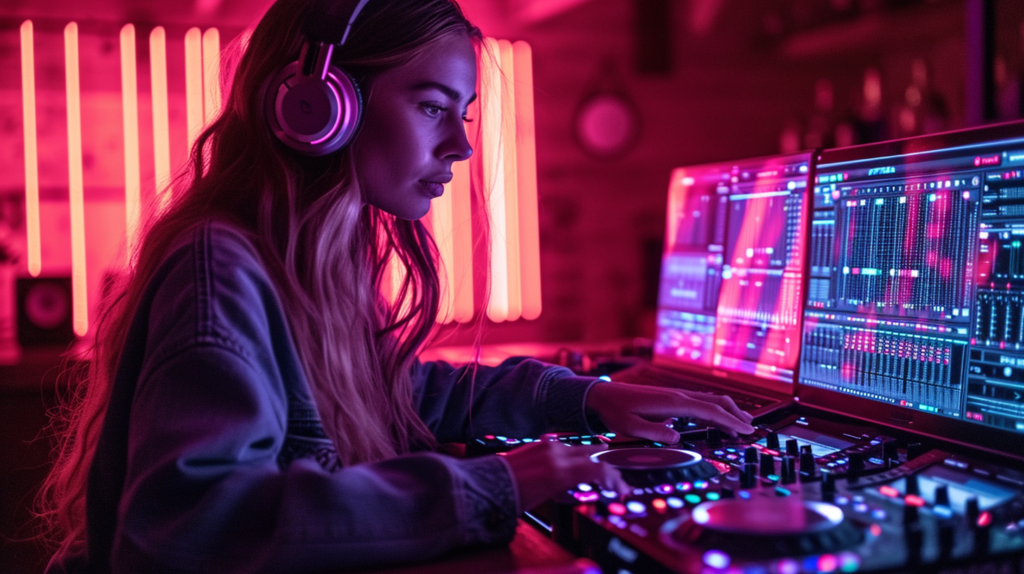
With your controller and laptop selected, the next step is downloading and installing your DJ software. Most controller brands come with licenses for software from Serato or Native Instruments. Visit the website of your hardware’s manufacturer and find the pairing software. For example, Numark controllers often are bundled with Serato DJ Lite while Pioneer controllers include rekordbox. Download the installer file for the DJ program associated with your gear. Many will require creating an account first for authentication when launching the application.
Before running the actual installation, ensure your laptop meets or exceeds the minimum system requirements listed for that DJ software. You may need to check your laptop’s settings to confirm details like processor speed, RAM amount and operating system version. Review the installation walkthrough on the software vendor’s website if provided for your platform. Then launch the installer you downloaded, approving any verification checks that pop up. Click through the steps, accepting the licensing agreement and defining the install location on your laptop’s hard drive, often Program Files or Applications. The program will automatically unpack and copy files into place on your computer. Be patient as installation times vary.
Once the process completes, you may get a prompt to launch the DJ software for the first time. If not, navigate to your Programs menu and double-click on the software icon to open it. When launching some programs for the first time after installation, additional audio drivers or companion utilities may need to be set up as well. Follow any pop-up guidance and allow a few minutes for one-time initialization processes to finish. Generally, though, the DJ software is now ready to use.
Connect the Devices
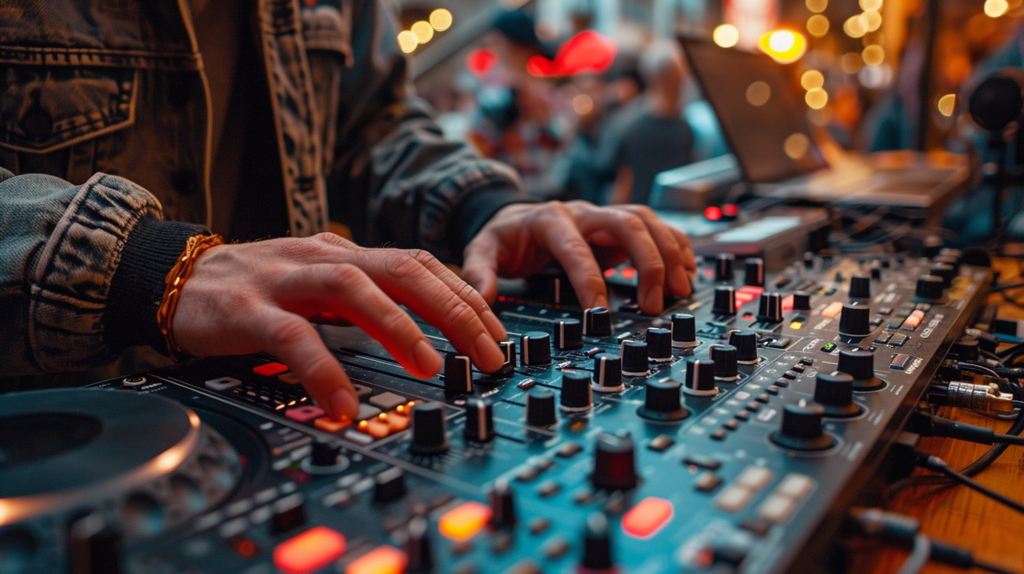
With both pieces of hardware in hand plus the DJ software installed on your laptop, it is time to physically connect them together. DJ controllers require a wired USB connection to supply power for their operation as well as enable communication with the computer. Some controllers offer additional connectivity for attaching other gear like laptops, turntables, microphones or synthesizers but USB is essential.
Locate the USB port on your laptop—newer models likely have USB-A, USB-C or both options. Traditional rectangular USB-A is still the most widespread. Identify which USB cable variant was included with your DJ controller then make sure it matches or that you have the necessary adapter if not. For example, if your laptop only has USB-C but your controller came with a USB-A to B cable that will not directly fit. A USB-C to USB-B adapter would bridge this hardware successfully in that scenario.
With any needed adapters in place between the mismatched connection ends, securely insert the USB cable from your DJ controller into your laptop. Check for the USB symbol on connectors if unsure of orientation, as reversing them could damage electronics. Give the cable a gentle pull after insertion to ensure it is tightly seated in the ports and that any locking clips clicked into position. Depending on your model of controller and DJ software in use, device or driver installation commands may automatically pop up on your laptop upon connection. Allow these to fully process as they establish critical communication with your controller hardware.
For controllers that have external power plugs, connect those to wall outlets or power strips now as well. Power needs to be supplied to utilize all onboard controls fully whether or not the USB bus alone can handle any basic functionality. Most controllers stay powered on whenever the USB cable is inserted without standalone power switches. Check your device’s documentation to confirm specifics.
Configure the Software
With all physical connections between your controller and laptop complete, launch your DJ software if it did not open automatically already. Most applications will automatically detect supported controllers that are plugged in and launch special hardware mapping workflows. Enable any pop-up notifications that appear related to configuring your system’s connections.
Alternatively, access the Settings or Preferences area within your DJ software manually to begin the hardware setup. Locate menu options named Controller Manager, External Devices or Audio Setup to designate how the application should map to your connected gear. Select your exact controller make and model from any lists to link its controls appropriately. Other information like the number of decks/channels your controller hardware can manipulate simultaneously is defined here as well.
If your DJ controller features onboard audio connectivity via quarter-inch or RCA jacks, you may see additional configuration menus around those outputs. Choose options indicating that you want to route internal software audio through your controller if utilizing its sound card. If relying on your laptop’s headphone jack instead, modify settings designating your computer’s built-in audio handle playback. Test levels and assign deck outputs afterward. Proper speaker routing prevents cue/master overlap.
With your devices paired, audio directed and decks assigned appropriately in the software, tweak any buffer size or latency preferences if included. Buffer sizes relate to data transmission rates which can impact audio quality and visual response times when tweaking controls like scratching. Finding optimal buffer measurements for your specific setup prevents delays. Note that smaller buffers stress systems more heavily so balance performance versus workload properly when reducing this number.
Calibrate and Test
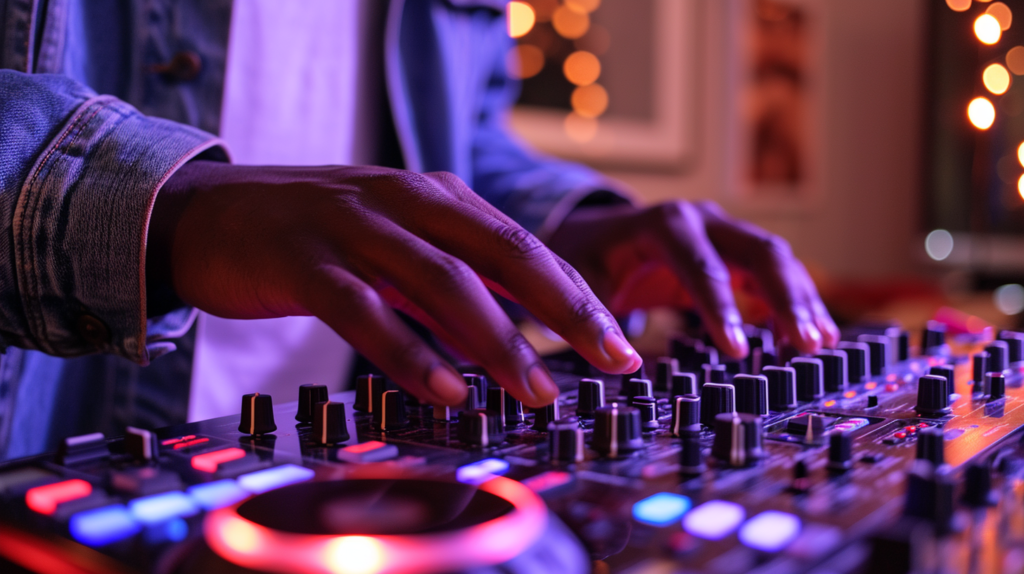
Before mixing any tracks, take a moment to calibrate your DJ controller hardware and initialize any touch-capacitive jog wheels if featured on your unit. Calibration properly sets the sensitivity range and zero point for movements detected by the platters. Uncalibrated wheels seem hypersensitive or unresponsive subsequently when trying to cue tracks or scratch.
Access the applicable calibration tools for your controller model through additional configuration menus in your DJ software if not shown automatically after initial pairing steps. Follow on-screen guidance during the calibration process for each deck, adjusting faders to indicated levels then resetting to center points per prompts as the software learns your controller hardware’s dynamics. This tunes the software algorithm to your particular unit, compensating for natural product deviations.
With calibration complete, load an audio track onto a deck and utilize your configuration song to test basic functionality end-to-end. Toggle play/pause to confirm transport commands trigger as expected then twist the jog wheel to scrub the track, verifying scratch capabilities. Enable keylock and manipulate the tempo fader gradually to validate synchronization stability and pitch bending performance. Cue upcoming measures both visually through the laptop display and audibly via your headphones when tapping cue points.
All integrated controls from your controller hardware should manipulate the configuration track loaded through software as desired now. If tweaks seem off—effects sound distorted or deck transport exhibits delay, for example—revisit related software settings to further refine. Save your complete controller configuration within your DJ software when fully optimized to not repeat this entire mapping process again later.
Have Fun DJing!
With gear properly connected, powered on, calibrated, mapped through necessary software and functionally tested, you now have a complete DJ setup ready to mix amazing sets! Import your music library into the DJ program’s collection manager so those tracks are accessible for playing directly from available decks during performances. Drag tunes onto deck interfaces, monitor through headphones and broadcast over speakers just like the pros. Records spin virtually on-screen while your controller hardware adjusts tempo and adds real-time effects. Feel the dynamics of every mix move through tactile jog wheels and faders for truly responsive control.
Now get mixing! Blend favorite songs together as a hobbyist spinning records in a dorm or level up to paid events at local venues. Configuring pro DJ gear no longer intimidates but rather serves as the first step toward creative expression through sets customized via knobs tweaked exactly how you prefer. But above all, have fun discovering new music then sharing those vibes with friends. Troubleshoot controller connections, work through software intricacies and fine tune components until your hardware-based workflow empowers the ultimate DJ experience. Portables achieve runaway potential. Your crowd and passion eagerly await first beat drops as this year sets new tone. Celebrate fresh starts properly by dancing along whenever possible!
Conclusion
In closing, with the right gear and software setup, any hobbyist DJ can learn how to connect their controller to a laptop for mobile performances anywhere. Follow the steps outlined above to get your devices communicating properly, calibrate hardware sensitivity, route audio signals, and configure software to access your library. Test across all elements to ensure seamless control workflows before your first real mix. Stay organized in your connectivity while empowering creativity through technology. Wherever the venue, share the vibrations that drive your passion via personalized playlists powered by portable production studios.
