Struggling to hear deep, rumbling bass from your DJ controller? Amplify low-end power with a supplementary powered sub.
Connecting a subwoofer to your DJ controller boosts bass response for venue-filling sound. Proper equipment selection, signal routing, speaker placement, and calibration optimizes sub integration.
Let’s explore essential advice for superior DJ and sub pairing…
How To Connect Subwoofer To DJ Controller
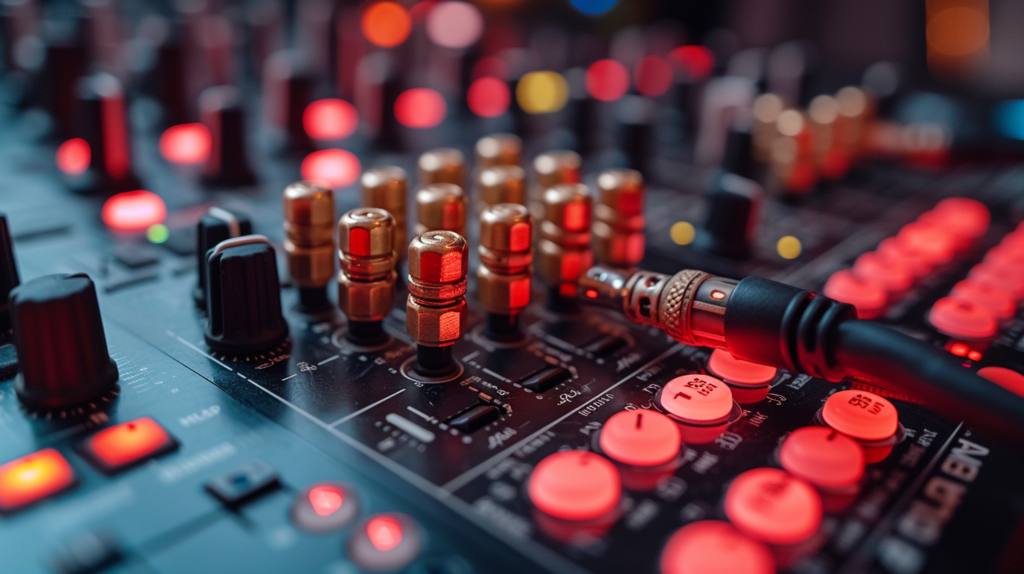
Connecting a subwoofer to your DJ controller is fairly straightforward with the right cabling and inputs/outputs. Typically, you would run cables from your controller’s master RCA or XLR outputs to the matching inputs on a powered subwoofer. Adjust source and sub amp volume levels appropriately once connected. Software and hardware settings like crossover filters and sub output channels also need proper configuration for optimal low frequency reproduction. We’ll explore detailed wiring diagrams, gain staging, and parameter fine-tuning for superior DJ and sub pairing below.
Choose Your Equipment

When setting up a subwoofer with a DJ controller, the first step is to make sure you have the right gear. The DJ controller is the audio source that will provide the signal to power the subwoofer. There are a variety of DJ controllers on the market with different features and connectivity options, so make sure the one you select has the appropriate outputs to connect to a sub. For example, some affordable controllers may only have RCA outputs while higher-end models may include professional balanced XLR connections. The number and type of audio outputs are important when determining compatibility with subs.
You also need to select an appropriate powered subwoofer to match your controller setup and venue size. Key factors to consider when selecting a sub are the power amplification, input options, and frequency response. Powered subs have built-in amplifiers, meaning you don’t need an external amp to drive them. Look for subs with ample wattage to ensure you get enough volume for your space. The subwoofer inputs also need to match the outputs from your controller – RCA, XLR, etc. Finally, choose a sub with a frequency response that covers low bass, usually somewhere around the 20 – 150 Hz range. Considering these specifications will ensure your sub integrates properly and covers the desired low-end frequencies in your mix.
Connecting the DJ controller and subwoofer requires the appropriate cabling. If your gear uses professional XLR connections, you’ll need balanced XLR cables. For setups with RCA connections, standard RCA cables are needed. You may also require power cables for the subwoofer unit. Having the proper cables on hand makes setup simple by enabling plug and play connectivity between the controller and sub.
Connect Using RCA Outputs

If your DJ controller has RCA audio outputs, connecting a subwoofer is straightforward using RCA cables and inputs. Start by locating the RCA outputs on the back of your controller, which typically include a master stereo output pair as well as booth outputs. The master output is normally meant to feed the main speaker system and is the ideal place to connect your subwoofer.
Use a pair of RCA stereo cables to run from your controller’s master RCA output to the RCA input jacks on your self-powered subwoofer. Make sure the left and right channels are matched up properly between the two devices. If your subwoofer has a stereo/mono switch, set it to stereo mode to preserve separation between channels.
After connecting RCA cables between the DJ controller master outputs and the sub inputs, set the volume controls. Your controller master volume adjusts overall signal strength being sent to the subwoofer. Start conservatively with master levels around 50 percent to avoid overdriving the sub amp. Additionally, set the gain or volume knob on your sub according to the manufacturer’s guidance. Properly adjusting gain helps maximize signal to noise ratio.
Finally, test your DJ controller and subwoofer setup by playing audio tracks through your controller. Listen for solid, full low frequencies and evenly represented tracks. Fine tune volume levels between the controller and subwoofer as needed. Running through audio checks ensures your connectivity and configuration is solid before live use.
Connect Using Balanced XLR Outputs

Higher-end DJ controllers may include balanced XLR outputs in addition to or instead of RCA connections. Using balanced XLR cables enables long cable runs without noise and interference. Connecting a subwoofer via XLR outputs follows the same signal flow – running from the master XLR outputs on the DJ controller to the XLR inputs on the powered sub.
Start by locating the master balanced XLR outputs on your controller, which typically utilize a standard pin 1 ground, pin 2 hot, and pin 3 cold configuration. Then connect a pair of balanced XLR cables between the controller XLR outputs and the XLR input jacks on your subwoofer amp. Match channel 1 on your controller to channel 1 on the sub, and channel 2 to channel 2 to maintain proper stereo separation.
As with RCA connections, set your controller master volume around 50 percent initially before fine tuning levels during testing. The subwoofer amplifier may also have input trim knobs or switches to calibrate signal strength entering the sub amp. Adjust these appropriately to achieve optimal gain structure that maximizes signal before hitting clipping distortion.
Cue a few tracks and assess bass response audibly and through metering on both the controller and subwoofer. Watch for clipping indicators while adjusting levels to achieve robust low-end, avoiding distortion on loud and deep bass passages. Proper gain structure and balanced signal flow provides clean sub integration with your DJ setup.
Configure Controller Software Settings
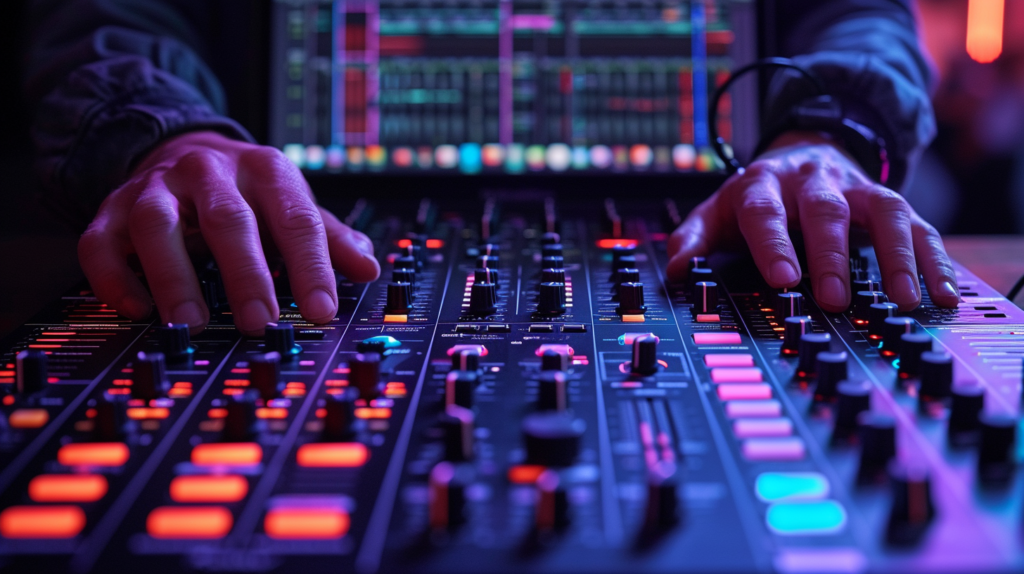
Today’s advanced DJ controllers employ software and audio routing settings that require configuration to integrate a subwoofer. Start by opening your controller’s control panel software on your laptop if provided by the hardware manufacturer. If using a third party software solution like Serato or Traktor, open the software program instead.
Here you can define audio signal routing to specify where master and booth outputs feed signal in your connectivity setup. Look for settings that allow you to assign the main master output channels. Choose options that route master signals to your XLR or RCA connections that feed the sub, such as “Master 1” and “Master 2”.
Additionally, some DJ software includes dedicated subwoofer outputs in addition to master stereo channels. If available, enable the sub out channels in addition to your master outputs. This provides discrete low-frequency signal dialed in specifically for your subwoofer’s frequency range. Levels of the sub out get adjusted separately from master channels.
Proper selection of audio output channel assignment and subwoofer outputs ensures signal gets routed to your master outputs and subwoofer appropriately. Always confirm settings each time you use your controller. This avoids issues like master channels getting switched to booth outputs accidentally without realizing. Precise software configuration aligns with your physical connectivity for robust sound.
Set Up Proper Speaker Configuration

Placement of your subwoofer and settings like crossover frequency impact overall system sound quality when adding a sub to your DJ rig. Generally, subs handle low bass while full range speakers reproduce mid and high frequencies. Proper configuration blends their responses smoothly.
Consider physical speaker placement and proximity to ensure consistent coverage throughout your venue without uneven bass or dead spots. Angle speakers to cover key areas like the dance floor. Position the subwoofer to prevent sound waves from full range speakers and sub canceling each other out.
Crossover settings on powered speakers and subs manage the transition between frequency ranges handled by each element. Set speaker low pass filters around 80-100 Hz to hand off lower frequencies to the sub. Then set the subwoofer high pass filter at a matching point like 100 Hz to reproduce only deeper bass underneath that threshold.
Getting crossover points matched on subs and speakers prevents gaps or overlapping coverage in the frequency spectrum. EQ and level controls also play a role – use master EQ adjustments on the DJ controller for overall tone shaping, then trim speaker and sub levels individually to achieve a balanced mix. Taking time to properly configure your full-range sound system plus added sub results in polished, professional audio.
Troubleshooting Tips

Adding a sub to your DJ setup requires making both signal and audio considerations for seamless integration. However, you may run into common issues when first connecting your system. If you find your subwoofer is connected but not emitting sound, there are a few quick troubleshooting steps to resolve problems getting signal to your sub amp.
First, check that volume levels are properly adjusted – verify master volume on your DJ controller is turned up adequately to feed signal to your sub outputs. Also check the subwoofer amplifier itself and confirm the gain or volume knob is at appropriate levels. Sudden mute of signal is often caused by accidental physical interaction with mixers and sub amps.
Additionally, validate signal cabling between your controller and subwoofer by checking for secure connections, damaged cables, and cables plugged into the wrong inputs or outputs. Loose connections can cause intermittent signal cut out while mixing.
If these basic signal checks are confirmed, but your subwoofer amp seems to receive signal but won’t emit low frequencies – double check speaker configuration settings on both the amplifier and DJ mixer. Crossover, high/low pass filter, polarity reverse, and channel routing switches can all inhibit certain frequencies from being reproduced if set incorrectly.
Finally, if you experience inexplicable buzzing, humming, or interference it may be caused by a ground loop issue between all connected audio components. Use balanced cables for longer runs. If problem persists, a ground loop isolator may be required to filter the noise and interference.
Taking methodical troubleshooting steps helps identify the root cause impairing proper sub integration with your DJ system. Follow signal flow starting from software configuration through to individual component settings. Getting assistance from experts at pro audio retailers can also help provide solutions. Achieving great sound with added low-end impact takes some adjustment, but pays off creatively.
Conclusion
In summary, adding a powered subwoofer to your DJ controller setup takes some careful planning and configuration but delivers huge dividends in low-end impact and sound quality. Follow signal flow from software settings through to physical connections, calibrate amplification properly on both devices, position speakers strategically, and adjust crossover points smoothly. While it takes patience to get right initially, you’ll appreciate the thunderous, professional audio for years to come once your sub and controller are dialed in.
