How to Connect MIDI Keyboard to GarageBand iPad — USB and Bluetooth Setup Guide
How to connect MIDI keyboard to GarageBand iPad is straightforward once you understand the two connection paths available, but most beginners get stuck because they do not realize iPad GarageBand requires either a USB adapter or a Bluetooth MIDI controller — you cannot just plug a standard USB cable directly into most iPads.
The problem is caused by iPad’s port situation. Lightning iPads need Apple’s Camera Connection Kit adapter to accept USB devices. USB-C iPads accept USB controllers directly or through a hub. Bluetooth MIDI controllers skip both adapters entirely but add a small amount of latency that matters during precise recording.
This guide walks through both USB and Bluetooth connection methods for GarageBand on iPad, with specific steps for Lightning and USB-C models. You will also learn how to troubleshoot the most common connection failures and get the best performance from your controller in GarageBand’s touch-optimized interface.
Below you will find step-by-step instructions for each connection type, followed by tips for maximizing your MIDI keyboard experience in GarageBand on iPad.
To connect a MIDI keyboard to GarageBand on iPad: use a USB connection via Camera Connection Kit (Lightning) or direct USB-C, or pair a Bluetooth MIDI controller wirelessly. GarageBand detects the keyboard automatically — no settings configuration needed. Open any instrument in GarageBand and the keyboard plays it immediately.
How Do You Connect a MIDI Keyboard to iPad via USB

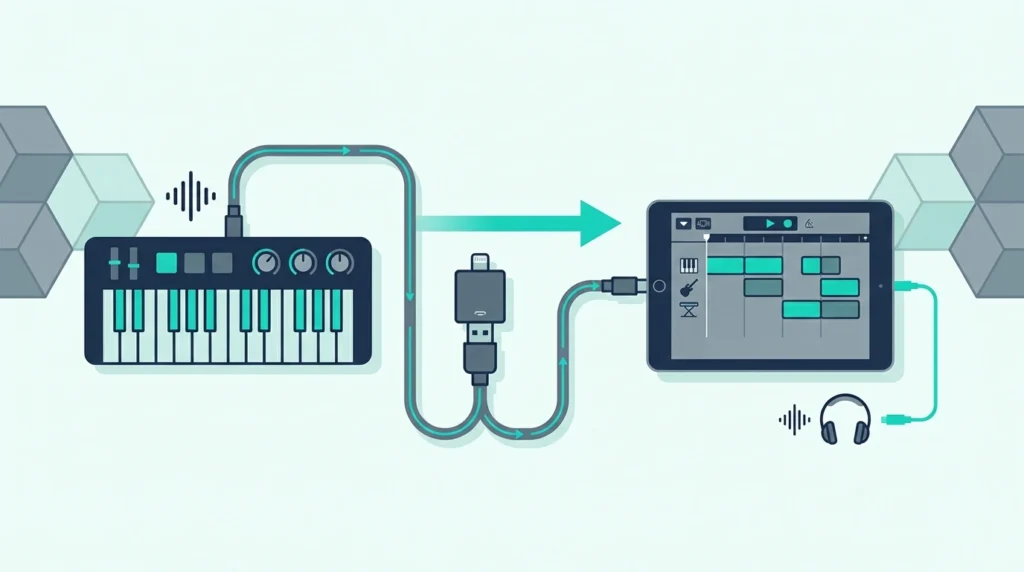
USB provides the most reliable, lowest-latency connection between a MIDI keyboard and GarageBand on iPad. The exact setup depends on which iPad model you own.
Lightning iPads (Older Models)
iPads with Lightning ports (iPad 9th gen and earlier, iPad Mini 5th gen and earlier) need Apple’s Lightning to USB Camera Adapter to accept USB MIDI keyboards. The adapter plugs into the iPad’s Lightning port and provides a USB-A jack for your controller’s cable.
Plug the adapter into the iPad first, then connect your MIDI keyboard. GarageBand recognizes the controller within seconds — no app restart needed. The Akai Professional MPK Mini MK3 draws minimal power through the adapter and works reliably on all Lightning iPad models.
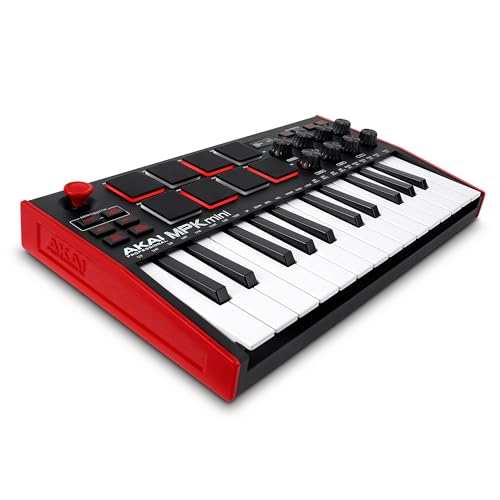
Akai Professional MPK Mini MK3
The Camera Connection Kit adapter costs around thirty dollars from Apple. Third-party Lightning to USB adapters exist at lower prices but occasionally cause power delivery issues with controllers that have LED-backlit pads.
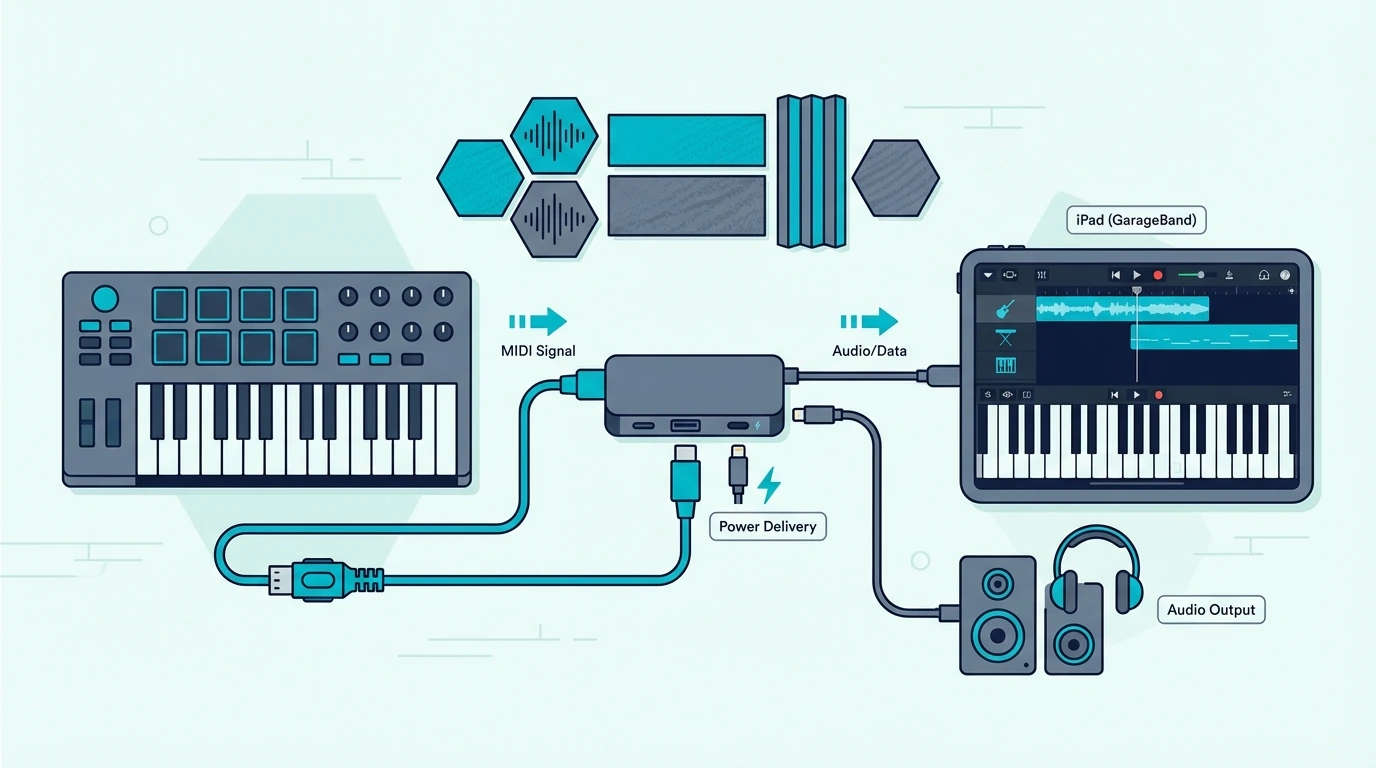
USB-C iPads (Newer Models)
iPads with USB-C ports (iPad Pro all generations, iPad Air M1+, iPad Mini 6th gen+, iPad 10th gen) accept USB MIDI keyboards directly. Use a USB-C to USB-A cable or plug your controller into a USB-C hub.
No adapter purchase needed — just a cable type that matches your controller’s USB output to the iPad’s USB-C input. GarageBand detection is instant, identical to the Lightning adapter experience but without the extra hardware.
Power Considerations
USB bus-powered MIDI keyboards draw electricity from the iPad through the USB connection. Compact controllers (25-32 keys) draw minimal current and work on all iPad models without issues.
Larger controllers with multiple LEDs, motorized faders, or backlit pads may trigger iPad’s “device uses too much power” warning on some models. If this happens, connect through a powered USB-C hub that supplies its own electricity. The midiplus AKM320 draws so little power that it never triggers this warning on any iPad model.
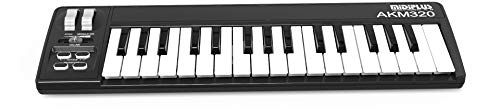
midiplus AKM320
How Do You Connect a Bluetooth MIDI Keyboard to iPad
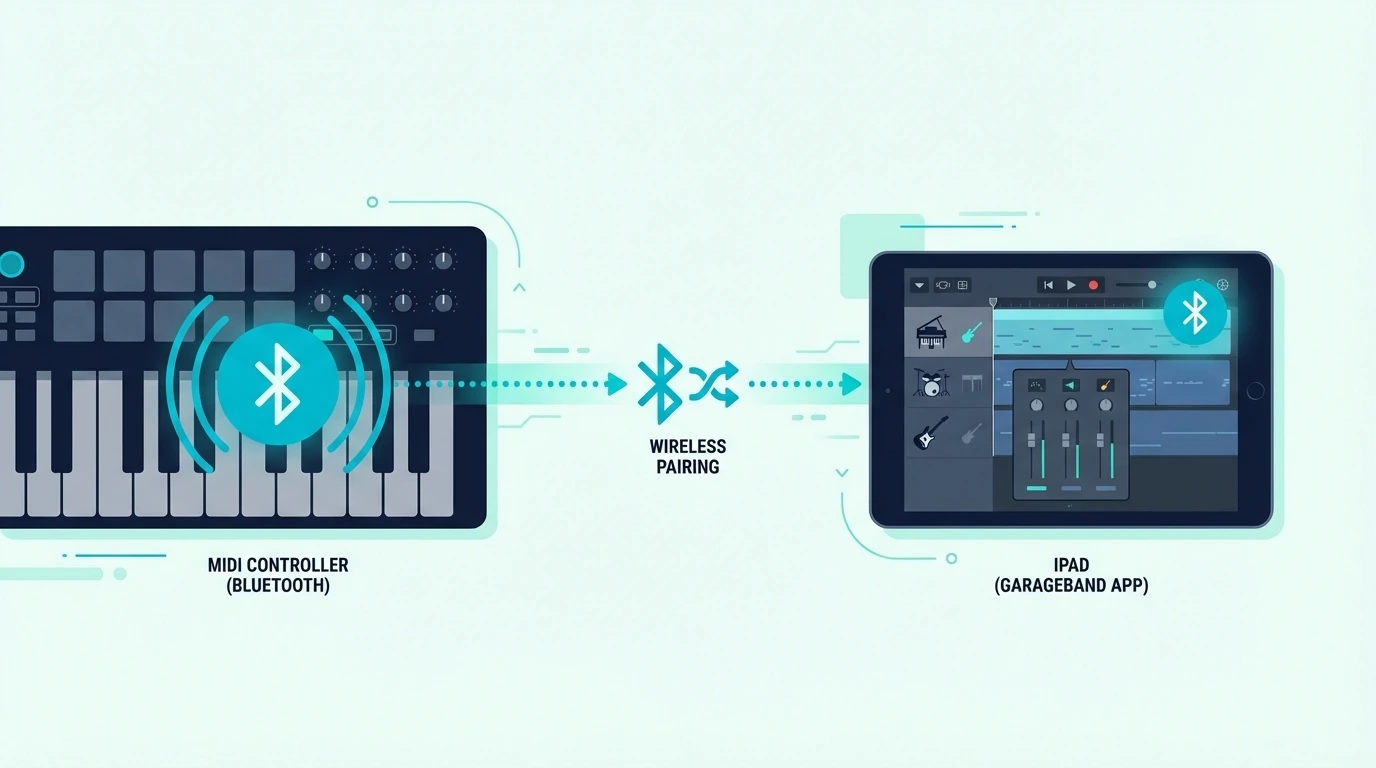
Bluetooth MIDI eliminates cables and adapters entirely. The controller pairs with iPad wirelessly, and GarageBand detects it as a MIDI input device automatically.
Pairing Process
Put your Bluetooth MIDI controller into pairing mode (check the manufacturer’s instructions — usually a button hold). On iPad, open Settings, Bluetooth, and find the controller in the list of available devices. Tap to pair.
Once paired, open GarageBand and the controller works immediately. No additional configuration in GarageBand settings needed. The M-VAVE 25 Key MIDI Controller pairs with iPad in under 10 seconds and maintains a stable connection throughout production sessions.
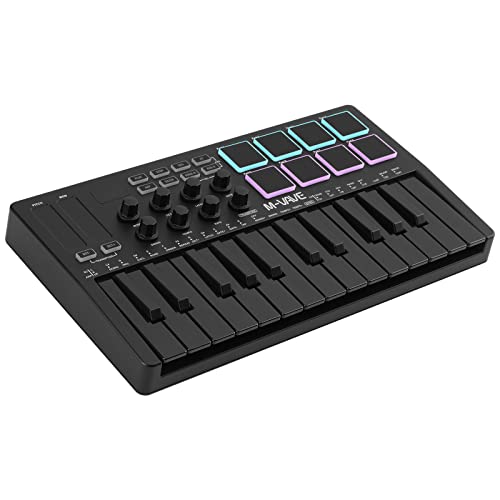
M-VAVE 25 Key MIDI Controller
Bluetooth Latency Reality
Bluetooth MIDI adds 5-15 milliseconds of latency between pressing a key and hearing sound. For casual playing, beat sketching, and sound exploration, that delay is imperceptible — you will not notice it during normal use.
For recording precise performances where timing accuracy matters, USB provides measurably tighter response. Most iPad GarageBand users fall into the casual category where Bluetooth latency is a non-issue, but serious recording sessions benefit from USB connection.
Bluetooth Range And Stability
Bluetooth MIDI works reliably within 10-15 feet of the iPad. Beyond that range, connection drops and note loss become noticeable. Keep the controller within arm’s reach of the iPad for the most stable experience.
Walls and other Bluetooth devices (headphones, speakers) can interfere with the MIDI signal. If you experience dropped notes or intermittent connections, move other Bluetooth devices further from the iPad or switch to USB.
Get Studio Tips Weekly
Join 5,000+ creators getting acoustic treatment advice every week.
No spam. Unsubscribe anytime.How Do You Use a MIDI Keyboard in GarageBand on iPad
GarageBand on iPad is designed for touch input, but connecting a MIDI keyboard transforms it into a serious production tool. Here is how to get the most from the combination.
Instrument Selection And Playing
Open GarageBand and select any instrument — Keyboard, Drums, Strings, Guitar, or any Audio Unit plugin. Your MIDI keyboard automatically controls whichever instrument is active. Switch instruments by tapping a different one in the instrument browser, and the keyboard responds instantly.
Velocity sensitivity works across all GarageBand instruments. Play softly for quiet notes, play hard for loud notes. That dynamic control adds expression that the touchscreen keyboard cannot match because glass has no velocity detection.
Recording MIDI Performances
Tap the red record button in GarageBand’s transport bar, then play your MIDI keyboard. GarageBand captures your performance as a MIDI region on the current track. The recording includes note timing, velocity, and any sustain pedal data your controller sends.
After recording, tap the MIDI region to edit individual notes, adjust timing, and change velocities. GarageBand’s piano roll editor on iPad is more capable than most people expect — pinch to zoom, drag notes to change pitch or timing, and use the velocity slider to adjust dynamics per note.
Drummer Integration
GarageBand’s Drummer on iPad generates AI-driven drum patterns that complement your playing. A MIDI keyboard with pads (like the MPK Mini MK3) lets you override Drummer on specific hits — adding manual snare fills, cymbal crashes, or hi-hat variations that the AI would not generate.
That hybrid approach (AI drums plus manual accents from your MIDI pads) produces more natural-sounding rhythms than either method alone.
Smart Instruments With MIDI
GarageBand’s Smart Instruments (Smart Guitar, Smart Bass, Smart Strings) respond to MIDI keyboard input alongside touch input. Play chords on the Smart Guitar section while adding bass notes from your MIDI keyboard for layered arrangements.
The MIDI keyboard gives you chromatic note access that Smart Instruments restrict by default. Combine both input methods for arrangements that would not be possible with either one alone.
Audio Unit Plugins With MIDI
GarageBand on iPad supports Audio Unit (AU) plugins from third-party developers. Install synth plugins like Moog Model D or Korg Module from the App Store, and your MIDI keyboard controls them inside GarageBand with full velocity sensitivity and CC data.
The combination of a quality MIDI keyboard with premium AU plugins transforms iPad GarageBand from a sketch tool into a genuine production environment that rivals entry-level desktop DAWs.
Upgrading To Logic Pro For iPad
Every GarageBand project opens directly in Logic Pro for iPad without conversion. Your MIDI keyboard works identically in Logic — same plug-and-play connection, same instrument control, same recording workflow. When GarageBand’s track limits or plugin restrictions become a barrier, the upgrade is seamless.
Your MIDI controller investment carries forward to Logic Pro without any hardware changes. The same USB or Bluetooth connection works in both apps.
The Bottom Line
Connecting a MIDI keyboard to GarageBand on iPad requires either a USB adapter (Camera Connection Kit for Lightning, direct USB-C for newer iPads) or a Bluetooth MIDI controller. GarageBand detects connected controllers automatically with zero configuration — open any instrument and play.
Bluetooth eliminates cables and adapters but adds slight latency. USB provides the tightest response for recording. For most iPad GarageBand users, the convenience of Bluetooth outweighs the minimal latency difference.
Frequently Asked Questions
Does GarageBand on iPad work with any MIDI keyboard?
Yes — GarageBand on iPad supports every class-compliant USB MIDI keyboard (through Camera Connection Kit or USB-C) and every Bluetooth MIDI controller. No specific brand or model is required.
Do I need an adapter for MIDI keyboard on iPad?
Lightning iPads need Apple’s Camera Connection Kit adapter for USB connection. USB-C iPads connect USB controllers directly. Bluetooth MIDI controllers need no adapter on any iPad model.
Why is there a delay when playing MIDI keyboard in GarageBand iPad?
If using Bluetooth, the 5-15ms latency is inherent to the wireless protocol. If using USB and experiencing delay, close other audio apps running in the background — they can increase audio processing latency. Restarting GarageBand also resets the audio engine.
Can I record MIDI in GarageBand on iPad?
Yes — tap the red record button and play your MIDI keyboard. GarageBand captures timing, velocity, and sustain data. Edit the recording by tapping the MIDI region and opening the piano roll editor to adjust notes, timing, and dynamics.