
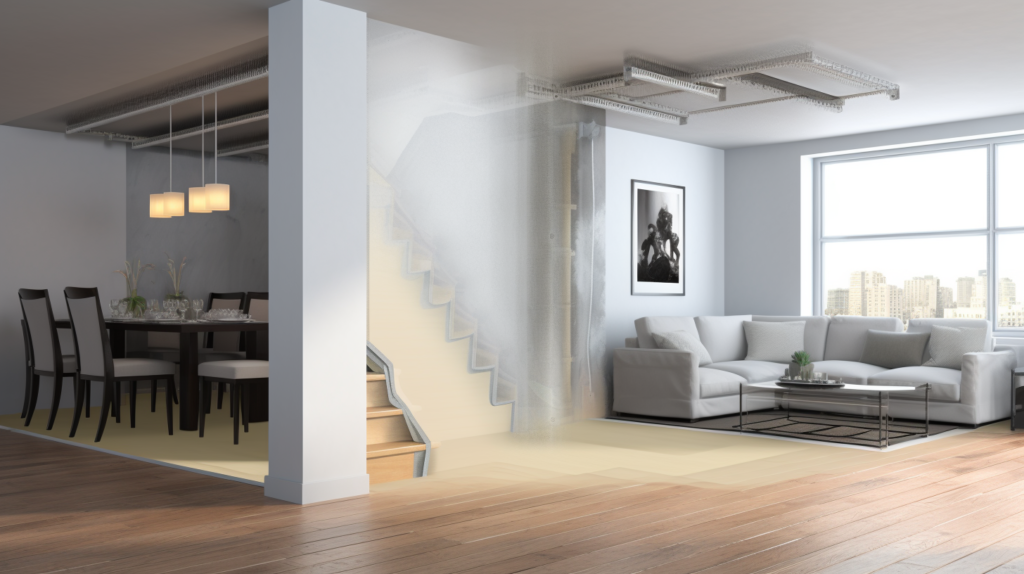
If footsteps or voices from upstairs constantly disturb you, it may be time to soundproof between floors.
Adding mass, resilience, sealants and insulation can reinvent noisy floors without major renovation.
Let’s dive into key steps for soundproofing existing floors on a budget.
Why Soundproof Between Existing Floors?
There are several motivations for soundproofing between floors in an existing home. Excessive noise transmitting from overhead can disrupt sleep, concentration and everyday activities.
Common culprits include:
Footstep noise from rooms above, especially on hard surface flooring, can be disturbing in bedrooms below. Adding mass and insulation helps block impact noise transferring through floors.
Voices and home theaters transmit easily through floors, disrupting focus or sleep. Decoupling ceilings below with resilient channels and sealing air gaps contains noise in rooms above.
Creaking floors and squeaky joists also translate noise below when walked on. Stiffening with blocking and acoustical caulking reduces annoying subfloor sounds.
Appliance and mechanical noise like vacuums, washers and HVAC systems radiate noise through ceilings and walls. Additional rywall layers and insulation help dampen equipment noise.
Even water pipe flow noise can transmit vibrations to other rooms. Isolating pipes and adding mass reduces plumbing noises.
Whether planning new floors or living with existing ones, excessive overhead noise should be addressed for better living enjoyability.
Soundproofing between floors using appropriate materials and techniques can significantly reduce noise intrusion from above.
Steps To Soundproof Between Existing Floors

Soundproofing between floors requires a multi-step process utilizing various noise blocking materials and techniques.
While options exist for major renovation, effective sound reduction is also achievable by retrofitting existing floor assemblies.
The following key steps outline methods to suppress both airborne and structure-borne sound transmission through floors without removing existing surfaces.
Combine two or more of these sound blocking techniques for enhanced noise control between living spaces.
1. Assess Noise Transmission

Determining how and where sound is traveling between floors is an important first step before undertaking any soundproofing project.
Sound can pass through floors in a few main ways – via vibrations through joists, beams and subfloors, through cracks or gaps around edges and openings, and through hollow spaces within floor cavities.
Identifying the main pathways sound is traveling through will allow you to focus efforts on the most effective soundproofing solutions.
To assess noise transmission, a simple audit can be performed.
Have someone walk back and forth above problem areas while you listen below to pinpoint the exact spots where footsteps or voices project down most clearly.
Note if noise seems to radiate from certain joists or wall edges more than others. Listening to music or appliance noise from above can also indicate where sound leaks through most.
Knocking on ceiling and walls and listening for hollow areas can help locate gaps that need sealing. Ensure problem spots line up with noisy areas above to trace direct sound paths.
Understanding how and where noise enters rooms below is key to an effective soundproofing strategy.
Once the audit determines weak spots in the existing floor assembly, appropriate remedies can be implemented to reduce noise transmission through those areas.
2. Add Mass to Floors
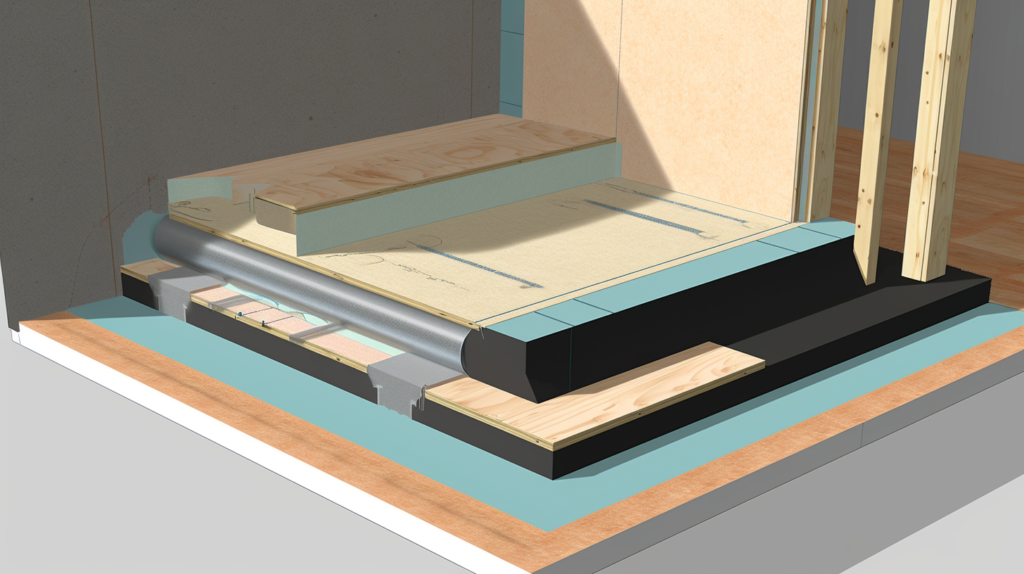
Increasing mass is one of the most effective ways to block sound transmission through floors. Added mass helps dissipate energy from vibrations and dampens sound waves passing through.
Materials commonly used to add mass include double or triple layered drywall, acoustical or “quiet” rock underlayments, OSB and plywood sheeting.
Green glue or similar viscoelastic dampening compounds applied between layers of drywall or sheeting also increases perceived mass.
If you have existing hard surface flooring like laminate, engineered wood or tile, adding mass can be as simple as installing a quality acoustic underlayment beneath the floor.
Cork, felt or MLV (mass loaded vinyl) underlayments all provide noise damping and decoupling qualities.
Followed by floating the existing floor over the underlay (not directly attaching to the subfloor), this sandwich configuration is an economical way to increase floor mass.
Thick carpet pads have similar effect.
For problematic areas with creaky floors or flexing joists, add supplemental cross-bracing beneath to stiffen the structure.
Then install additional layers of drywall or resilient channels to the underside. Building codes likely require adding support beams or posts if adding significant weight.
In rooms with wood subfloors, load up the floor cavity space with loose fill insulation like fiberglass or cellulose.
This does not increase mass per se, but the dense packing prevents sound flanking through open cavities. Apply a thick latex-based concrete resurfacer compound to further increase perceived mass before new flooring installation.
If major renovation is planned, detach existing floor completely and build new staggered stud or double-ply subfloors decoupled on noise isolating clips.
Top with thick acoustical concrete layer before finished flooring. Though intensive, this fully decoupled floor provides the highest degree of soundproofing.
3. Install Resilient Channels
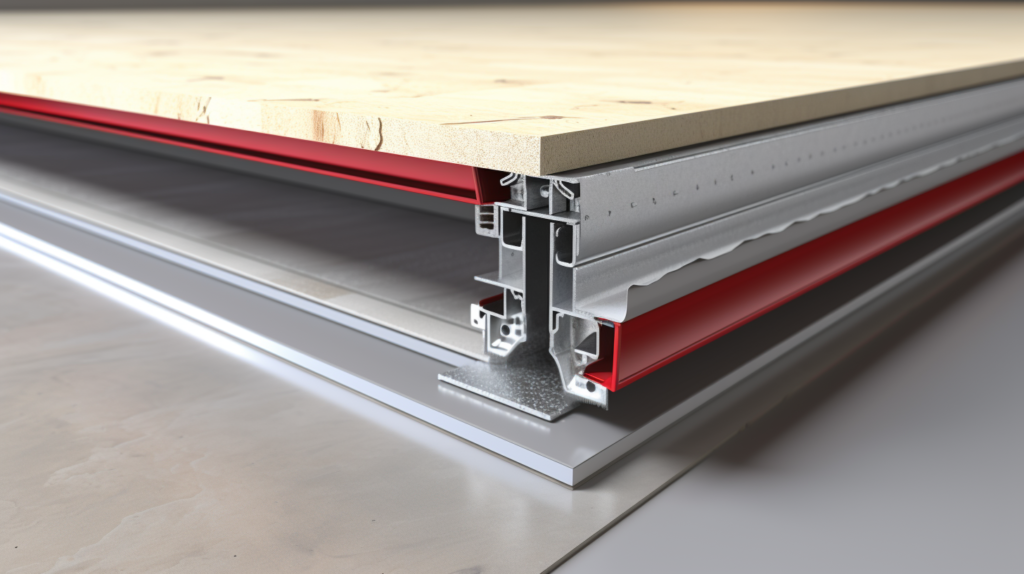
Resilient channels are metal horizontal furring strips used to decouple drywall ceilings or walls from studs or joists.
By mechanically isolating the drywall from framing members, the resilient channels eliminate rigid contact that facilitates noise transfer.
Sound vibrations traveling through walls or ceilings cause the channels to flex and absorb vibrational energy before reaching drywall.
When installing resilient channels for noise reduction, the general guideline is to space channels 1 inch from framing with ends not touching.
Drywall sheets then screw into the channels. Ensure screw heads sit flush with drywall face and do not contact framing.
Staggering studs and using double or triple layered drywall enhances the sound dampening effect.
The most effective placement for resilient channels is on ceiling framing directly below noisy areas like media rooms or laundry rooms.
This isolates impact noise from footsteps or appliances hitting the ceiling assembly above.
Building code implications exist regarding firewalls and load bearing structures, so review plans carefully before proceeding.
4. Use Soundproofing Compounds
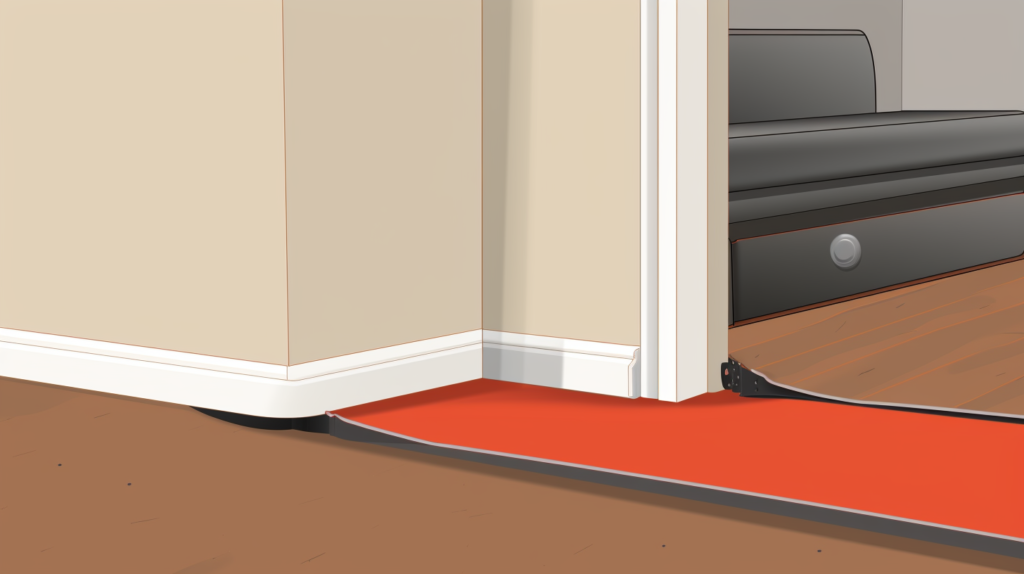
Caulking gaps is equally important as adding mass when it comes to keeping sound from flanking through cracks or openings.
Acoustical sealant applied around wall outlets, ceilings, window and door trim, baseboards and moldings seals air paths, reducing sound leakage.
Quality paintable caulk remains flexible to maintain the seal. Green glue or acrylic latex caulk work well for smaller gaps.
For larger gaps up to one inch wide, use a noise-rated acoustical sealant like QuietSeal Pro. When applying, ensure deep penetration into the crack for continuous airtight installation.
Temporarily backing material treated with sealant allows application to wall and ceiling joints. Remove backing once sealant cures.
Proper preparation like vacuuming, priming and allowing adequate cure times is critical for longevity.
Similar viscoelastic damping compounds also adhere between existing drywall or subfloor layers. Common trademarked products are Green Glue Noiseproofing Compound and QuietGlue Pro.
These are trowel or caulk applied between layers to dampen sound vibrations and reduce noise transmission.
Effective for existing walls or floors, they perform best when combined with additional mass layers.
Conclusion
With the right combination of noise blocking and absorption techniques, significant soundproofing between existing floors is achievable without extensive demolition or reconstruction.
Assess noise flanking paths, add mass to floors wherever possible, seal all gaps thoroughly, decouple with resilient channels and insulate cavities.
Employing two or more of these methods utilizing acoustically-rated products tackles both airborne and structure-borne sound for improved noise reduction through existing floors.
But proper installation and construction knowledge is key to effective and compliant soundproofing. Consulting a professional can ensure project success.