Do you struggle to hear clearly in your large hall or auditorium due to excessive noise and echo?
Transforming a loud, reverberant hall into a comfortable soundproofed space is possible with careful planning and installation of specialized materials to effectively block exterior noise and absorb interior sound.
Let’s dive into this comprehensive guide that covers proven construction techniques and soundproofing product solutions for creating an acoustic barrier in large halls.
1. Soundproof Large Hall Wall And Ceiling
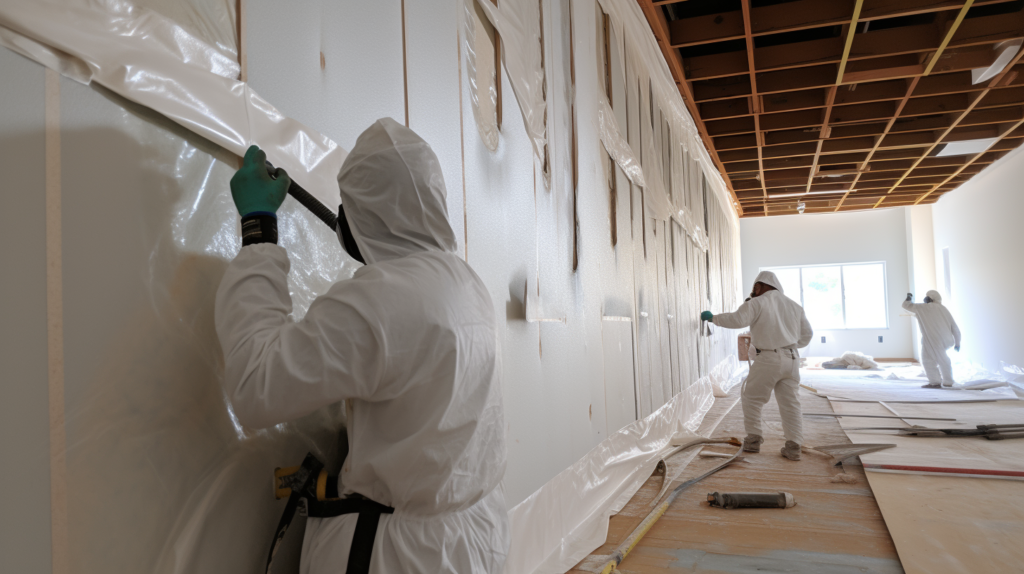
The first critical stage is exposing the hidden wall stud framing by removing any existing drywall or paneling.
Carefully detach boards using pry bars and reciprocating saws, avoiding damage to studs or electrical systems.
Wear proper protective gear like goggles, gloves, and a respirator. Dispose of removed panels appropriately.
With the studs and cavities visible, inspect for integrity and moisture damage before proceeding. Repair any cracked or compromised studs using wood filler epoxy and structural reinforcement plates.
Also identify and remediate any potential sources of moisture accumulation.
Use high density, unfaced insulation like rock wool or rigid fiberglass. Measure each bay precisely and cut insulation boards to fit using a sharp utility knife.
Friction fit each piece into place between studs. Cut small shims to wedge into gaps if needed to prevent air pockets.
Work methodically bay by bay to insert insulation boards into all open cavities from floor to ceiling. Stagger seams between layers for maximum sound blocking.
Change utility knife blades frequently for easiest cutting through dense material. Taking time to guarantee seamless insulation will pay off in noise reduction.
Next fasten resilient channel horizontally along studs using drywall screws.
Channels create an inner decoupled wall surface isolated from stud vibrations. Leave a 1/4″ gap between channel ends and perimeter walls.
Stagger channels offset from any insulation seams for additional acoustic separation.
Finish by securely installing new drywall sheets.
Use backer boards or multiple layers for improved mass and damping. Generously caulk edges with acoustic sealant for an airtight barrier free of sound leaks.
New walls are now insulated, decoupled, and ready for finishing.
2. Replace Existing Doors with Soundproof Doors
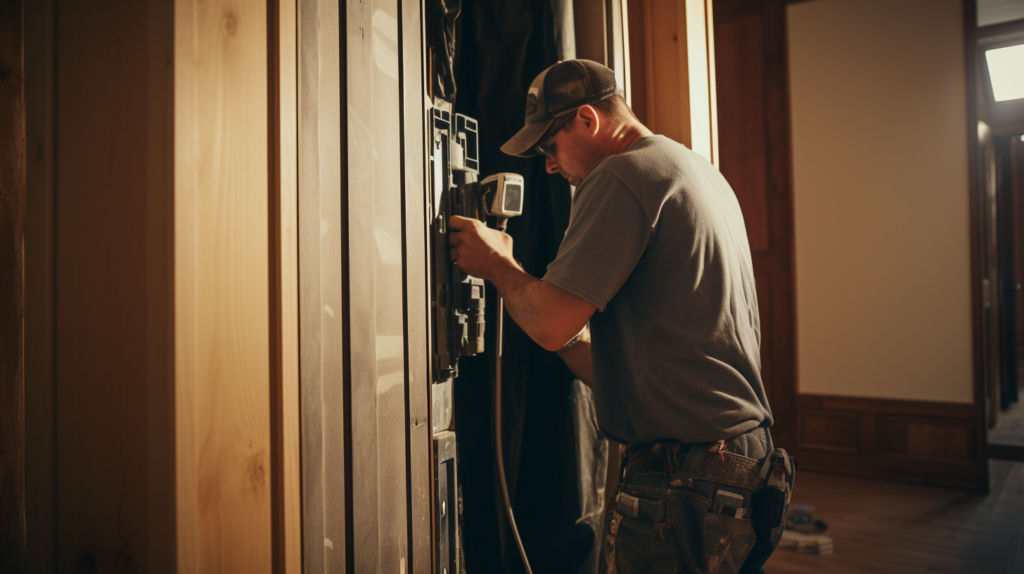
Doors are incredibly vulnerable points for noise intrusions. Hollow wooden doors and standard metal doors provide almost no sound blocking capacity.
Replacing them with specialty soundproof doors is a major acoustic upgrade.
Look for solid core wood or steel doors rated for high STC sound transmission class. Or install fiberglass soundproof doors which insulate, absorb, and barrier noise very effectively.
Consider custom oversized pre-hung doors if necessary to accommodate the opening.
Remove old doors and frames completely, discard debris properly, and prepare the rough opening. Verify exact measurements and inspect for plumb and level.
Repair surrounding surfaces damaged during removal using patching compounds and sanding.
Carefully install new doors centered and square within openings following manufacturer’s instructions. Shim hinges if needed to prevent binding and ensure smooth operation.
Adjust latch plates and strike plates so door seals completely flush when closed.
Apply adhesive rubber or brush door sweeps to the bottom of doors and paint or stain to match.
Adjustable drop seals installed along the jamb create a tight perimeter barrier. Use heavy compression seals around the jambs and head for optimal air sealing.
Installing a second interior vestibule door creates an incredibly robust acoustic barrier. Or consider thick soundproof curtain panels either behind doors or partitioning larger openings.
Fully sealing doors preserves sound containment integrity.
3. Seal All Possible Sound Leaks
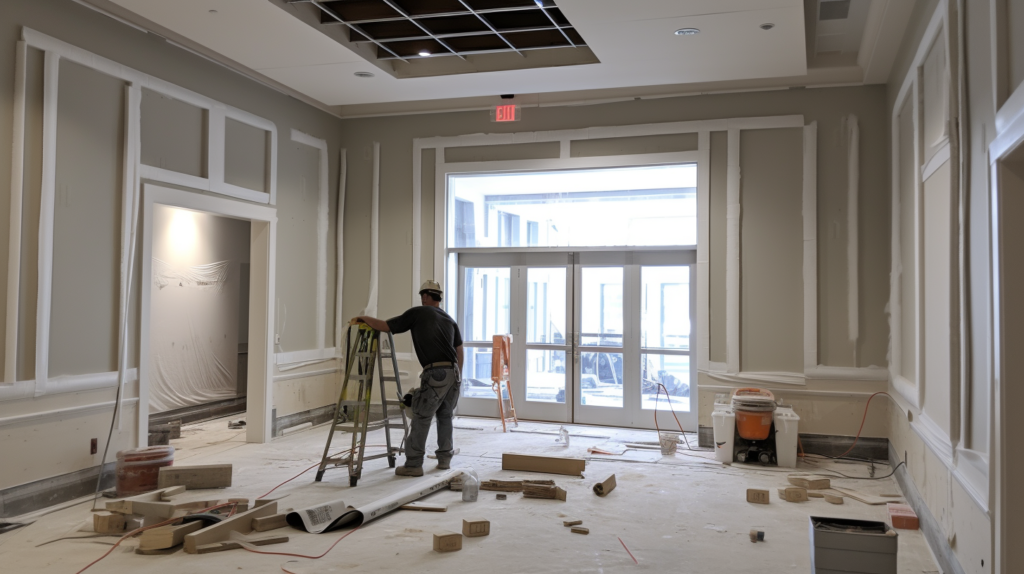
The many electrical, ventilation, plumbing, and gas line cuts through walls, ceilings, and floors must be sealed.
Acoustic caulking and fireproof spray foam offer versatile, permanent gap filling options.
Foam or caulk openings around vents, ductwork, whole house fans, electrical boxes, and piping where they meet walls, ceilings or floors.
Apply sealants generously to fill the voids fully without over applying. Smooth and wipe excess caulk with a wet cloth for best appearance.
Use non-hardening acoustic caulk to create a durable, flexible air seal around gaps and cracks. Look for paintable caulk matched to your wall colors.
Multipurpose latex caulks meet most construction needs with fast easy water clean up.
Special outlet gaskets and light switch pads provide another layer of protection. Secure gaskets behind the outlet cover plate to seal out sound leaks around receptacles and switches.
The minimal added thickness won’t affect plug fit.
Meticulously inspect and fill overlooked penetrations that compromise sound isolation when left unsealed.
Check edges along wall trim boards, electrical outlets, above baseboards, window and door frames, HVAC registers, and lighting fixtures.
4. Upgrade Large Hall Windows With Soundproof Windows
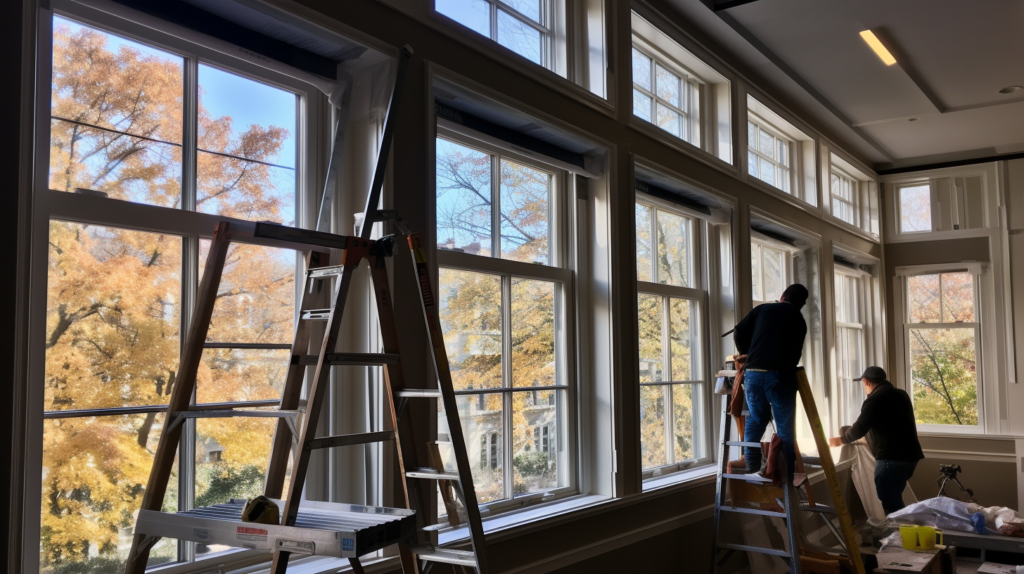
Windows are commonly one of the weakest links acoustically. Standard glass does little to deter sound transmission.
Upgrading to double or triple pane soundproof windows reduces noise infiltration substantially.
Seeking out specialty soundproof windows may be required. Various glazing options like laminated, tempered, and acrylic panes block frequencies through thickness and stiffness.
Aircraft grade acrylic blocks up to 90% of noise—but at a premium cost.
If replacing windows entirely isn’t possible, adding interior storm window inserts creates an insulating, noise dampening air gap.
Secure acrylic or laminated glass sheets over frames with non-hardening caulk. Combine this upgrade with exterior weatherseals for optimal results.
Foam or rubber compression seals adhere around windows to close gaps that compromise acoustic isolation. Bulb seal weatherstripping compresses when windows close fully, sealing the air space. Ensure seals are installed evenly and consistently.
Even small overlooked openings, poorly fitted frames, inadequate caulking or subpar seals reduce window soundproofing effectiveness. But high performance windows properly installed and sealed deliver excellent noise reduction and are recommended whenever feasible.
5. Add Sound Lock Vestibule To Large Halls

While blocking sounds already inside a space is vital, stopping external noise from intruding in is equally important.
Constructing an acoustic buffer zone using a sound lock vestibule prevents noise passage through doors.
The most straightforward approach incorporates two successive vestibule doors separated by a sealed soundproofed interim space.
Absorptive wall panels inside the vestibule capture and deaden noise as it attempts to pass from one door to the other.
For maximum effectiveness, offset doors at non-perpendicular, non-parallel angles to eliminate any directly linear sound paths.
Curving or zigzag interior vestibule walls also inhibits noise transmission by blocking direct sound lines.
Carefully space doors far enough apart to avoid simultaneous operation which would compromise acoustic isolation.
Take door swing direction into account to allow smooth entry and exit movement patterns.
Meticulously seal the entire perimeter of the vestibule space as if constructing a floating room within a room.
Prevent sound leaks past vestibule walls, floor, junctions, and doors. The vestibule now controls access while sealing noise.
6. Add Acoustic Treatment To Large Halls
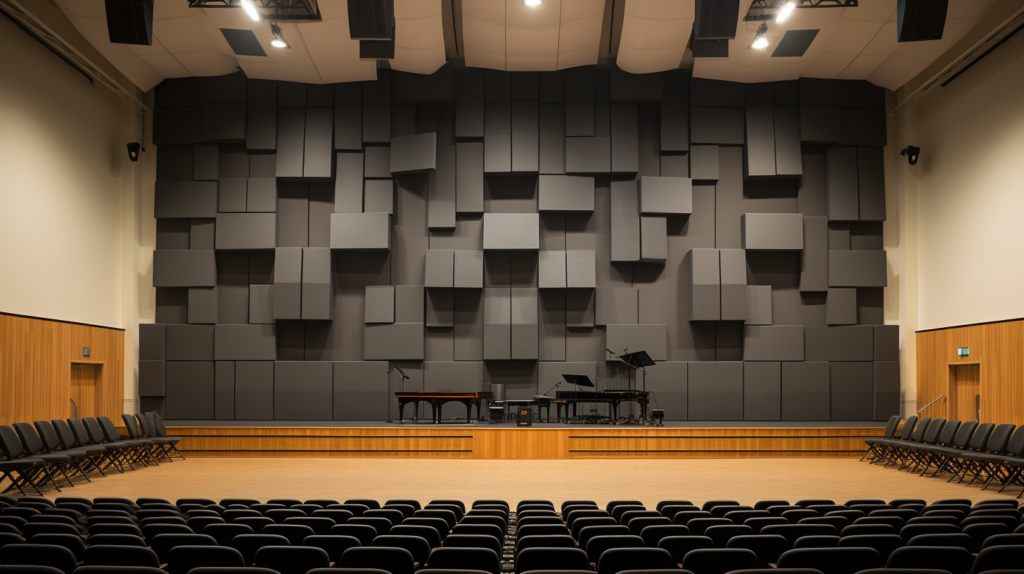
Upgrading to soundproofed, airtight construction prevents new noise intrusions. But containing and absorbing existing interior noise using acoustic paneling is equally important for best sound quality.
Strategically place absorptive panels, diffusers, and bass traps throughout a space to balance tone and eliminate echoes and reverberation issues.
Corner mounted absorption panels prevent amplified resonant build up in tight corners.
Diffusers work by scattering and dispersing focused sound to prevent echoes and dead spots. Varied depth well-type diffusers or stepped pyramidal diffusers both treat room acoustics effectively.
Spread diffuser placement evenly.
Specifically tuned bass traps counteract troublesome low frequency resonances. Locate standalone bass traps along problematic room boundaries identified through testing.
For quicker broad spectrum bass damping, use diaphragmatic membrane absorbers.
An optimized balance between absorption, diffusion, and bass trapping delivers desired room acoustics tailored to the space size and function. An acoustics professional can assess needs and design solutions combining soundproofing with sound shaping.
With diligent sealing of leaks, construction of acoustic barriers, upgrading weak sound links, and installing sound mitigation finishes, large halls can be transformed from cacophonous to serene.
This detailed guide provides a solid methodology to follow for achieving professional grade sound isolation and comfort.
Conclusion
Soundproofing a large hall is a complex endeavor, but following the comprehensive steps outlined here will lead to dramatically improved acoustic isolation.
With diligent sealing of leaks, upgrading weak sound links, constructing acoustic barriers, and installing sound absorbing finishes, even problematic halls can be transformed into peaceful spaces ideal for music, gatherings, and more.
