
A crying baby jolted awake by noisy distractions can disrupt the whole household.
Soundproofing your nursery is crucial for your newborn’s healthy development and your sanity as a parent.
Let’s dive into the key steps for soundproofing your nursery from top to bottom.
Why Should You Soundproof Your Nursery?

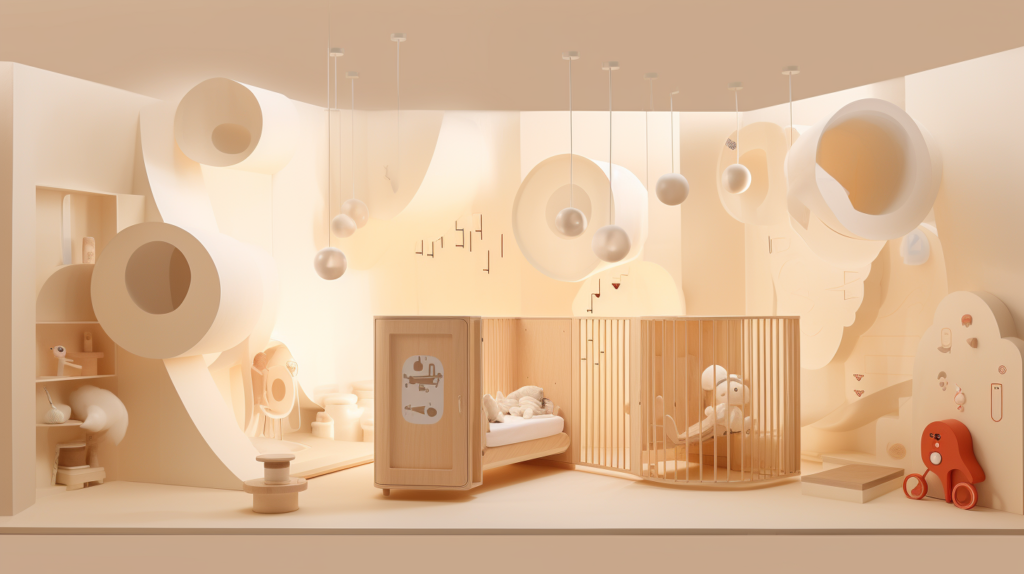
When preparing a nursery for your newborn baby, making the room as peaceful and soothing as possible should be a top priority.
A restful sleep environment is crucial for your baby’s growth and development. One of the best ways to create a tranquil nursery is by soundproofing the room.
Soundproofing will block out external noises that can disrupt your little one’s slumber and allow you to control the sounds within the nursery.
There are two main reasons why soundproofing your nursery is highly recommended. The first reason is that reducing noise disturbances will help your baby sleep more soundly through the night.
Your newborn’s sleep cycles are very different than an adult’s. Babies awaken more frequently and their sleep is much lighter.
Any small, disruptive sounds from outside the nursery like closing doors, footsteps, pets, music, or loud voices can jolt your baby awake.
Soundproofing will muffle these noises so your infant can sleep peacefully and reach those crucial deep sleep stages needed for proper brain development.
The second reason to soundproof the nursery is to prevent normal household noises within your home from waking the baby.
Things like vacuum cleaners running, blenders whirring, dishwashers rumbling or siblings playing can easily filter into the nursery and disrupt your baby’s slumber.
Soundproofing allows you to continue with regular household activities without tiptoeing around and worrying that you’ll wake the sleeping baby if you make too much noise.
Your newborn will have a calmer sleep environment tailored just for them.
Overall, soundproofing allows you to create the ideal soothing, tranquil environment your new baby needs to sleep, grow and thrive.
Investing in soundproofing your nursery is one of the best things you can do as a new parent to care for your little one.
How To Soundproof Nursery Room
When it comes to soundproofing a room, the goal is to block out airborne noises that travel through the air, as well as structure borne noises that travel through solid materials.
The most effective way to accomplish this is by using sound absorbing materials to dampen noises in combination with physical barriers that hinder sound transmission.
There are several important areas of the nursery that should be addressed when soundproofing including the walls, ceiling, flooring, windows and doors.
Properly soundproofing each component requires specific techniques and materials to fully block bothersome noises.
1. Soundproofing Nursery Walls

Walls are one of the primary locations where noise seeps into a room, so soundproofing them is essential.
The most effective method is to expose the wall studs, fill the cavities between them with insulation, install resilient channels horizontally across the studs, and then cover it all up with drywall.
The insulation material should be mineral wool or fiberglass wool specifically designed for soundproofing. This added mass layer will improve transmission loss by absorbing sound waves.
Resilient channels work by physically decoupling the drywall from the studs. This prevents vibrations from transmitting directly through the wall and blocks structure borne noise.
The drywall creates a sound barrier wall that hinders airborne noises.
Any gaps around outlets, corners or joints must be filled and sealed with a flexible acoustic sealant. This helps minimize sound leaks.
If removing wall finishes is not possible in an existing nursery, another option is to install new studs over the current wall and then apply the sound insulation and drywall.
Overall, addressing the walls is one of the most impactful steps for soundproofing because it significantly hinders noise both through the air and via the wall’s physical structure.
Taking the time to expose, insulate and isolate the wall cavities is well worth the effort.
2. Soundproofing Nursery Ceiling
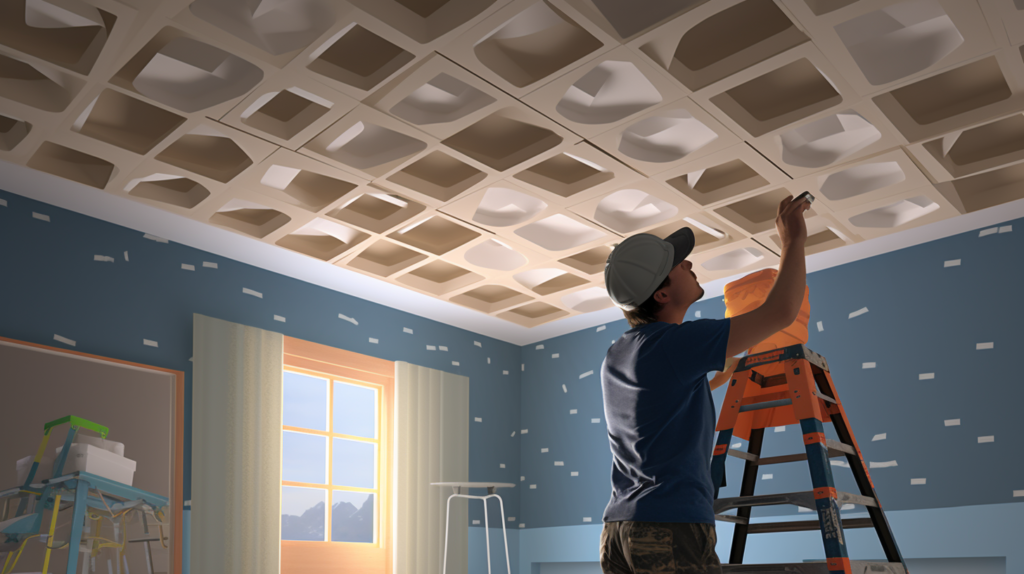
Just like with walls, ceilings require the same combination of sound absorbing insulation and physical barriers.
Exposing the ceiling studs allows the cavities to be filled with mineral wool or fiberglass wool insulation.
Resilient channels are then installed across the studs before applying the drywall. All gaps are thoroughly sealed with acoustic sealant.
If removing the existing ceiling is not feasible, furring strips can be installed to the ceiling to create new channels.
The sound insulation is placed between the furring strips, and then drywall added. This creates the necessary decoupled mass that prevents noise transfer.
Paying attention to soundproofing the ceiling is vital since noise easily travels through overhead floors from upper levels.
A well-insulated ceiling can make a significant difference in blocking out footsteps, voices, creaking floors and more.
Your baby will not be disturbed by normal household sounds resonating down from upper floors.
3. Soundproofing Nursery Flooring

Floors require a different approach since they need to block structure borne noises like footsteps and furniture shuffling which travel through the solid materials.
Hard surface flooring materials like wood, tile and laminate do little to absorb sound. However, adding an acoustic underlayment underneath these floors creates an effective sound barrier.
One of the best acoustic underlay options is MLV (mass loaded vinyl). MLV is a thin vinyl sheet that contains dense materials like barium sulphate or calcium carbonate that provides mass to block noise.
MLV blocks both airborne and structure borne sounds. An alternative option is to use cork underlay which is lighter but still effective.
Then a “floating” floor is installed over the underlay. This means the flooring rests on top and is not affixed directly to the subfloor.
This allows the floor to literally float and remain decoupled. The underlay dampens vibrations and footfalls. Large area rugs placed over the flooring add additional sound absorbing benefits.
For the ultimate sound blocking floor system, thick carpet with dense padding is ideally installed wall to wall.
The carpet and pad combo is excellent at absorbing noises. This may be the best solution for second story nursery floors to prevent noise transfer from below.
4. Soundproofing Nursery Windows
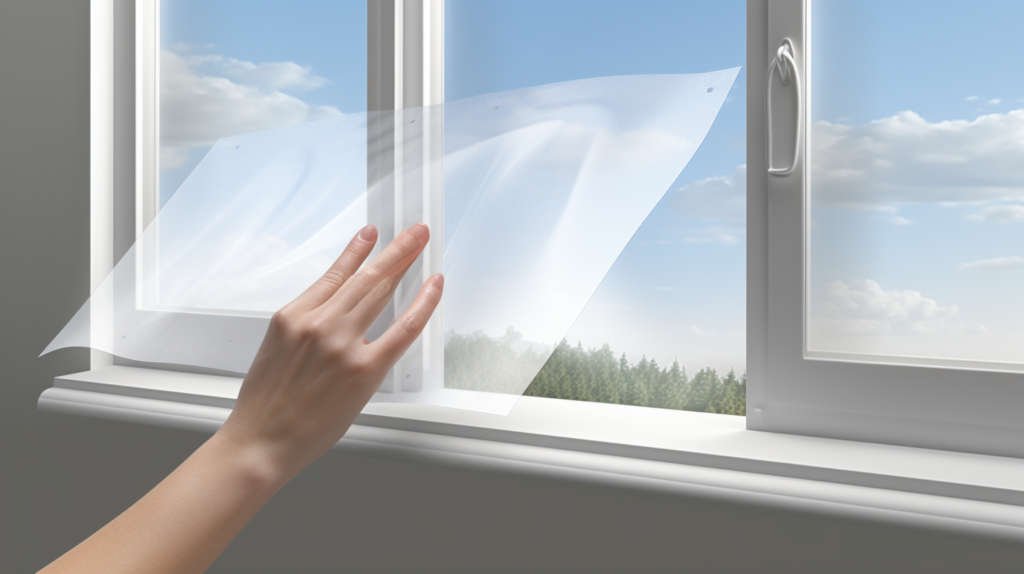
Windows tend to be one of the weakest points for unwanted sound filtering into a room.
To properly soundproof nursery windows, the best solution is to replace any existing single pane windows with new double or triple pane windows.
The air space between the window panes acts as insulation to significantly reduce noise.
If replacing the windows entirely is not an option, focus on sealing up any cracks around the window frames with acoustic caulk.
Close inspection around the edges can reveal gaps that let in sound. Installing quality weatherstripping will seal the perimeter and block noise infiltration.
Another option is to add window inserts which are secondary panes mounted directly into the window frame.
These are more affordable than replacing the whole window unit. The inserts create an insulating air pocket that hinders noise.
Combination storm windows can provide both soundproofing and weatherproofing benefits.
Making upgrades to existing windows or installing higher quality new windows vastly improves sound blocking and provides noise control from outside sources.
5. Soundproofing Nursery Doors
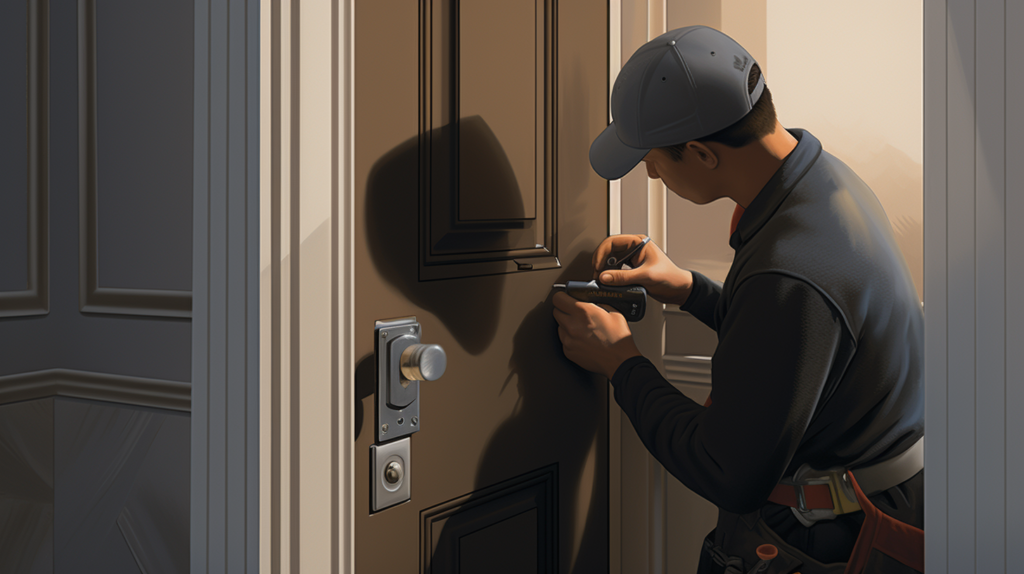
Doors are responsible for some of the most obvious sound leaks from voices, door slams, and more. Strong measures are needed to soundproof nursery doors.
The best solution is to install a high quality solid core wood door, rather than a hollow core door prone to noise transfer. Solid doors prevent sound transmission much more effectively.
Gaps and cracks around the door frame must be sealed properly by weatherstripping the full perimeter.
Door sweeps or door bottoms should also be added to the base of the door to block sound when shut. Automatic door bottoms rise up when the door is closed to seal the gap underneath.
If installing a new door is not feasible, you can improve the existing door by adding panels made of mass loaded vinyl or specially designed noise blocking composites.
The extra density acts as a sound barrier to reduce noise passing through the door. Focus on reinforcing the door as much as possible for optimal sound control.
Improve Sound Absorption After Soundproof

In addition to physical sound barriers, absorbing excess noise within the nursery is also very important for creating a peaceful environment.
Sound waves can bounce around a completely hard surfaced room, creating distracting reverberation. Adding sound diffusion and absorption is key.
One simple way is through window curtains. Opt for heavy, thick curtains that contain dense material like velvet or velour.
Hang the curtains as close to the ceiling as possible and have them fall to the floor for maximum coverage. The dense, flowing curtains will effectively absorb noise.
Bass traps placed strategically in room corners are another great way to absorb low frequency sounds.
Bass traps are essentially panels made of insulation that soaks up impactful low notes that can travel far. Place traps in at least two corners for balanced absorption.
Area rugs are recommended to soften footsteps and provide a padded surface for playing. Large rugs over hard flooring go a long way in removing noise.
Finally, don’t overlook the sound absorbing benefits that items like cushioned rocking chairs, padded crib bumpers and soft stuffed animals contribute.
Include an assortment of textured, sound-friendly furnishings.
Use White Noise Machine As An Add-On To Be Ultra Quiet
White noise machines have become very popular baby shower gifts and for good reason.
The continuous, neutral sounds they produce are great for drowning out annoying noises that may disrupt sleep or concentration. The white noise masks intruding sounds so they become less noticeable.
While not a true soundproofing solution, having a white noise machine in the nursery is an excellent complement.
Place the machine close to the baby’s crib or on the opposite side of the room from any noise sources like doors or windows.
Select calming sounds like static, ocean waves or rainfall that provide a soothing ambiance.
If your budget doesn’t allow for a white noise machine, you can use a simple box fan or air purifier in the nursery to generate relaxing background noise.
The light, consistent drone works to obscure other noises that might wake your little one.
Conclusion
Creating a peaceful, soothing environment for your newborn baby to sleep and grow is one of the most important jobs as a new parent.
Soundproofing the nursery is a smart investment that pays off with a happier, healthier baby.
Be sure to address the critical areas of walls, ceilings, floors, windows and doors using the techniques outlined above.
Stop noise before it starts by applying sound blocking barriers and absorbing materials. Your baby will sleep more soundly and thrive in their calming, quiet nursery sanctuary.