
Ever struggled to get a clean vocal recording because of background noise and room echoes throwing off your tracks?
Transforming any room into an optimal space for vocals is possible with strategic soundproofing and acoustic treatment.
Let’s dive in to the step-by-step process for superior sound isolation and audio quality.
Why Soundproof a Room for Recording Vocals
Soundproofing a room for recording vocals provides many benefits that can elevate the quality of your recordings. By treating the room to reduce external noise and internal reflections, you create an optimal environment for capturing clean vocal tracks. There are several reasons why soundproofing is worth the effort and investment for home studios and professional studios alike.
Eliminating noise bleed is one of the biggest advantages of a soundproofed vocal booth. Any outside noises from traffic, neighbors, ventilation systems, etc can easily bleed into the microphone and ruin an otherwise flawless take. A proper soundproofing plan blocks this ambient noise to deliver noise-free vocal recordings. This saves a lot of time and frustration in the mixing process, since you avoid having to reduce background noise or do multiple takes.
In addition to blocking external noise, soundproofing also contains and isolates the vocals within the room. This allows you to record anytime without worrying about disturbing roommates, family members or neighbors. The isolation goes both ways, giving you more flexibility for late night recording sessions when inspiration strikes.
A soundproofed space also creates a completely dry acoustic environment. This lack of reverberation or echo enables the vocals to be captured cleanly without coloration from the room itself. The raw, dry tracks can then be processed with reverb in the mix if desired. However, you want the dry vocals to sound as pristine and transparent as possible.
Treating a room for soundproofing and absorption provides a reliable environment for getting the best vocal performances. Singers can feel more confident giving it their all without outside distractions. Likewise, the isolation encourages experimentation during the creative process without concerns about bothering others.
Finally, proper soundproofing reduces the need for noise reduction plugins during mixing. Dealing with bleed, rumble, and other unwanted noises often requires significant post-processing. But clean recordings in a soundproofed room require little if any noise reduction. This saves time, preserves the vocal quality, and results in a better final product.
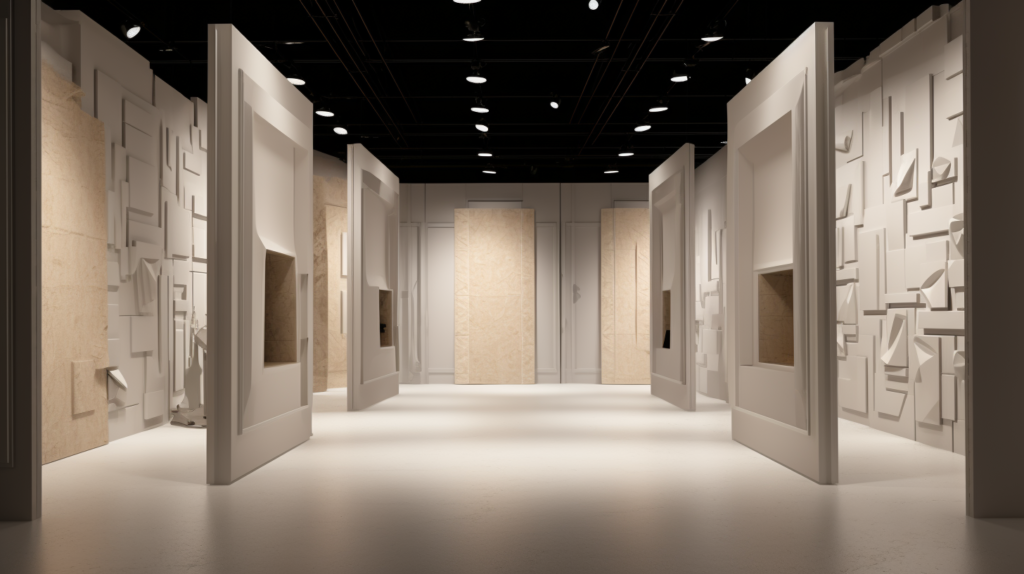
1. Soundproof Walls in Room for Recording Vocals

The first step is to identify and address any weak points in the room’s wall construction that allow sound transmission. Most wall surfaces can be enhanced to achieve suitable noise blocking for a vocal booth. Here are the main methods:
If the walls have exposed studs, fill the cavities with insulation like fiberglass or mineral wool. This adds density and absorption to prevent noise flanking through the empty cavities. Cover the wall with drywall sheets, sealing the edges and joints with acoustic sealant. Resilient channels can also be installed horizontally across the studs prior to drywall. These help decouple the drywall from the studs, interrupting vibrations that transmit sound.
For existing walls without exposed studs, attach new studs with insulation to the interior side of the wall. Essentially build a new free-standing wall anchored to the existing one. Follow the same process of insulation, drywall, and resilient channels. The air gap created by the second wall also improves the acoustic isolation of the overall assembly.
In either case, the more mass that can be added to the walls, the better. Multiple layers of drywall or specialized noise barrier products will improve sound blocking. The goal is to eliminate any gaps, cracks, or thin spots that compromise the integrity of the wall acoustic barrier. Pay close attention to penetrations or gaps around electrical boxes, vents, windows and doors. Caulking, sealing, weatherstripping and drywall techniques can address these weak spots.
Solid concrete or masonry walls already provide good noise blocking if constructed well. Small cracks and openings can be sealed up to further improve sound isolation. Adding mass loaded vinyl or a second stud wall will upgrade the transmission loss.
2. Soundproof Ceiling in Room for Recording Vocals
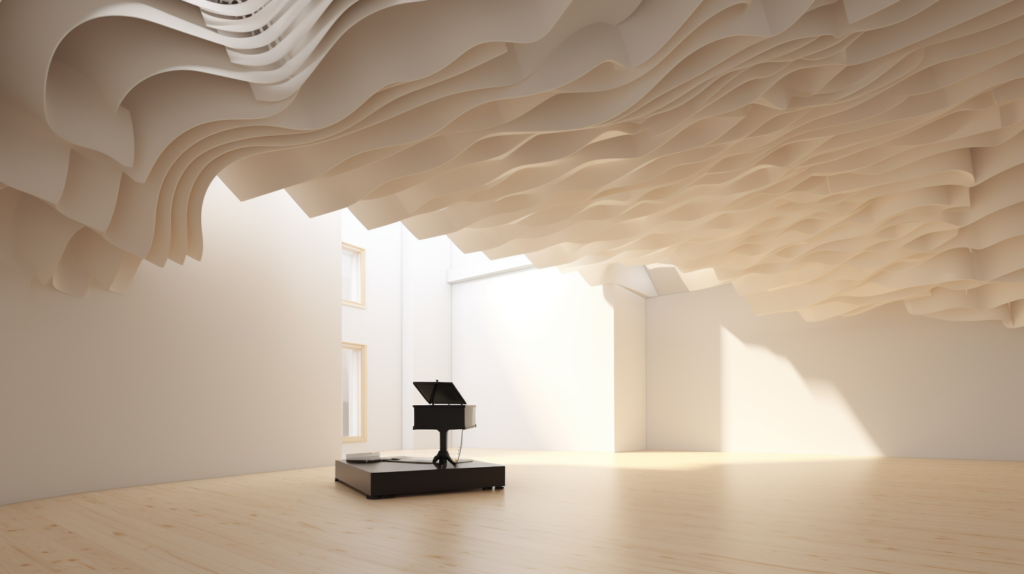
The ceiling is often one of the primary paths for noise infiltration and vibration transmission into a room. Similar soundproofing techniques used on walls should also be applied here:
If the ceiling joists are exposed, fill the cavities with fiberglass or mineral wool insulation. Resilient channels can then be installed perpendicular to the joists before installing drywall sheets. Make sure to caulk drywall seams for an airtight seal.
For an existing ceiling without exposed joists, attach new joists or a drop ceiling to the underside of the ceiling surface. Treat this secondary ceiling system like a new wall, with insulation, resilient channels and multiple drywall layers.
The goal is to add mass, absorption and vibration isolation through careful sealing and the use of resilient channels. A decoupled drywall ceiling will significantly reduce noise coming through the overhead structure. Floating the ceiling on resilient channels is ideal for blocking impact noise from footfalls.
Drywall joints should be carefully sealed with acoustic caulk. Any cavities, cracks or openings that allow noise infiltration should be filled and sealed. Lighting, ductwork or vents that penetrate the ceiling need to be properly treated to maintain sound isolation.
3. Soundproof Floor in Room for Recording Vocals

Floors require special attention, as they allow structure-borne noise and vibration to enter the room and negatively color the sound. Here are some ways to treat the floor:
Install a floating floor system over an acoustic isolation pad or underlayment. Materials like cork, mass loaded vinyl and rubber have good noise-blocking properties. Floating the floor on one of these underlays decouples it from the substrate.
Use floating engineered wood flooring or laminate flooring. Do not secure the flooring directly to the subfloor. Allow it to essentially “float” over the underlayment for isolation. Avoid flooring types like nail-down hardwood that rigidly connect to the structure.
Carpet or rugs can also help block and absorb impact noise and footfalls. Use a thick, dense carpet pad underneath wall-to-wall carpeting. Rugs are great for certain areas like where the vocalist will be standing.
For concrete floors, an isolation pad and floating floor may not suffice. Building an entirely new free-standing “room within a room” would be required for proper sound isolation. Or introducing a new floated substrate over the concrete.
The key is employing vibration damping and isolation techniques to prevent structure-borne noises from reaching the vocalist’s microphone. Stopping noise at the source is most effective.
4. Soundproof Windows in Room for Recording Vocals
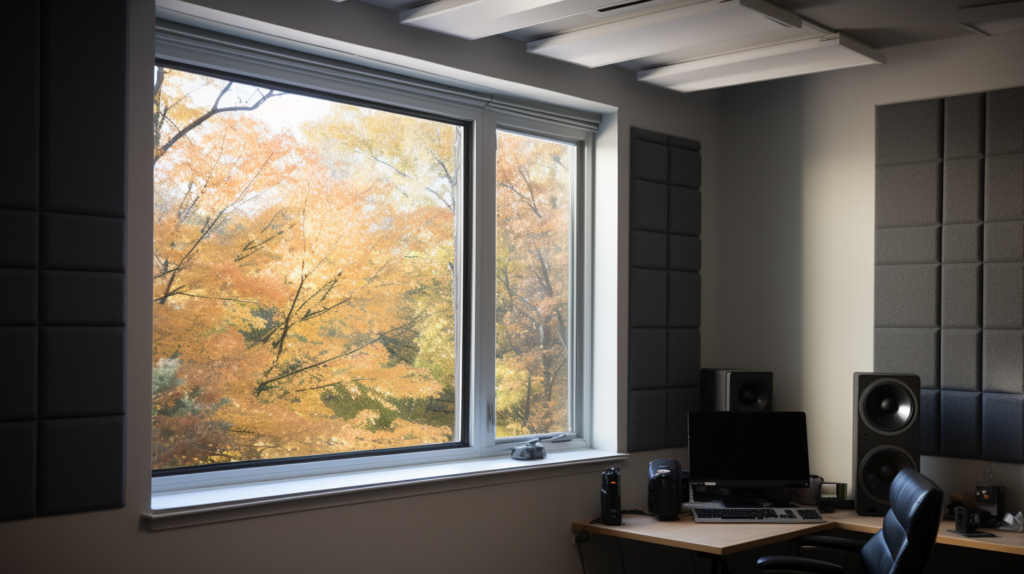
Windows are often a major weak point for noise infiltration. Replacing standard single pane windows with acoustically rated double or triple pane windows can greatly reduce noise transmission.
Sealing gaps around window frames with acoustic caulk is important even with new windows. Ensure window trim and stops form an airtight seal to the surrounding wall. Caulk all cracks and gaps around the perimeter.
For windows that can’t be replaced, attaching secondary acrylic sheets or window inserts can add noise blocking mass. Draw the inserts closed tightly against the existing window using the provided hardware.
Window plugs made from soundproofing materials can also be constructed to block noise flanking through open windows. An airtight seal is necessary for these plugs to work effectively.
Blocking sound through glass while maintaining outside visibility presents challenges. But careful sealing, upgraded multilayer glass, and secondary inserts or panels can tame problematic windows.
5. Soundproof Doors in Room for Recording Vocals
Doors should be sealed just as thoroughly as windows to prevent noise intrusion. Solid core wood doors provide good sound blocking if installed properly in an airtight fashion. Foam weatherstripping on the jamb and threshold along with bottom door seals help achieve complete isolation.
For hollow core doors, adding mass is key. Switching to a solid core door is best. But surface mounted noise blocking panels made of vinyl or MDF can help. The panels must be rigid, dense and well sealed to improve acoustic performance. Perimeter caulking is important.
Double door vestibule entries that utilize staggered stud walls with two doors can provide the highest noise reduction. But a single well-installed solid core wooden door with proper sealing can work almost as well. The door must seal completely against the jamb and threshold when closed.
6. Seal All Cracks, Gaps and Leaks
After addressing the major elements like walls, ceilings, floors, windows and doors, it’s important to seal up any remaining air gaps or cracks that could allow sound transmission.
Carefully inspect trim, molding, corners, penetrations and any joints or seams in the room’s interior surfaces. Use acoustical caulk, weatherstripping, drywall mud or spray foam as needed to seal leaks. The goal is a completely airtight envelope with no openings anywhere for sound to pass through.
Pay particular attention around electrical outlets, HVAC registers, plumbing pipes, cable/phone lines and any lighting or equipment mounted on walls or ceilings. Caulk and seal around these penetrations.
For problematic areas, specialized noise blocking gaskets and materials like this can assist. An airtight room is key for effective sound isolation.
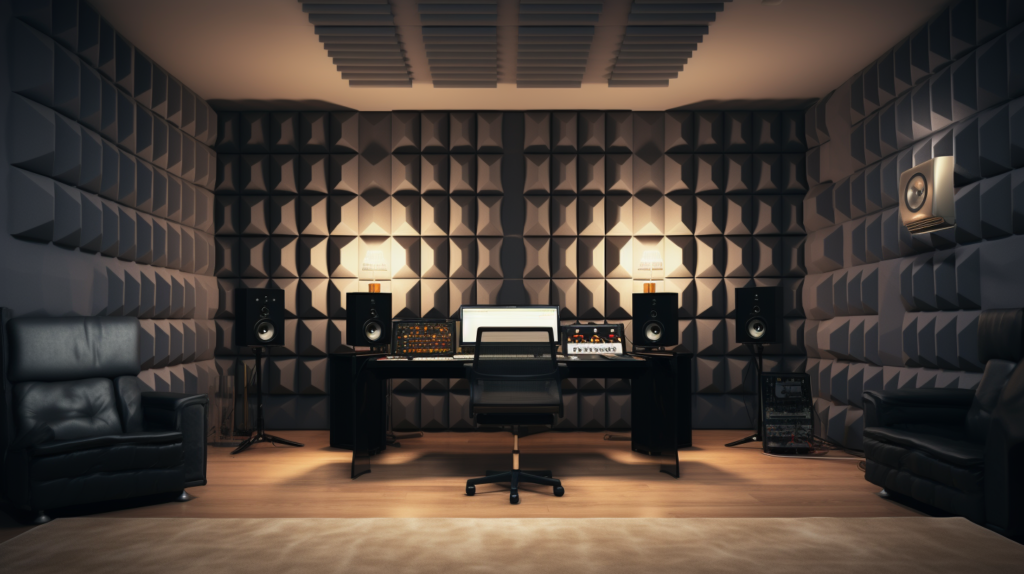
7. Acoustically Treat Room for Recording Vocals
Soundproofing handles sound intruding into the room, while acoustic treatment manages sound within the room. Treating a vocal booth involves adding absorption to tame reflections while diffusion helps blend the room’s natural reverb.
Place acoustic panels on the walls in key locations. This includes the vocalist position, and walls adjacent to the microphone where first reflections occur. Thicker corner bass traps will help control low frequency buildup.
Diffusion panels can be added to the back wall or ceiling to help blend and even out the room’s natural ambience. However, avoid over-diffusing smaller vocal booths.
The goal is shaping a natural but neutral sounding space optimally suited for vocal recording. Strike a balance between a completely dead-sounding room and a bright boomy one. Experiment with panel placement while tracking vocals to find the right balance of liveliness and control.
With attention to detail in both soundproofing and acoustic treatment, a home or project studio can achieve professional grade isolation and audio quality for recording vocals. What vocalists hear through their headphones will match what ends up on the finished recording. This results in better performances and less need for post processing or rerecording.
Conclusion
With proper planning and execution, any room can be transformed into a professional-grade vocal recording space. Follow these key soundproofing and acoustic treatment steps to contain noises, tame reflections, and capture flawless vocal tracks. A sound isolated recording environment allows singers to give their best performances, which translates directly into better quality recordings.