Struggling with getting sound from your DJ controller to your speakers? The right connections and setup make pumping beats smooth instead of frustrating.
Properly connecting a DJ controller to speakers or a PA system requires compatible gear, the right cables, audio interfaces if needed, configuring software, and troubleshooting issues.
Let’s dive into the key steps for seamlessly linking controllers and speakers…
How to Connect a DJ Controller to Speakers
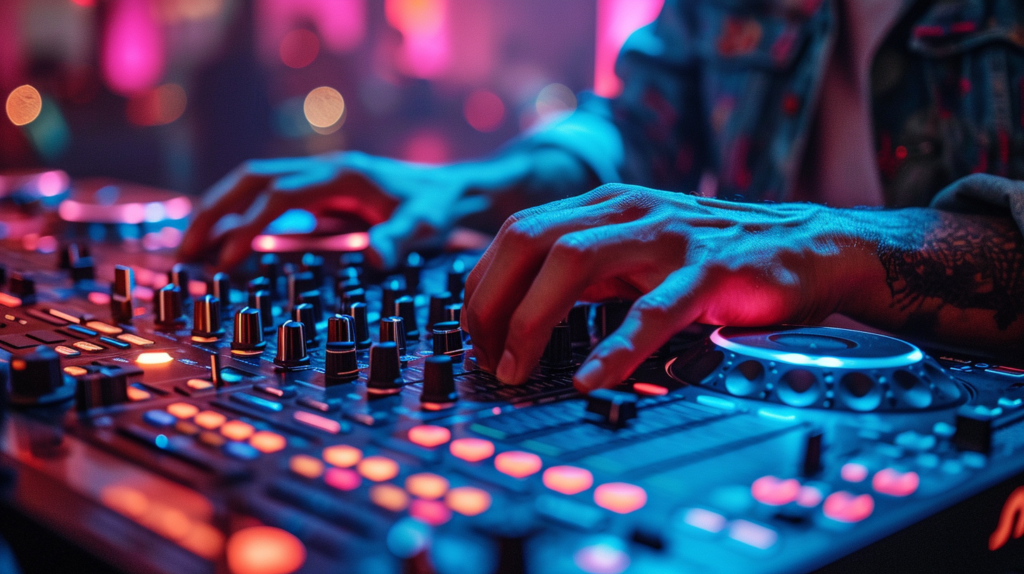
Connecting a DJ controller to speakers starts with running cables from the controller outputs into inputs on powered speakers, an audio interface, mixer or PA system. Most controllers use USB to send the audio signal to DJ software on a computer, which then outputs sound to the amplification and speakers. Optimizing gain staging while testing the path ensures your dancefloor is bumping.
We’ll now dive deeper into the steps for properly hooking up controllers and speakers to avoid issues and get reliable performance.
Choose Your Equipment
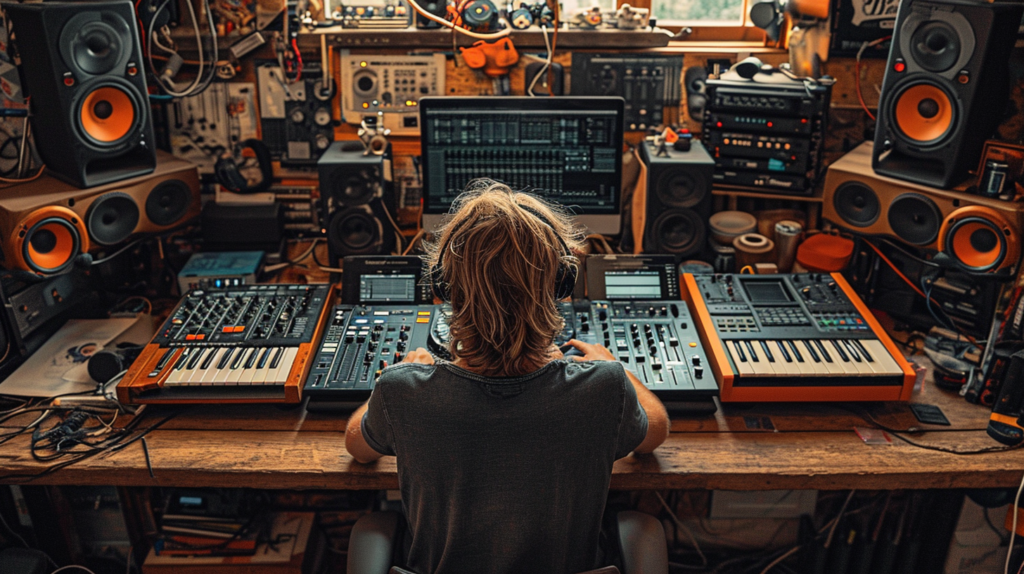
When setting up your DJ controller with speakers, the first step is to decide what equipment you need. The main pieces are the controller itself, speakers or a PA system, cables to connect everything, and potentially an audio interface.
There are DJ controllers made by companies like Pioneer, Numark, Denon, Roland, and others. You’ll want to pick one that has the inputs, outputs, and features you’ll require. Generally they connect to a computer via USB and output audio signals to speakers.
For speakers, you can use powered speakers with built-in amplifiers, or a full PA system with separate amplifiers. Make sure your speakers can accept the outputs from your DJ controller – often RCA or balanced XLR connections. Powered speakers provide an all-in-one active solution while PA systems offer more flexibility and power.
Cables are needed to connect the controller to speakers. With RCA outputs, you would use RCA cables. For balanced XLR outs, you need XLR cables. You may also need speaker wire if your speakers don’t have those direct inputs. The length you need depends on your setup, but you generally want a decent length for flexibility in positioning your equipment.
If your controller lacks those direct audio outputs, you may need an external audio interface. This converts the digital audio over USB into analog signals that feed into speakers. There are many compact interfaces with RCA, XLR or 1/4″ outputs to then connect with your speakers or mixer.
Connect Your Controller and Computer
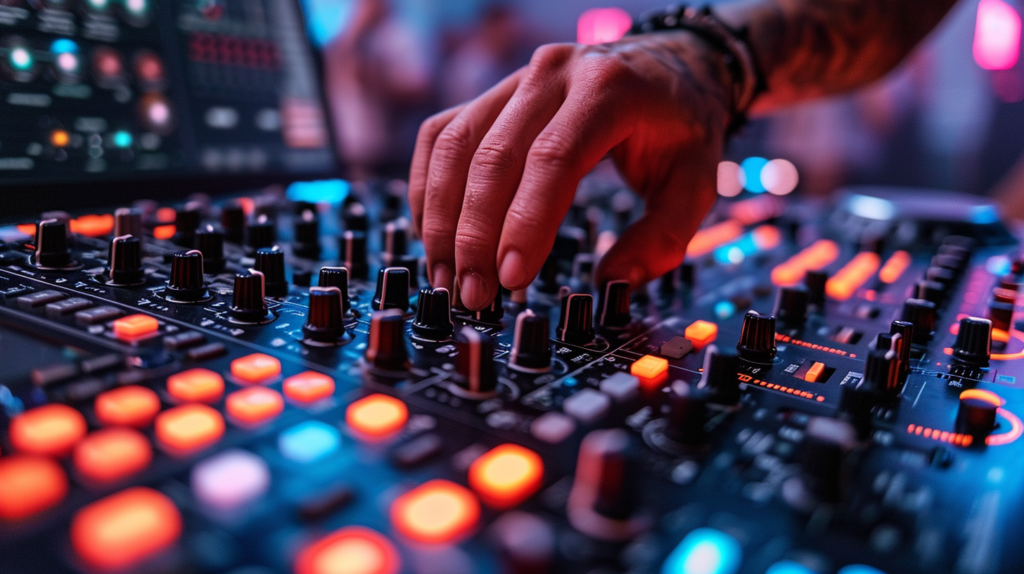
After selecting your DJ gear, the next step is connecting your controller to your laptop or computer. Most DJ controllers interface with computers through a standard USB connection. Simply plug the USB cable from the controller into an open USB port on your computer.
Install any necessary driver or software for your DJ controller on your operating system. The manufacturer should provide ASIO drivers for Windows or proper drivers for MacOS installation. Configuring these will ensure your controller works properly with DJ software.
The controller likely came with DJ software or has branding that works best with certain platforms. Common options are Serato DJ, Rekordbox, Traktor Pro, Virtual DJ, and others. Install your preferred software and register/authorize the controller if required.
Open the DJ software and configure the settings. Most will detect the connected gear automatically, but you can manually select your controller in the audio setup too. Adjust any preferences for jog wheels, pads, sliders and knobs as needed. Properly setting this up will ensure maximum functionality when using your controller.
Connect Speakers to Controller
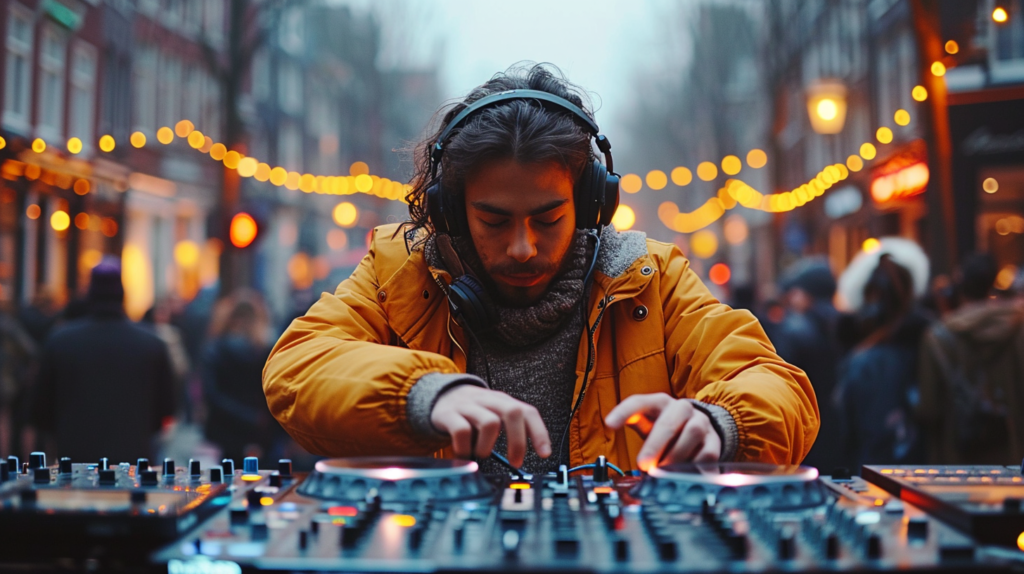
With your DJ controller now connected to your computer, the next stage is connecting speakers so you can actually hear the audio being mixed.
If your DJ controller has RCA line outputs, then connecting powered speakers or a PA system is straightforward. Use a stereo pair of RCA left/right cables to run from the RCA outs of the controller to the RCA inputs on your speakers or mixer amp. Make sure everything is pushed in snugly for solid connections.
Alternatively your DJ controller may have balanced XLR outputs instead of RCAs, which are usually found on higher-end gear. In this case, use XLR cables to connect the XLR outs from the controller to the XLR inputs on a PA system, powered tops, or separate power amps driving passive speakers. Engage any mic/line input switches accordingly.
Connect Audio Interface to Speakers
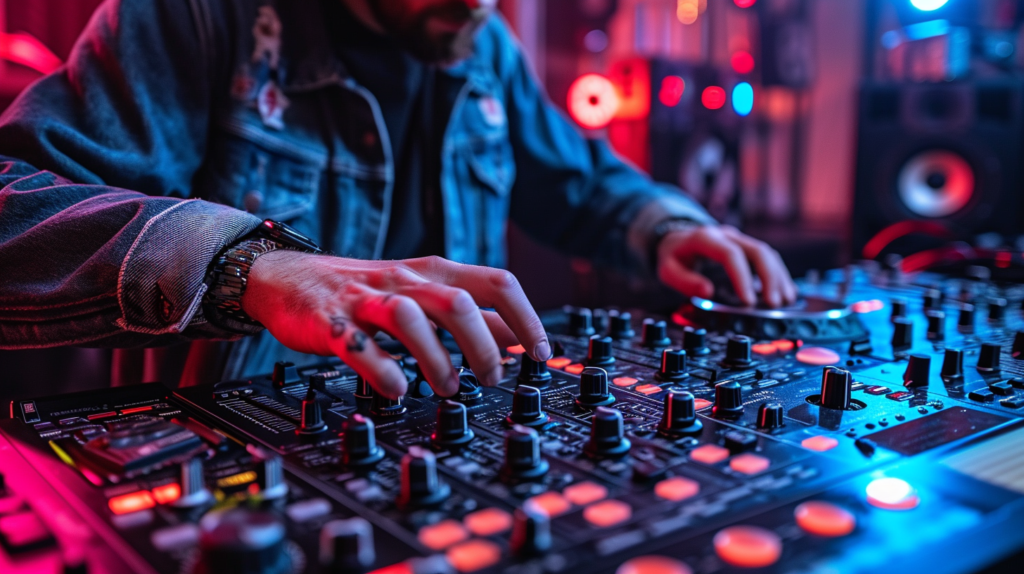
If your DJ controller lacks RCA, XLR or speaker wire outputs, you can connect it to an external audio interface to then feed sound into your speakers.
There are many compact USB interfaces with stereo outputs to accommodate this need. Some popular affordable options are the Focusrite Scarlett Solo, PreSonus Audiobox, or Native Instruments Audio Kontrol I/O.
Connect the audio interface to your computer via USB, just like you did with the DJ controller. Install any required drivers so it is properly recognized. Connect the interface outputs (likely RCA, 1/4” TRS or XLR) to your amplified speakers or PA system using the appropriate cable.
The interface will show up independently within your DJ software. Be sure to select it as your desired sound card/audio output device instead of the controller itself. This will route the master audio through the interface outputs connected to your speakers. Adjusting the hardware interface levels and software gains accordingly will control the overall volume.
Configure Software and Test Sound
Almost ready to start mixing! At this point your DJ controller, computer, speakers and any additional gear should all be connected properly. The final stage is configuring the DJ software itself and testing that audio signals flow through the entire chain properly.
Within the DJ software’s audio settings, you’ll want to select the correct outputs being used. If connected directly to speakers this would just be the controller itself as the output device. If using an audio interface in between, you would select that interface as handling the outputs rather than the controller. Make sure the outputs match the physical connections you’ve made with the hardware.
Play a test audio track in the DJ software and confirm levels register on your speakers/PA and that both sides have the correct stereo separation. Gradually turn up the volume on the software channel-strips, main mixer, interface hardware, amplifiers and speakers themselves to an appropriate level with no peaking.
At this point you can load up tracks and start mixing tunes! Your DJ controller is ready to make your speakers sing. Play around with equalizers, filters, crossfaders and all the tools at your fingertips to mix creatively. If needed you can make further tweaks to gain staging along the signal chain.
Troubleshoot Issues
Despite best efforts, you may encounter issues getting sound or with noise in your rig. Troubleshooting and identifying the root cause is key to resolving problems.
If there is no sound at all, first check your cabling and connections physically. Make sure cables are fully plugged in at both ends between your controller, computer, audio interface, amplifiers, mixers and powered speakers. Also verify the proper device is selected as the audio output within your DJ software preferences and any required drivers are installed.
If you only hear sound from one speaker side, there is likely a faulty cable or loose connection on that specific side. Check the connections at every point and try swapping cables to identify where the issue may lie. Proper stereo separation is crucial for speaker mixing.
Audible hiss, hum or static could indicate ground loop issues or interference. Try connecting all gear into the same nearby power strip and toggle off nearby appliances to check if it improves. If USB power from your laptop may be introducing noise, use a powered USB hub instead of direct computer connection. Changing to balanced XLR and high-quality shielded cables may also remedy interference.
Sound cutting out randomly may point to CPU problems if using older/underpowered computers. Close other intensive apps to allow maximum processing power for the DJ software. Disable Wi-Fi/Bluetooth and adjust power management settings that may be inadvertently cutting connectivity during set. DJ controllers and mixers use a timing protocol that can get interrupted. Upgrading your OS, BIOS, chipsets and USB drivers can possibly address this as well.
Conclusion
Properly setting up DJ controllers with output systems requires compatible gear, solid connections with quality cables, optimized audio settings, and Gain staging adjustments. Addressing any troubleshooting issues that arise will let you mix seamlessly. With the right configuration, you can bring the party from the booth to the dancefloor by perfectly integrating controllers, computers, and speakers.
