
Struggling to get your DJ controller to play nicely with those big PA speakers?
Properly interfacing modern DJ gear with professional sound systems requires understanding signal flow and how to manage gain staging across separate components.
Let’s break down the key steps on how to connect a DJ controller to a PA system to take your performances to the next level.
How to Actually Connect a DJ Controller to a PA System
To directly connect a DJ controller to a PA system, use the controller’s RCA or 1/4″ TRS outputs into the line inputs of a powered mixer, then connect the mixer’s XLR or TRS outputs to the line inputs of the powered PA speakers. Configure audio channels on both devices and test at moderate volumes to get clean sound. Let’s explore this process more in depth now.
Choosing the Right Equipment
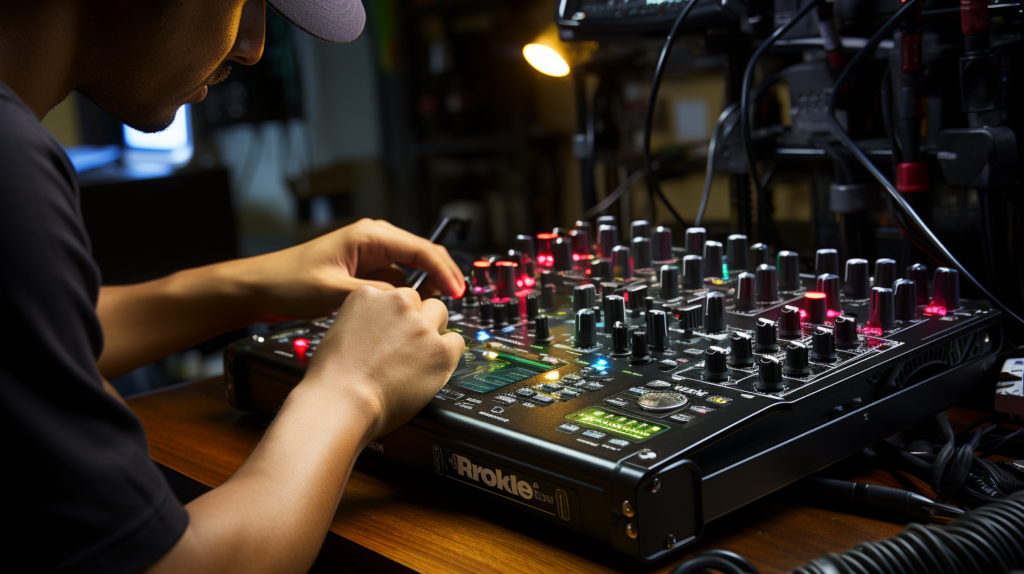
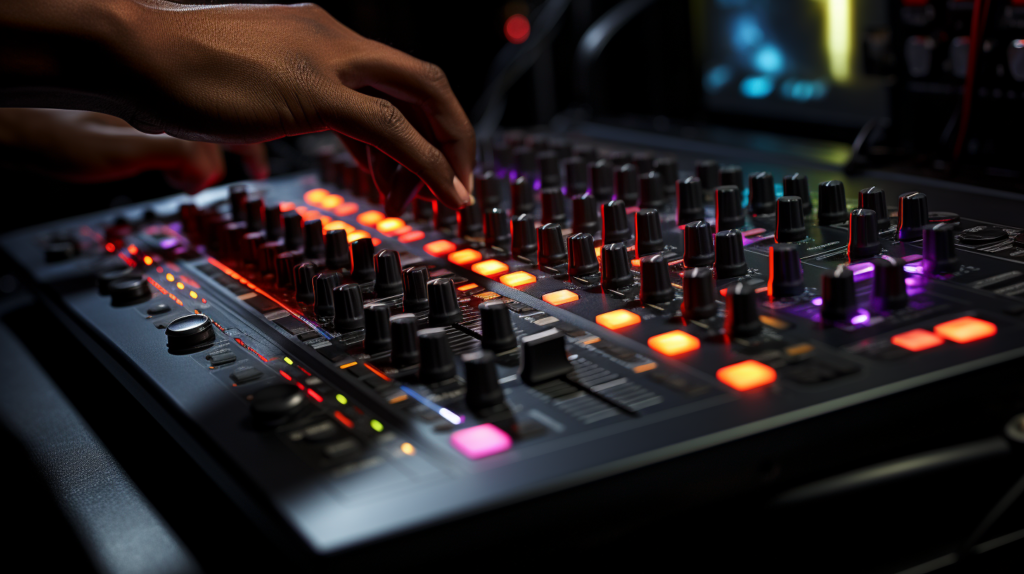
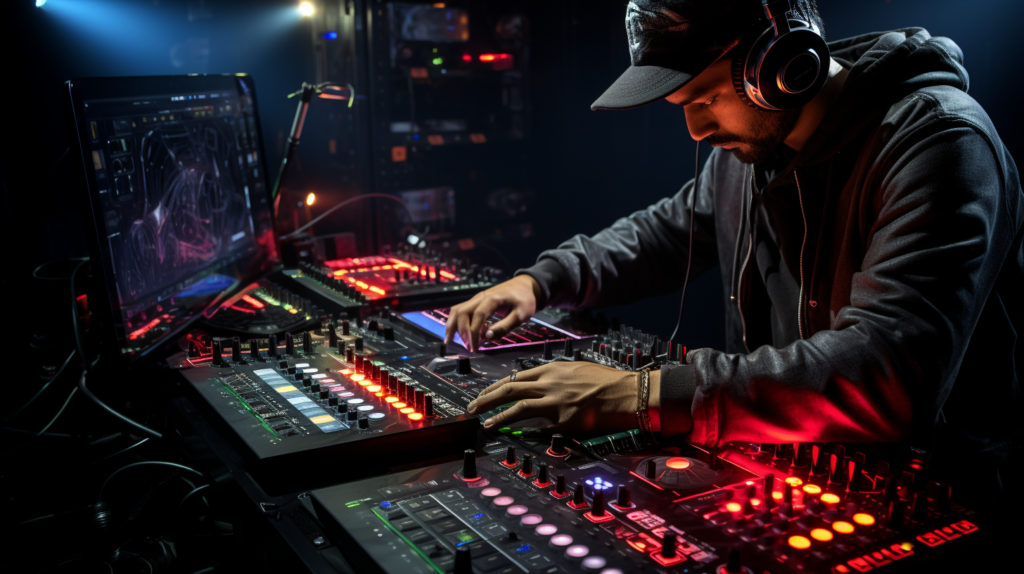
When setting up your DJ controller with a PA system, the first step is to make sure you have the right equipment. The main pieces you will need are the DJ controller itself, powered speakers for outputting the audio, a mixer to control levels, and cables to connect everything together.
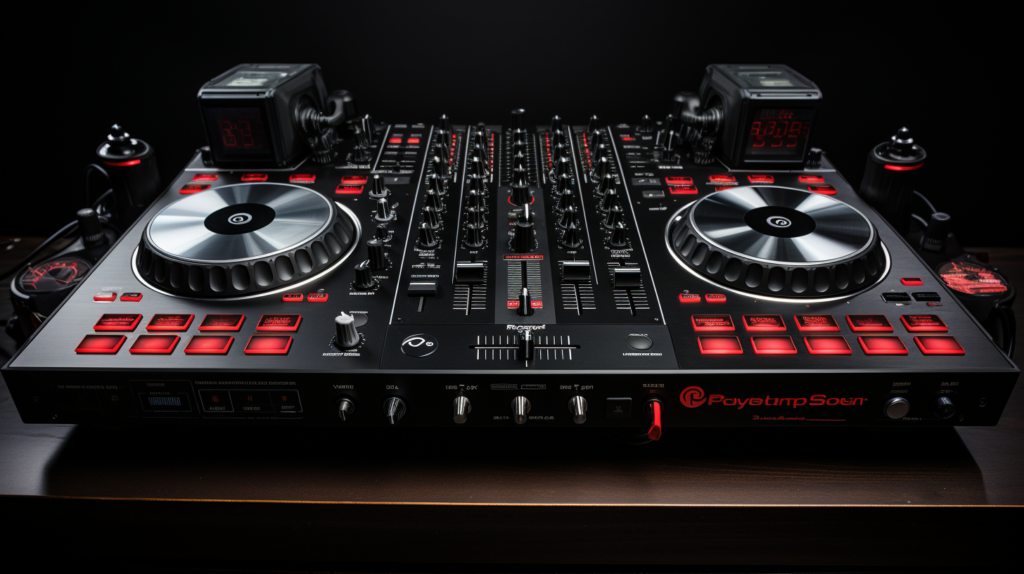
The DJ controller is the central device that enables you to mix music and control the audio. Controllers come in different sizes and configurations, but typically have outputs in the back for connecting external audio devices. These often include RCA or 1⁄4” TRS connections, but some higher-end controllers may also include balanced XLR outputs. When selecting your controller, check what outputs it offers and make sure they will work with the other devices in your signal chain.
You will also need a set of powered speakers or separate power amplifiers and passive speakers. Powered speakers have the amplifier built-in, making setup easier, while passive speakers require an external amp to power them. If going the passive route, make sure the amp provides enough power for the speakers and has the appropriate connectors. Powered speakers usually accept XLR, TRS or RCA inputs.
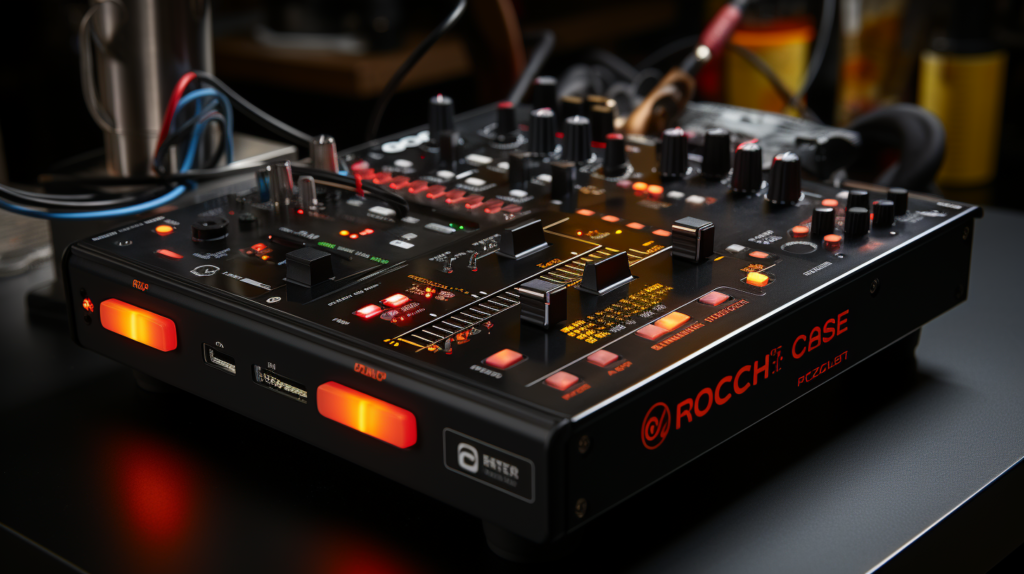
A DJ mixer is also an essential component for integrating multiple input devices, controlling levels, EQs and routing the audio to outputs. When connecting a controller to a PA system, the mixer serves as the bridge allowing you to transition between the controller and speakers. Most DJ mixers have RCA phono and line level inputs for connecting devices like turntables and controllers, along with XLR outputs to connect professional speakers.
Finally, you will need the cables to tie this system together. This includes RCA cables for connecting a controller to the mixer if both units have RCA ports. You may also need 1⁄4” TRS and XLR cables when interfacing the mixer outputs with professional powered speakers. Always use high quality cables that are up to the task.
Connecting the DJ Controller to the Mixer
Once you have assembled the necessary equipment, the next step is connecting the DJ controller to the mixer’s inputs. Most controllers have RCA or 1⁄4” TRS line level outputs, so you would connect these to a line input on the mixer, typically labeled “Line” or “CD/Media Player”.
If your mixer has specialized phono inputs for turntables marked “Phono”, avoid plugging the controller into these as they are designed for the phono cartridge signal from a turntable and could distort the audio from your controller. Always use Line inputs for devices like CD players, controllers, media players and other line level sources.
Some higher-end DJ controllers may be equipped with professional balanced XLR outputs instead of unbalanced RCA or TRS connections. If this is the case, there will often be dedicated mic or balanced line level inputs on the mixer to interface with these. When connecting a balanced output to a balanced input, use a cable that has an XLR male on one end and XLR female on the other to tie the signal together.
Set channel levels on the mixer appropriately after getting everything connected. The DJ controller itself may also have a master output control; adjust this based on the type of content being played and how loud you need the signal sent to the mixer. Proper gain staging here is important to avoid distortion or excess noise.
Getting the Mixer Connected to Speakers
The next step in the signal chain is getting the audio from your DJ mixer routed to the PA system loudspeakers or an amplifier driving passive speakers. Here you want to use the Main or Master XLR outputs from the mixer to maintain a balanced professional signal to the powered speakers or amplifier.
Always be sure to connect left to left, and right to right when mating the mixer XLR outputs to XLR inputs on speakers. The same rule applies if using 1⁄4” TRS connections. Connect the left mixer output to the left speaker input and so forth to preserve proper stereo imaging in the sound.
If routing the mixer to a multi-channel power amp driving passive speakers, connect the Left and Right mixer outputs to the Left and Right channels on the amplifier. Then speaker cables can be connected from the amplifier output terminals to respective loudspeakers while maintaining correct left/right orientation. Using professional grade speaker wire with 1⁄4” TS ends is recommended here.
The key in any configuration is making sure channels are not getting crossed between devices and cabling. Keeping signals separated into properly identified and terminated left and right channels will provide the best fidelity and stereo field.
Setting Up Channels and Mixer Controls
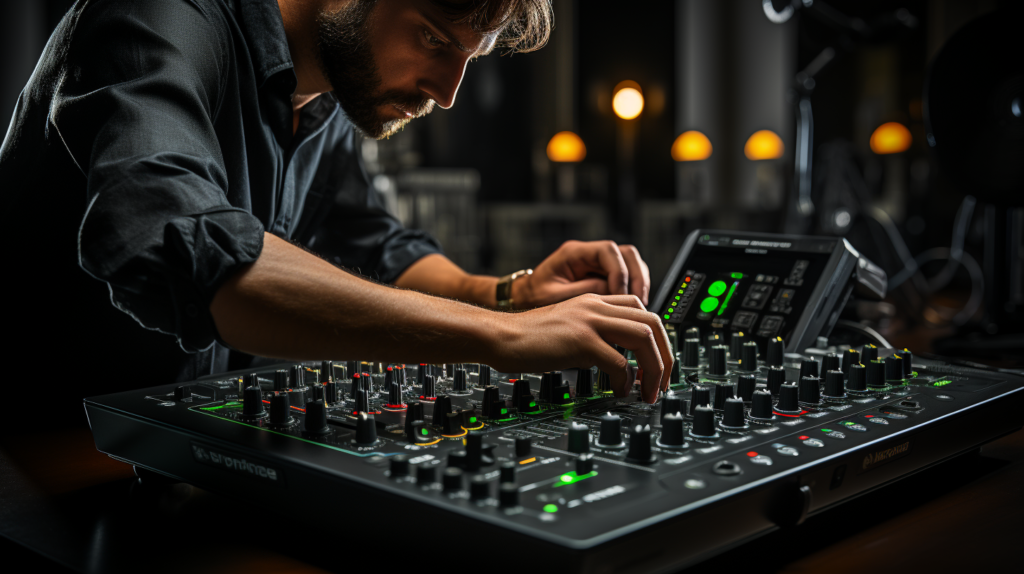
With all physical connections made between your controller, mixer and speakers, now it is time to configure the devices within the signal chain. Most DJ mixers provide individual channel strip controls for each input allowing manipulation of volume levels, EQs, routing switches and so forth.
You will first want to assign your DJ controller inputs to specific channels on the mixer. Most 2 channel mixers have Line/Phono selector switches on each channel allowing you to assign connected devices to either side of the mixing console. Set the switches to Line for the channels with your controller plugged in.
Next, check the gain/trim controls for the channels your controller is plugged into; adjust these to achieve optimal signal levels without peaking the inputs. Set EQ and other channel processing like filters accordingly for the type of content being played through the controller. You generally want to aim for flat response, but this can be tailored to taste.
The mixer’s crossfader assignment switches also enable you to control which channels appear on either side of the crossfader. Set these appropriately for the controller channels to enable bringing those signals in and out of the mix using the crossfader. The mixer’s level meters should be checked to avoid overdriving master outputs.
Finally, monitor the mixer’s Main/Master volume controls which adjust the final output signal level being sent to your PA speakers or amplification system. Find the right balance here between volume in the room and avoiding limiters engaging or overdriving amplifier inputs resulting in clipping or distortion.
Testing the System and Troubleshooting Issues
The last step is testing out the full system from the controller through cables, mixer and speakers. Play back a variety of tracks from your controller while monitoring levels across the chain. Listen critically to the loudspeakers for full range reproduction free of noise, distortion or imbalance.
Start playback at moderate levels to gauge the gain structure you have established. Make fine adjustments to output levels from the controller and/or mixer channels to maximize signal to noise in the system while avoiding audible distortion. Bring channel faders and mixer master volume up slowly while listening for problems.
If there are issues like no sound, distorted sound, bad stereo imaging or cables picking up hum, systematically trace backwards through the system while checking connections. Clean dirty connections with alcohol and make sure there are noMBd wires or shorts. Verify connectors are securely plugged all the way into their mating sockets. Swapping cables can isolate problems as well.
Getting familiar with the routing architecture and controls for each piece of gear takes some study. Consulting product manuals can help decipher their functions and applications. Take time to experiment and learn while listening critically to the audio response. This will yield best practices tailored for your equipment translating to quality sound.
With proper gain staging, routing and quality cables, connecting modern DJ gear to PA systems can provide stellar sonic results. Anticipate challenges and be diligent about correctly interfacing equipment while developing mixing skills. Utilizing tools effectively requires understanding on using them tastefully towards artful presentation and impactful delivery. Master both technological and creative technique to excel as a DJ.
Conclusion
Connecting a DJ controller to a PA system requires selecting the right equipment, making the proper cable connections between components, configuring audio channels and controls, and testing the full signal chain. With quality gear, understanding of signal flow, and attention to detail, DJs can achieve pristine sound and engaging performances. When challenges arise, systematically troubleshoot issues while learning the intricacies of your tools. Master both the technological and creative aspects to excel as a DJ.