Struggling with no sound issues when trying to connect your DJ controller to an external audio interface?
Properly integrating a DJ controller with an audio interface is essential for handling multi-deck mixing and ensuring the best sound quality when performing.
Let’s dive in to the step-by-step process for connecting your devices correctly so you can finally get audio transmitting properly from your DJ gear to your speakers.
How to Connect a DJ Controller to an Audio Interface
Connecting a DJ controller to an audio interface allows you to capture high-quality multi-channel audio from your controller and accurately transmit it to a sound system. We’ll explore the complete step-by-step process for integrating both pieces of gear seamlessly so you never have to deal with no sound problems again when DJing.
Choose Your Equipment
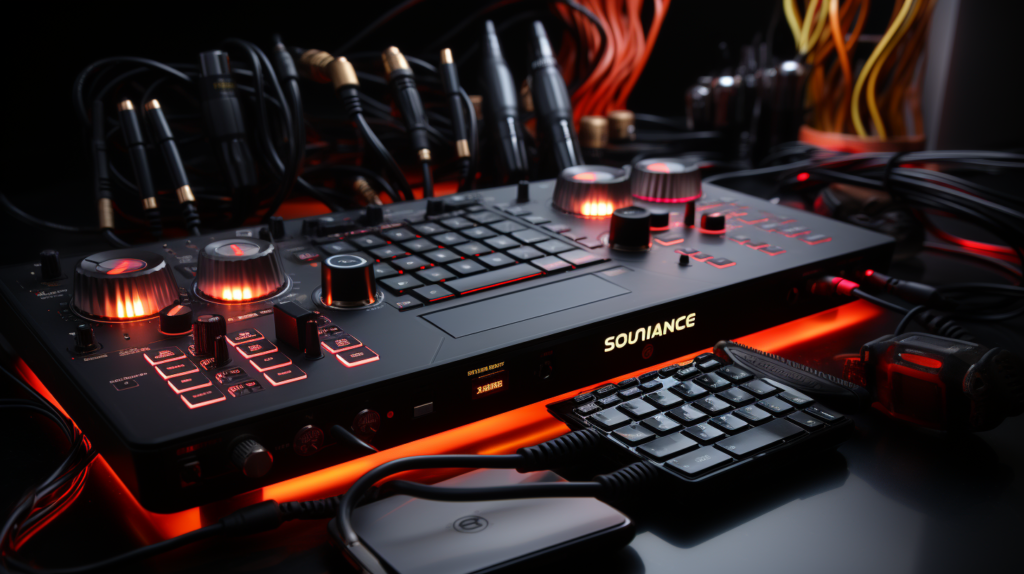
When it comes to choosing equipment, there are a few key considerations you need to make both for your DJ controller and your audio interface. For the DJ controller, you’ll want to think about factors like the number of channels it can handle, what DJ software it is compatible with, and what kinds of connectivity options it has. For the audio interface, you’ll want to consider specifications like the number of inputs and outputs, what type of connectivity it uses to connect to your computer, and its latency performance. Additionally, before purchasing anything, you’ll want to double check that the gear you’re planning on buying will in fact be compatible with each other.
The number of channels on your DJ controller refers to how many stereo audio signals it can handle. Entry-level controllers may only have two channels, while higher-end controllers could have four, six, or even eight channels. If you want to seamlessly mix between more than two tracks at once, you’ll need a controller with at least four channels. When it comes to DJ software compatibility, you’ll want the controller to work with your software of choice whether that’s Serato DJ, Traktor, Rekordbox, Virtual DJ, and so on. As far as connectivity, you’ll want to make sure your DJ controller can connect to your computer via USB at a minimum, as this is necessary for sending and receiving audio signals and control data.
For the audio interface side of things, the number of inputs and outputs will determine how many channels from your controller you can capture audio from. For example, a two channel DJ controller would require an audio interface with at least two line inputs in order to capture audio from both channels. Connectivity for audio interfaces typically includes USB, FireWire, and Thunderbolt with USB being the most common. You’ll also want an audio interface that can achieve low latency monitoring to avoid delays between your gear and headphones. Once you’ve picked out candidate gear, verify that the inputs and outputs between both devices match up and that your DJ software compatibility requirements are met.
Connect Your Controller to Your Computer
Connecting the DJ controller itself is easy enough – just use the USB cable that came included with your device and plug one end into the controller and the other into an available USB port on your computer. If your DJ controller requires any special driver software in order to function properly, make sure to have it installed on your computer before connecting your controller. Generally this driver software is available from the manufacturer’s website. After getting connected over USB, launch your DJ software of choice on your computer. Within the settings of your DJ software, you’ll need to configure the correct MIDI mapping and audio routing to match up with your controller. The software may even auto-detect your model of controller making the mapping and routing a seamless plug-and-play process.
If you’re using a third-party/aftermarket DJ controller, you may have to manually assign the MIDI and audio routing inside your DJ software’s settings menus. Refer to your DJ software user manual for precise instructions on getting everything mapped correctly. Once your controller is recognized by the DJ software, the buttons, knobs, sliders, and faders should all correspond directly with the interface in your DJ software. Your controller may have transport buttons for functions like play, cue, sync, etc. Make sure these are triggering properly in your DJ software as well. Some DJ controllers have built-in audio interfaces which can transmit audio directly over USB without requiring a separate interface. If your controller model supports this, ensure USB audio streaming is enabled on both the DJ controller itself as well as inside your computer’s settings.
Connect Your Audio Interface
In addition to getting your DJ controller connected, you’ll need to get your audio interface hooked up as well in order to send and receive signals from both devices. Most external audio interfaces will also connect to your computer’s USB port generally via USB-A, USB-C, Thunderbolt, or FireWire depending on the model. Install any required driver software from the manufacturer just as you did with the DJ controller. Most operating systems already include generic audio drivers so your audio interface may be recognized automatically without needing extra software. However it’s best to check the device manufacturer’s website and fully install the recommended drivers and firmware updates when available.
This ensures best performance and all features of your audio interface will work properly. Once everything is installed, verify your operating system recognizes the audio interface under your system settings. There should at least be a device present under audio devices labeled with the make and model of your interface. Test recording and playback through the device to confirm functionality. Adjusting buffer size and sample rate settings may be necessary at this point to prevent pops, clicks, and distortions. If you’re unable to get any signal pathway working properly between your computer and the audio interface, contact the manufacturer about troubleshooting the connectivity issues before proceeding.
Connect DJ Controller to Audio Interface
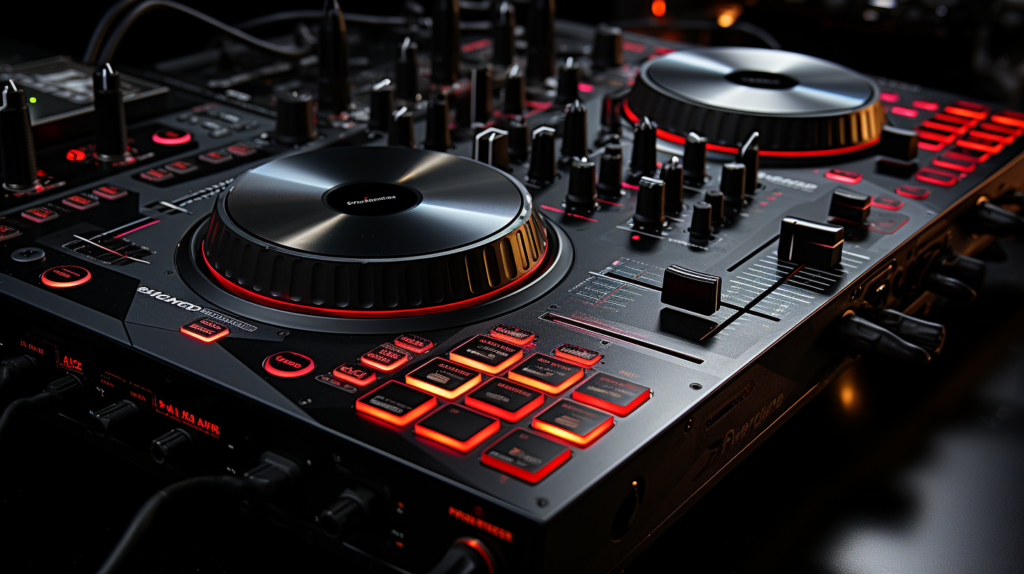
With both your controller and audio interface individually connected and recognized by your computer and DJ software, now it’s time link them together. You’ll need either 1/4″ TRS or XLR cables to send and receive audio signals between both devices. If using a two channel DJ controller, connect the left output from your controller to input one on your audio interface. Then connect the right output from your controller to input two on the interface using either of those cable options mentioned earlier. This bridges the stereo signals from the controller directly into their own channels on the interface.
For four channel DJ controllers, connect controller outputs one and two to inputs one and two on your interface for the first set of stereo signals, then outputs three and four on the controller over to inputs three and four on the audio interface to complete the interconnectivity between both pieces of gear. Refer to each product’s user manuals to confirm which ports are inputs and which ports are outputs if you aren’t sure. Typically each one will have the input/output clearly labeled on the casing. Getting all these connections paired up efficiently is essential for capturing multichannel audio and for handling transitions and effects between those channels.
Configure Your DJ Software
At this stage, the connectivity between the controller and audio interface via cabling should be complete. The final step is configuring your DJ software of choice to recognize this audio routing pathway that now links both pieces of gear. Within your DJ software, access the settings to adjust external audio device recognition and output. Change this setting from the default internal audio driver over to the audio interface device instead. Sometimes the DJ software itself will provide the necessary audio drivers upon setup so no secondary drivers directly from the interface manufacturer are needed.
Testing shows that either method generally works fine. Check the number of output channels shown in your DJ software as well to confirm what channels are being transmitted out to your audio interface. These should correlate directly to the number of connected inputs from your physical cable connections mapped earlier. For example, a two channel controller would show outputs one and two enabled in the software preferences. You may also need to define the specific channels from your DJ controller to match the input assignment on the audio interface side. Channel one on the controller should route to input one on the interface and so forth.
Set Output Volume and Mixer Levels
With all physical and software connections complete, play an audio track in your DJ software. You should immediately hear it playing through speakers or headphones connected to your audio interface outputs. Use the main volume knob on the audio interface first to set an initial volume level. This adjusts the hardware’s master output level being transmitted from the interface itself. Once you have that base volume set, use the per channel volume faders and trim knobs on your physical DJ controller to fine tune the signal strengths of each individual channel being captured into your audio interface from the controller. You’ll likely need to rearrange these mixer levels depending on what audio sources are assigned within your DJ software session at any given time.
If you cannot hear any audio coming out of your speakers or headphones after adjusting both the interface main output levels and the DJ controller mixer levels, your connectivity configuration still likely has problems. Double check that the cables between the DJ controller and audio interface are securely connected on both ends and that you’ve routed the channels appropriately based on the number of inputs and outputs from each piece of gear. Additionally verify your audio buffer size and drivers are optimized for lowest possible latency. Finally confirm the channel output assignment inside your DJ software is accurately matching the physical connectivity between your gear. Sometimes toggling these software and hardware connections off and on will reset the audio pathways. If issues persist, seek additional troubleshooting advice from experienced DJs online or contact the device manufacturers.
Conclusion
In summary, connecting a DJ controller to an audio interface requires choosing compatible gear, properly installing necessary driver software, using the right cabling between devices, configuring your DJ software to recognize the audio routing, and dialing in output and mixer levels. Following the step-by-step process outlined above will ensure your setup transmits multichannel audio from the controller to the interface efficiently. With some careful planning and testing, you can have a fully integrated DJ controller and audio interface mixing music in no time.
