Struggling with messy cables and misconfigured settings when hooking up your snazzy DJ controller?
Connecting DJ gear to your MacBook Pro is easy when you set up components in the right order and optimize software to talk to your hardware.
Let’s dive into the key steps for integrating controllers and laptops, so you can start spinning hits in no time.
How to Connect a DJ Controller to a MacBook Pro
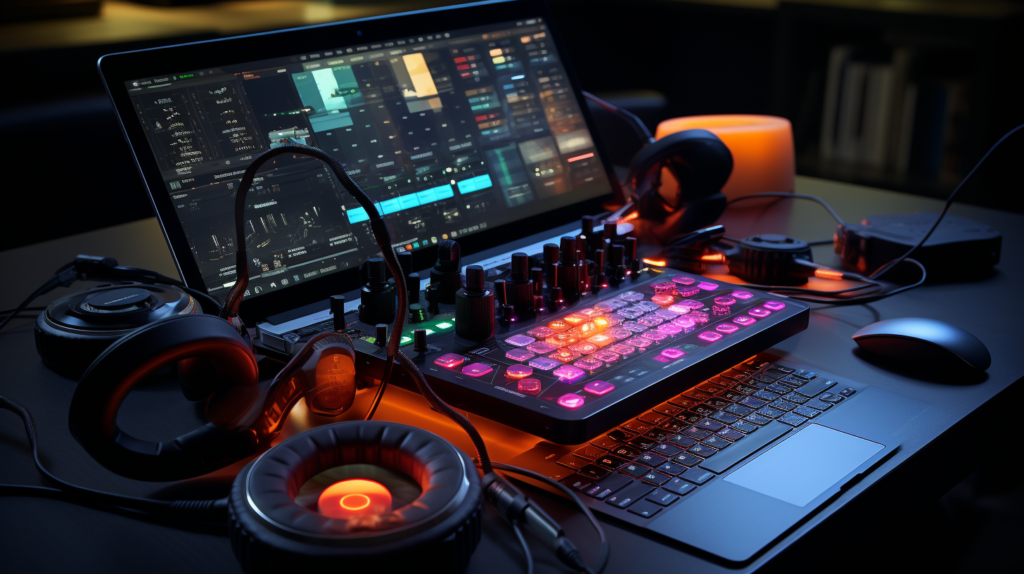
To successfully connect most modern DJ controllers to a MacBook Pro, you will need a compatible controller, DJ software, and a USB cable.
Begin by downloading DJ software like Serato or Traktor on your MacBook, then use the USB cable to connect your controller physically to your laptop. Turn on your controller and allow any required drivers to automatically install on your Mac. Route your controller as the audio interface within your Mac sound settings, assign controls in your DJ software GUI, and calibrate the hardware sensitivity. Voila, you’re all set up to start mixing! We’ll explore the specific set up details more below.
Choose Your DJ Controller
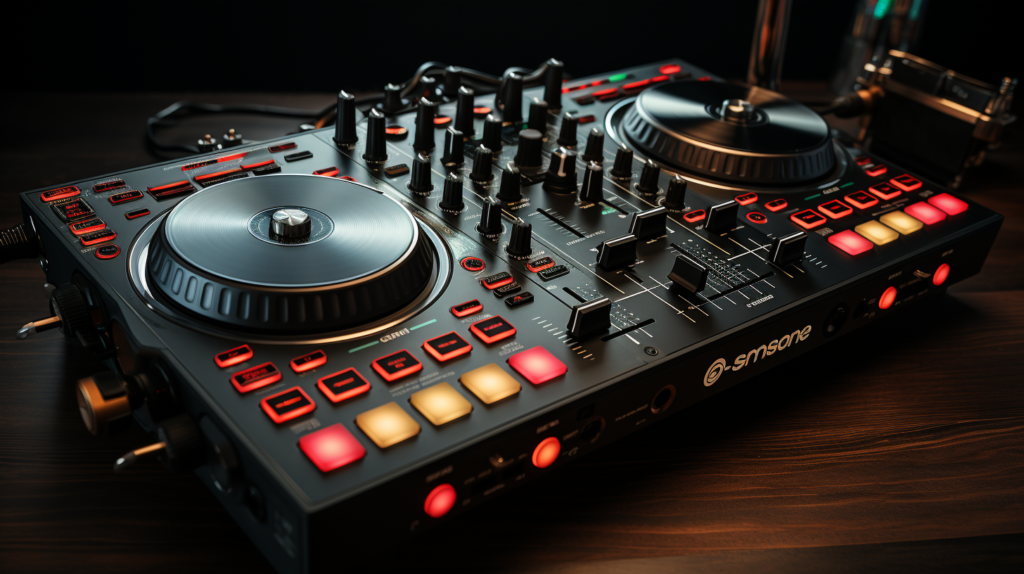
When selecting a DJ controller to use with your MacBook Pro, there are a few key factors to consider. The first is the number of channels and decks that you may need. Entry-level controllers often have two channels, allowing you to mix between two sources. More advanced controllers offer four or more channels for more intricate mixing. If you want to do extensive live remixing, advanced effects controls would also be beneficial. Most controllers come equipped with jog wheels for scratching and pitch bending, but some have touch activated platters instead. Ensure that any controller you choose is compatible with your chosen DJ software before purchasing, as some work better with Serato, Traktor etc. Many controllers nowadays connect via USB and are USB bus powered, meaning no external power supply is needed. This allows for easy connectivity with laptops. However, do check if your controller requires a power adapter, as some more advanced units do. A few popular and reliable controllers to consider pairing with a MacBook Pro include the Pioneer DDJ-SB3, Numark Mixtrack Pro 3 or the Traktor Kontrol S2 MK3.
The Pioneer DDJ-SB3 is a two channel, USB powered controller perfect for aspiring DJs. With large jog wheels, 16 RGB backlit performance pads and dedicated filter knobs, it gives you decent control over your mixes and effects without being overly complex. The Numark Mixtrack Pro 3 builds on this with an integrated sound card and slightly more advanced effects controls. For professionals, the Traktor Kontrol S2 MK3 could be a great pairing with a MacBook Pro. With four channels, hi-res jog wheels and great integration with Native Instruments’ Traktor DJ software, it offers immense creative flexibility in a portable format. When deciding on a DJ controller for your MacBook Pro, consider which feature set best suits your needs and budget.
Install DJ Software
Once you have selected your DJ controller, the next step is downloading and installing DJ software on your MacBook Pro. Most controllers today come bundled with either a light version of DJ software or a code to unlock the full version of their chosen software. If not provided, you will need to purchase DJ software separately. Serato and Traktor offer dedicated solutions designed for DJs, while Rekordbox and Virtual DJ provide more general options. Always check compatibility between your controller and software first. Brands like Pioneer, Denon and Rane often partner with specific software companies. Once you have selected compatible DJ software, download it on your MacBook through the provided website link or app store.
With the software downloaded, follow the installation wizard and launch the software once completed. You may be prompted to sign up for an account or enter your license code. Many DJ programs require hardware such as a controller to be connected before the software can be operated. If drivers are required for your controller, your Mac should automatically install these shortly after connecting your controller via USB. Firmware updates may also be pushed to your controller upon first connecting to your laptop. Updating these promptly ensures best integration between your devices. In your DJ software and MacBook audio settings, select your controller as both the input and output audio interface. This routes audio from your laptop, through your controller for processing effects, mixing etc. then back out again to your master output, speakers or PA system.
Connect Controller to MacBook Pro
Connecting your controller to your MacBook Pro is a straight forward process. Modern DJ controllers use a USB connection, so simply take the supplied USB cable that came with your controller and plug one end into an available USB port on your MacBook Pro. For best power and performance, use one of the USB 3.0 ports available on newer MacBooks. With the software already installed, plug the other end of the USB cable into your controller. The length of USB cables can vary, but a 1.5m cable should give you a decent range of movement when in front of your laptop. If the controller requires external power, plug the adapter into an outlet before connecting the controller to your laptop.
Once both ends of the USB cable are securely plugged into the controller and MacBook, turn the controller on using the power switch. In some cases your MacBook may automatically detect and install any specific drivers or firmware updates required. The DJ software on your laptop should recognize that a controller is now connected. You may need to head into the software’s settings to select this newly connected device for it to work properly. If using Serato, this external hardware is labeled as a “Serato Device”. In Traktor, external controllers show up as assignable “Input Devices”. Follow any on screen instructions to get your controller fully working with the software. Midi and audio routing, input configurations and more may need to be set up for hardware integration.
Configure DJ Software
With your controller now successfully connected and detected by software on your MacBook Pro, the next step is configuring everything to work harmoniously. Begin by assigning the respective channels, decks, platters and controls on your controller to operate various software functions. Typically channel one on your controller will pair with virtual deck one within the software. Ensure gain, trim, filter, EQ and effects controls are correctly routed to their corresponding channels. You can customize which parts of the software are controlled by particular elements on your controller through MIDI mapping. For example, the hot cue buttons or fader on channel two of your controller could trigger loops or adjust volume levels in deck two of the DJ software instead of their usual behavior. Adjust MIDI and audio buffer sizes if you notice latency between performing actions on the controller and hearing output. Reduce buffer sizes too far however and you may get pops and clicks in audio.
Set your controller as the primary audio interface within your MacBook Pro’s sound settings for routing audio. Connect external active speakers, a PA system or booth output to handle the master audio signal from your controller. Using a headphone output from your controller is important to cue and preview tracks separately before sending to the main mix. Ensure the headphone volume knob is turned up and cue buttons activate this channel. With your software, audio interface and controller now talking to each other, test playing tracks and mixing to check it is all working correctly. The jog wheels should respond accurately to nudges and scratches, while faders and EQ tweaks should map smoothly to software adjustments. You are now setup and ready to play your DJ set!
Calibrate and Practice
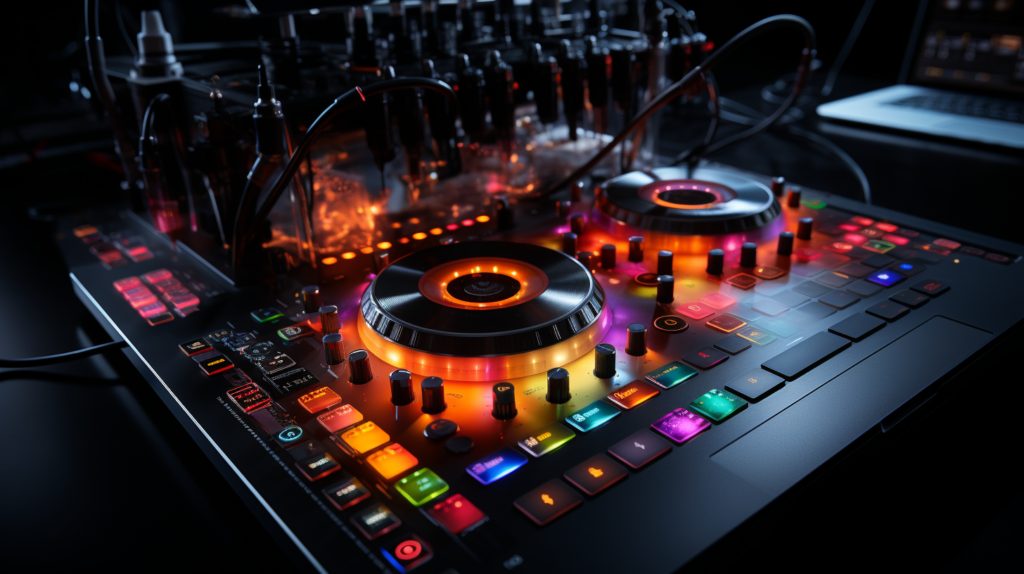
After getting your DJ controller connected to your MacBook Pro, take some time to calibrate the hardware sensitivity and practice using the equipment properly. Jog wheels in particular often need breaking in and calibrating to accurately respond to nudges and scratch techniques. Most DJ software has jog wheel sensitivity and pitch bend range settings to customize response. Set these to fit your mixing style. Slowly nudge and scratch the jogs, checking the playback responds precisely in your headphones and software GUI. Next, check faders and EQ knobs sit at the correct zero points when centered. Recalibrate any control showing incorrect values.
Using your DJ controller competently requires understanding all the modes, layered controls and options available. Spend time getting familiar with every pad, button and knob on your controller. Refer to the user manual for explanations of how to access and utilize advanced options. For example, the performance pads may control hot cues, loops or effects. Cycle through these modes to see all features accessible. Understanding all the capabilities of your controller gives greater creative possibilities when playing and crafting mixes. Don’t forget to also practice the fundamentals like accurate beatmatching by ear and smooth volume blending between tracks. Knowledge of music theory concepts helps craft harmonically interesting mixes too. Showcasing clean blends between tracks when testing out new DJ gear is always wise.
With your DJ controller now fully set up and integrated with your preferred software on your MacBook Pro, get familiar with the hardware functions and some mixing essentials before playing out your first gig. Taking the time to properly calibrate sensitive controls, learn layered modes and nail down basic techniques ensures your gear is optimized and ready to perform when it matters most. Now get mixing!
Conclusion
In conclusion, connecting a DJ controller to a MacBook Pro opens up immense creative possibilities for mixing music. By taking the time to choose compatible hardware and software, route audio correctly, assign controls, and calibrate everything precisely, DJs can leverage the processing power of a laptop combined with the hands-on experience of specialized equipment. Whether you’re an aspiring bedroom DJ or seasoned professional, integrating a controller with your Mac empowers intuitive, flexible performances. Just follow the steps outlined above and you’ll be ready to hit the decks in no time.
