Best Acoustic Panels for Recording Studio [2026]
The best acoustic panels for recording studio setups work — but only if you treat the right surfaces first, because slapping panels on random walls won’t fix flutter echo or harsh reflections in your mix.
Most home recording studios have parallel walls and hard floors that bounce your signal back into the microphone. The frustration is real: recordings that sound fine in the room but harsh and roomy on playback, mixes that don’t translate to other systems, and vocal takes with obvious reverb tails.
This happens because untreated first reflection points feed comb filtering into what you hear and what the mic captures. Once you treat those reflections, your room stops “editing” your sound for you.
The right panel placement eliminates those reflections at the source, giving you cleaner recordings and a mix position that actually tells you the truth about your sound.
Start with the wall directly behind your monitors — that fix moves the needle fastest, and the sections below cover every position step by step.
Quick Takeaway
For recording studios, prioritize 2-inch fiberglass (or mineral wool) panels at first reflection points before you buy extras for coverage. Start with your side walls and the wall behind your monitors, then add a ceiling cloud if the room still sounds “boxy.”
Always pair wall panels with bass traps because low-frequency buildup is a different problem than flutter echo. Treat reflections first, then add corner traps as you can.
| Product | Size | Link |
|---|---|---|
Best Overall 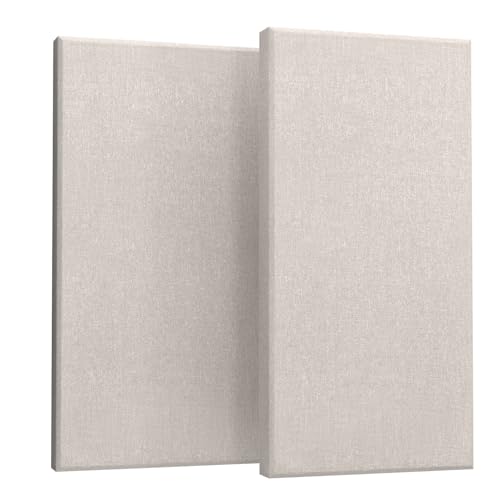 | 24 inch | See ratings |
Best Value 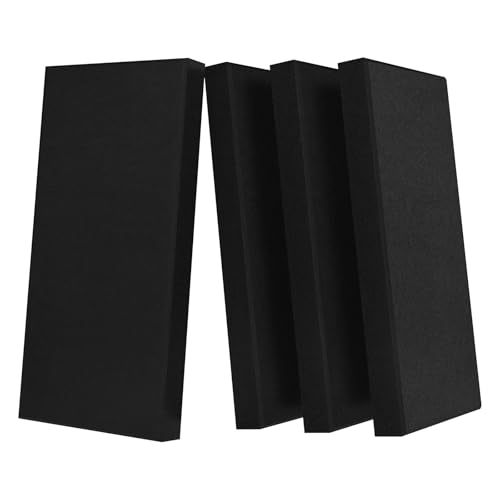 | 8 inch | See ratings |
Best Budget 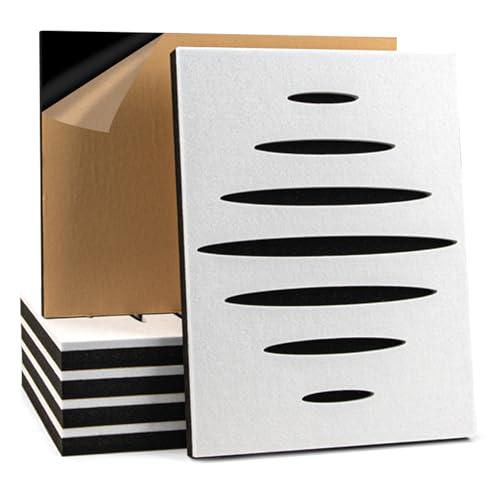 | 12 inch | See ratings |
Best for Small Studios 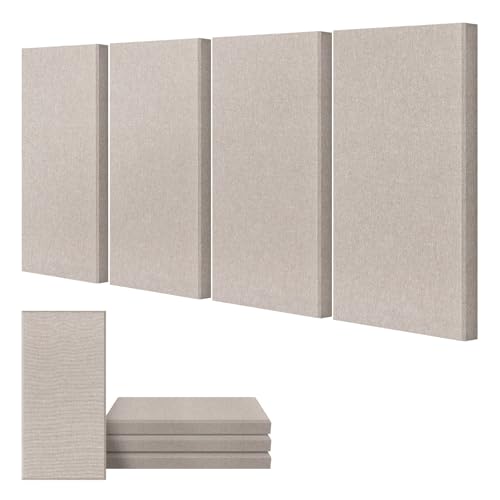 | 12 inch | See ratings |
Best for Vocal Recording 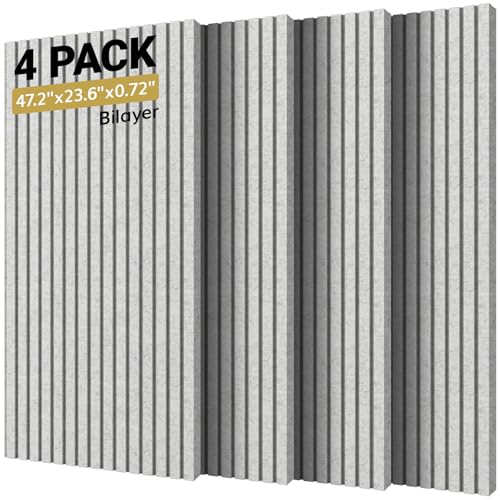 | 24 inch | See ratings |
Best for Complete Corner Coverage 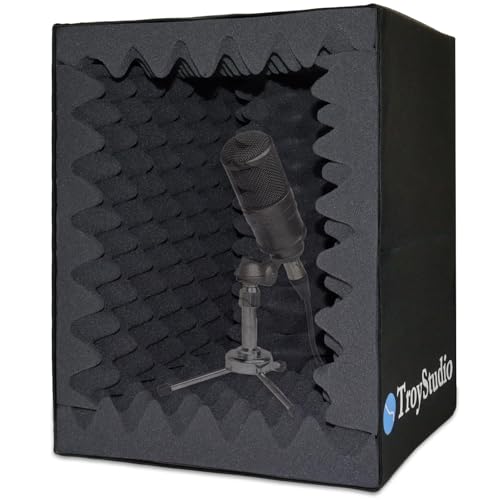 | — | See ratings |
Best Budget Bass Trap 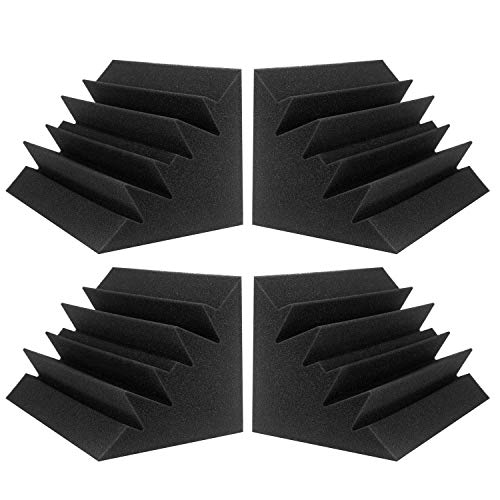 | 12 inch | See ratings |
Best Premium 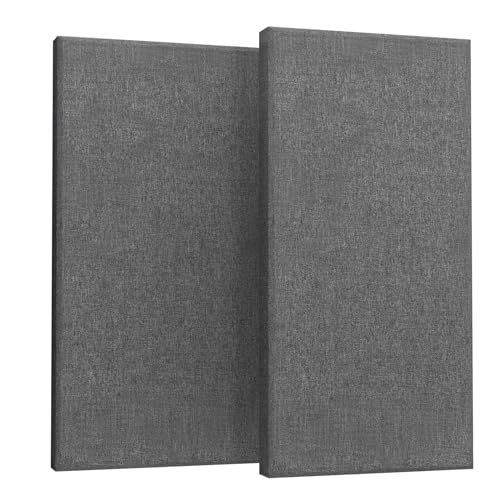 | — | See ratings |
Which Acoustic Panels Work Best for Recording Studios?
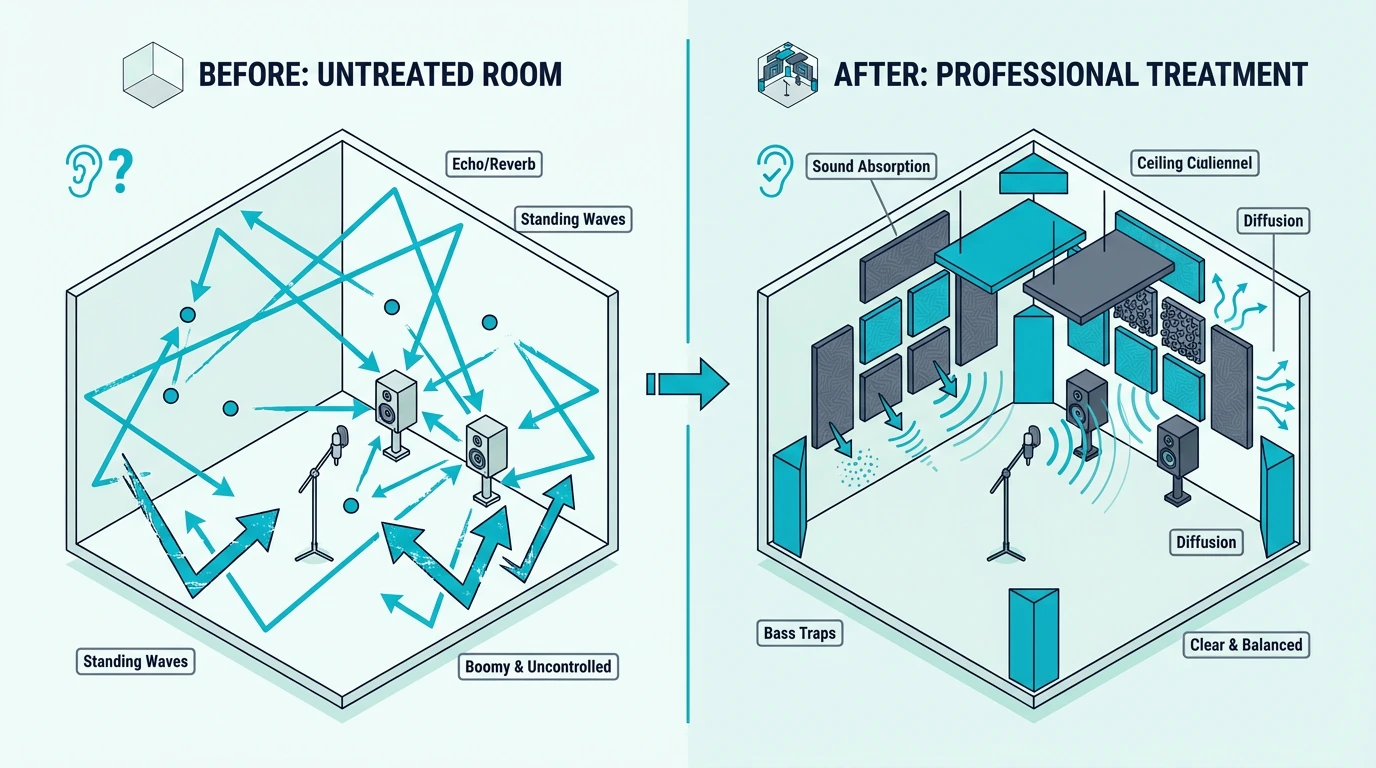
Three options stand out for recording and mixing work, ranked by what matters most: absorption performance, coverage area, and value per panel.
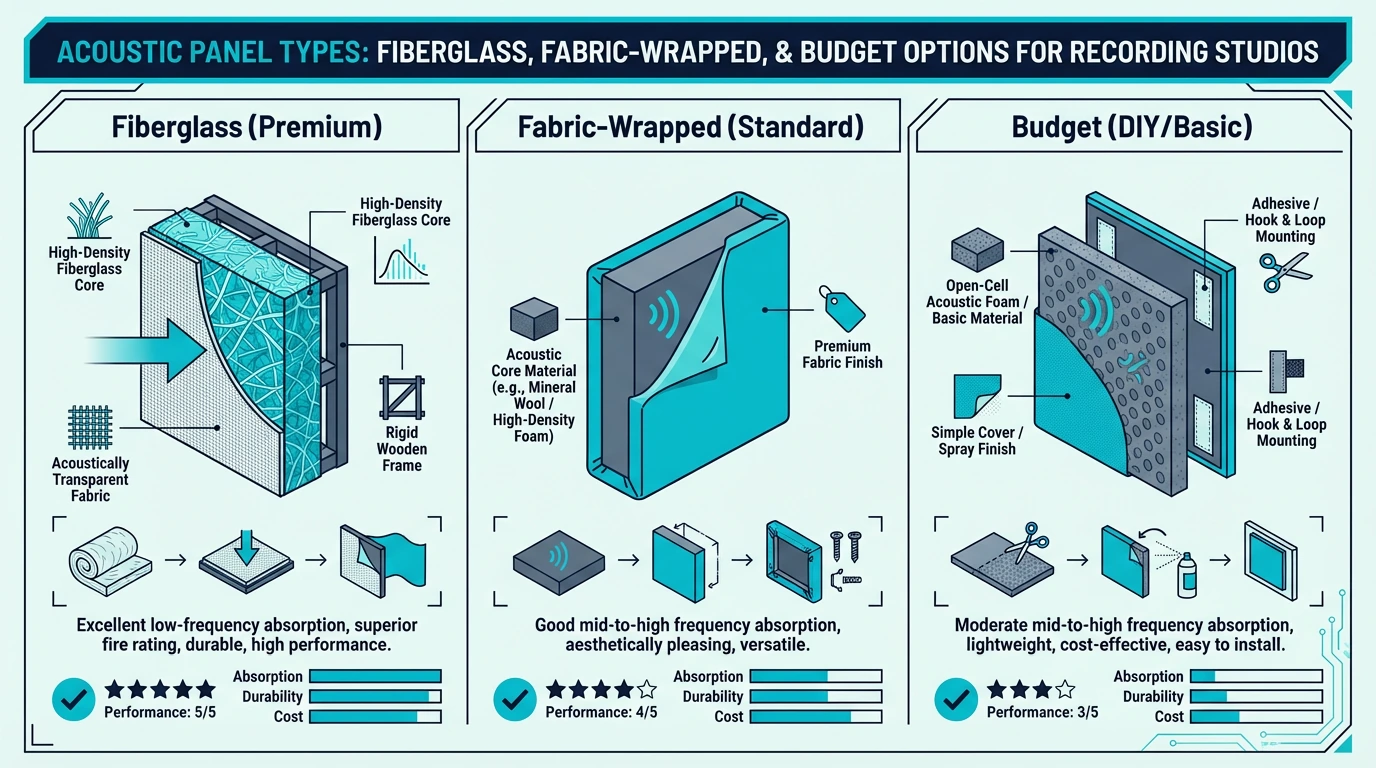
Best Overall: The UMIACOUSTICS Large 47” Panel treats nearly 8 square feet per panel with 2-inch fiberglass that absorbs everything from 250Hz up. The value is excellent for fiberglass that actually works.
UMIACOUSTICS Large 47” Panel
Best Value: The 4-pack of 23.6×11.8-inch fiberglass panels gives you four panels — enough to cover all first reflection points on both side walls. The smaller 24×12 size actually works better in compact home studios where full-size panels would overwhelm the space.
4-pack of 23.6×11.8-inch fiberglass panels
Best Budget: The Art3d 6-Pack gets you started at an entry-level price. These won’t match fiberglass performance, but they’ll tame flutter echo and harsh reflections while you save for fiberglass upgrades.
Art3d 6-Pack
Get Studio Tips Weekly
Join 5,000+ creators getting acoustic treatment advice every week.
No spam. Unsubscribe anytime.Why Recording Studios Need Acoustic Treatment
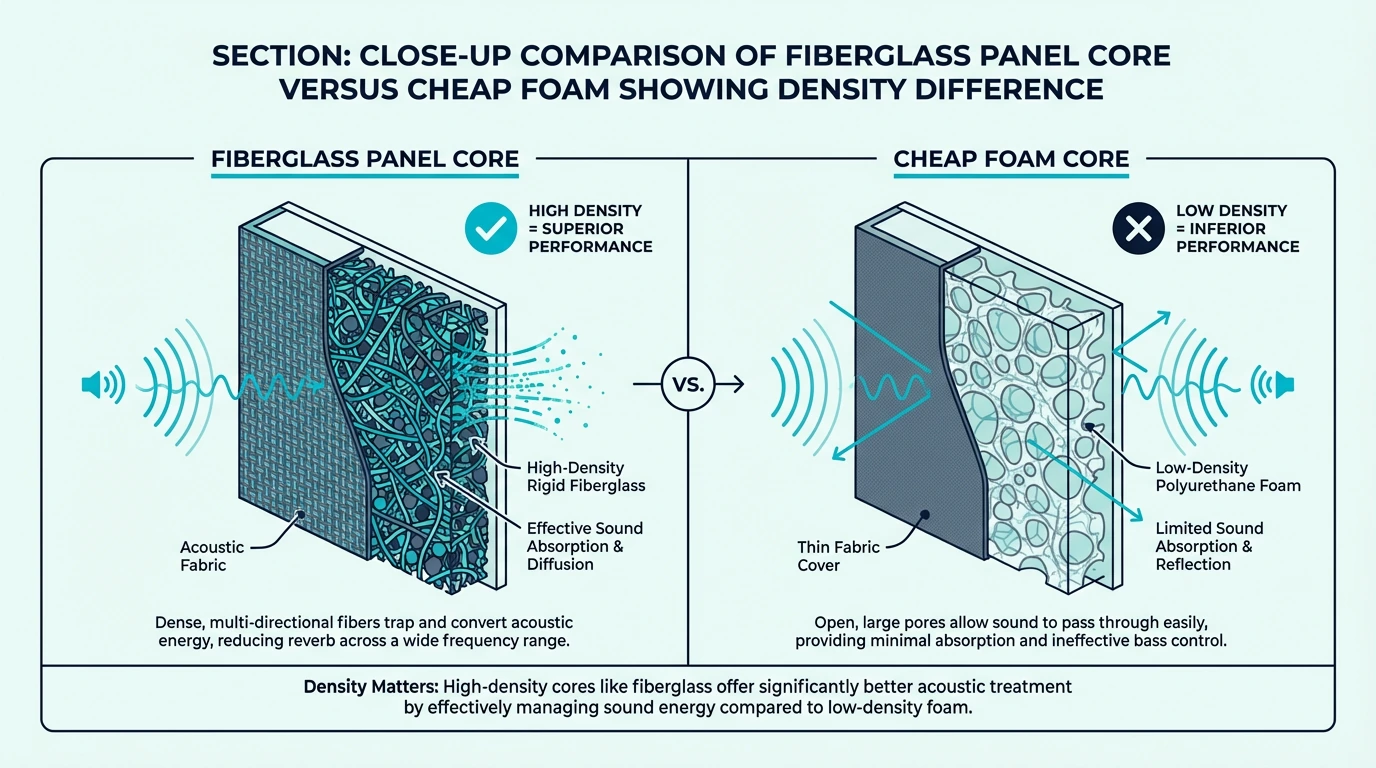
Most home studio owners get this backwards: your monitors aren’t the problem. Even quality speakers sound amateur in an untreated room because you’re hearing the room more than the speakers.
When you play audio in an untreated room, direct sound from your monitors reaches your ears first. Milliseconds later, reflections from walls, ceiling, and floor arrive — and your brain can’t separate them from the original signal.
This creates comb filtering where certain frequencies cancel out and others reinforce, completely distorting what you actually hear.
The result? You boost frequencies that seem quiet (but aren’t) and cut frequencies that seem loud (but aren’t).
Your mixes sound great in your room and fall apart everywhere else.
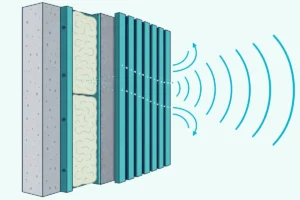
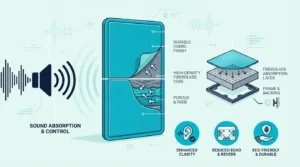
Targeted acoustic panels solve this by absorbing those early reflections before they reach your ears. Fiberglass and mineral wool cores absorb the widest frequency range — the fiberglass acoustic panels guide breaks down density and NRC differences between brands.
Which Acoustic Panels Work Best for Each Studio Application?
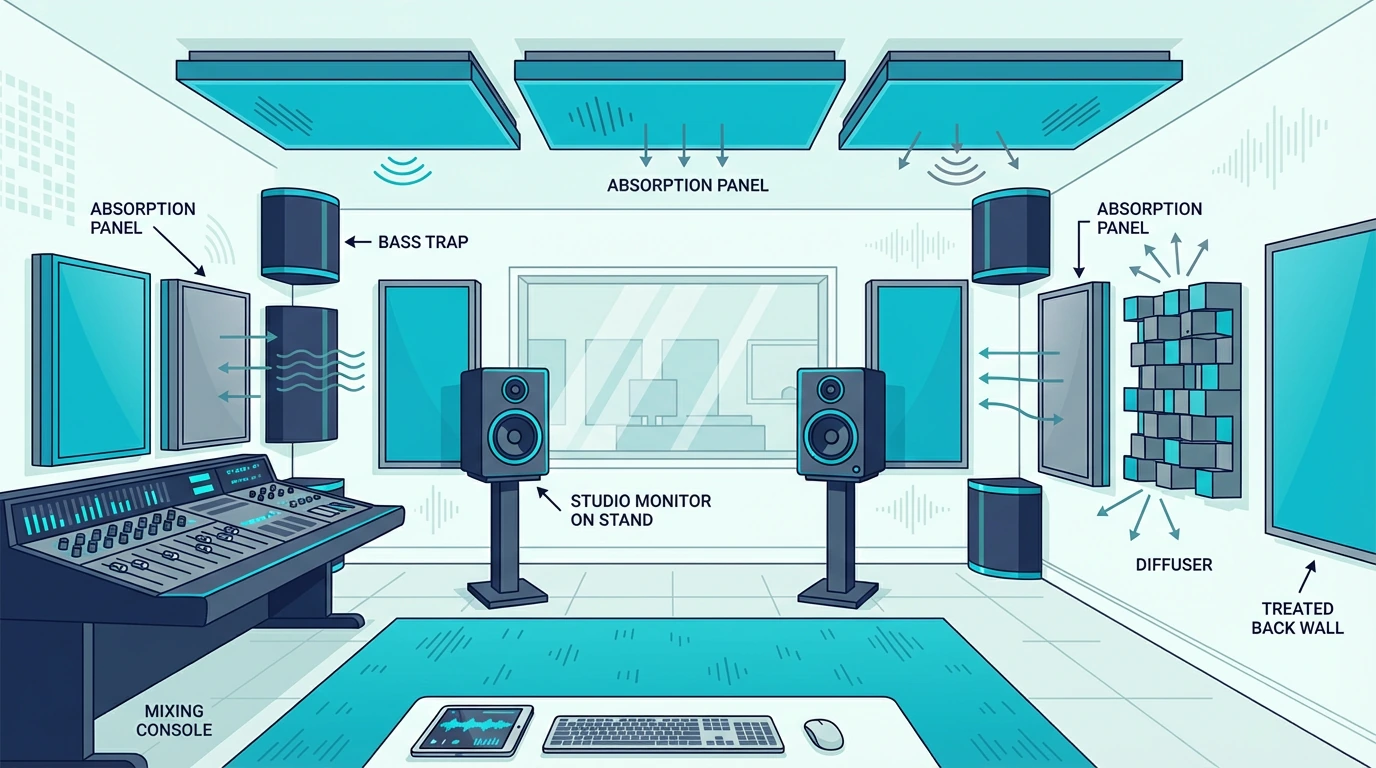
Different scenarios call for different panels. Three use cases dominate studio treatment: mixing rooms that demand flat monitoring, vocal booths that need dry signal capture, and corner zones where bass buildup hides.
Best Panels for Mixing Rooms
Mixing requires the most accurate monitoring environment because every EQ move, compression setting, and level decision depends on hearing what’s actually there. First reflection points are your priority — everything else is secondary.
The UMIACOUSTICS Large Panels handle first reflections with room to spare. Their 47×24 inch size means you can cover the entire reflection zone with a single panel per side wall, rather than positioning multiple smaller panels.
For tighter budgets, the UMIACOUSTICS 4-Pack provides the same fiberglass quality in a more compact format. Position two panels at each side wall reflection point for full coverage.
UMIACOUSTICS 4-Pack
Best Panels for Vocal Recording
Vocal recording priorities differ from mixing. You want to capture a clean, dry signal without room coloration — which means treating the area immediately around the microphone.
The TONOR Dual-Layer Panels excel here. Position two panels behind your vocalist and two on adjacent walls to create a controlled recording zone.
TONOR Dual-Layer Panels
The dual-layer construction absorbs the mid-frequencies where vocals live.
For portable vocal booths, the TroyStudio Portable Vocal Booth wraps around your mic stand, providing immediate isolation without permanent installation.
TroyStudio Portable Vocal Booth
Bass Traps: The Missing Piece
Wall panels alone will not fix bass problems. Low frequencies build up in corners where walls meet — called room modes — and only corner treatment addresses them.
Standard 2-inch fiberglass panels absorb mid and high frequencies well, but bass passes right through. That is why every treated studio pairs wall absorption with dedicated corner traps.
The JBER Corner Bass Traps fit into room corners where bass buildup is worst. One pack treats four corners, and two packs treat both floor and ceiling corners for better bass control.
JBER Corner Bass Traps
For more aggressive bass treatment, the High-Density Corner Traps use denser material that reaches lower frequencies.
High-Density Corner Traps
Where to Place Acoustic Panels in your Recording Studio
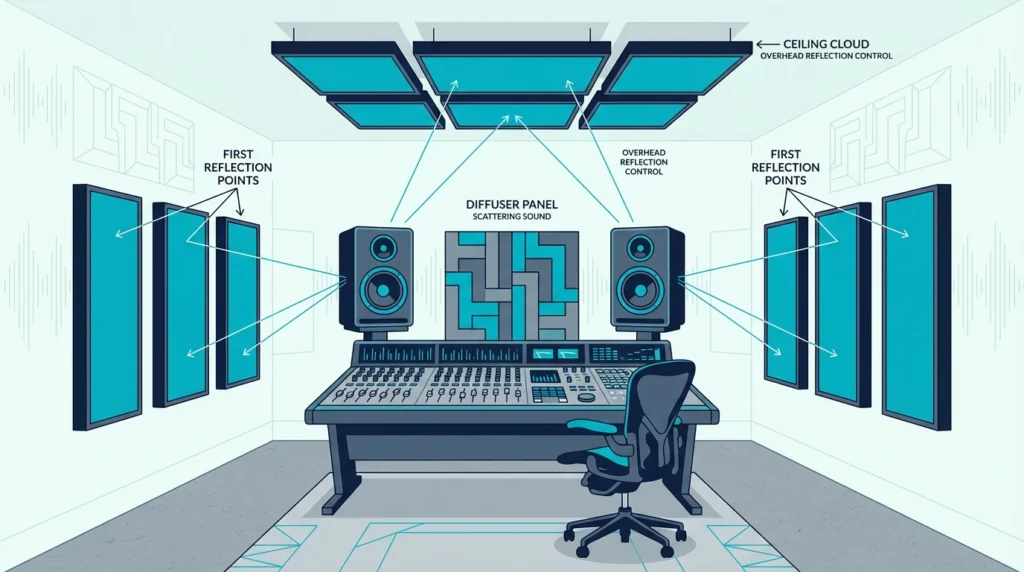
Placement makes or breaks the result. Three positions handle the bulk of studio treatment: first reflection points on the side walls, the front wall behind your monitors, and a ceiling cloud above the mix position.
Four well-placed panels outperform twelve scattered randomly — the acoustic panels resource center covers room-specific layouts if your space has unusual dimensions.
First Reflection Points (Priority #1)
The absolute highest priority are the spots on your side walls where sound bounces directly from the monitors to your ears. Comb filtering from these side-wall reflections is the single biggest monitoring problem in untreated rooms.
First reflection treatment eliminates those destructive early reflections that distort your monitoring.
Find them using the mirror trick: sit at your mix position while someone slides a mirror along the wall. Panel goes where you see your monitors reflected.
Treating these points tightens the stereo image and reveals detail that room reflections were masking.
You’ll typically find two points on each side wall, one on the ceiling, and possibly one on the front wall beside your monitors.
Behind the Mix Position
The wall behind your head creates late reflections that muddy the stereo image. Treatment here isn’t as critical as first reflections, but it noticeably improves clarity — especially for reverb and spatial effects that depend on accurate imaging.
Two panels centered behind your listening position handle this adequately. You don’t need full wall coverage.
Ceiling Treatment
Sound reflects off ceilings just like walls, creating vertical comb filtering. A ceiling cloud — panels suspended above your mix position — eliminates this reflection path and sharpens imaging height.
The acoustic ceiling panels breakdown compares mounting hardware rated for overhead weight and drywall anchor alternatives.
What Should You Expect to Spend on Studio Treatment?
Realistic budgets vary by room size and goals. Four tiers cover most home studio situations, from a starter kit to a full treatment package.
If client-facing aesthetics matter, the decorative acoustic panels roundup compares options that balance absorption with visual appeal.
Starter budget: Start with the fiberglass 4-pack at the side-wall reflection points, then add JBER Bass Traps in the main corners. This combo addresses flutter echo and tightens the low end without treating every surface.
Home studio (mid-range budget): Add the UMIACOUSTICS Large Panels behind monitors to the starter budget above. This three-point approach — first reflections, rear wall, corners — solves 80% of acoustic problems in typical home studios.
Serious studio (larger budget): Use two to three sets of UMIACOUSTICS Large Panels to cover first reflections, the wall behind your monitors, and a basic ceiling cloud. Add thicker corner traps separately if your room still has low-end ringing.
Vocal booth focus: The TONOR Dual-Layer Panels positioned behind your mic creates a controlled vocal zone even in untreated rooms.
How Many Acoustic Panels Does a Recording Studio Need?
Most home studios (100-200 sq ft) need 6-8 wall panels plus 4-8 bass traps. That covers first reflection points (4 panels), behind monitors (2 panels), and all room corners (4-8 bass traps).
Start with first reflections, then add treatment based on what you hear. The goal is not covering every wall — it is addressing specific acoustic problems.
A room with too much absorption sounds dead and unnatural, which creates its own mixing challenges. The acoustic panels hub has room-by-room guides if your studio doubles as a living space.
How Do You Choose the Right Acoustic Panels for Your Studio?
Budget and room size drive the final choice between the top performers.
If you have a dedicated mixing room and the budget allows, investing in the UMIACOUSTICS Large Panels makes the most sense. Because each panel covers nearly 8 square feet, you can treat your entire first reflection zone with fewer panels, resulting in a cleaner, more professional look on the wall. The tradeoff is that you have to be willing to mount heavier fiberglass boards securely.
If you’re treating a smaller space under 150 square feet, the fiberglass 4-pack offers more flexibility. The smaller panel dimensions allow you to dial in placement precisely without overwhelming the room, making it the perfect starting point when you want to treat the room in stages rather than doing it all on day one.
If you are simply trying to survive a temporary rental space and cannot drill holes, budget foam panels remain a valid last resort. They won’t touch the low-end frequencies, but they will tame harsh flutter echo immediately while you save for a permanent fiberglass setup.
The full acoustic panel roundup covers every budget tier and room size if none of these profiles match your setup.
The Bottom Line
The best acoustic panels for recording studio use prioritize absorption coefficient and placement over quantity. One rule runs through everything above: treat first reflection points first with quality 2-inch fiberglass panels, add bass traps to corners, then expand based on what your ears tell you.
The room is the most overlooked component in any studio — and room treatment costs less than most microphones or plugins but improves every recording and mix you’ll ever make in that space. Start with the small fiberglass panel 4-pack for first reflections if budget is tight, or the UMIACOUSTICS Large Panels if you want the best performance per panel.
The full acoustic panels roundup compares hardware options, mounting techniques, and maintenance tips matched to your wall type and studio setup.
Frequently Asked Questions
Should I use foam or professional panels for my studio?
Professional panels with fiberglass cores outperform foam across all frequencies that matter for recording and mixing. Foam absorbs high frequencies (above 1kHz) reasonably well but barely touches midrange and low frequencies where most room problems occur.
That said, foam isn’t useless — it’s just incomplete. It can tame harsh high-frequency reflections while you save for fiberglass panels.
If your studio also serves as a visible workspace, the art panel roundup compares options that double as wall decor without sacrificing absorption performance.
How much should I spend on studio acoustic treatment?
Budget 10-15% of your total studio investment for room treatment. For most home studios, that usually means 6 fiberglass panels plus corner traps, starting with first reflection points.
Underspending on treatment while owning quality monitors is backwards — the room affects sound more than the speakers themselves.
How many panels do I need for a home studio?
Most home studios (100-200 sq ft) need 6-8 wall panels plus 4-8 bass traps. That covers first reflection points (4 panels), behind monitors (2 panels), and all room corners (4-8 bass traps).
Start with first reflections using the four-panel fiberglass set, then add bass traps with the JBER 4-Pack, then expand from there based on what you hear.
Do acoustic panels soundproof a room?
No — and this misconception comes up constantly. Acoustic panels control sound within a space by absorbing reflections.
Soundproofing blocks sound from traveling between spaces and requires mass, decoupling, and sealing — not absorption panels.
If neighbors hear your music, panels won’t help. You need construction solutions like room-within-a-room builds, mass-loaded vinyl, or isolated doors.
Panels only improve what you hear inside the treated room.
What’s the difference between absorption and diffusion?
Absorption panels soak up sound energy, reducing reflections and reverb. Diffusion panels scatter sound in multiple directions, maintaining energy while eliminating flutter echo.
Studios typically use absorption at first reflections and diffusion on rear walls.
For home studios under 200 sq ft, focus entirely on absorption first. Diffusion becomes relevant in larger rooms where you want to preserve some ambience while controlling specific reflections.