You’ve invested in high-quality acoustic panels, and you’re one step closer to achieving the perfect sound environment.
But wait—those panels aren’t going to fit themselves magically to your walls or ceilings. What’s the next step? A simple yet decisive cut.
Cutting acoustic panels isn’t just a step; it’s a pivotal moment that determines how effective your investment will be.
Whether you’re working with foam, fabric-wrapped, or polyester panels, the way you cut them will influence both their appearance and functionality.
Done wrong, you risk not only wasting materials but also compromising on sound quality.
So, how do you master the art of cutting acoustic panels to ensure you get the most out of them?
In this comprehensive guide, we’ll take you through every detail, from the tools you’ll need to the techniques that guarantee a perfect fit.
Grab your utility knife; it’s time to make that crucial cut.
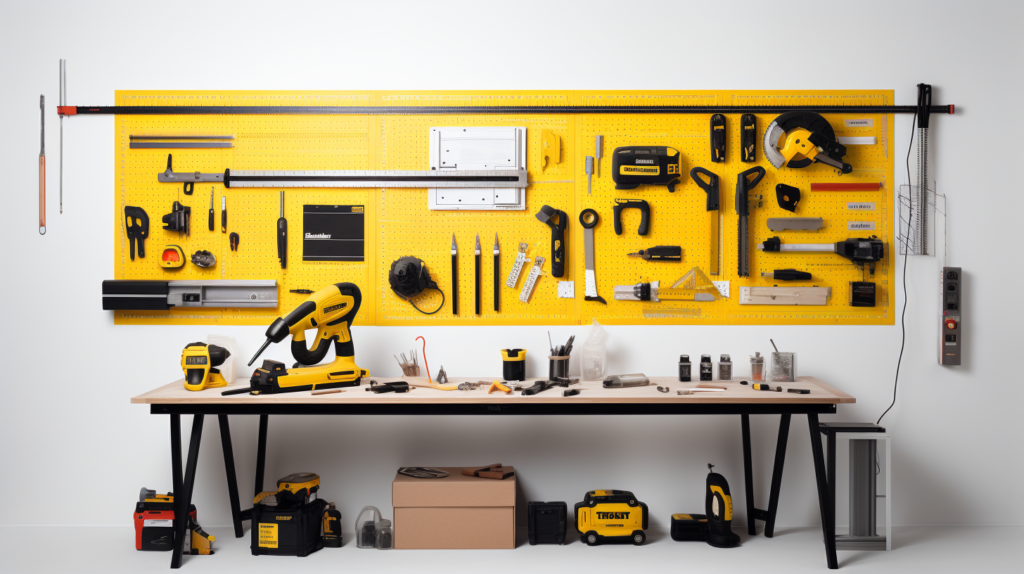
What Tools and Materials Do You Need to Cut Acoustic Panels?

Selecting the appropriate tools and materials is the cornerstone of a successful acoustic panel cutting project.
It’s not enough to have just any utility knife; you need one that features a sharp, durable blade for clean, precise cuts.
A straight edge or a ruler is not optional but a necessity. This tool acts as your guide, ensuring that every cut you make is straight, uniform, and in line with your measurements.
Measuring tapes and marking pencils join the list of must-haves. A measuring tape helps you take accurate measurements, which are crucial for making precise cuts.
A marking pencil, preferably one that can mark clearly but is also erasable, is used to mark the areas to be cut.
Without these basic but indispensable tools, you’re setting yourself up for mistakes that could be both time-consuming and costly to rectify.
What Safety Precautions Should You Take When Cutting Acoustic Panels?
Neglecting safety precautions is a mistake you don’t want to make when cutting acoustic panels.
A well-ventilated workspace is not just a comfort feature but a safety requirement.
Proper ventilation ensures that any particles or fumes generated during the cutting process are quickly dispersed.
This is particularly important if you’re working with materials that may release volatile organic compounds (VOCs) when cut.
Eye protection is another non-negotiable safety precaution. Safety glasses shield your eyes from any debris that may be produced during cutting.
Similarly, wearing gloves can protect your hands from accidental cuts or nicks. Before diving into the project, take the time to set up a secure and safe work environment.
Rushing through this step can lead to accidents, which are always more troublesome to deal with than setting up safety precautions in the first place.
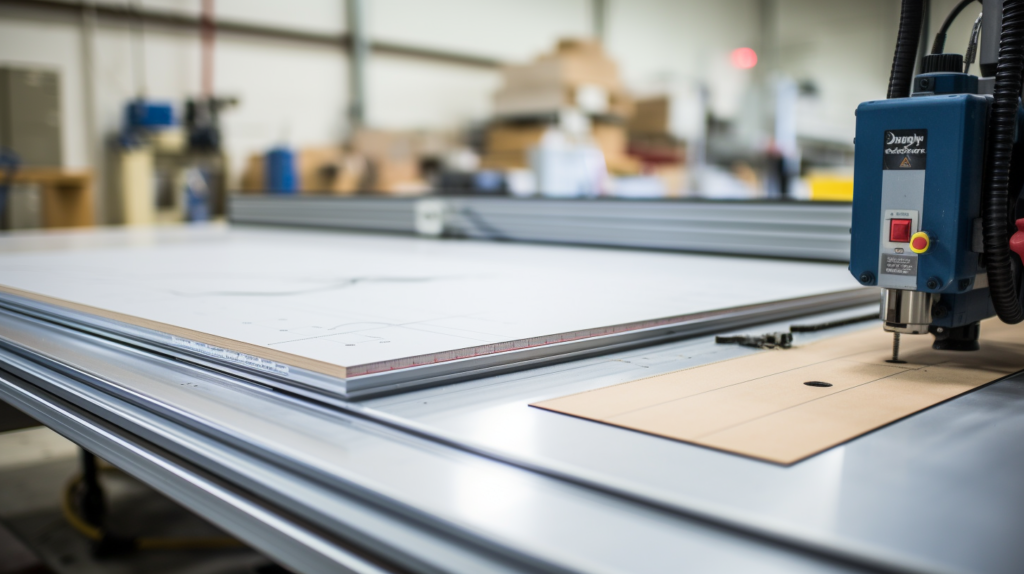
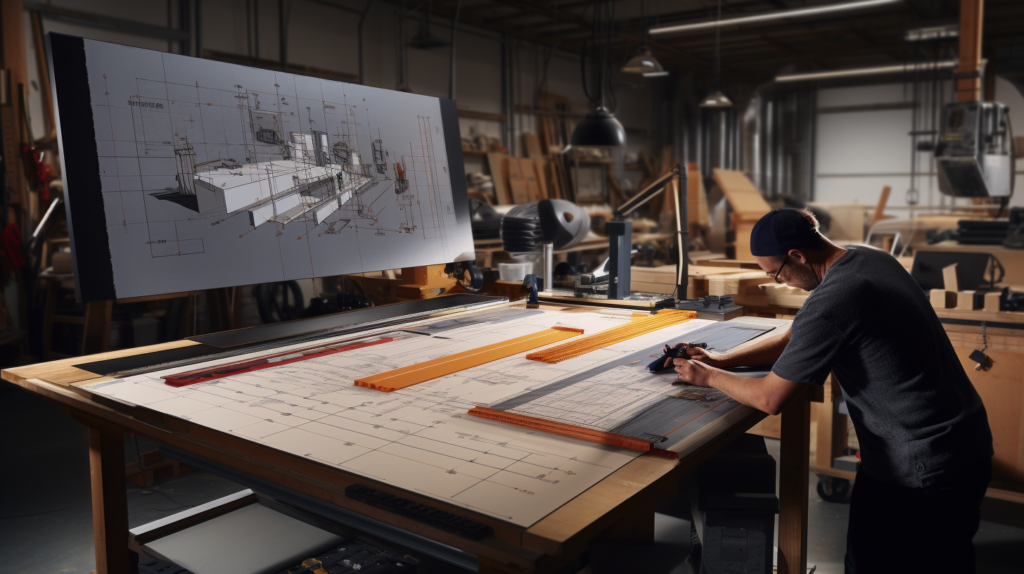
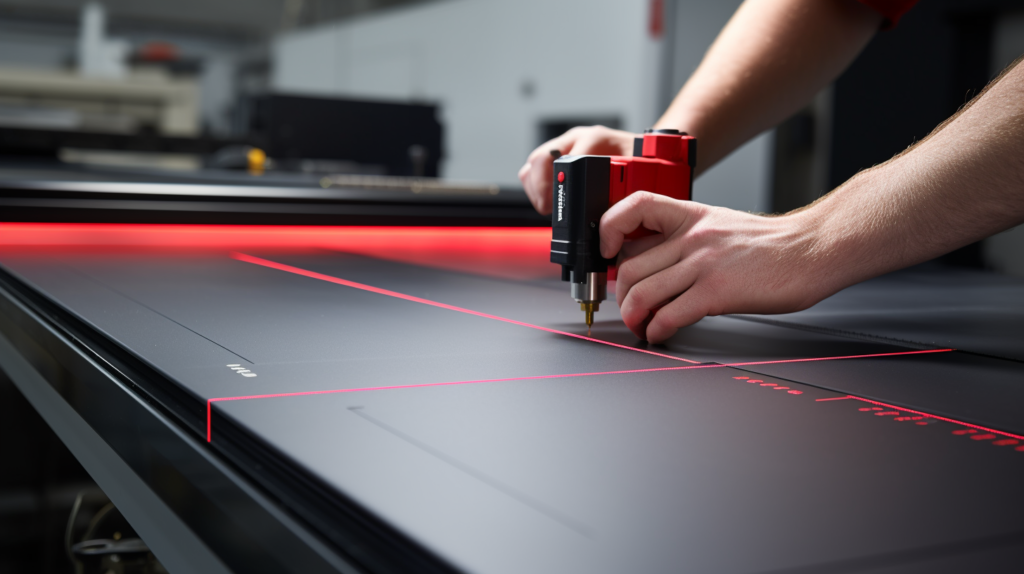
How To Prepare Acoustic Panels for Cutting
Preparation is the unsung hero of any successful project.
Begin by laying out your acoustic panel on a flat, stable surface such as a workbench or a large table.
This provides you with the stable base you need to make accurate cuts.
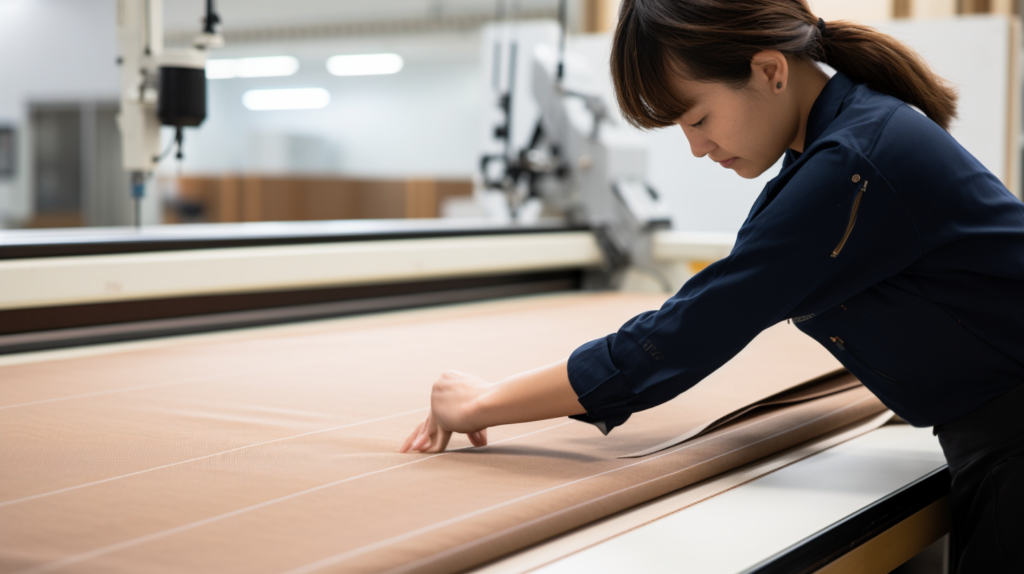
A measuring tape becomes your best friend at this stage.
Use it to take precise measurements based on the dimensions required for your project.
Once you have your measurements, it’s time to mark your cutting lines.
A marking pencil and a straight edge, such as a metal ruler, will help you draw clear, straight lines on the panel.
This step is crucial and deserves your utmost attention.
Always remember the old adage: measure twice, cut once.
Double-checking your measurements and markings can save you from costly and time-consuming mistakes down the line.
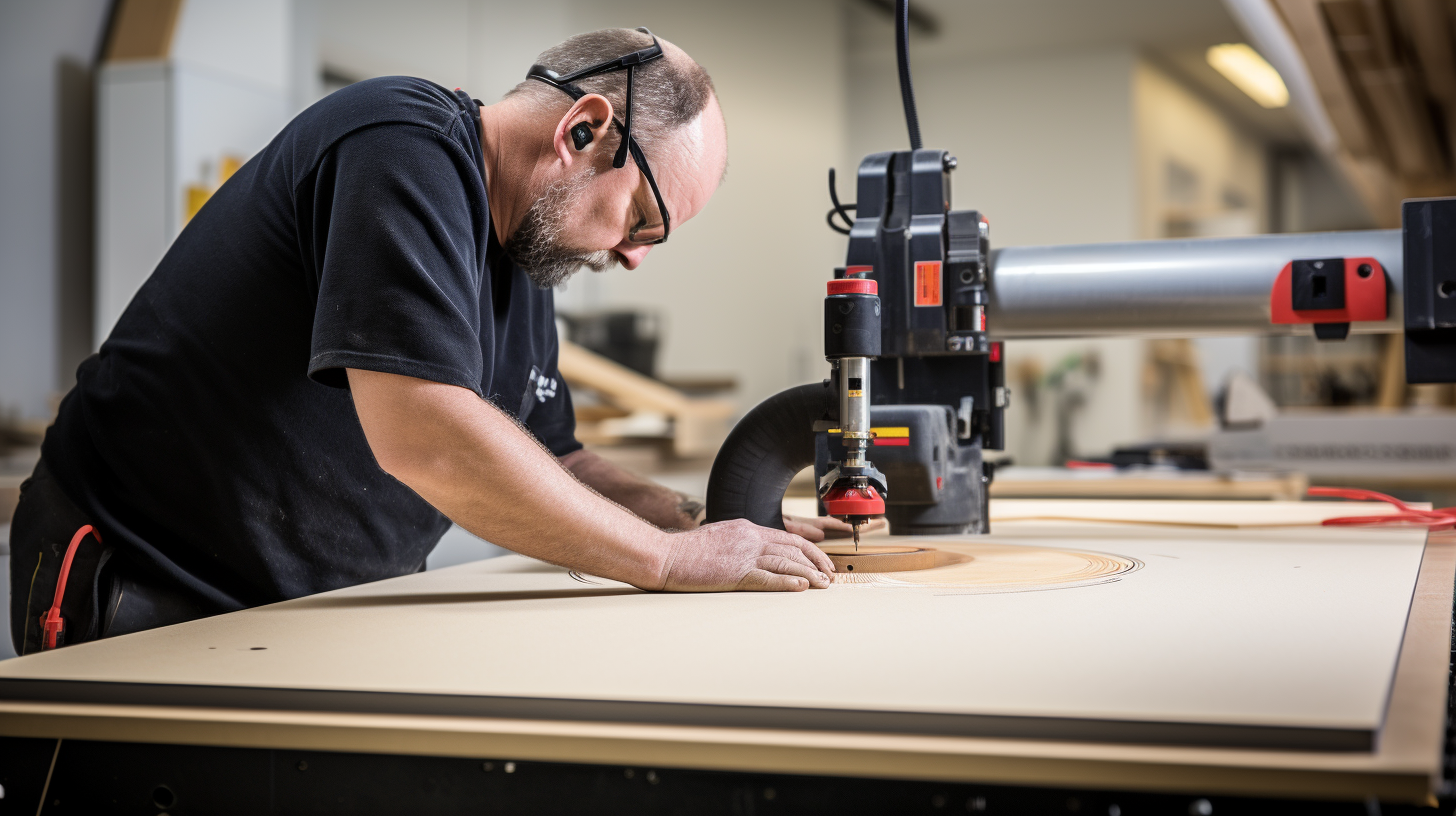
How To Cut Foam Acoustic Panels

Foam acoustic panels are among the easiest to cut, but that doesn’t mean you can be lax in your approach.
A utility knife with a sharp blade is crucial.
A dull blade can tear the foam, resulting in uneven edges that are not only unsightly but also less effective for soundproofing.
Lay the foam panel flat on your work surface and align a straight edge along the marked lines. This will serve as your guide for the cutting process.
When you begin cutting, apply steady, even pressure on the utility knife. Rushing through this step can result in jagged, uneven cuts.
Instead, take your time and make multiple shallow cuts until you’ve cut through the panel.
This method is generally more effective than attempting a single, deep cut and reduces the risk of tearing the foam.
The result is a cleaner, more professional-looking edge.
How To Cut Fabric-Wrapped Acoustic Panels
Cutting fabric-wrapped acoustic panels requires a meticulous approach because you’re essentially dealing with multiple components: the fabric, the internal acoustic foam, and the wood frame.
The process is more involved than cutting foam or polyester panels but can be managed smoothly with careful planning.
Start by carefully removing the fabric from the wooden frame. This might involve unfastening staples or peeling back adhesive, depending on how the fabric is attached.
Once the fabric is removed, the next step is to tackle the wooden frame. Use a saw suitable for cutting wood to trim the frame down to your desired dimensions.
After cutting, glue the frame back together, ensuring it maintains a sturdy structure.
With the frame resized, you can now focus on the internal acoustic foam or fiberglass. Cut this material so it perfectly fits inside the newly sized frame.
Use a sharp utility knife for foam or specialized cutting tools for fiberglass, making multiple shallow cuts for the cleanest edges.
Finally, it’s time to re-wrap the panel. Cut your fabric so it will perfectly cover both the foam and the frame.
Staple or adhere the fabric back onto the wooden frame, taking care to smooth out any wrinkles or folds.
This will give you a clean, professional appearance as well as a functional sound-absorbing panel.
This method ensures that all components of the panel—fabric, frame, and internal material—are cut and reassembled precisely, maintaining both the functional and aesthetic integrity of the panel.
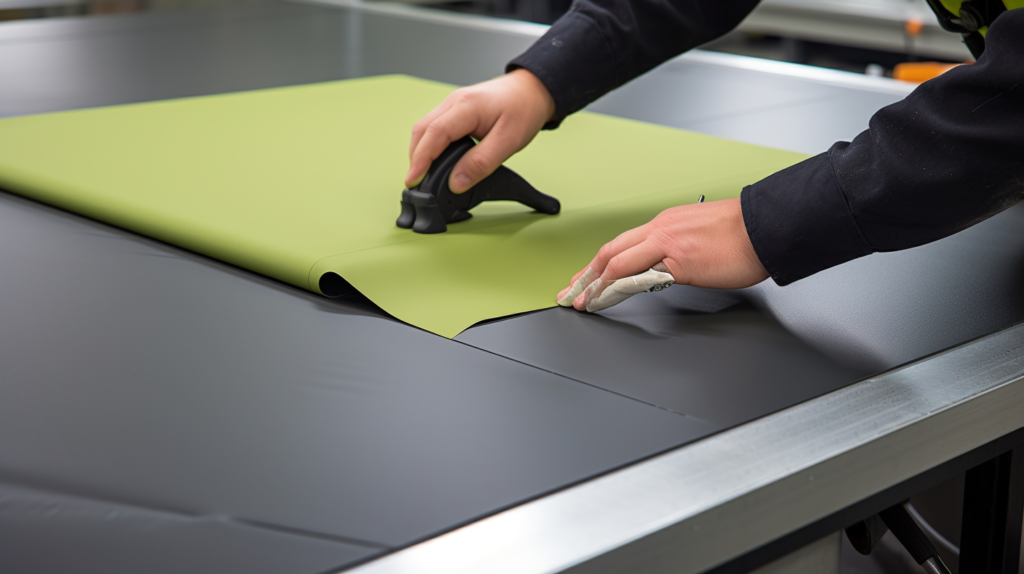
How To Cut Polyester Acoustic Panels

Polyester acoustic panels are known for their durability, but this also means they require a bit more effort to cut.
A sharp, sturdy utility knife is your tool of choice for this material. As with foam panels, lay the polyester panel flat on a stable surface.
Align a straight edge along the lines you marked earlier to guide your cuts.
The technique for cutting polyester panels is similar to that for foam panels. Multiple, shallow cuts are the way to go.
This approach minimizes the risk of the material bunching or tearing, resulting in cleaner cuts.
Given the density and rigidity of polyester panels, it’s particularly important to make sure your utility knife is sharp.
A dull blade will make this task more difficult and could result in jagged, uneven edges.
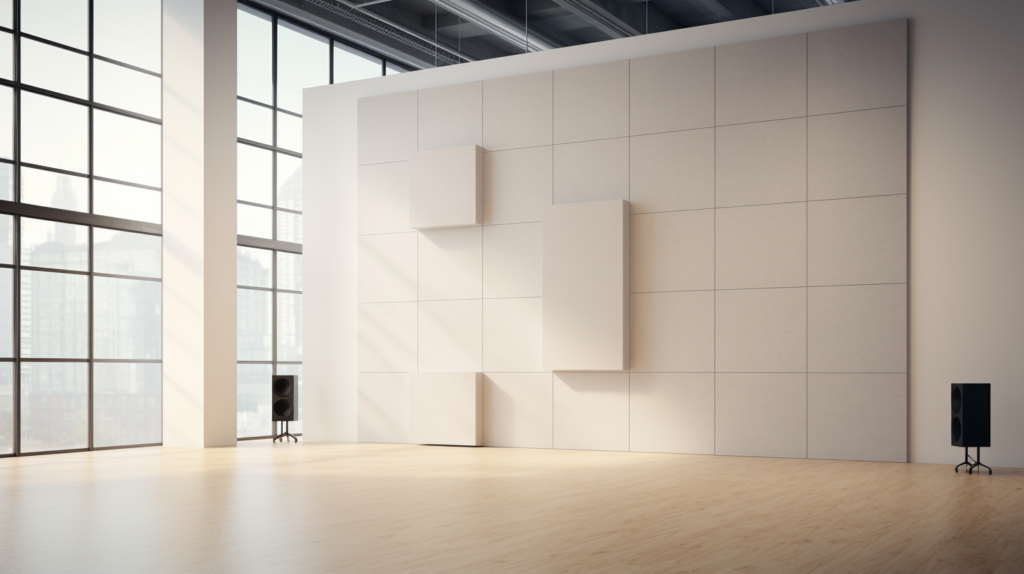
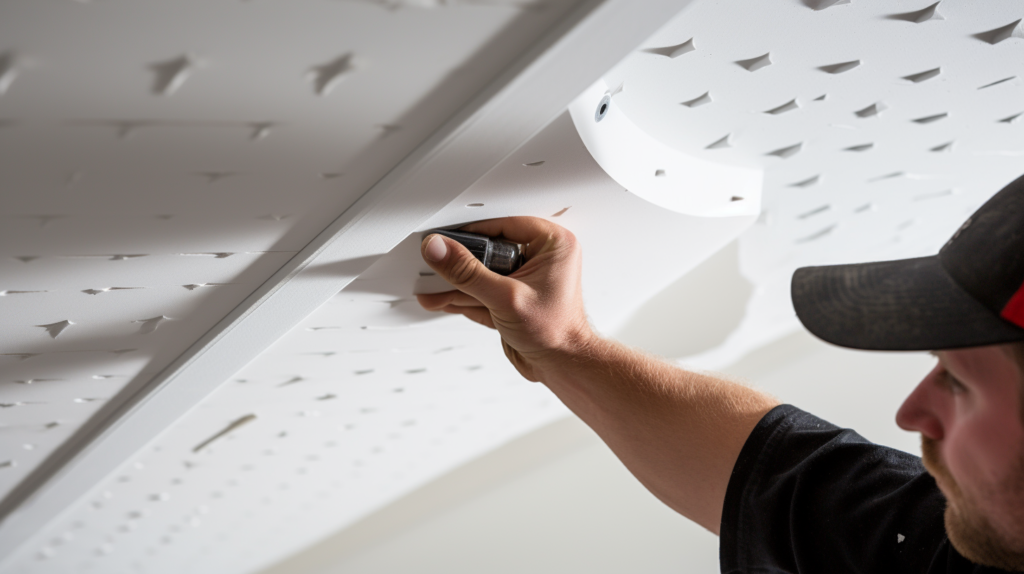
How To Cut Acoustic Ceiling Panels
When it comes to acoustic ceiling panels, the material often dictates the cutting method.
Whether your ceiling panels are made of foam, fabric-wrapped, or polyester materials, the cutting techniques outlined above apply.
However, there is an additional factor to consider: the fit. Ceiling panels often have to fit into a grid system or be attached to ceiling joists.
A small cutting error can result in a poor fit, so always double-check your measurements before making any cuts.
Are There Special Considerations for Cutting Acoustic Ceiling Panels?
Cutting acoustic ceiling panels often involves additional considerations beyond just the material.
These panels frequently have to fit into ceiling grids or be attached to hooks or other types of fixtures.
Therefore, you may need to make specialized cuts or notches to accommodate these fixtures.
Plan these cuts carefully and execute them with the same level of precision as your initial cuts.
Failing to do so can result in a poor fit, which, in turn, could compromise the visual appeal and soundproofing capabilities of your ceiling installation.
What Tips Can Help You Cut Acoustic Panels Precisely?
Precision is not an accident but the result of careful planning and execution. One often-overlooked tip for achieving precise cuts is to always keep your cutting tools sharp.
A dull blade is more likely to tear the material and result in uneven cuts. Another useful tip is to hold the panel steady during the cutting process.
You may even consider using clamps to hold the panel in place.
These small yet effective strategies can significantly improve the quality of your cuts, ensuring that your acoustic panels are both functional and aesthetically pleasing.
What Common Mistakes Should You Avoid When Cutting Acoustic Panels?
Common mistakes can easily derail your acoustic panel cutting project.
One such mistake is incorrect measurements. Always measure multiple times to ensure accuracy before making any cuts.
Another common error is using a dull blade, which can lead to ragged, imprecise cuts.
Avoiding these mistakes is crucial as they can affect both the functionality and appearance of your acoustic panels.
How To Install Cut Acoustic Panels
The next step after cutting your acoustic panels is installing them.
For wall panels, this typically involves aligning the panels correctly and then using adhesive or fasteners to secure them.
For ceiling panels, you may need to fit them into a grid system or attach them to ceiling joists.
In either case, make sure the panels are firmly secured to prevent any movement, which could compromise their sound-absorbing abilities.
What Should You Know Before Concluding Your Acoustic Panel Cutting Project?
In conclusion, the key to a successful acoustic panel cutting project lies in meticulous preparation, precise cutting, and thorough safety precautions.
Each of these elements is crucial for achieving the desired outcome: a functional and aesthetically pleasing set of acoustic panels.
So before you conclude your project, take a moment to review all steps and ensure you’ve executed them as perfectly as possible.
Conclusion
Successfully cutting acoustic panels involves more than just a sharp blade; it requires meticulous preparation, the right tools, and a focus on safety.
Each type of panel, whether it’s foam, fabric-wrapped, or polyester, has its own set of considerations for cutting and installation.
Mistakes can be costly, affecting both the look and effectiveness of your soundproofing efforts.
By following the guidelines laid out in this guide, you’re well on your way to achieving professional-quality results in your acoustic panel projects.