Have you ever found yourself staring at your acoustic panels and wondering how on earth you’re going to take them down?
Whether it’s for a renovation, a move, or simply a change in aesthetics, the thought of removing these panels can be daunting.
This comprehensive guide aims to demystify the process of removing acoustic panels, covering everything from the initial preparation to dealing with different types of mounting systems.
Whether your panels are adhesive-mounted, mechanically attached, or even suspended from the ceiling, we’ve got you covered.
So, before you reach for that pry bar or utility knife, let’s walk through the crucial steps and considerations for removing your acoustic panels the right way.
This will not only ensure a smooth process but also keep your walls and panels in the best condition possible. Ready to become an expert in acoustic panel removal?
Let’s dive in.
Preparing For The Removal Process
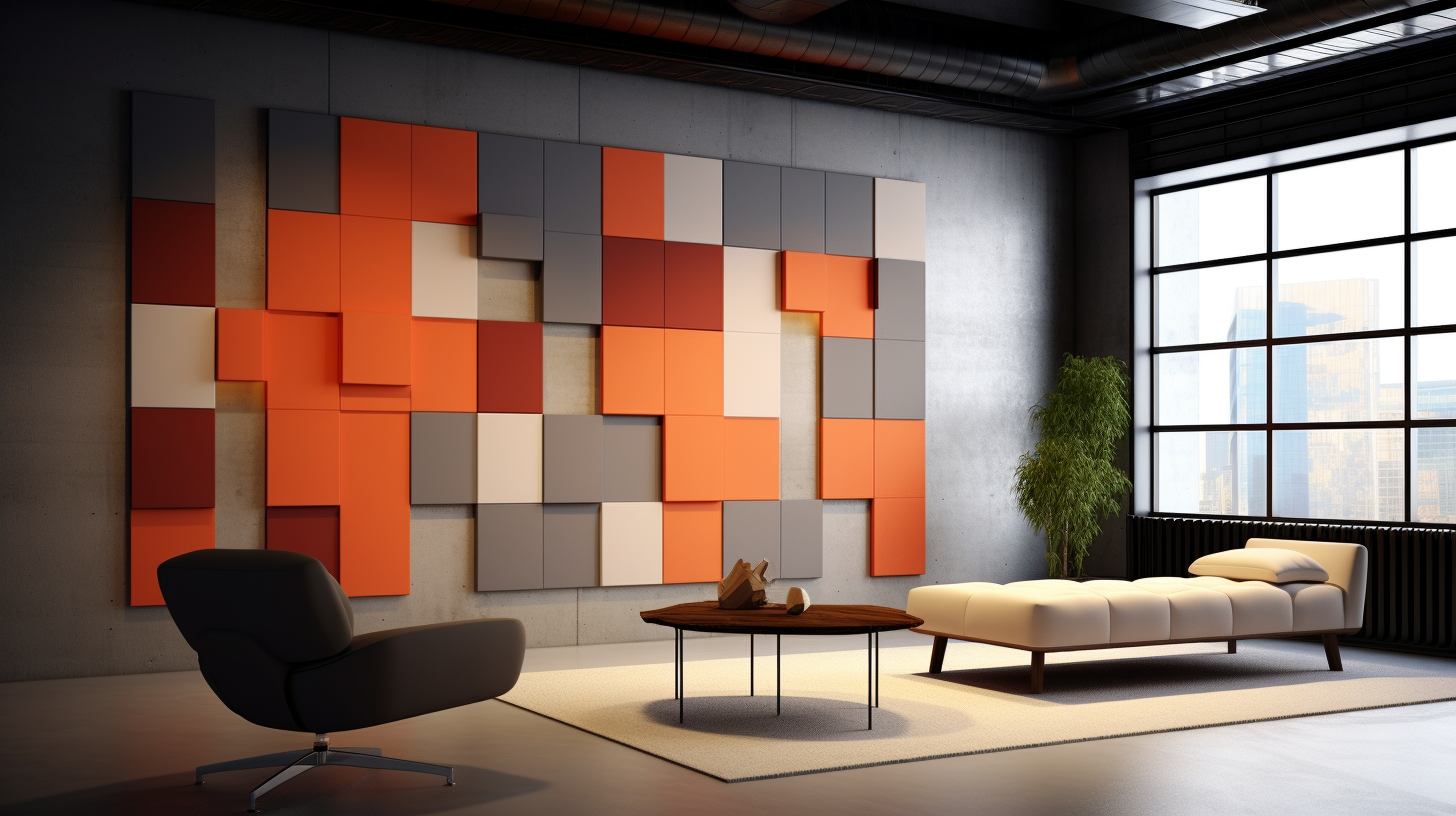
When it comes to enhancing the acoustic quality of a space, acoustic panels are often the go-to solution.
These specialized panels help to reduce noise, manage reverberations, and improve the overall sound quality in various settings such as recording studios, home theaters, and offices.
However, a time may come when you need to remove these panels. This could be for a variety of reasons, including renovating the space, replacing old panels, or relocating to a new venue.
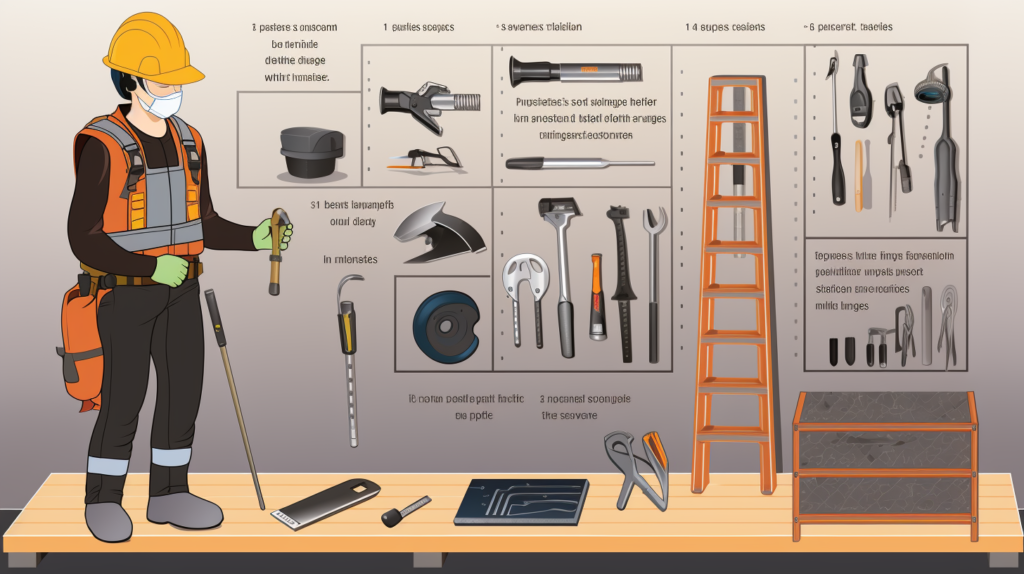
Safety should be at the forefront of your mind when preparing to undertake the task of removing acoustic panels.
It’s advisable to wear protective gear to prevent any injuries that could occur during the removal process.
Gear such as gloves can protect your hands from sharp objects, while safety goggles can shield your eyes from falling debris. Additionally, having a first aid kit on hand is a wise precaution.
Another aspect of preparation involves gathering all the necessary tools you will need for the job.
The tools required will depend on how the panels are fixed to the wall or ceiling.
Common tools for this type of project usually include a utility knife for cutting adhesive, a pry bar for leverage, screwdrivers for unscrewing brackets, and a ladder for reaching panels that are high up.
Always ensure that your tools are in good condition to avoid any accidents or delays.
Identifying How The Panels Are Mounted
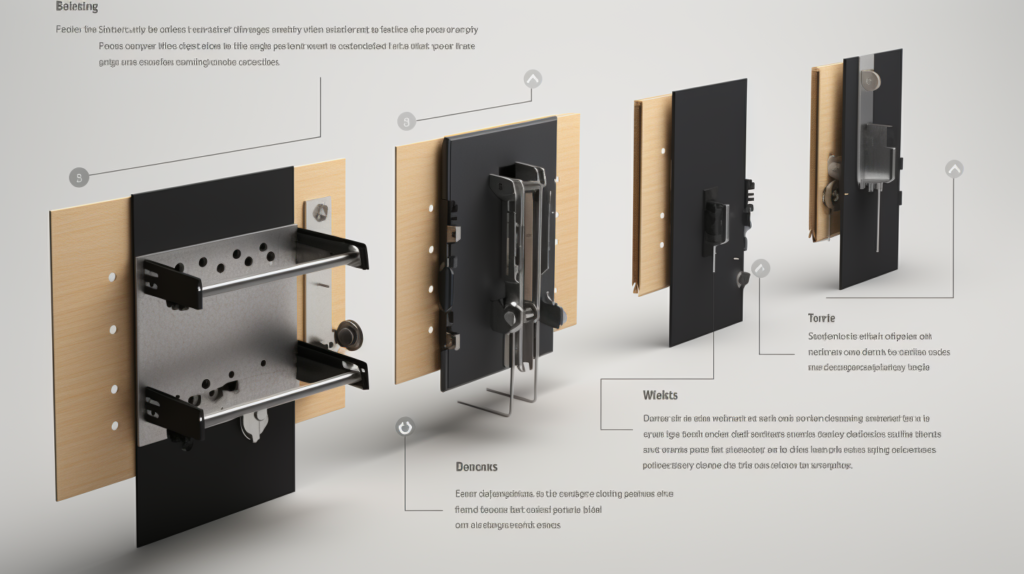
The method used to mount the acoustic panels will significantly impact how you go about the removal process.
Generally, there are three primary ways that panels are attached: adhesive mounts, mechanical mounts like screws or brackets, and suspended systems that hang from the ceiling.
Identifying the mounting technique is crucial as it dictates the removal process, ensuring that both the panels and the wall or ceiling remain undamaged.
Adhesive mounts are often used for lightweight panels and involve a sticky substance or double-sided tape to fix the panel to the surface.
Mechanical mounts, on the other hand, are more secure and are typically used for heavier or larger panels. These could involve screws, nails, or brackets.
Suspended systems are commonly found in commercial or industrial settings where the panels are part of a more complex ceiling system.
Each mounting method has its own set of challenges and will require specific tools and techniques to remove the panels successfully.
Therefore, before you start with the removal, it’s essential to examine the panels closely to understand how they are attached.
This may involve gently prying a corner of a panel to see if it’s glued or looking for visible screws or brackets.
Once you know what you’re dealing with, you can proceed more confidently and efficiently.
Removing Adhesive Mounted Panels
When dealing with adhesive-mounted panels, the removal process can be less complex but still requires careful attention to detail.
The first step involves loosening the edges of the panel from the wall. This is best done by using a utility knife or a pry bar to gently work around the edges of the panel.
Be cautious during this process to minimize damage to the wall surface beneath the panel. Going slow and steady will reduce the risk of tearing off chunks of the wall or the panel itself.
After successfully loosening the edges, the next step is to gradually pull the panel away from the wall.
It’s important to apply even pressure while doing this, as yanking the panel too quickly can result in damage.
If the panel doesn’t come off easily, return to the edges and work them a bit more to further loosen the adhesive.
Patience is key here; rushing through this process can cause more harm than good.
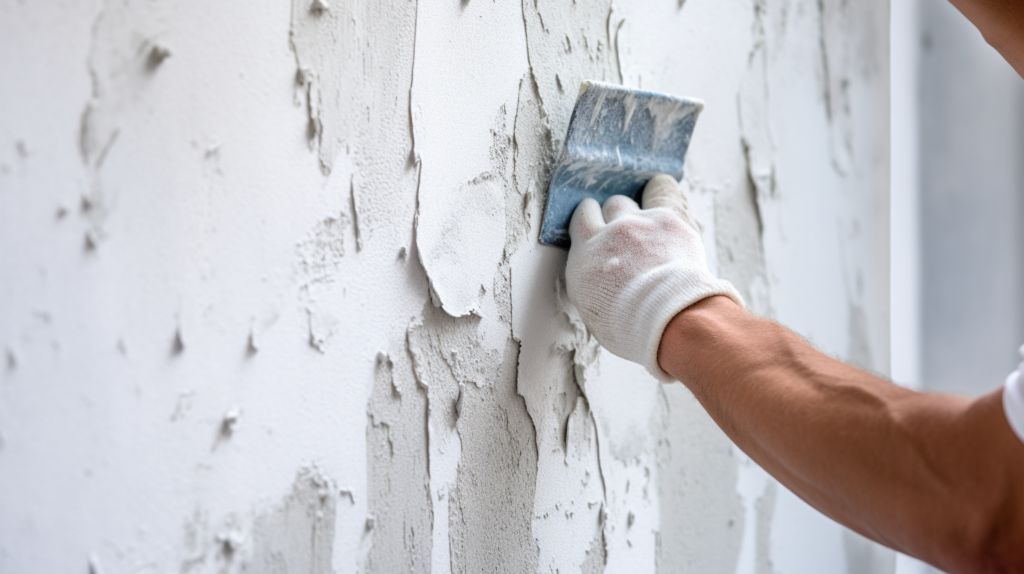
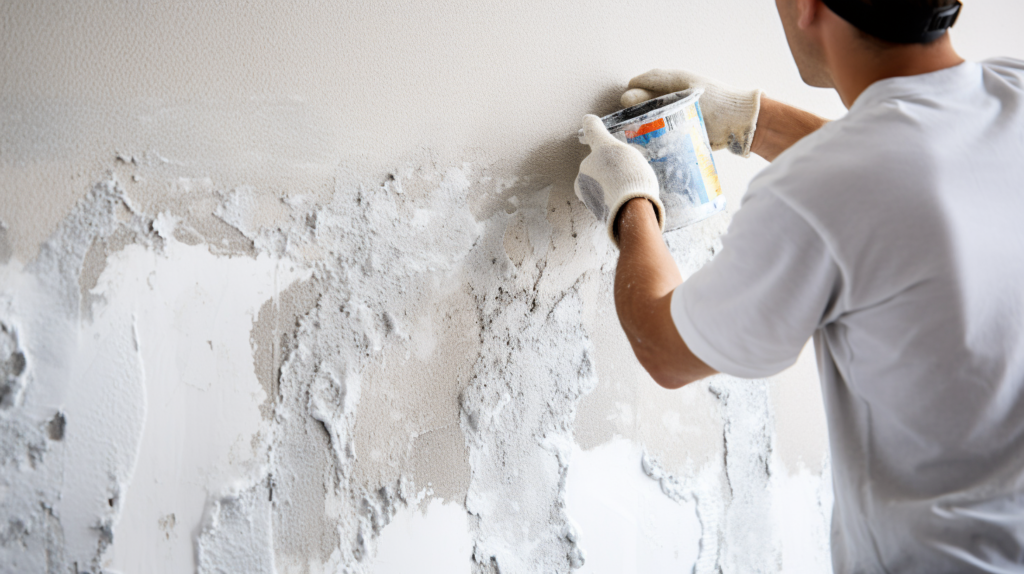
Dealing With Residual Adhesive
Once the panel is removed, it’s almost certain that some adhesive residue will be left on the wall.
Dealing with this residual adhesive is crucial for restoring the wall to its original condition. A putty knife or scraper can be effective for removing larger chunks of adhesive.
For tougher spots, using an adhesive remover or a wall cleaner may be necessary. Always test any chemicals in a small, inconspicuous area first to ensure they won’t damage the wall’s finish.
After the majority of the adhesive has been scraped off, you’ll want to clean the wall surface thoroughly.
This can be done using a damp cloth or sponge and some mild detergent.
Cleaning not only helps to remove any remaining adhesive but also prepares the wall for any subsequent treatments, such as painting or the installation of new panels.
Skipping this step could result in an uneven surface that may cause issues down the line.
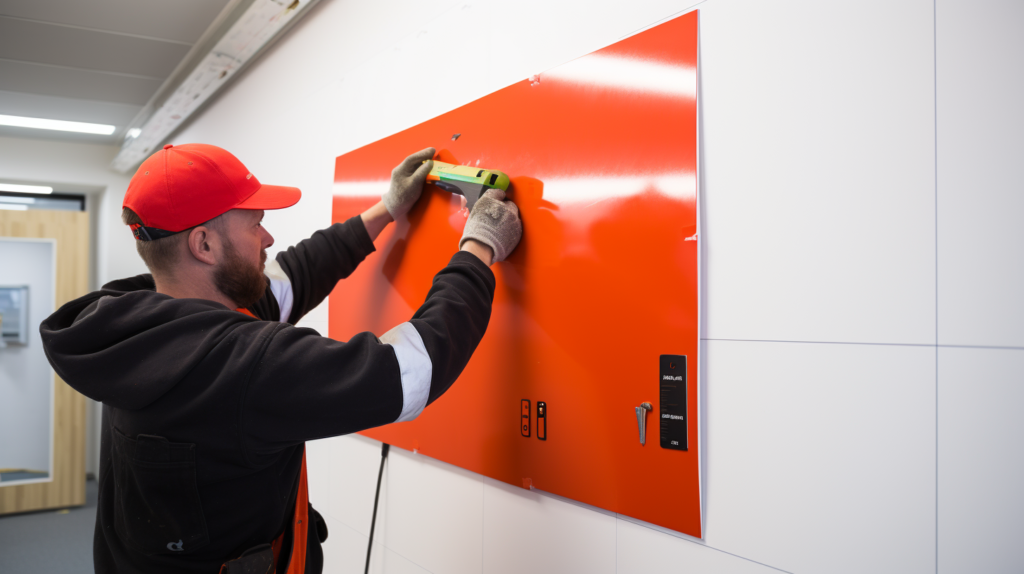
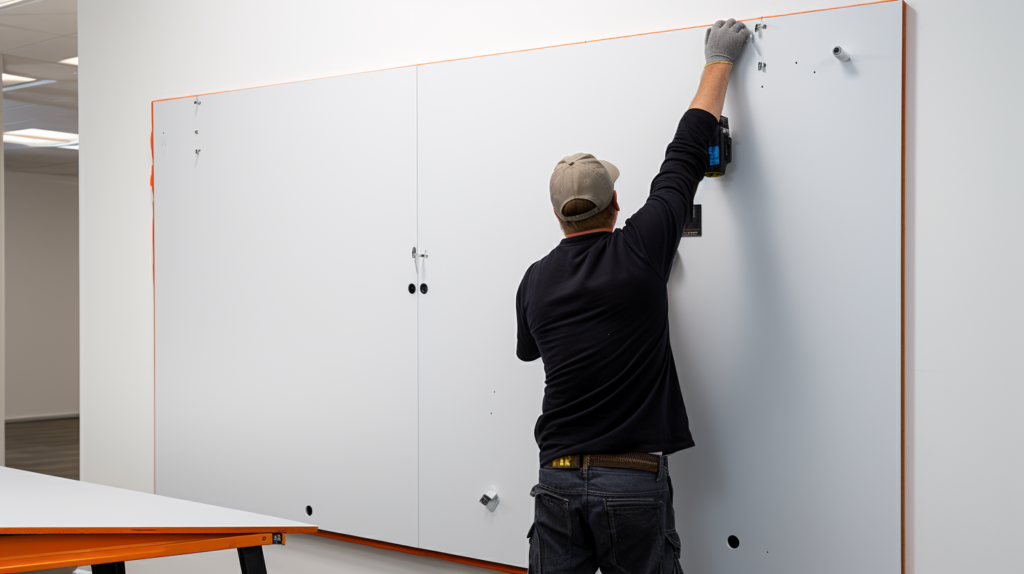
Removing Mechanically Mounted Panels
For panels that are mechanically mounted, the removal process starts by identifying all the hardware that holds them in place.
This could be screws, nails, or brackets. Once you’ve located these, the next step is to remove them.
This is typically done using a screwdriver or a drill equipped with the appropriate bit. For nails, a pry bar or a claw hammer can be effective.
Remember to keep all removed hardware in a safe place, especially if you plan to reinstall the panels later.
After removing the hardware, the panel should be free to move. However, exercise caution during this step.
Gently pull the panel away from the wall, ensuring not to apply too much force, which could either damage the wall or break the panel.
If the panel seems stuck, double-check to ensure that all screws or nails have been removed.
Sometimes, paint or other wall treatments can make the panel stick; in such cases, gently working around the edges with a utility knife can help.
Removing Suspended Acoustic Panels
When dealing with suspended acoustic panels that hang from the ceiling, the removal process becomes a bit more complicated and safety considerations are amplified.
First and foremost, you should ensure that you have the appropriate height-access equipment, such as a sturdy ladder or scaffolding.
It’s often advisable to have a helper to stabilize the ladder and assist with lowering the panels once they are detached.
Start by identifying the screws, brackets, or wires that secure the panels to the ceiling. Similar to mechanically mounted panels, you will need to remove these attachments to free the panel.
A screwdriver or a drill with the appropriate bit is usually the tool of choice for this task.
Make sure to have someone assist you during this process, as managing a panel while perched on a ladder can be awkward and potentially dangerous.
Once all the attachments have been removed, carefully lower the panel to the ground with the help of your assistant.
Pay close attention to the panel’s orientation and any wires or attachments that may still be connected.
Once the panel is safely on the ground, you can proceed to remove any remaining hardware or attachments that may be present.
Cleaning And Repairing The Wall Surface
After all the panels have been successfully removed, you’re left with the final task of cleaning and repairing the wall or ceiling surface.
If your panels were adhesive-mounted, then you’ve probably already dealt with residual adhesive.
However, for mechanically mounted or suspended panels, you might have holes left from screws, nails, or brackets.
These will need to be patched to restore the wall or ceiling to its original condition.
For patching holes, a wall filler or spackle can be used. Apply the filler using a putty knife and smooth it out so that it’s flush with the wall surface.
Allow sufficient time for the filler to dry, as per the manufacturer’s instructions. Once it’s dry, you can sand it down to ensure it’s smooth and flush with the surrounding area.
The next step is painting, which may be necessary to match the newly repaired areas with the rest of the wall or ceiling.
Select a paint that matches your existing color, unless you plan on repainting the entire surface.
Apply the paint using a roller or brush, taking care to blend it in with the surrounding area for a seamless look.
Conclusion
The process of removing acoustic panels can be a bit daunting, especially if you’ve never done it before.
However, with the right preparation, tools, and steps, it’s a task that is quite manageable.
Whether you’re dealing with adhesive mounts, mechanical mounts, or suspended systems, following these guidelines will ensure a smooth and successful removal process.