Imagine spending a significant amount on acoustic treatments to perfect your home theater or recording studio’s sound quality, only to realize the performance is declining over time.
The culprit might not be the equipment or the acoustics but something as simple yet often overlooked as cleanliness.
This comprehensive guide aims to shed light on the critical importance of cleaning and maintaining various types of acoustic treatments.
From polyester acoustic panels to wood panels and foam, we cover how cleanliness directly impacts not only their appearance but also their performance and longevity.
So, if you’ve been noticing a drop in sound quality or you’re concerned about the accumulating dust and grime, read on.
We’ll guide you through the frequency, signs, and methods of cleaning, and offer tips to avoid common mistakes and maximize your acoustic treatments’ lifespan.
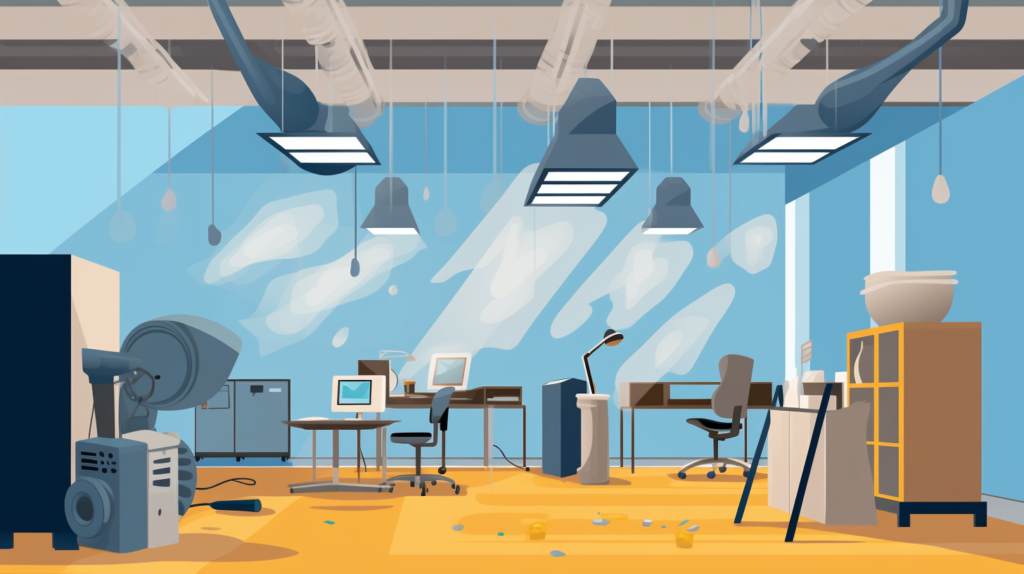
Why Is Cleaning Your Acoustic Treatments So Important?

Maintaining the cleanliness of your acoustic treatments is crucial for both aesthetic and functional reasons.
Over time, dust and dirt can accumulate on the surface of these panels.
This build-up can affect the acoustic properties of the treatments, reducing their effectiveness in sound absorption or diffusion.
Moreover, a dirty acoustic panel is not just an eyesore; it can also become a health hazard.
Accumulated dust and grime can contribute to poor air quality.
For those with allergies or respiratory issues, this can become a serious concern.
Regular cleaning, therefore, serves a dual purpose: it keeps your treatments looking good and functioning well, while also ensuring a healthier environment.
How Often Should You Clean Your Acoustic Treatments?

The frequency of cleaning your acoustic treatments can vary depending on several factors.
These include the type of material, the location, and the amount of traffic or use the area receives.
In a commercial setting or busy recording studio, a bi-weekly or even weekly cleaning might be necessary to maintain optimal performance.
For home setups or less busy environments, a monthly cleaning might suffice. However, it’s crucial to schedule more in-depth, thorough cleanings periodically.
Quarterly deep cleans can help maintain the integrity of the panels and prolong their lifespan, saving you money in the long run.
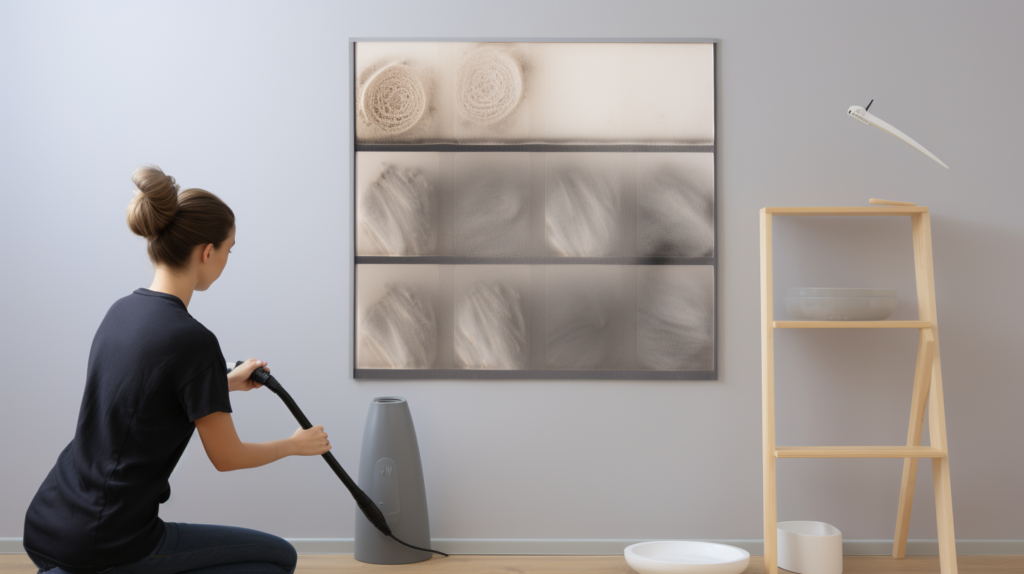
What Are the Signs That Your Acoustic Treatments Need Cleaning?

Knowing when to clean your acoustic treatments is equally important. One obvious sign is visual: the presence of dust or grime. But there are less apparent indicators.
For instance, if you notice a decline in acoustic performance, that could signal the need for cleaning.
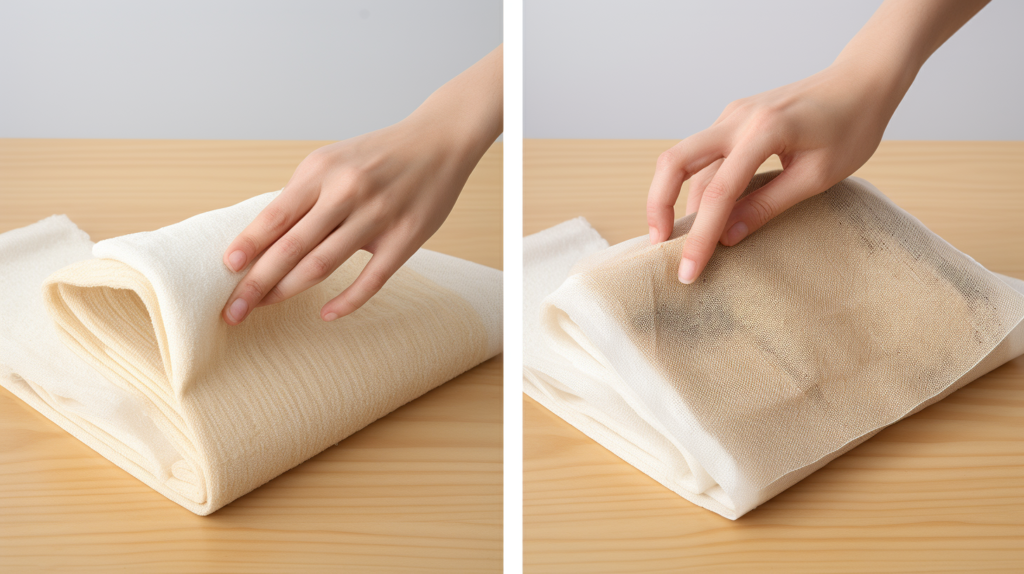
Changes in the color of the material can also indicate a build-up of dirt. For example, lighter-colored polyester acoustic panels may take on a grayish hue when they’re in need of cleaning.
Likewise, unpleasant smells coming from the panels could signify mold or mildew growth, which requires immediate attention.
What Tools and Materials Do You Need for Cleaning Acoustic Treatments?
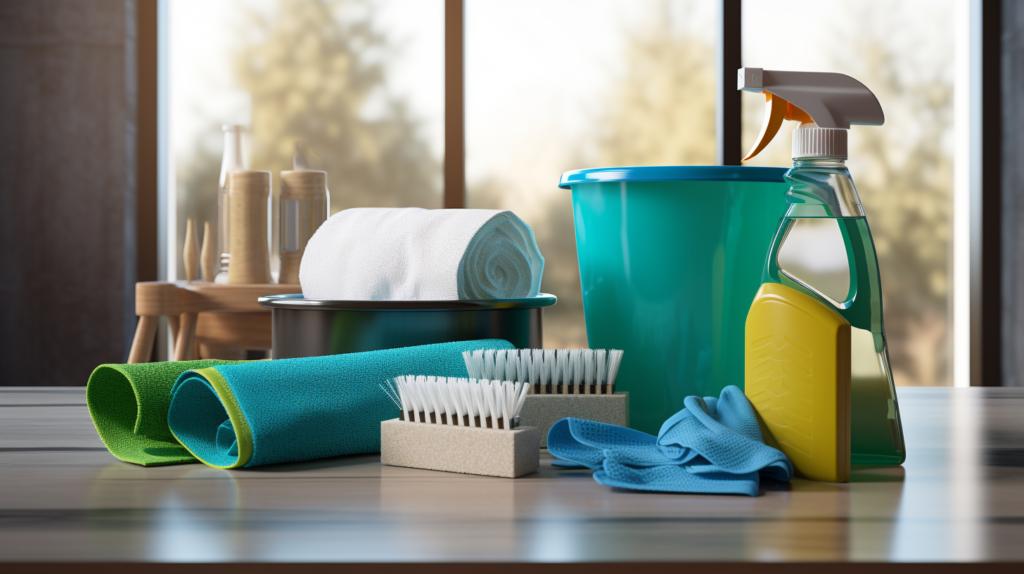
Selecting the right tools and materials for cleaning is pivotal for effective maintenance and to avoid damaging your acoustic treatments.
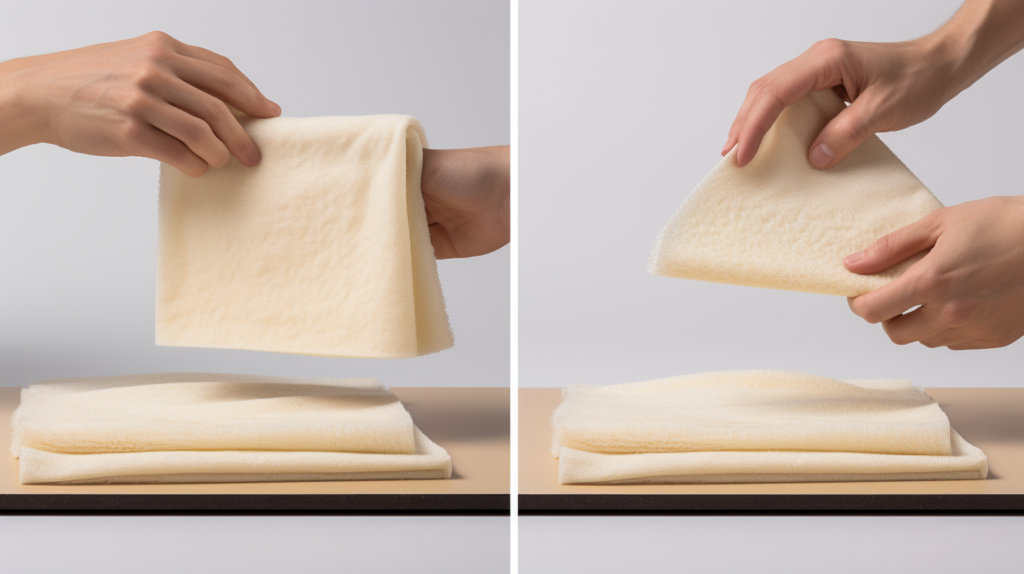
Soft, non-abrasive cloths or towels, a gentle brush with soft bristles, and a vacuum cleaner with a brush attachment are generally good choices for most types of acoustic treatments.
When it comes to cleaning agents, the choice can depend on the material of your acoustic treatments.
Mild, non-abrasive detergents are usually safe for most types.
However, for specialized materials like fabric-wrapped or polyester acoustic panels, you might need specific cleaning solutions that are gentle yet effective.
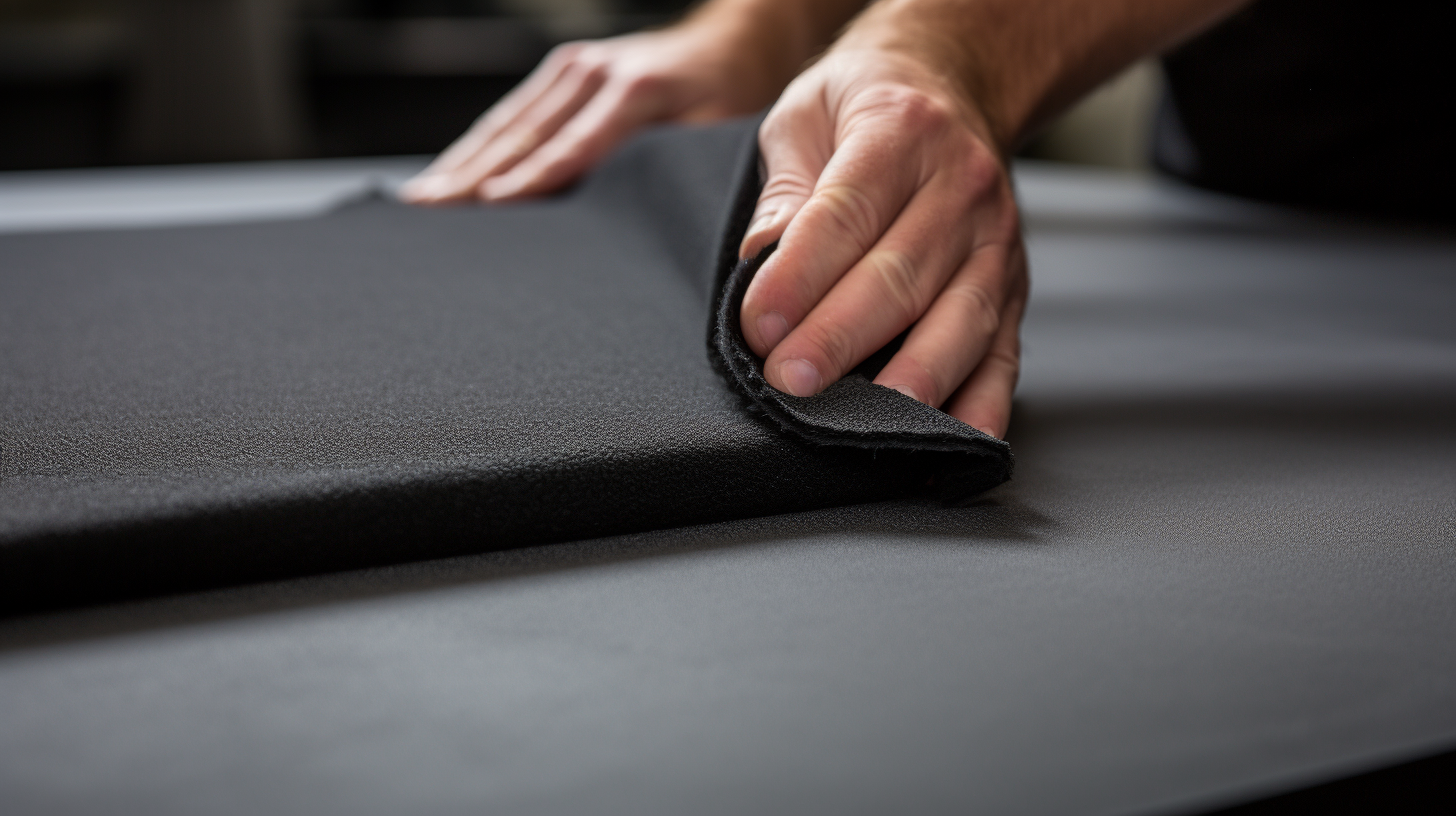
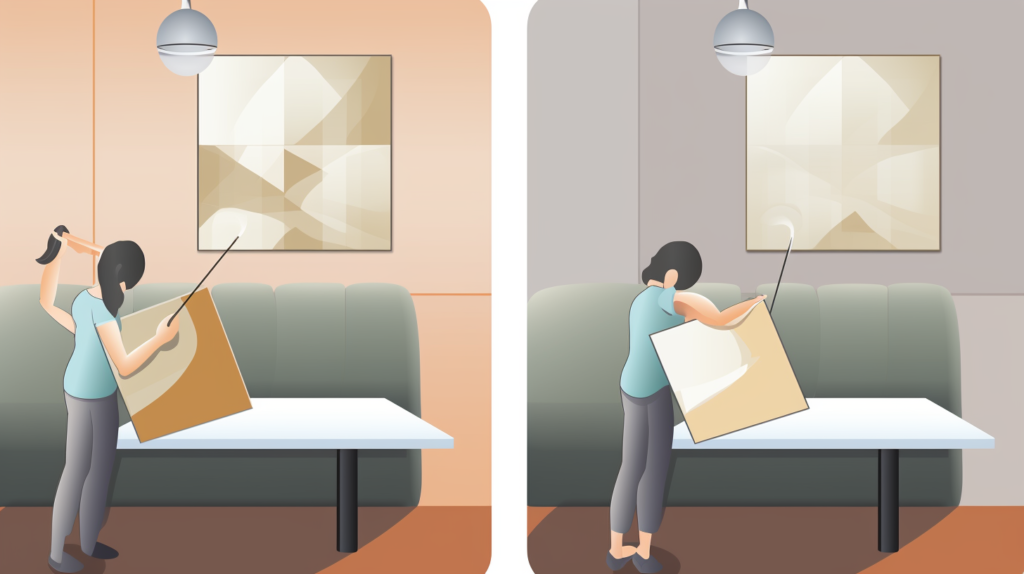
How Do You Clean Polyester Acoustic Panels?
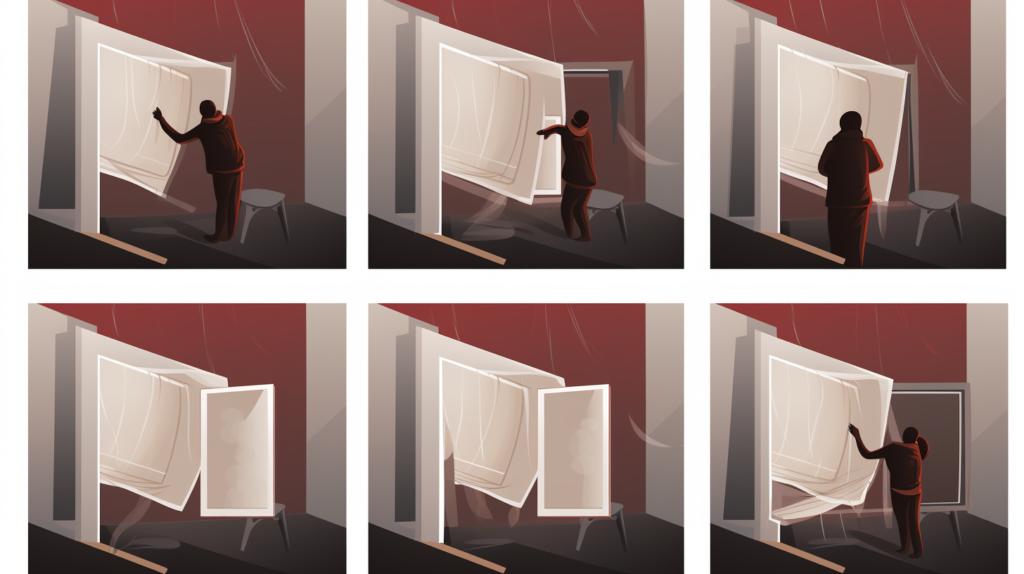
Polyester acoustic panels are popular due to their durability and effectiveness. However, like any other type, they also require regular cleaning. Start by gently vacuuming the surface using a brush attachment. This should remove most of the surface-level dust and dirt.
For more stubborn stains or accumulated grime, you can use a mild detergent diluted in warm water. Use a soft cloth to apply this solution, gently rubbing it into the panel’s surface. Always conduct a small patch test in an inconspicuous area before applying any cleaning solution across the entire panel. This ensures that the detergent will not discolor or otherwise damage the material.
How Do You Clean Fabric-Wrapped Acoustic Panels?
Fabric-wrapped acoustic panels offer a unique aesthetic appeal but can be a bit tricky to clean. Start with a gentle vacuuming using a brush attachment.
This should remove the loose dust and help you assess if further cleaning is needed.
If you spot any stains, you can use a fabric cleaner designed for upholstery.
Apply it using a soft cloth and gently blot the stain—avoid rubbing or scrubbing as it can cause the stain to spread.
Always conduct a patch test to ensure that the cleaner doesn’t cause discoloration.
How Do You Clean Wood Acoustic Panels?
Wooden acoustic panels add a natural aesthetic to any space, but they require a different cleaning approach compared to fabric or polyester panels.
Start by using a dry, lint-free cloth to wipe away any surface dust or grime. The idea is to remove loose particles that could scratch the wood during wet cleaning.
For more thorough cleaning, you can use a wood cleaner, but be cautious.
Always read the manufacturer’s guidelines and do a patch test on a small, hidden area first.
Apply the cleaner with another soft cloth, following the grain of the wood to prevent streaks.
Make sure to completely remove any cleaner residue to avoid a sticky surface that attracts more dirt.
How Do You Clean Acoustic Foam Panels?
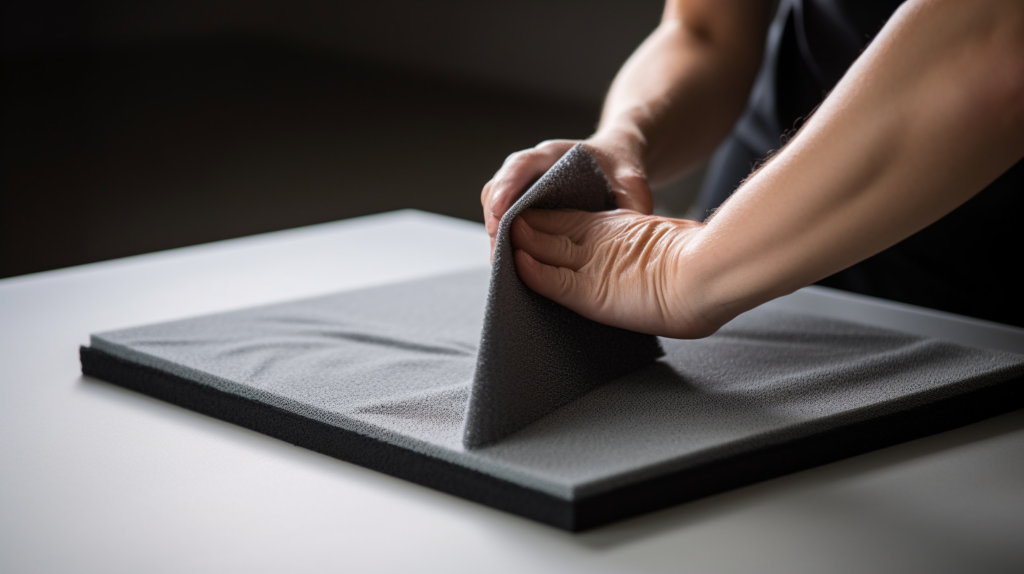
Acoustic foam panels are sensitive to moisture and require a careful approach. Begin by using a vacuum cleaner with a soft brush attachment to remove surface-level dust.
This method is usually sufficient for routine cleaning and poses the least risk of damaging the foam.
For a more comprehensive clean, prepare a solution of mild detergent and water. Dip a cloth into the mixture and wring it out thoroughly to prevent water from soaking into the foam.
Gently dab the surface to lift dirt or stains. It’s crucial to let the foam panels air-dry completely in a well-ventilated area to prevent any moisture-related issues like mold or mildew.
How Do You Clean Acoustic Diffusers?
Acoustic diffusers are usually easier to clean due to their solid construction and less sensitive materials.
A regular dusting with a soft cloth is often sufficient for maintenance. If you notice more stubborn dirt or stains, you can escalate to a wet clean.
Prepare a mild detergent solution and use a cloth to wipe the surfaces. Always make sure to rinse thoroughly to remove any soap residue, as this can attract more dirt in the future.
Dry the diffusers completely before reinstalling them to prevent moisture from becoming trapped and causing problems later.
How Do You Clean Corner Bass Traps?
Corner bass traps are often made from foam and should be cleaned in a similar manner. Use a vacuum cleaner with a soft brush attachment to gently remove surface dust.
For deeper cleaning, a mild detergent solution can be applied with a damp cloth.
As with foam panels, the key is to avoid oversaturation. Excessive moisture can lead to a host of problems, including deformation and mold growth.
Allow the corner bass traps to dry completely in a well-ventilated area before reinstallation.
What Precautions Should You Take When Cleaning Acoustic Treatments?

Cleaning acoustic treatments isn’t just about removing dirt; it’s about preserving the integrity of these specialized installations.
Always consult the manufacturer’s guidelines or care instructions before you begin.
These documents often provide invaluable insights into the do’s and don’ts of cleaning your specific type of acoustic treatment.
Additionally, always conduct a patch test when using new cleaning agents. Apply a small amount in an inconspicuous area and wait to see if any adverse reactions occur.
This simple step can prevent a minor cleaning effort from turning into a major restoration project.
What Are the Common Mistakes to Avoid While Cleaning Acoustic Treatments?
Many people make the mistake of using the wrong cleaning agents or tools, which can cause irreversible damage.
Harsh chemicals can deteriorate the material, reducing its lifespan and effectiveness. Another mistake is using an excessive amount of water, especially on foam and fabric panels.
This can lead to mold and mildew, causing health concerns and requiring complete replacement in severe cases.
Other common mistakes include scrubbing too hard, which can damage the surface, and not allowing enough time for the panels to dry, which can lead to moisture-related issues.
A little caution and preparation can help you avoid these pitfalls.
How Can You Maintain Your Acoustic Treatments Between Cleanings?

Between deep cleans, routine maintenance can go a long way in preserving the functionality and appearance of your acoustic treatments.
A simple dusting or vacuuming every week can prevent the accumulation of grime that makes deep cleaning more laborious.
Additionally, periodic inspections can reveal issues like loosening mounts, fraying fabric, or developing stains.
Addressing these problems as they arise can prevent more significant issues down the line, extending the life of your acoustic treatments.
What Should You Do After Cleaning Your Acoustic Treatments?
After the cleaning process, ensuring that the treatments are completely dry is crucial. Any lingering moisture can create an environment for mold and mildew to grow.
Once they are dry, a final inspection is advisable to make sure no cleaning residue remains and that all components are in good condition.
Reinstall the treatments carefully, making sure to securely fasten any mounts or fasteners.
Proper reinstallation ensures that your acoustic treatments will continue to function at their best, providing optimal sound quality for your space.
Conclusion
Taking care of your acoustic treatments is essential for both their longevity and effectiveness.
Regular cleaning enhances not only their appearance but also their function, contributing to a healthier environment.
With the right tools and knowledge, you can easily avoid common cleaning mistakes, ensuring that your treatments continue to perform at their best.
In a nutshell, proper maintenance is a long-term investment that pays off in optimal sound quality and durability.