How to Hang Acoustic Panels: Clips, Anchors and Strips
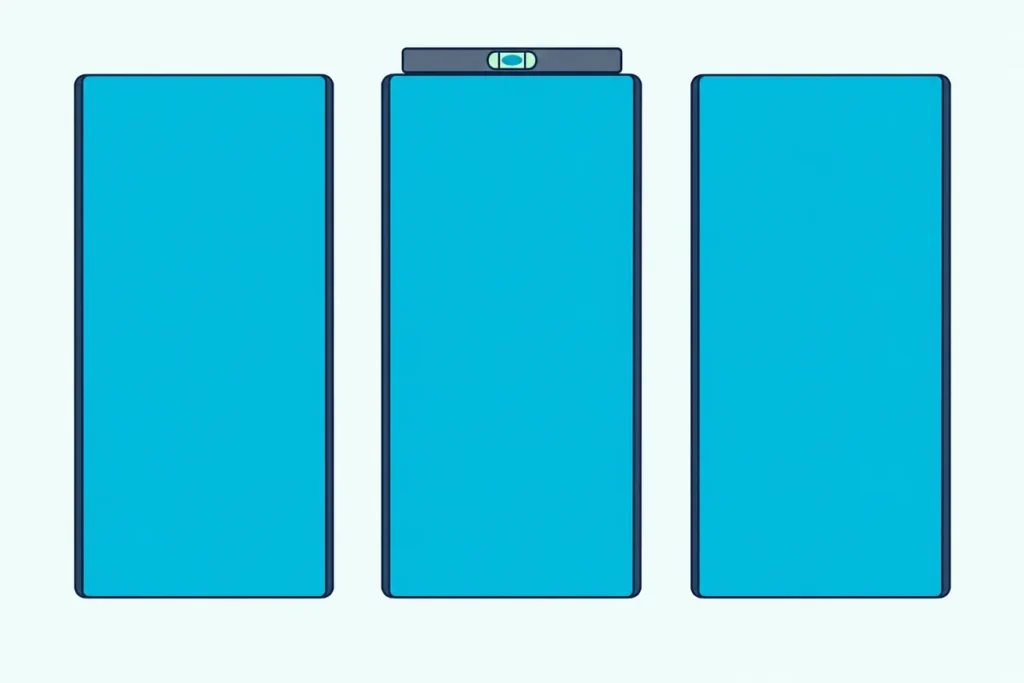
Here’s how to hang acoustic panels so they stay up: match the hardware to the panel’s back, with Z-clips for a wood frame, impaling clips or Rotofast anchors for bare fiberglass board, and adhesive strips only for small, thin panels.
Skip that match and the hardware fails where the makers warn it will, with bare screws in drywall, strips on a fabric back or clips on a ceiling.
Get it right and a panel sits snug and level, lifts off when you move, and leaves a few small holes instead of a torn wall.
The first job is checking three things: how the panel’s back is built, what the wall is made of, and whether you can drill at all.
From there, this guide follows each maker’s own steps, adds the load figures anchor makers publish, and shows where ceilings and rentals change the rules.
What’s the Best Way to Hang Acoustic Panels?
Those three checks decide it, because the best way to hang acoustic panels is the hardware the panel’s maker designed for its back. A wood-framed panel takes Z-clips, a bare fiberglass board takes impaling clips or Rotofast anchors, and only a small, thin, hard-backed panel suits adhesive strips.
| Panel back | Maker’s hardware | Into the wall | On a ceiling? |
|---|---|---|---|
| Wood frame or 1/4-inch wood back | Z-clips, or 18-inch Z-bars on larger panels (ATS) | Screws into studs, drywall anchors or masonry anchors | No: ATS rules Z-clips out overhead |
| Bare rigid fiberglass board or hardened edge | Impaling clips with construction adhesive (ATS, Primacoustic, Auralex) | Screws into drywall anchors, or concrete anchors | Makers split: ATS and Auralex say no, Primacoustic covers it with adhesive |
| Fiberglass-core panel | Rotofast Snap-On anchors (Rotofast) | Ratchets on #8 screws, hollow-wall anchors in drywall | Yes, per Rotofast |
| Small, thin panel with a smooth hard back | Command Picture Hanging Strips (3M) | Adhesive on a clean, painted wall | Not covered by 3M’s strip sheets |
| A panel that never moves again | Construction adhesive | Glued to the wall | ATS: it comes off only with damage |
Read the table by the back of your panel first and the wall second; wood slat acoustic wall panels sold for feature walls follow their own maker’s instructions. If someday has already arrived, here’s how to remove acoustic panels from a wall, mount by mount.
How to Hang Acoustic Panels in Six Steps
That first row covers framed panels, so the steps below follow ATS Acoustics’ installation sheet for its wood-backed panels. Its tool list is short: a measuring tape, a Phillips screwdriver, a power drill, a 3/16-inch drill bit and a hammer, with a level as an option.
| Step | What to do | The maker’s rule |
|---|---|---|
| 1. Read the back | Look for a wood frame or wood back | ATS: its 1/4-inch wood back takes clips, hooks or hangers |
| 2. Weigh the panel | Check the maker’s figure | ATS: 12 lb on average for 24 x 48 x 2 inches |
| 3. Count mounting points | Size decides it | ATS: 2 for 24 x 24, 4 for 24 x 48 |
| 4. Mark a level line | Measure from the floor or ceiling, or use a level | Primacoustic: a TOP line where the panel’s top edge will sit |
| 5. Fix the wall side | Studs, anchors or masonry screws | ATS: screws in drywall alone don’t hold enough |
| 6. Hang and test | Slide the panel down onto the clips | ATS: it shouldn’t slide or lift easily |
The weight in step 2 varies even within one maker, since ATS’s FAQ gives 10.5 pounds for its 24 x 48 x 2-inch panels and 5 pounds for the 24 x 24 size. If you’re still calculating how many panels you need, multiply the mounting points by the panel count before you buy hardware to install acoustic panels across a room.
Where each panel goes, and at what height, is a placement question. The guide to panel placement positions centers panels at seated ear height, so settle that before step 4.
Get Studio Tips Weekly
Join 5,000+ creators getting acoustic treatment advice every week.
No spam. Unsubscribe anytime.Which Panels Take Z-Clips, and How Many?
Those six steps assume Z-clips, which suit a panel with a wood frame or back because the panel half fastens with #6 wood screws. ATS uses two pairs on a 24 x 24-inch panel and four on a 24 x 48, one half of each pair on the panel and the other on the wall, hooking together as the panel slides down.
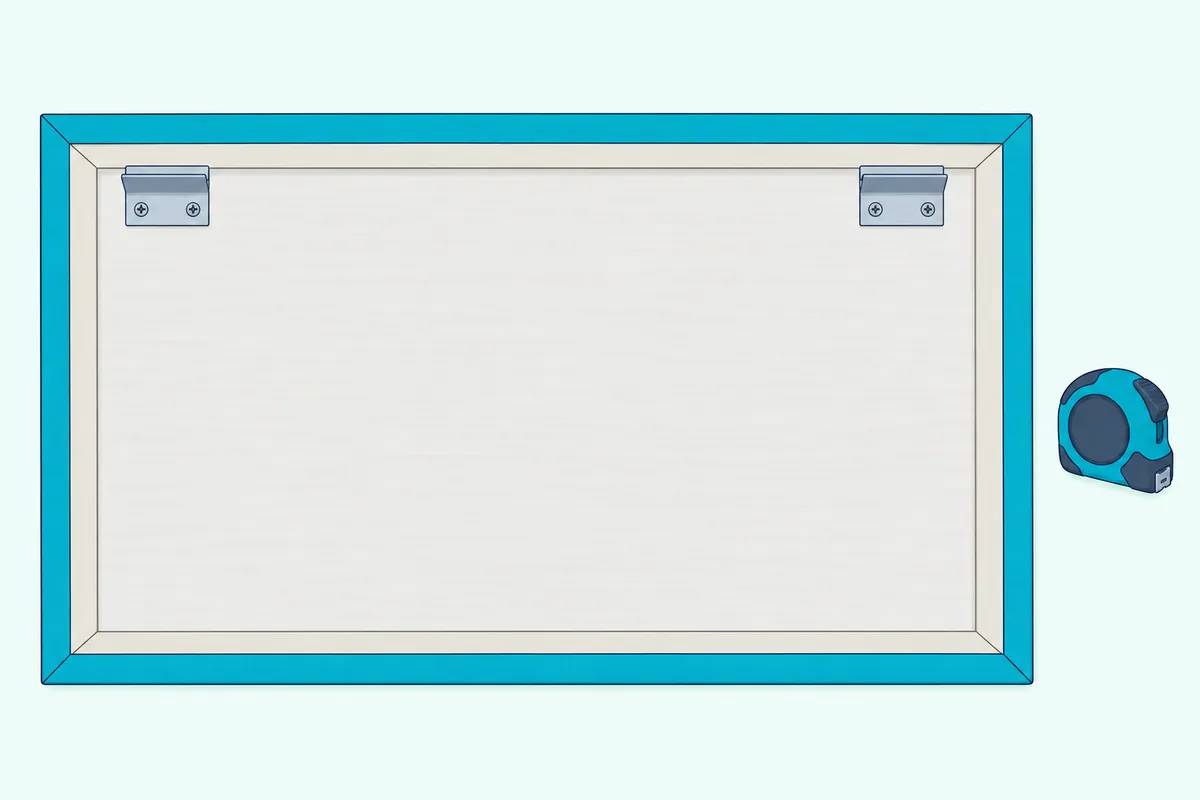
ATS’s custom panel guide sets that count by size, so a bigger panel gets more mounting points. Count anything under 24 inches as 24, and round fractions up to the next inch, as the ATS Z-clip and Z-bar guide says.
The placement is just as specific. That guide puts the top of each panel clip 4 inches below the top of the panel, with its outer edge 3.5 inches in from the side, and on four-clip panels the lower pair sits 7 inches above the bottom.
The wall clips go 1.25 inches lower than the panel clips, which is what lets the panel drop onto them. Skip that offset and the panel ends up higher or lower than the line you marked.
For larger or heavier panels, ATS switches to Z-bars, the same profile in 18-inch lengths. Wider panels in its table take two to six bars, and its installation sheet asks for at least four mounting points on a custom panel, or one per 4 linear feet of perimeter, whichever is greater.
For framed panels, a six-pair aluminum Z-clip kit, sold as a French cleat picture hanger, covers one 24 x 48 panel with two pairs left over. If you’re building DIY acoustic panels, plan the frame so every clip lands on solid wood.
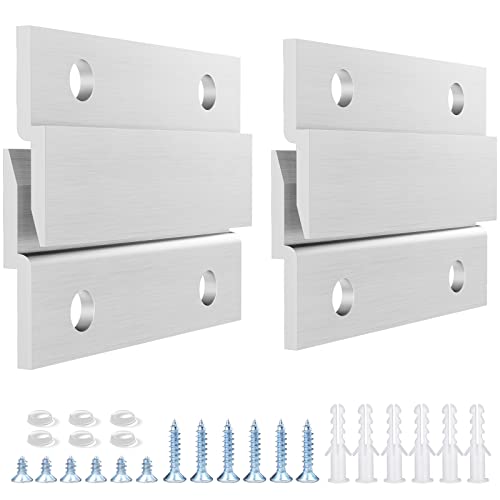
six-pair aluminum Z-clip kit
How Do Impaling Clips Hold a Frameless Panel?
That wood-and-screw logic falls apart on a frameless panel, since bare rigid fiberglass or a hardened-edge panel gives a screw nothing to bite. Impaling clips solve it from the wall side: each is a small plate of spikes screwed to the wall, and the panel is pressed onto the points.
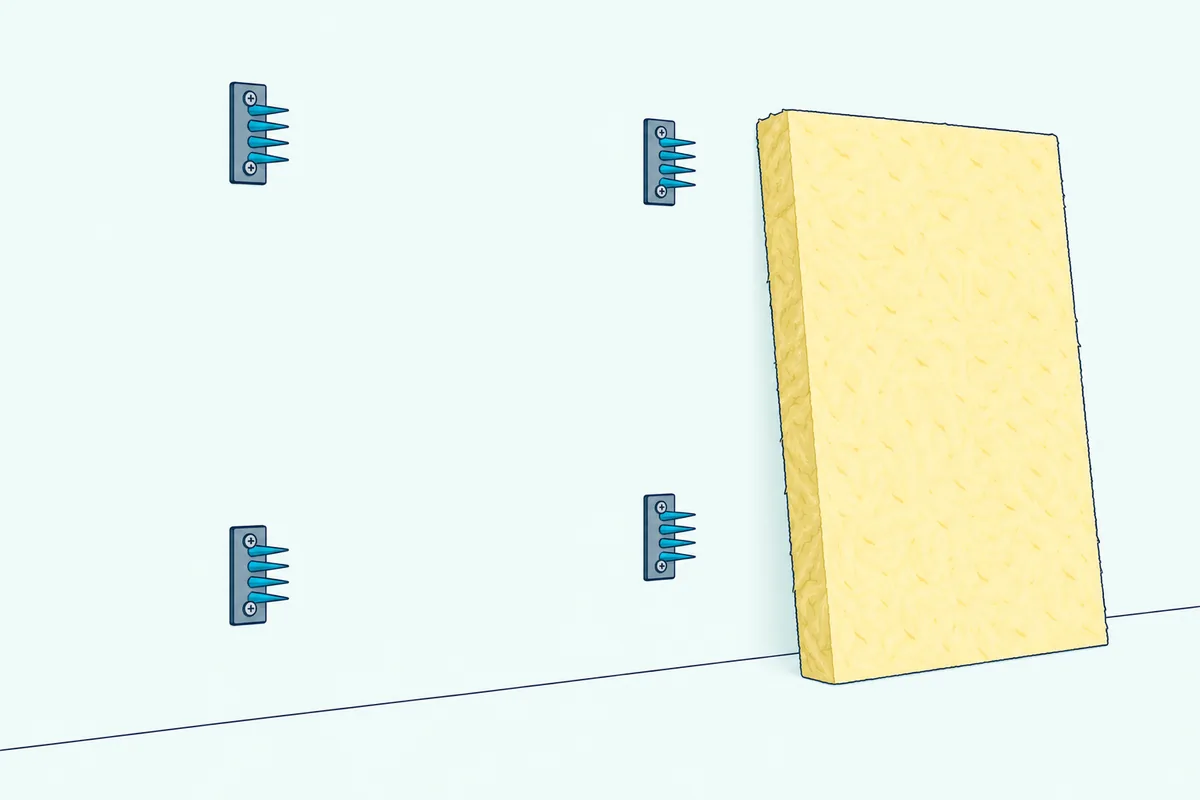
The three makers agree on the method but not on every detail. ATS’s impaling clip and Rotofast guide says never to use impaling clips alone, because construction adhesive must go on with them for adequate support.
Primacoustic’s Broadway manual starts with a level TOP line where the panel’s top edge will sit and a SET line one inch above it. Clips go 4 to 6 inches down from the TOP line and 4 to 6 inches in from the panel edges, each with a golf-ball-sized dab of construction adhesive.
You then tilt the panel to the SET line, press it in and down, and it sinks about an inch onto the clips. Primacoustic lists four clips for a 2-inch Broadband panel and says the dried adhesive keeps the panel from coming off easily.
Auralex’s ProPanel guide counts lower, with two clips for a 2 x 4-foot panel near opposing corners and four for a 4 x 4. It highly suggests adhesive at every thickness but makes it mandatory only over 2 inches thick or on an uneven wall, and it wants the adhesive on the clip’s flat face, where ATS puts it on the spikes.
That adhesive is the trade-off, since ATS warns that a panel mounted this way can’t come off without damage to the panel or the wall. On 1-inch panels ATS also cautions that the spikes end up close to the face, so don’t press hard over a clip.
When Are Rotofast Anchors the Better Fit?
Unlike impaling clips, Rotofast anchors thread into the panel’s back instead of spiking it from the wall. They’re the better fit when a bare fiberglass panel has to go overhead, since Rotofast sells its Snap-On anchor for walls and ceilings while ATS rules impaling clips out on ceilings.
The Snap-On version screws into the core with Rotofast’s driver tool, and a matching ratchet goes on the wall with #8 screws. You press the panel against the wall once to mark the anchor spots, fix the ratchets, then strike the panel onto them.
Rotofast recommends hollow-wall anchors in drywall and pairs its EZAnchor with a #8 2-inch screw there. It typically uses four anchors on a 4 x 4-foot, 1-inch panel and six on a 4 x 8, and leaves exact counts to the panel maker or Rotofast.
Can You Hang Acoustic Panels Without Damaging Walls?
Every method above leaves holes, though only small ones, since each ATS wall clip takes two #8 screws. To hang acoustic panels without damaging walls at all, the tool-free option is Command Picture Hanging Strips, and 3M’s own sheets set firm limits.
The 20 lb strip sheet, 17217-ES, says not to hang anything more than 2 inches thick, over a bed or on wallpaper. That sheet and the medium-strip sheet both say not to stick strips to paper, fabric or soft surfaces on the frame, which rules out the back of a fully fabric-wrapped panel.
Size is the next limit. 3M’s 2011 product sheet for Picture Hanging Strips says they’re designed for frames up to 24 x 36 inches, so a 24 x 48 panel is outside it even when the weight fits.
Weight comes last. On the 20 lb sheet, two pairs at the top corners hold 10 pounds and four pairs, the second two halfway down, hold 20, while each pair of the medium strips holds 1.35 kg.
For a panel inside all three limits, Command Large Picture Hanging Strips come 14 pairs to a pack. On paper, a 24 x 24 x 2-inch panel at ATS’s 5 pounds fits, though its back must be smooth, since the 2011 sheet doesn’t recommend the strips on bare wood or porous, unpainted surfaces.
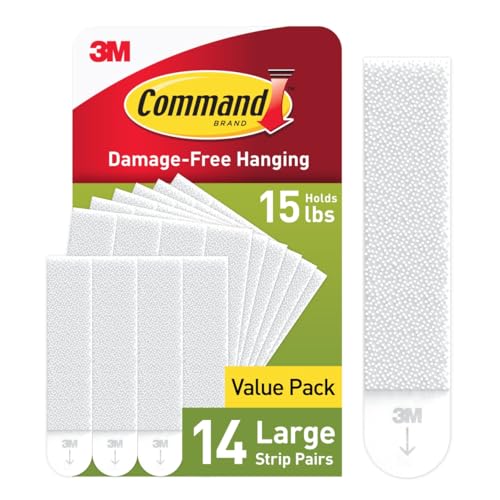
Command Large Picture Hanging Strips
The wall needs preparing too. The 20 lb sheet says to wipe it with rubbing alcohol, not household cleaners, wait 7 days after painting, press each strip for 30 seconds and wait an hour before hanging, indoors between 50 and 105°F.
Large frames take two people on hand to put up and take down, and that sheet says to stretch each tab slowly down along the wall, 18 inches, never pulling it away from the wall. Glue sits at the other end of the scale.
Adhesive options for wall mounting make a permanent bond, and that guide keeps construction adhesive for spaces you own. If your panels are foam rather than fiberglass, the guide to putting acoustic foam on a wall has its own five methods, from Command strips to T-pins.
Do Drywall Anchors Hold Acoustic Panels?
Once drilling is allowed, drywall is where ATS’s bluntest warning applies: screws into drywall alone don’t have enough holding strength. Anchors do hold them, which is why ATS puts one in every drywall screw hole unless the screw goes into a stud, and the American Wood Council says studs are normally 16 inches apart in exterior walls.
ATS’s own kit uses plastic anchors in a 3/16-inch hole, tapped flush with a hammer, and Primacoustic installs its impalers with typical sheetrock anchors. A wood stud takes no anchor at all, just a small pilot hole.
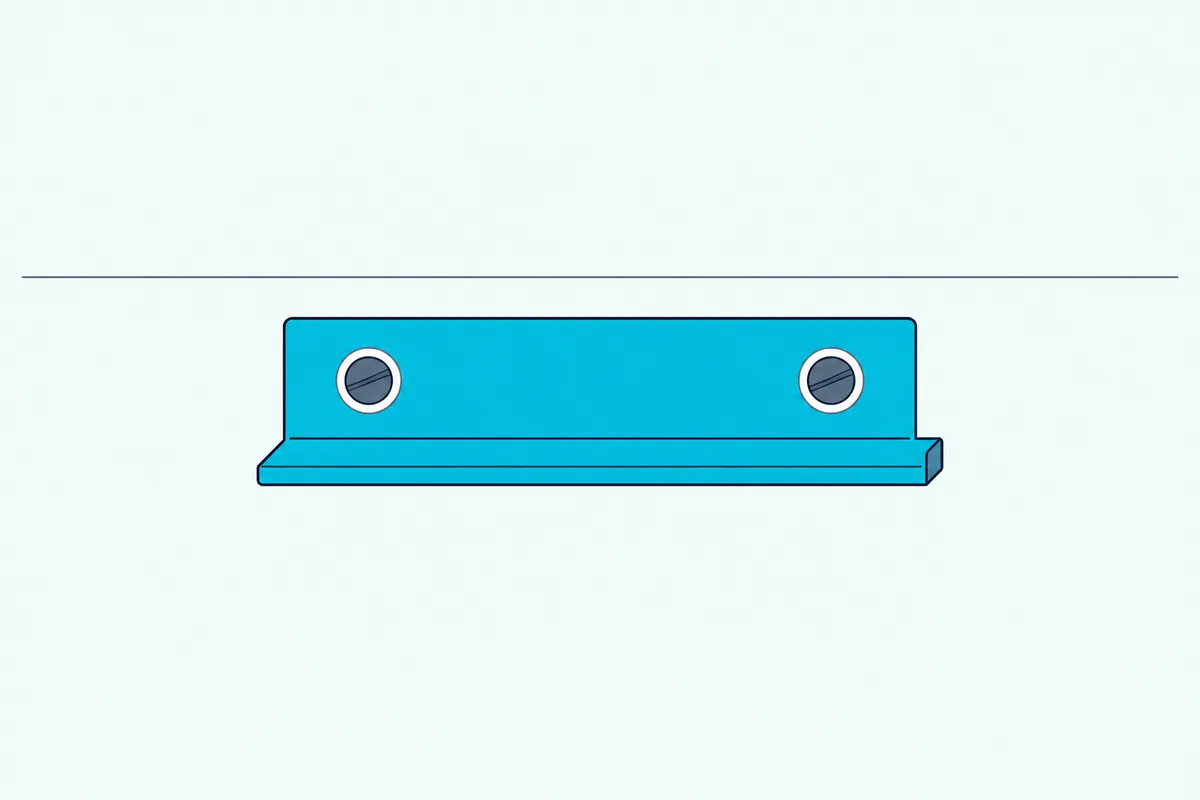
How much an anchor holds is published by anchor makers like TOGGLER, whose sheets give values for 1/2-inch drywall and cite industry standards that use only a quarter of the ultimate figure as the working load. The table below applies that quarter to the shear values, the load a hanging panel puts along the wall.
| TOGGLER anchor | Ultimate shear, 1/2-inch drywall | A quarter of it |
|---|---|---|
| SnapSkru self-drilling, #8 screw | 149 lb | About 37 lb |
| Plastic toggle, TB size | 167 lb | About 42 lb |
| SnapToggle BB, 1/4-20 bolt | 241 lb | About 60 lb |
The figures come from the TOGGLER SnapToggle spec sheet and its SnapSkru and plastic toggle sheets. Compare them with ATS’s 12-pound panel: on four wall clips with two screws each, each anchor carries about 1.5 pounds.
So for a panel like that, weight isn’t the problem; a bare screw in gypsum is, and a secure anchor or a stud fixes that. For heavy panels on hardware that takes a 1/4-inch bolt, TOGGLER SnapToggle BB toggle bolts come 10 to a pack with their bolts.
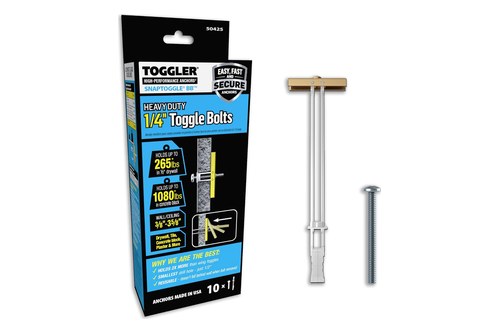
TOGGLER SnapToggle BB toggle bolts
TOGGLER also sets the bolt length: the wall’s thickness, plus the item’s, plus half an inch. The anchor needs 1-7/8 inches of clear space behind the wall, so check for pipes and wiring first, and TOGGLER lists tile over drywall among its uses too.
What Changes on Concrete, Block or Brick?
That clearance problem disappears on masonry, but the drilling gets harder. ATS’s sheet keeps it simple for concrete: the same plastic anchors and #8 screws as drywall, in holes made with a 3/16-inch masonry bit.
Tapcon concrete screws skip the plug, and Tapcon’s sheet is exact about them. A 3/16-inch Tapcon needs a 5/32-inch bit, drilled with the hammer function on, 1/4 inch deeper than the screw will go in.
Blow the dust out with a bulb or compressed air, then drive the screw with hammering off until it seats. Tapcon’s minimum embedment is 1 inch, and its chart pairs a 1- to 1-1/4-inch screw with a fixture up to 1/4 inch thick, which covers a metal clip.
That’s far more holding power than a 12-pound panel needs. Tapcon’s tables give a 3/16-inch screw set 1 inch into 2,000 psi concrete 720 pounds of ultimate shear, and say safe working loads shouldn’t exceed 25% of the ultimate, which is 180 pounds.
Hollow lightweight block is weaker, with 400 pounds of ultimate shear at the same depth, or 100 pounds at 25%. The Tapcon installation sheet has the full bit and length chart.
For Z-clips on concrete, Tapcon 3/16 x 1-1/4-inch concrete screws match that chart and come 75 to a pack.
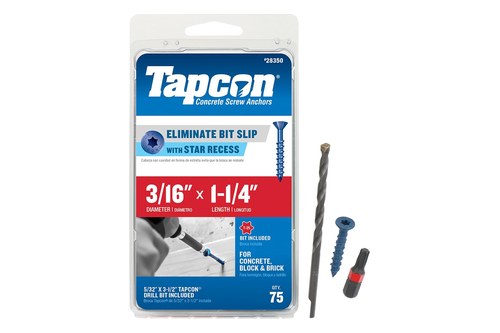
Tapcon 3/16 x 1-1/4-inch concrete screws
Can Acoustic Panels Go on a Ceiling?
They can, but ceilings reverse most of the rules above, because every fastener now pulls straight out instead of along the surface. ATS’s guides say never to use Z-clips, Z-bars or impaling clips on a ceiling, an angled ceiling or a wall that leans into the room.
ATS adds that drywall anchors aren’t appropriate overhead because they can pull out, so ceiling fasteners belong in joists or other structural members. Its FAQ points to its cloud hardware, or to what some customers do: screws through the panel’s solid edge frame into a joist.
The other makers split. Auralex uses its Snap-On Anchors to mount ProPanels on a ceiling and Cloud Anchors to suspend them, Rotofast sells its Snap-On anchor for ceilings too, and Primacoustic’s manual covers impalers overhead with a dab of adhesive on each one.
For the full method, see how to hang acoustic panels on a ceiling, from finding joists to suspended clouds. The ceiling panel installation guide covers when ceiling panels pay off and how much weight a ceiling can support.
Should Panels Sit Flat or Leave an Air Gap?
Once a panel is up, the last choice is how far it sits from the wall. ATS’s FAQ says most of its customers mount panels flat against the wall for broadband absorption and reverb control, and that a gap mainly helps with bass.
ATS explains why: sound passes through the panel, crosses the gap, bounces off the wall and comes back through, and that extra distance helps with long low-frequency wavelengths. Its fabric-covered open back, for panels spaced off the wall or across a corner, comes only on its 4-inch panels.
The guide to air gaps covers spacer blocks behind the wall clip and how big a gap to aim for. Bass is also why the panels that work best behind studio monitors are thick ones, 3 to 4 inches.
What Makes Hung Panels Fall Down?
Each of those methods has a failure its maker names, and most come from using a method outside its limits. These are the ones the sheets warn about:
| Mistake | Whose warning |
|---|---|
| Screws into drywall alone | ATS: not enough holding strength |
| Z-clips or impaling clips on a ceiling or a wall that leans in | ATS |
| Impaling clips without adhesive | ATS: adhesive is needed for adequate support |
| Drywall anchors in a ceiling | ATS: they can pull out |
| Strips on a fabric or paper back, or on wallpaper | 3M |
| Strips loaded less than an hour after they go on | 3M: holding capacity is reduced |
| A panel that slides or lifts easily once hung | ATS: a snug fit guards against vibration |
The pattern is the same in every row. Check the panel’s back, the wall and the maker’s limit, and the hardware does the rest.
Frequently Asked Questions
How Do You Hang Heavy Panels?
Use longer hardware and more of it. ATS moves larger and heavier panels from Z-clips to 18-inch Z-bars, and for custom panels it suggests at least four mounting points, or one per 4 linear feet of perimeter, whichever is greater, so a 48 x 96-inch panel gets six. It also suggests attaching the clips at the perimeter, the strongest part of the panel. On drywall, drive the screws into studs or use anchors with plenty of margin: TOGGLER’s SnapToggle BB has 241 pounds of ultimate shear in 1/2-inch drywall, and TOGGLER cites industry standards that use a quarter of that.
Can You Reposition Panels After Hanging?
Yes, with clips or strips. A Z-clip panel lifts up off its wall clips, though ATS says a correct install fits snugly and doesn’t lift easily, so expect a firm lift. Command Picture Hanging Strips come apart by design: 3M’s product sheet says the interlocking fasteners pull apart easily and reattach repeatedly, so a mounted item can be repositioned. Panels on impaling clips with adhesive are the exception, since ATS says they can’t come off without damage.
Will Hanging Panels Damage Walls?
Screw-based methods leave small holes, and ATS’s wall clips take two #8 screws each. Command strips are the low-damage route: 3M says they remove cleanly from most surfaces but warns that not following the instructions may cause damage, and its sheets rule out wallpaper and freshly painted walls. Construction adhesive is the method that does real damage on removal, which is why ATS treats it as permanent mounting.
How Many Mounting Points Does Each Panel Need?
It depends on size and maker. ATS uses two Z-clips for a 24 x 24-inch panel and four for a 24 x 48, and its impaling clip and Rotofast guide doubles the 24 x 24 count to four on a ceiling, where that guide rules impaling clips out. Auralex uses two impaling clips on a 2 x 4-foot ProPanel and six on a 4 x 8, Primacoustic four on a 2-inch Broadband panel, and Rotofast typically four anchors on a 4 x 4-foot, 1-inch panel. Follow your panel maker’s count first.
How Much Do Acoustic Panels Weigh?
Between 5 and 12 pounds for one maker’s common sizes. ATS lists its 24 x 48 x 2-inch panel at 12 pounds on average on the product page and 10.5 pounds in its FAQ, and its 24 x 24 x 2-inch panel at 5 pounds. Check your own panel’s figure, since frames, backs and cores change it, then compare it with the hardware’s rating.