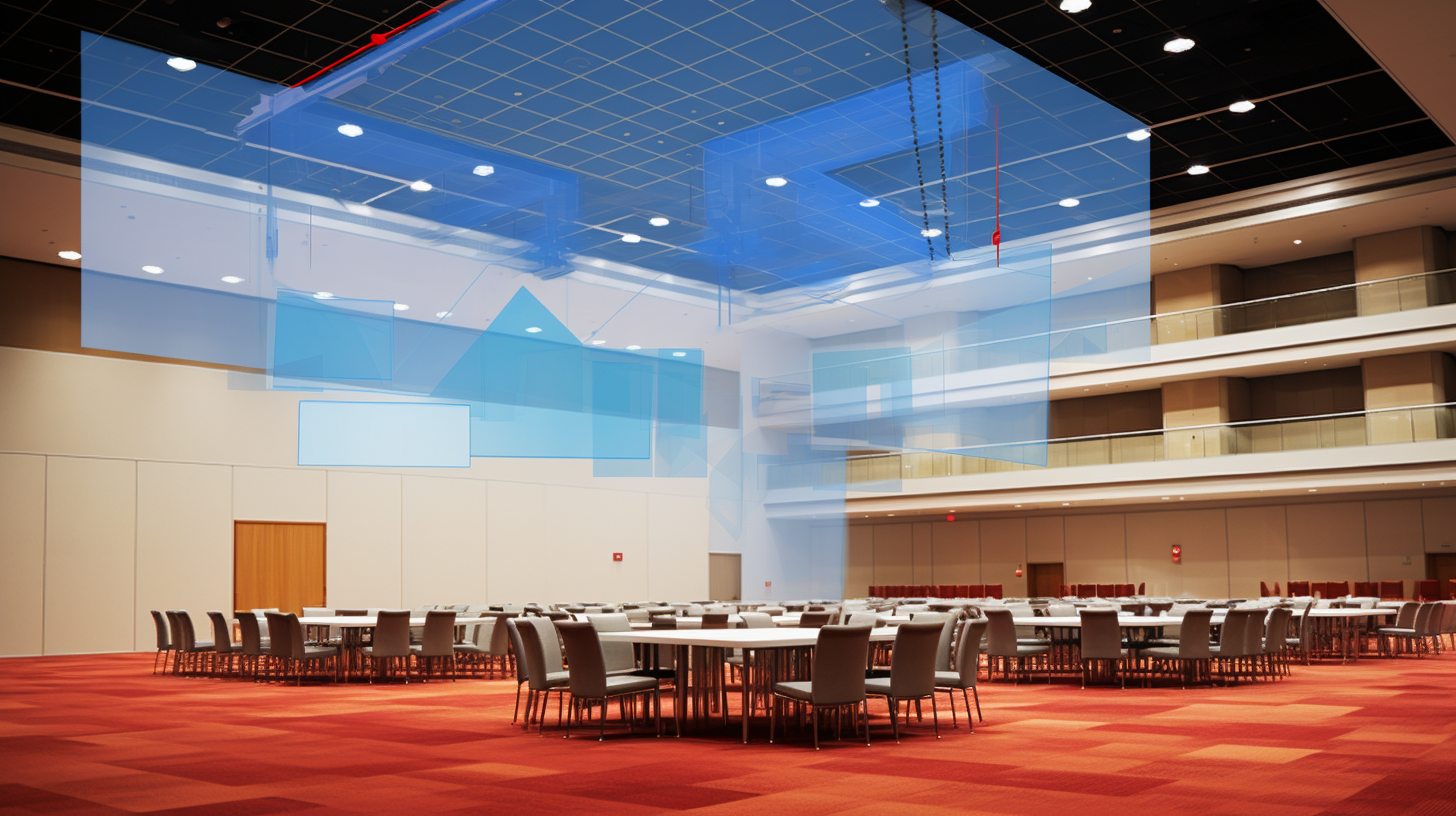
Do your large hall events suffer from excessive echo that muddles speech? Acoustic treatments could be the solution.
Adding strategically placed acoustic panels on walls and ceilings is an effective way to control noise issues in large halls.
In this guide, we’ll dive into the step-by-step process for calculating, selecting, and installing acoustic treatments to optimize any large hall.
How Many Acoustic Panels Are Required For A Large Hall?
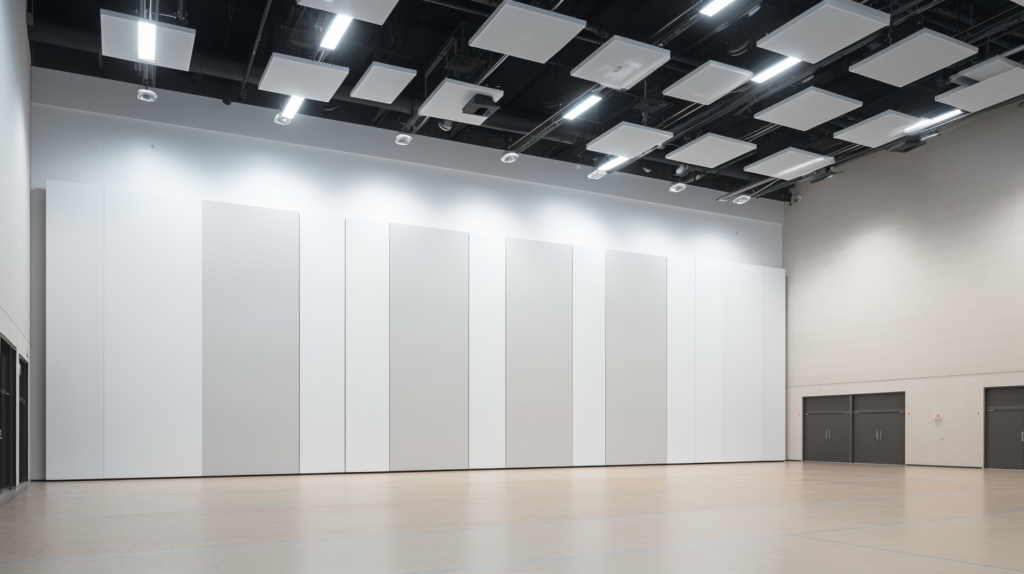
The first critical step is to accurately calculate the total amount of acoustic paneling that will be required for the specific room. This involves carefully determining the total enclosed volume of the interior space first.
Then, using that volume in conjunction with target optimal reverberation times for the intended hall usage, the total absorption area required can be determined through acoustic formulas.
For a typical large fellowship hall or auditorium with approximately 5,000 square feet of floor space, and a ceiling height of 15 feet, the total interior volume is calculated by multiplying the square footage of the floor by the height of the ceiling.
So for this example hall, 5,000 square feet multiplied by the 15 foot height equals an interior volume of 75,000 cubic feet total. This volume calculation is essential for the subsequent acoustic analysis.
Now that the total cubic volume is known, the optimal reverberation time target for the space can be set, based on the hall’s intended use and any existing issues.
For general speech use, such as lectures, presentations, or announcement intelligibility, a reverberation time between 0.5 to 0.6 seconds is usually ideal for a hall of this size.
This provides enough liveliness in the space to avoid an overly dampened or “dead” feeling, while still allowing for clear verbal communication throughout the room.
Given the volume of the space and the target optimal reverberation time, acoustic formulas can be applied to calculate the total absorption area (in square feet) required.
For this example fellowship hall, the total absorption area needed to achieve an RT60 of 0.5 – 0.6 seconds would be in the range of 2,500 square feet.
With the recommended total absorption area determined, the approximate amount of acoustic panel coverage can now be estimated. In many hall projects, 25% to 35% of the total wall and ceiling square footage available is sufficient when using high-quality acoustic panels.
For this hypothetical 5,000 square foot hall, 35% of the total wall/ceiling area would equate to about 1,750 square feet of acoustic panels needed.
Carefully Selecting Appropriate Acoustic Panels
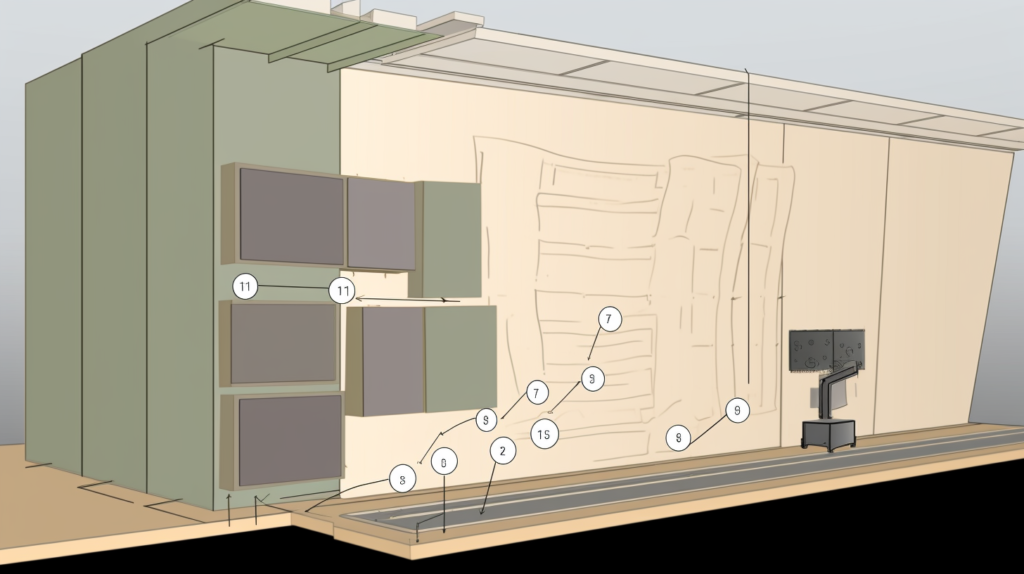
With the total absorption amounts calculated, the process moves on to selecting the right types of acoustic panels to meet the needs of the space.
There are several key factors to take into consideration when choosing panel materials:
First, the specific noise issues and problematic frequencies in the hall should be evaluated through testing.
Lower frequency sounds below 500 Hz often build up and cause booming reverberation.
Higher frequencies over 2000 Hz lead to excessive brightness and harsh, distracting echoes.
Testing the unoccupied room with tone generators and spectrum analyzers identifies any target frequency ranges.
The acoustic panels themselves should have noise reduction coefficients (NRC) of 0.80 or higher across 125 Hz to 4000 Hz for effective, broadband absorption.
Common core materials like fiberglass or polyester work well for treating reverberation when covered in fabrics or other facings.
Wood paneling and diffuser products provide more limited absorption for fine tuning room balance.
Aesthetics are crucial as well, since the panels will be visually prominent. Fabric-wrapped panels in colors matching the hall decor integrate well and appear upscale.
Wood paneling introduces natural elements. Polyester core panels provide vivid color options and interesting 3D shaping possibilities.
Planning room aesthetics and finishes allows selecting panels complementing the overall design vision.
Budget plays a big role too, as acoustic panel costs per square foot vary widely based on the materials used, thickness, custom prints, and other factors.
Working with experienced acoustic consultants and manufacturers early in the design process allows appropriately weighing performance, visual appeal, and overall budget.
How To Install Acoustic Panels on Large Hall Walls
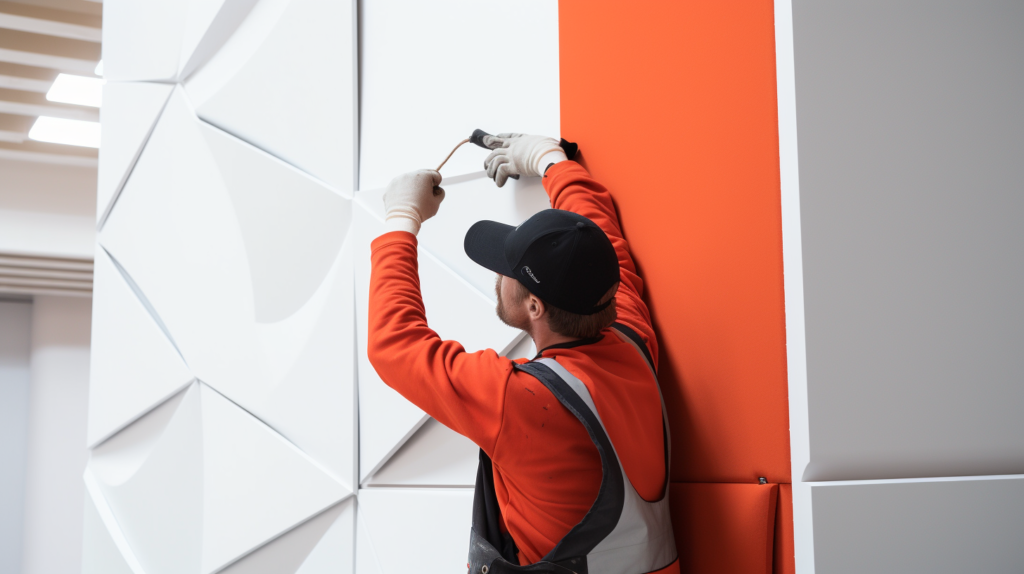
Once suitable acoustic panels are selected after factoring in all of the priorities, proper installation technique is critical for achieving optimal noise reduction.
For the example fellowship hall described, approximately 1,500 square feet of panels have been calculated as needed for the walls specifically, assuming 250 square feet of ceiling clouds will also be implemented.
Wall panels should be thoughtfully distributed throughout the space for balanced coverage, rather than just arranged in a grid. They should be staggered from wall to wall rather than directly opposite.
Leave intentional gaps of 2 to 3 inches between panels whenever lined up the same way to diffuse reflections and prevent excessive build up at particular frequencies.
Zones of walls that fall within 15 to 30 feet of any seating areas require priority treatment, as these surfaces are most apt to reflect distracting sounds directly back to listeners.
So focus initial absorption placement in these impactful zones around the audience, then fill in additional coverage moving outwards across the other wall areas.
It is also generally advisable to start by treating lower wall sections first, before addressing higher, upper wall surfaces. Upper areas near the ceiling will have less direct sound impact on audience members.
Evaluating lower area absorption first allows judiciously adding height later for ideal tuning.
Resist overdoing wall coverage by completely filling entire wall sections floor to ceiling with acoustic panels. Excessive coverage can result in an overly dampened, lifeless space.
The intentional gaps described, along with leaving some reflective wall segments, avoids this issue while providing beneficial diffusion. As a general guideline, at least 20% of any individual wall surface should remain untreated.
How To Install Acoustic Panels on Large Hall Ceiling
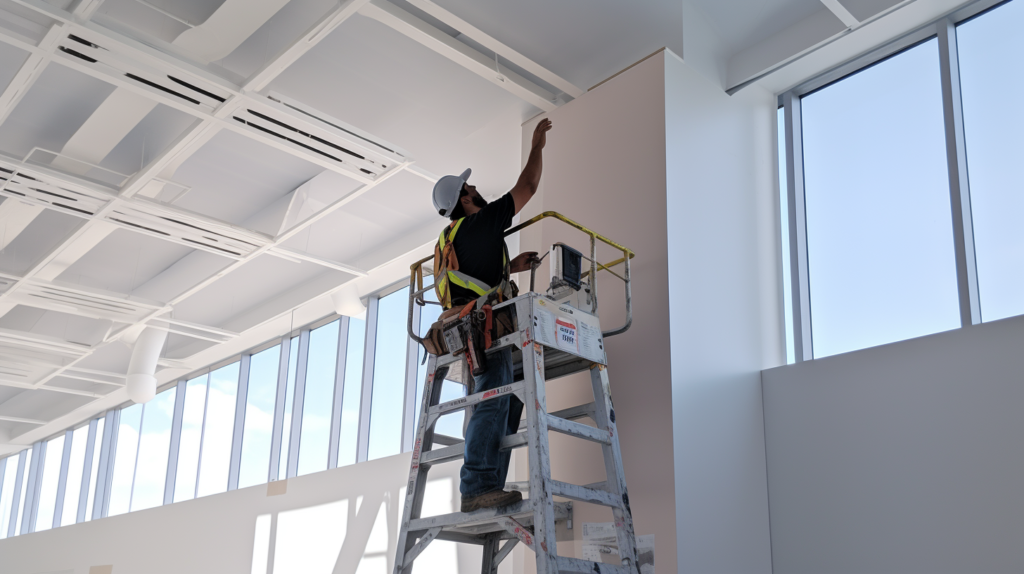
For overhead sound control, suspended acoustic ceiling clouds positioned above key seating areas offer efficient, targeted absorption.
Trying to cover an entire ceiling evenly would require far more materials for the same benefit.
Carefully positioned ceiling clouds absorb within the most important zone overhead before sound can reflect back down towards listeners.
The bottom edges of the acoustic clouds should hang at a minimum of 8 to 10 feet above the floor level of the audience seating below.
This ensures absorption happens within the critical overhead zone most likely to reflect direct sound downward.
For extremely high ceilings beyond 30 feet in height, clouds can be positioned somewhat lower in proportion.
Perimeter ceiling areas, corners, and other zones outside of central seating can remain completely untreated. This not only saves costs, but also avoids potential issues with over-deadening the space.
Rigging for safely securing acoustic ceiling cloud structures requires professional engineering and installation. Work only with contractors highly experienced in hall ceilings and properly securing suspended loads.
Addressing Key Panel Mounting Considerations
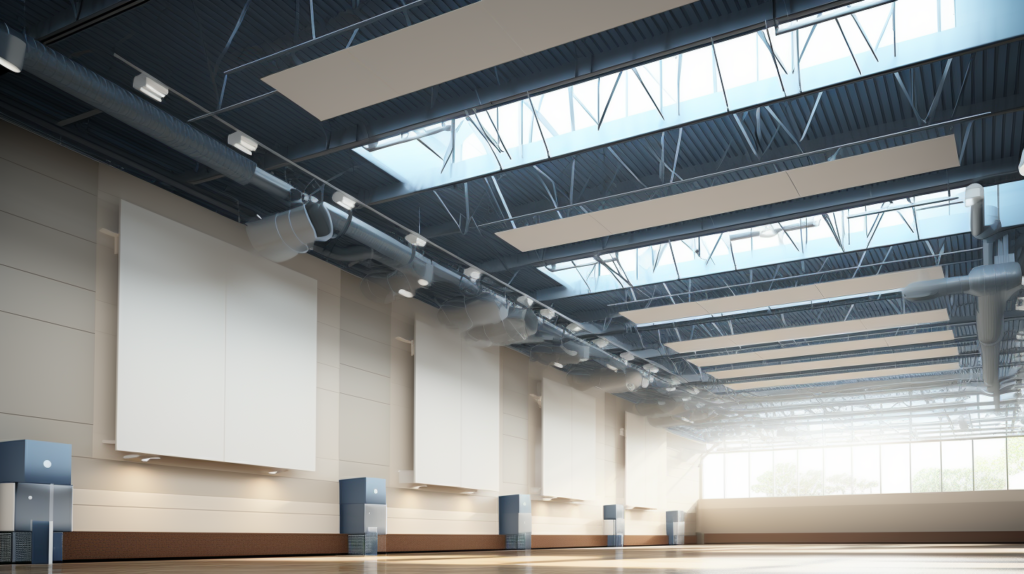
Some important factors must be considered regarding the actual mounting of the panels on the various room surfaces:
Fabric wrapped panels should be firmly attached using tapcon screws anchored securely into wall studs or ceiling joists. Always use washers with screws to prevent pull-through.
Wall panels can alternatively be affixed using construction adhesive, though this complicates subsequent adjustment. Ceiling clouds will require hanging wires or cables connected to the building structure overhead.
Hard substrates like fiberglass, polyester, or wood require different approaches. Adhesive installation options include liquid nails on perimeter borders, full spread glue on the entire back face, or Z-clips.
Such adhesives make panel detachment and adjustments very difficult after-the-fact however.
Leave an intentional gap between panels where they meet or align in repeating patterns. As previously noted, gaps of 2 to 3 inches are ideal for dissipating standing waves and preventing excessive build up at particular frequencies.
The gaps also facilitate room sound diffusion for a more natural acoustic character.
Panels should be oriented at incrementally varied angles rather than lining up flush and flat. Angling panels adds scattering as sound reflects, improving diffusion and eliminating distinct echo points and planes.
Adjust panel facets in 5 to 15 degree offsets relative to one another for best diffusion.
Acoustic absorption performs best when room airspace exists behind panels. Avoid compressing them fully up against each other or boundary surfaces.
Maintain a minimum 4 inch spacing off of walls and ceilings for ventilation and performance. These edge gaps also help mitigate low frequency trapping and standing waves.
Final Verification Testing and Ongoing Re-adjustments
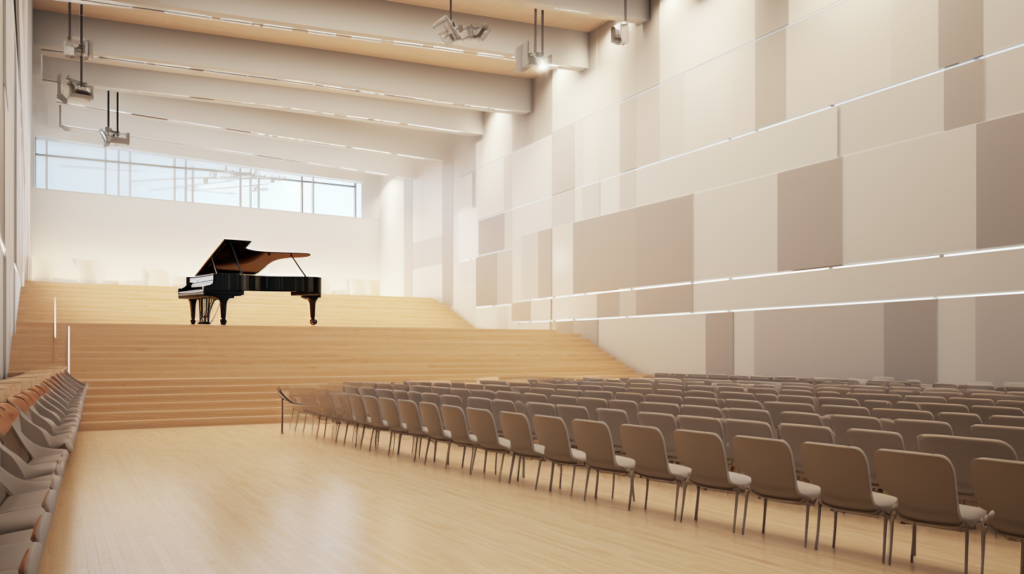
After full acoustic panel installation is complete, the hall must be thoroughly re-tested before occupancy and use. This evaluation will determine if the applied treatments have adequately reduced reverberation times and echo to required levels.
First, take new RT60 measurements across varying hall positions and frequencies. Values should now fall within target ranges ideal for the space size and functions.
If excessive reverberation persists, additional absorption must be added in any identified problem zones.
Further real-life assessments should be made with seats filled. Have presenters speak over the sound system from stage while checking clarity throughout all seating areas.
Note any spots with continuing echo or poor intelligibility so panels can be added or adjusted there.
Once furnishings and finishes are fully installed, re-check again for any final dead or live spots. Reflective items like wood lecterns or glass light fixtures may reveal a need for final panel placement tune-ups.
This final adjustment pass can polish room acoustics prior to occupancy.
Over years of hall use, acoustic panels will degrade and require replacement. Facility managers should plan to evaluate acoustics on an ongoing basis, at least every two years, to address aging panels.
Events and occupancy can also evolve over time. So persisting in adapting the hall’s acoustic treatments whenever needed is key to maintaining exceptional audio quality and experiences.
Conclusion
Properly installing acoustic panels in a large hall requires careful planning, calculations, material selection, and installation techniques.
When done right, the treatments can transform an overly reverberant, echoey space into one with clear, intelligible sound ideal for speech and music.
While the process involves some investment upfront, the long-term benefits for improved listening experiences and communication make acoustic treatments well worth the effort.
