Bass Traps For Home Studio — Where To Place Them And How Many You Actually Need
Bass traps for home studio setups solve the one acoustic problem that foam panels and wall treatment can’t touch — but most home producers either skip them entirely or place them wrong, leaving the room’s worst bass modes completely untreated while wondering why their mixes sound muddy on every other playback system.
Most home studio owners start with foam panels on the walls and wonder why their mixes still sound muddy or bass-heavy. The foam addresses flutter echo and mid/high reflections, but it does almost nothing below 300 Hz — the range where bass traps work and where untreated rooms cause the biggest problems.
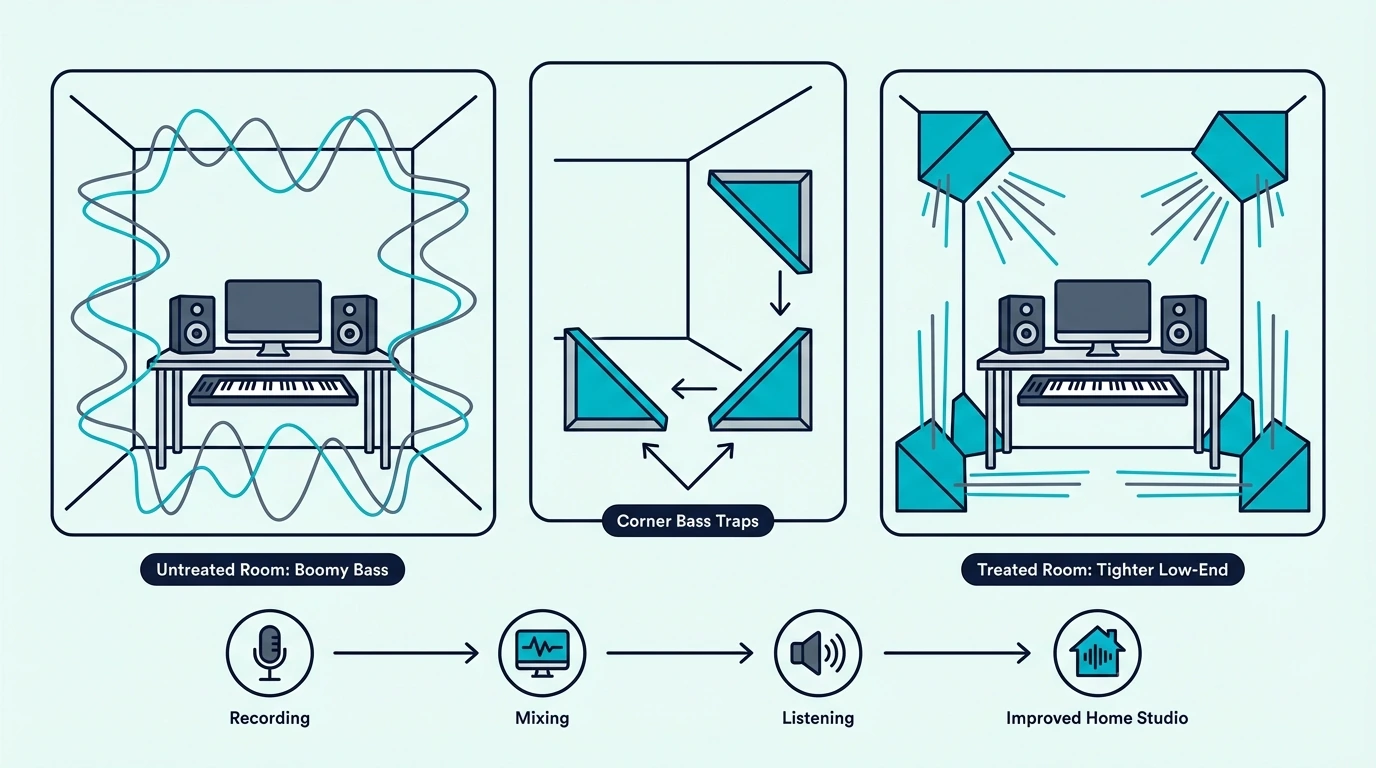
The good news is that bass trapping a home studio doesn’t require covering every surface. Strategic placement in the right corners and wall-ceiling junctions delivers 80% of the improvement with 20% of the coverage.
Below, you’ll find why home studios specifically need bass traps, exactly where to place them, how many you need based on room size, the best options at different budgets, and the most common mistakes to avoid.
Every home studio needs bass traps in at least the four vertical wall corners — two behind the monitors and two at the rear wall. Use 4-inch minimum thickness mineral wool or fiberglass panels straddled across corners for effective bass absorption. Small bedroom studios need 4-6 traps minimum, while dedicated studio rooms benefit from 8-12 traps covering corners plus ceiling-wall junctions.
Why Do Home Studios Need Bass Traps?
Home studios sit in rooms designed for living, not listening — bedrooms, spare rooms, and basements with dimensions that create strong room modes in the 50-200 Hz range. These modes cause certain bass notes to boom 10-15 dB louder than others at your listening position, making accurate monitoring impossible.
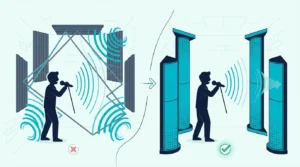
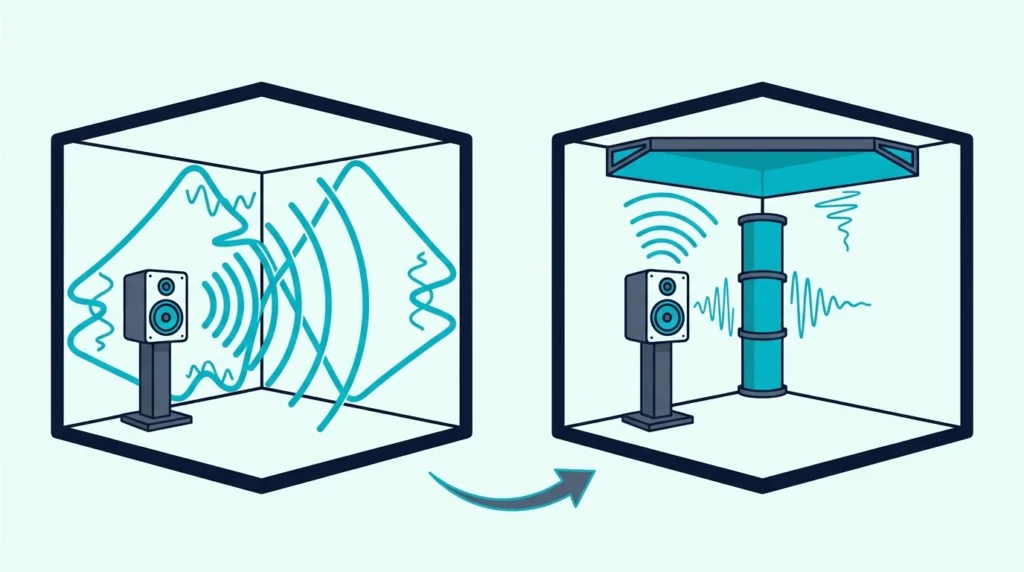
The parallel walls in typical rectangular rooms are the core problem — sound waves bounce back and forth between parallel surfaces, creating standing waves where bass energy piles up at the boundaries (walls, corners, ceiling) and cancels in other spots. Your mix sounds completely different depending on where you sit in the room.
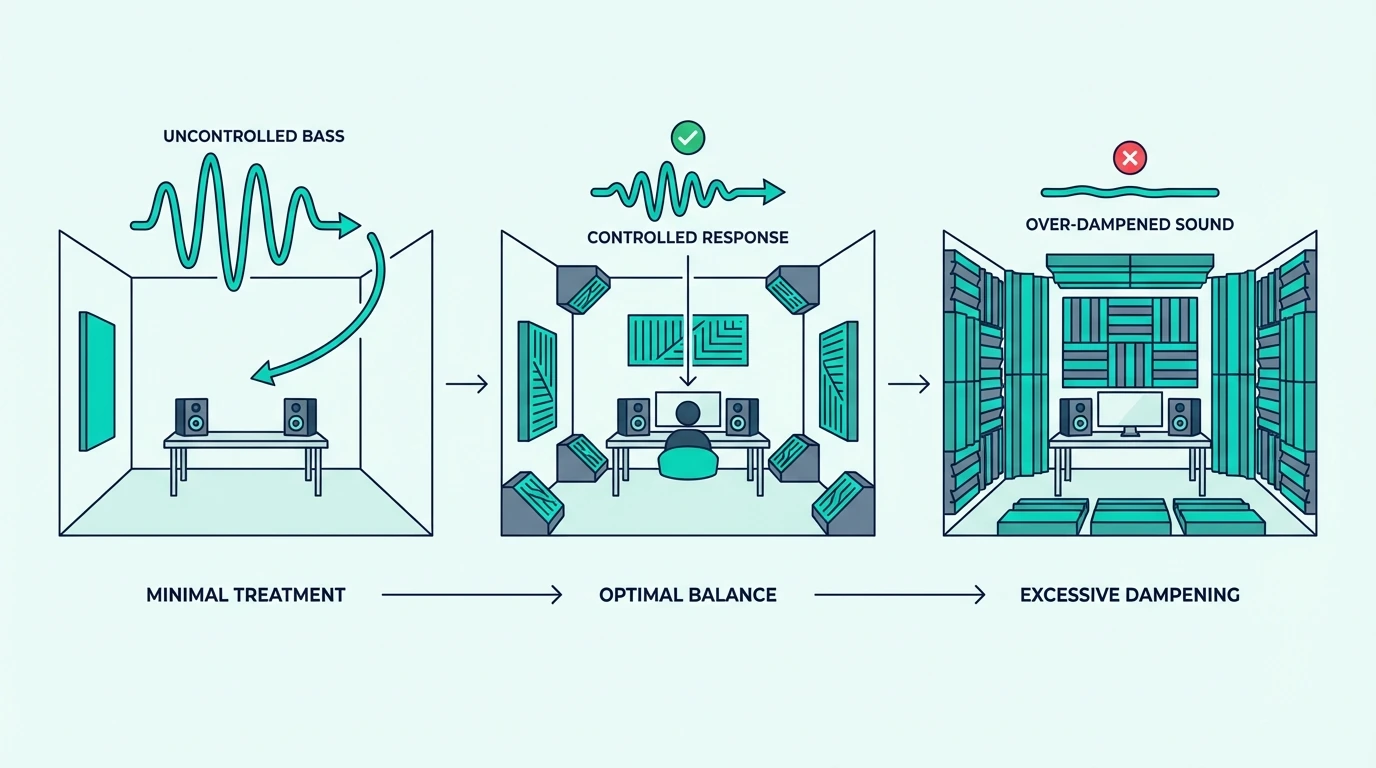
Without bass traps, you’ll compensate for what you hear rather than what’s actually in the mix. If your room boosts 80 Hz by 12 dB, you’ll unconsciously cut 80 Hz in your mix — then play it back in a car or on headphones and wonder where all the low end went.
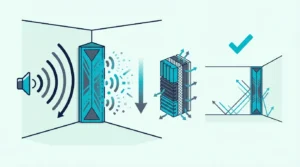
Bass traps reduce these peaks by absorbing the excess energy at room boundaries. Even modest treatment — four corner traps — can reduce the worst room modes by 6-10 dB, which is the difference between guessing at your low end and actually hearing it accurately.
Where To Put Bass Traps In A Home Studio
Bass trap placement follows a clear priority order based on where bass energy concentrates most in a rectangular room. Start at the top of this list and work down as budget allows.
Front Wall Treatment
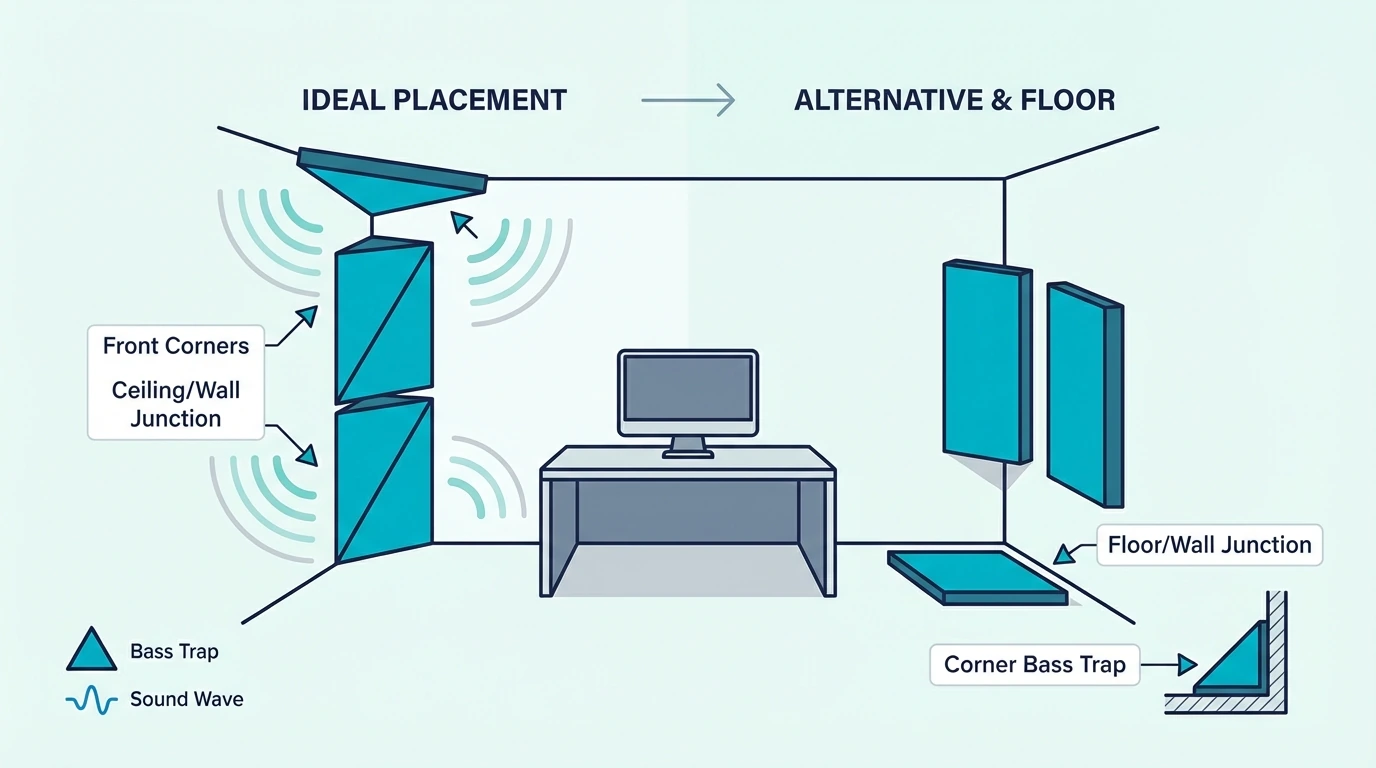
The two vertical corners where the front wall meets the side walls are the highest-priority positions in any home studio. Bass energy is strongest where three surfaces meet (two walls plus the floor or ceiling), and the front wall is where your monitors sit — so treating these corners directly improves what you hear at the mix position.
Mount traps floor-to-ceiling in both front corners, straddled across the corner at a 45-degree angle. This creates an air gap behind the trap that extends its effective absorption depth beyond the panel’s physical thickness.
If your monitors are close to the front wall (within 2-3 feet), add a panel flat on the front wall between the monitors. This addresses the boundary reinforcement that boosts bass when speakers are near a wall surface.
Rear Wall And Side Wall Treatment
Rear wall corners are the second priority — bass energy reflects off the rear wall back toward your listening position, creating comb filtering that makes the low end sound uneven. Treat both rear corners the same way as the front: floor-to-ceiling traps straddled across the corner.
Side wall reflection points matter more for mid and high frequencies than bass, but if your room is narrow (under 10 feet), side wall bass treatment helps reduce the lateral room modes. Place panels at the first reflection points on each side wall.
Ceiling-wall junctions are the next priority after vertical corners. The edges where the ceiling meets the walls are high-pressure zones for bass — mounting traps along these edges (especially at the front and rear walls) catches bass energy that vertical corner traps miss.
Get Studio Tips Weekly
Join 5,000+ creators getting acoustic treatment advice every week.
No spam. Unsubscribe anytime.How Much Bass Trapping Does A Home Studio Need?
The amount of bass trapping depends on room size, room shape, and how critical your listening accuracy needs to be. Here’s a practical framework based on how many bass traps different room types typically need.
Bedroom Studios
A typical bedroom (10×12 feet or smaller) has severe room modes because the dimensions are short relative to bass wavelengths. These rooms need proportionally more treatment than larger spaces.
Minimum: 4 corner traps (all four vertical corners, floor-to-ceiling). This addresses the worst room modes and gives you a baseline level of monitoring accuracy.
Recommended: 6 traps — four vertical corners plus two ceiling-wall edge traps at the front wall. This covers the primary and secondary bass buildup zones and gets you roughly 80% of what’s achievable with full treatment.
Dedicated Studio Rooms
Larger dedicated rooms (12×16 feet or bigger) have more spread-out room modes and generally less severe bass problems per mode. You have more surface area to treat, but the treatment doesn’t need to be as dense.
Minimum: 6 traps — four vertical corners plus front wall panel between monitors.
Recommended: 8-12 traps — four vertical corners, four ceiling-wall edge traps, and additional flat-wall panels at the front and rear walls. This level of treatment gives professional-grade monitoring accuracy for mixing and mastering.
Best Bass Trap Options For Home Studios
Home studio bass traps range from $10 DIY builds to $200+ commercial panels. The acoustic performance depends primarily on the insulation material and thickness, not the brand name or price tag.
DIY mineral wool traps ($15-40 per trap) deliver the best performance per dollar — build a simple frame from 1×4 lumber, fill it with 4-inch Rockwool Safe’n’Sound or ComfortBoard, and wrap it in muslin. These perform identically to commercial panels at one-third the cost, and the full DIY bass trap build guide covers the process step by step.
Commercial fiberglass/mineral wool panels ($120-200+ per trap from GIK Acoustics, Primacoustic, or ATS Acoustics) use the same core materials as DIY traps with professional-grade fabric and frames. Worth it if appearance matters or you don’t want to build.
Foam bass traps are the most convenient option — the 4 Pack Bass Traps for Ceiling Corner installs in minutes and covers four corners at once. Foam works best as a starting point for casual recording rather than critical mixing.

4 Pack Bass Traps for Ceiling Corner
For covering all corners efficiently, the 8 Pack Bass Traps Acoustic Foam Corner provides enough pieces for all four vertical corners and is a practical choice when budget is the priority.
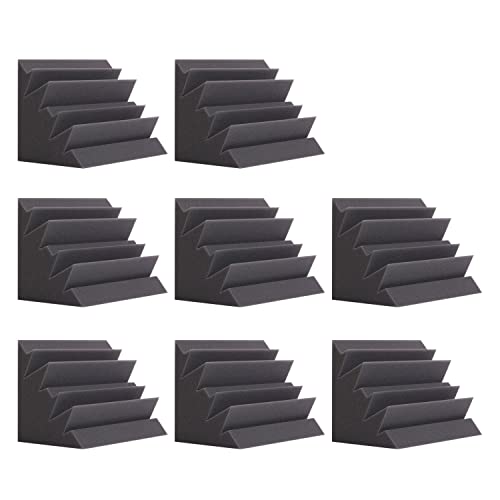
8 Pack Bass Traps Acoustic Foam Corner
Common Home Studio Bass Trap Mistakes

The most common mistake is treating a home studio with only thin acoustic foam and assuming the bass is handled. Standard 2-inch foam panels absorb well above 500 Hz but barely touch frequencies below 200 Hz — the exact range where room modes cause problems.
Another frequent error is only treating two corners instead of four — bass energy exists in all corners equally, so leaving the rear corners untreated means half the room’s bass problems persist. The improvement from two to four corner traps is nearly as significant as the improvement from zero to two.
Placing bass traps flat against walls instead of straddling them across corners reduces their effectiveness significantly. A 4-inch panel flat on a wall absorbs down to roughly 400 Hz, while the same panel straddled across a corner with an air gap absorbs down to 200 Hz — that air gap effectively doubles the acoustic depth.
Skipping ceiling treatment entirely is another common oversight — the ceiling-wall junctions are high-pressure zones for bass, and most home studios treat only the vertical corners while ignoring the horizontal edges above. Even two traps along the front ceiling edge make a noticeable difference in low-frequency accuracy.
The Bottom Line
Bass traps for home studio environments are the most important acoustic treatment investment you can make — more impactful than wall panels, diffusers, or any other room treatment for improving mix accuracy. Start with four corner traps in the vertical wall corners (minimum), expand to 6-8 traps including ceiling-wall edges, and use 4-inch minimum thickness mineral wool or fiberglass for real bass absorption.
Skip thin foam as your primary bass treatment and invest in proper insulation-based traps — either DIY builds or commercial panels. The difference in monitoring accuracy is immediately audible and will improve every mix you make in your studio.
Frequently Asked Questions
How many bass traps do I need for a home studio?
A minimum of four bass traps (one per vertical corner) is the starting point for any home studio. For bedroom-sized studios, six traps (four corners plus two ceiling-wall edge pieces) covers the critical zones, while dedicated mixing rooms benefit from 8-12 traps for professional accuracy.
Are foam bass traps good enough for home recording?
Foam bass traps are adequate for casual recording where perfect low-frequency monitoring isn’t critical — vocals, podcasts, and acoustic instruments benefit from even basic foam treatment. For mixing and mastering, mineral wool or fiberglass traps absorb significantly deeper into the bass range and give you the accuracy needed to make reliable low-end decisions.
How many corner bass traps do you need?
Ideally, treat all four vertical corners in your room — each corner is a high-pressure zone where bass energy accumulates equally. If budget forces you to choose, prioritize the two front wall corners (behind your monitors) first, then add the rear corners as soon as possible for balanced bass absorption throughout the room.