How to Use Computer Keyboard as MIDI Controller — What Works and What You Lose

How to use computer keyboard as MIDI controller is the first workaround every new producer tries when they do not own dedicated hardware yet, but the limitations hit fast — no velocity sensitivity, no pitch bend, no modulation control, and an input experience that feels nothing like playing a real instrument.
The problem is caused by computer keyboards being binary input devices. Each key is either pressed or not pressed, with zero information about how hard you struck it. A MIDI controller sends 128 different velocity levels per keystroke, and that dynamic range is what makes digital instruments sound musical rather than mechanical.
This guide shows you exactly how to enable computer keyboard MIDI input in every major DAW, explains what you sacrifice compared to a real MIDI controller, and helps you decide when the free workaround is good enough versus when spending forty dollars on a dedicated controller transforms your workflow.
Below you will find DAW-specific setup instructions, a realistic assessment of what computer keyboard MIDI input can and cannot do, and affordable upgrade recommendations for when you are ready to move beyond the workaround.
Every major DAW lets you play virtual instruments from your computer keyboard — Ableton (press M), FL Studio (typing keys trigger notes), Logic Pro (Cmd+K for Musical Typing), GarageBand (same shortcut). The limitation is zero velocity sensitivity — every note plays at the same volume. A forty-dollar MIDI keyboard removes that ceiling instantly and adds dynamics that computer keyboards cannot replicate.
How To Enable Computer Keyboard MIDI In Your DAW
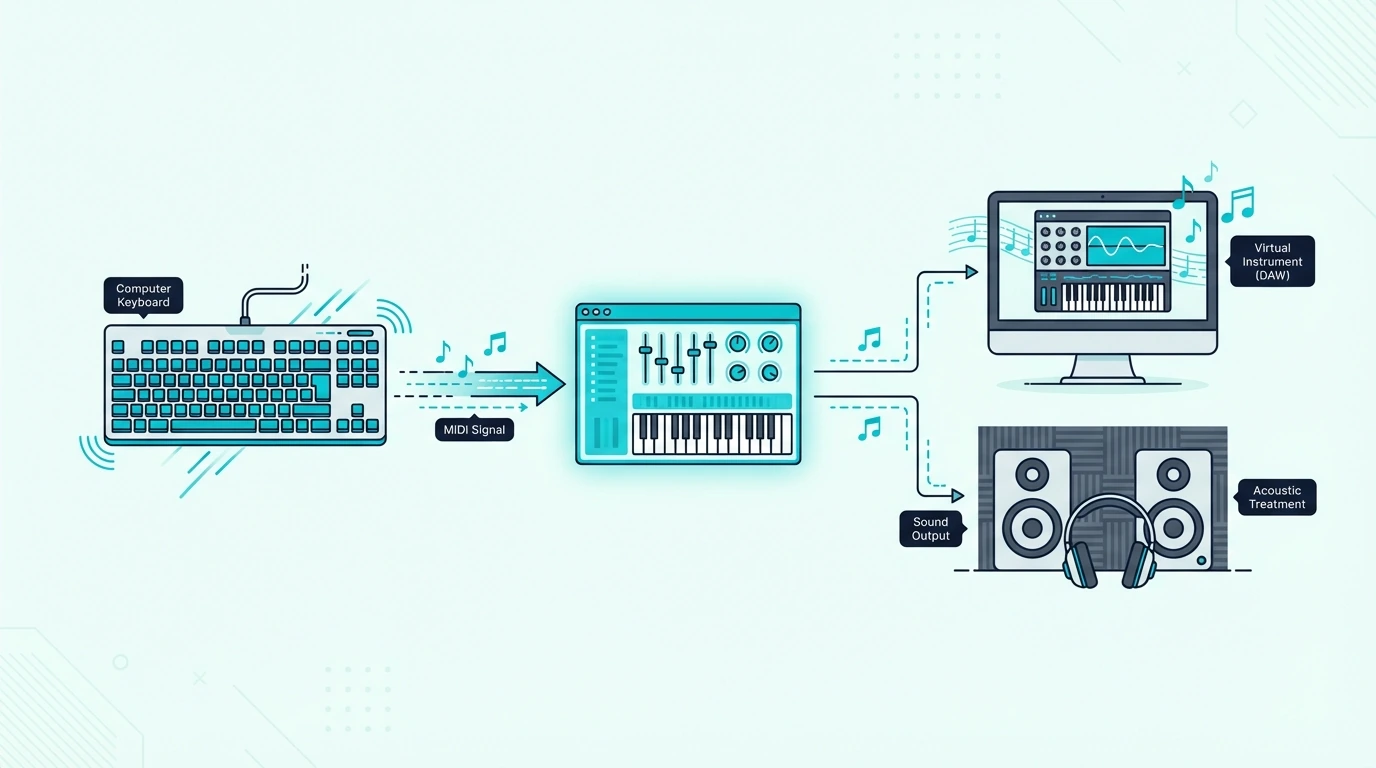
Each DAW implements computer keyboard MIDI differently, but the core concept is the same: your QWERTY keys map to musical notes, and pressing them sends MIDI data to whichever virtual instrument is loaded.
Ableton Live
Press the M key on your computer keyboard to toggle Ableton’s virtual MIDI keyboard. The middle row of keys (A through semicolon) maps to one octave of notes. The top row (Q through bracket) maps to the next octave up. Z and X shift octaves down and up. C and V adjust velocity in fixed increments.
The velocity adjustment (C and V keys) is Ableton’s attempt to compensate for the lack of real velocity sensitivity. You can set a fixed velocity level before playing, but every note you play hits at that exact level until you manually change it. Real playing dynamics are impossible.
FL Studio
FL Studio maps your typing keyboard to notes automatically when a channel is selected in the channel rack. Press keys on the middle row to play notes in the current octave. The number keys above shift octaves.
FL Studio also offers a dedicated typing keyboard piano (Ctrl+T) that provides a visual reference showing which keys map to which notes. This visual mode helps beginners who are not yet familiar with the keyboard-to-note mapping, which follows a standard piano layout with the bottom row as white keys and the top row as black keys.
Logic Pro And GarageBand
Press Cmd+K (Command+K) to open Musical Typing in both Logic Pro and GarageBand. A virtual keyboard appears on screen showing which computer keys map to which notes. The middle row plays notes, Tab and the key above it change velocity between preset levels, and Z and X shift octaves.
Musical Typing in Logic and GarageBand offers the most visual feedback of any DAW’s computer keyboard MIDI implementation. The on-screen keyboard highlights each note as you press it, which helps beginners learn the note mapping faster.
Other DAWs (Cubase, Cakewalk, Reaper)
Cubase includes a virtual keyboard (Alt+K) that maps computer keys to notes. Cakewalk and Reaper support third-party virtual MIDI keyboard applications that create a system-wide MIDI device from your computer keyboard.
The setup process varies by DAW, but the core experience is identical: binary key input with no velocity sensitivity, no aftertouch, no pitch bend, and no modulation control.
What You Lose Without A Real MIDI Controller
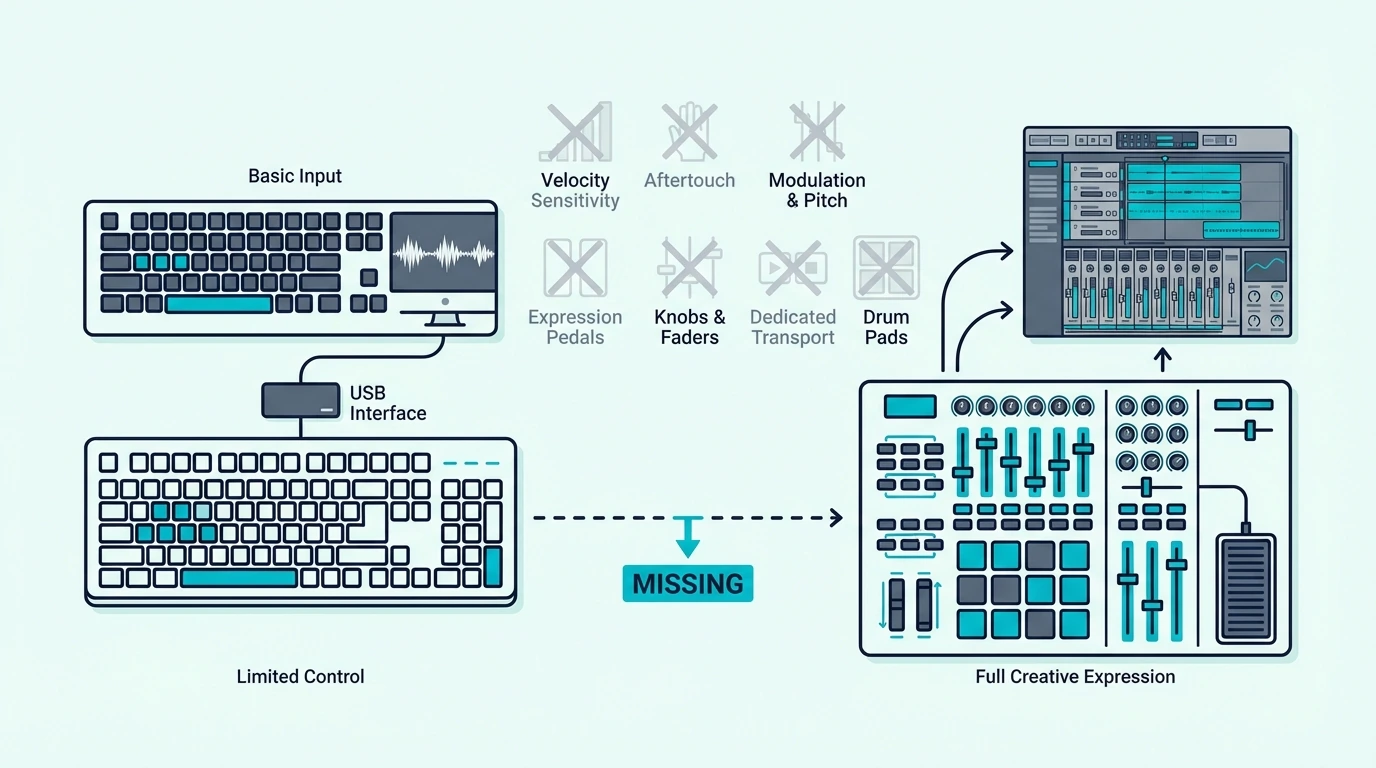
Computer keyboard MIDI input works for basic note entry, but the gaps between it and a real MIDI controller affect the quality of every performance you record.
Zero Velocity Sensitivity
Velocity sensitivity is the single biggest difference. A real MIDI keyboard detects how hard you press each key and sends that force as a 0-127 velocity value. Soft touches produce quiet, gentle notes. Hard strikes produce loud, aggressive notes. That dynamic variation is what makes a piano recording sound like a human played it.
Computer keyboards send the same velocity for every note regardless of how you type. The result sounds flat, mechanical, and lifeless — especially noticeable on piano, drums, and any instrument where dynamics define the character of the performance.
No Pitch Bend Or Modulation
Real MIDI controllers include pitch bend wheels that smoothly slide notes up or down, and modulation wheels that add vibrato, filter sweeps, or any parameter you assign. These controls are essential for expressive synth leads, realistic brass and string parts, and guitar-style bends.
Computer keyboards have no equivalent. You can automate pitch bend and modulation in your DAW’s piano roll after recording, but the real-time performance feel is lost. Drawing a pitch bend curve with a mouse takes thirty seconds for what a pitch wheel does in one gesture.
No Aftertouch Or Expression
Aftertouch measures the pressure you apply to a key after the initial strike. Expression messages control volume dynamics in real time. Both add musical nuance that separates a performed part from a programmed one.
Computer keyboards transmit none of this data. The notes you enter are starting points that require extensive post-recording editing to sound musical. A real MIDI controller captures that expression during the performance, eliminating most of the editing.
Awkward Physical Layout
Piano notes follow a specific physical pattern — white and black keys in groups of two and three. A computer keyboard maps notes to a QWERTY layout that bears no relationship to musical intervals. Playing a chord on a computer keyboard requires memorizing arbitrary key combinations rather than using the muscle memory that a piano layout provides.
The midiplus AKM320 at under forty dollars gives you 32 keys in the standard piano layout with real velocity sensitivity — removing every limitation listed above for less than the cost of a nice dinner.
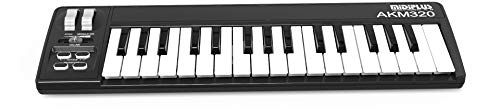
midiplus AKM320
Get Studio Tips Weekly
Join 5,000+ creators getting acoustic treatment advice every week.
No spam. Unsubscribe anytime.When Computer Keyboard MIDI Actually Works
Despite the limitations, computer keyboard MIDI input serves legitimate purposes in specific situations.
Quick Idea Capture
When a melody idea hits you at a coffee shop and your MIDI keyboard is at home, your laptop keyboard captures the notes. The velocity will be flat and the performance will need editing, but the idea is preserved before you forget it.
That capture-now-refine-later workflow is the strongest use case for computer keyboard MIDI. Treat it as a notepad for musical ideas, not a performance tool.
Simple Note Entry For Electronic Music
Electronic genres with repetitive, quantized patterns (techno, house, minimal) often use identical velocity on every note by design. In these styles, the lack of velocity sensitivity is not a limitation — it is actually the intended sound.
Entering a four-note bass sequence or a repeating synth arp from your computer keyboard works fine when every note is supposed to hit at the same level. The result requires no velocity editing because flat dynamics are correct for the genre.
Learning DAW Navigation
New producers learning their DAW benefit from computer keyboard MIDI because it eliminates hardware setup as a barrier to first making sound. Open the DAW, enable keyboard MIDI, and start exploring virtual instruments immediately.
That zero-barrier entry point matters for deciding whether music production is something you want to invest in before spending money on hardware. Try the free workaround first, and if you find yourself frustrated by the velocity limitations, that frustration is your signal to invest in a real controller.
When To Upgrade To A Dedicated MIDI Controller
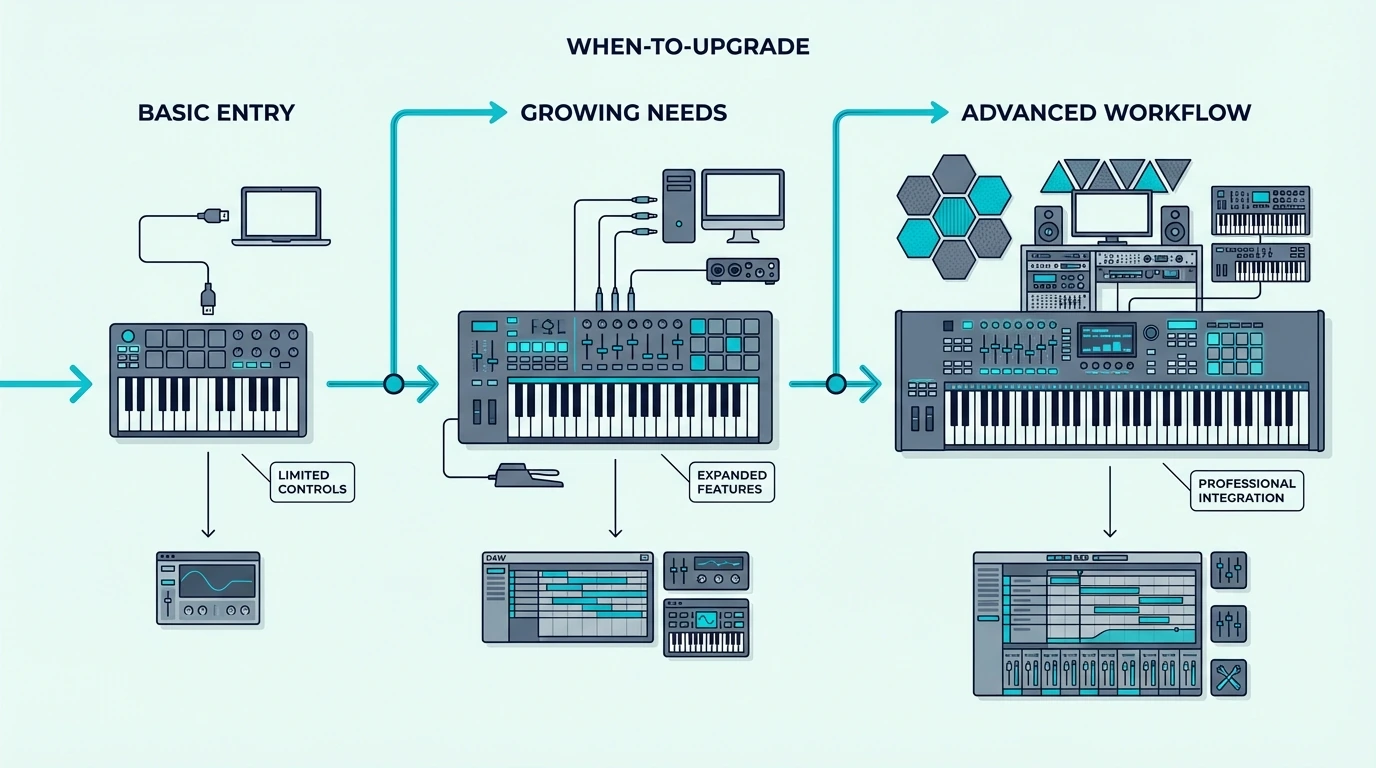
The moment you notice any of these patterns, a dedicated MIDI controller will transform your workflow.
Your Recordings Sound Flat
If every piano, drum, or synth part you record sounds lifeless despite using good virtual instruments, the problem is almost certainly velocity. A forty-dollar MIDI keyboard with velocity sensitivity changes the sound of every instrument you play because the dynamics come through naturally.
The Nektar SE25 at under fifty dollars adds velocity sensitivity that makes every virtual instrument respond to your playing force. That single upgrade eliminates the biggest quality gap between computer keyboard and real MIDI input.
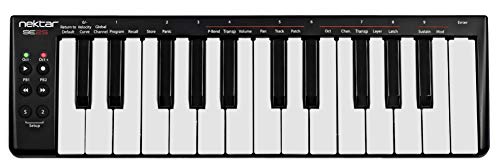
Nektar SE25
You Spend More Time Editing Than Playing
If recording a simple melody takes twenty seconds but editing the velocities, timing, and expression takes twenty minutes afterward, a real MIDI controller captures most of that detail during the performance. The editing time drops from minutes to seconds because the raw recording already contains the musical information.
You Want To Play, Not Program
Production and performance are different creative modes. Programming notes into a piano roll with a mouse is production. Playing notes on a keyboard in real time is performance. If your creative process leans toward performance, a real controller unlocks that mode in a way computer keyboard input never can.
The Akai Professional MPK Mini MK3 at ninety-nine dollars adds keys, pads, knobs, and bundled software — transforming a computer-only setup into a complete production workstation.
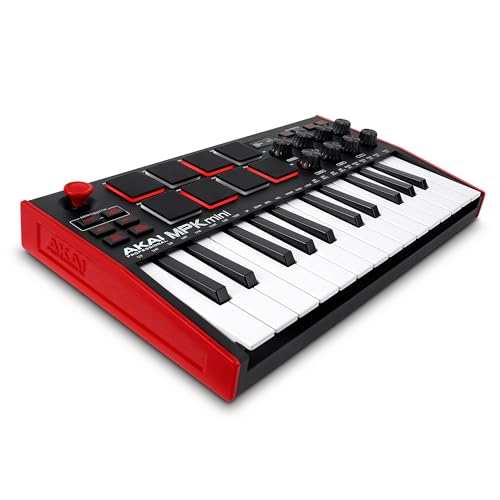
Akai Professional MPK Mini MK3
The Bottom Line
Your computer keyboard works as a free MIDI input device for quick idea capture, simple note entry, and learning your DAW. Every major DAW supports it natively with a single shortcut key.
The ceiling is velocity sensitivity. The moment you want dynamics, expression, or anything resembling a musical performance, a dedicated MIDI controller starting at under forty dollars removes that limitation permanently. Start with the free workaround, upgrade when the limitations frustrate you.
Frequently Asked Questions
Can I use my computer keyboard as a MIDI controller permanently?
You can, but every recording will lack velocity dynamics that make instruments sound musical. For serious production, even a forty-dollar MIDI keyboard with velocity sensitivity produces noticeably better results than computer keyboard input.
Which DAW has the best computer keyboard MIDI input?
Logic Pro and GarageBand’s Musical Typing provides the best visual feedback with an on-screen keyboard that highlights notes. Ableton’s M-key toggle is the fastest to enable. FL Studio’s typing keyboard works without any shortcut. All produce the same quality of MIDI data — the differences are in the user interface.
Is there software that adds velocity sensitivity to a computer keyboard?
Some third-party applications claim to add velocity sensitivity by measuring how long you hold a key, but the results are unreliable and feel nothing like real velocity detection. No software can make a binary mechanical switch behave like a continuous velocity sensor. A real MIDI keyboard is the only reliable solution.
How do I stop computer keyboard from triggering MIDI notes accidentally?
In Ableton, press M to toggle the virtual keyboard off. In Logic/GarageBand, press Cmd+K to close Musical Typing. In FL Studio, click away from the channel rack. Most accidental triggering happens when the virtual keyboard is active and you type in a text field — the DAW intercepts the keypress as a note instead of text.